
iPhone Photography Tutorial – ‘Eternal Mystery Series’ By NaProsvet
Today I wanted to create a grand tutorial on one of my recent series’ that I have titled “Eternal Mystery”. These three final images are included within it and of course, they all are complex and made up of several images, so I have detailed the processes below and show you how to create them.
Links to all the apps used and mentioned in this post are at the end of this article.
Step 1
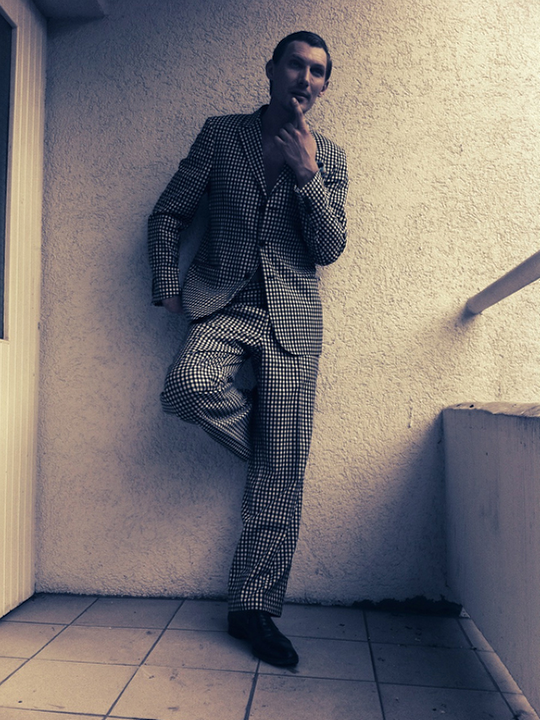
First things first I will detail the creation of the first (base) image. I shot the original image with the Pudding Cam app.
Step 2
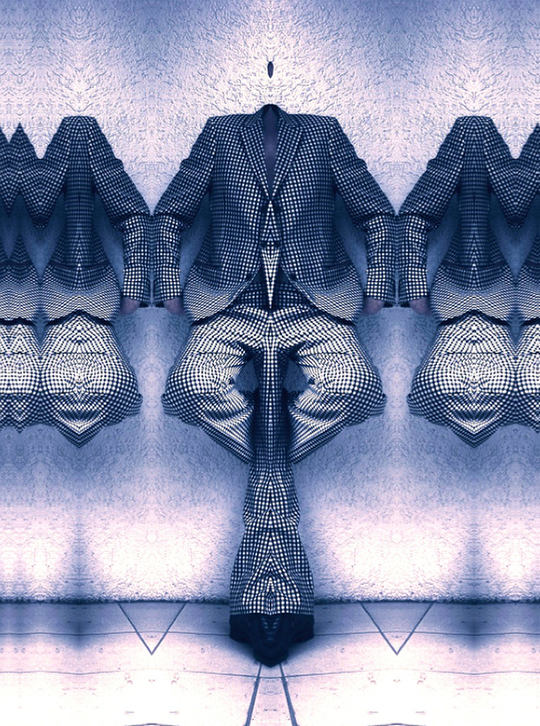
Next, I ran it through the Decim8 using FOLD4RAP5 effect.
Step 3
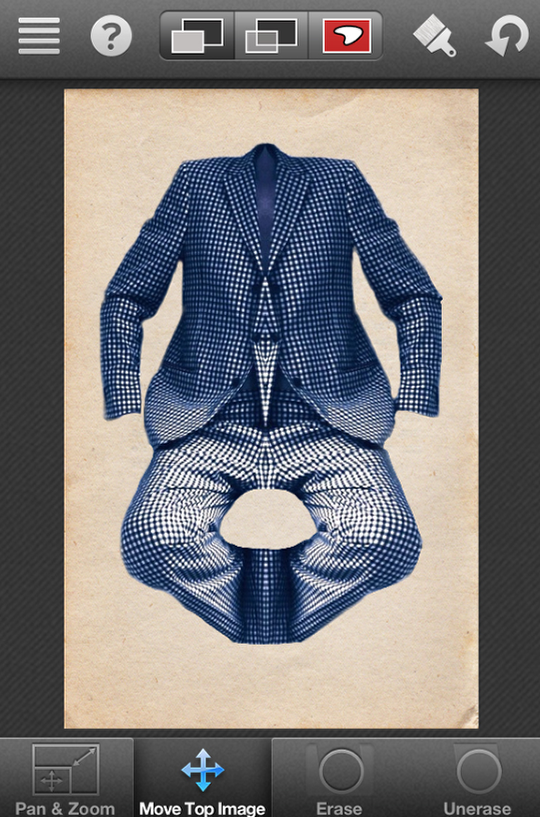
I then put it through the Juxtaposer. So, to get rid of any excess. I should mention that I merged the basic image with my “clean” paper texture.
Step 4
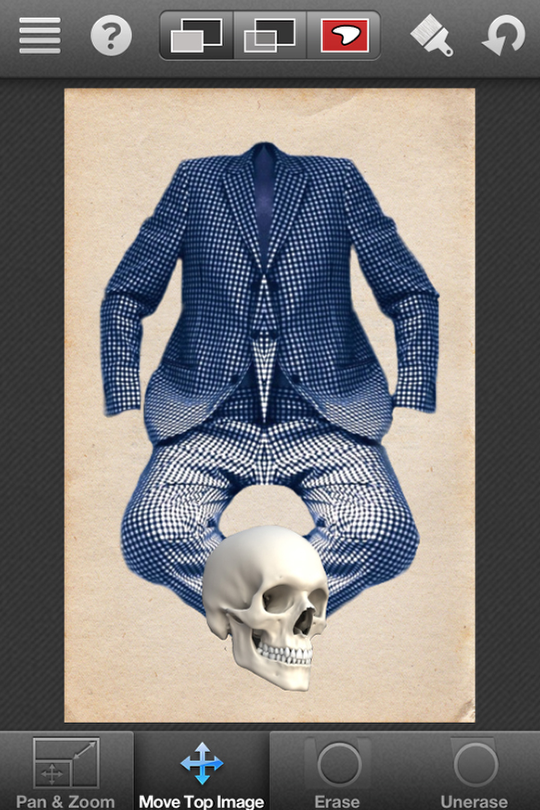
I then added a new top image and then loaded the previously saved stamp (Skull). Quite often you can meet “HIM” in my works 😉
Step 5
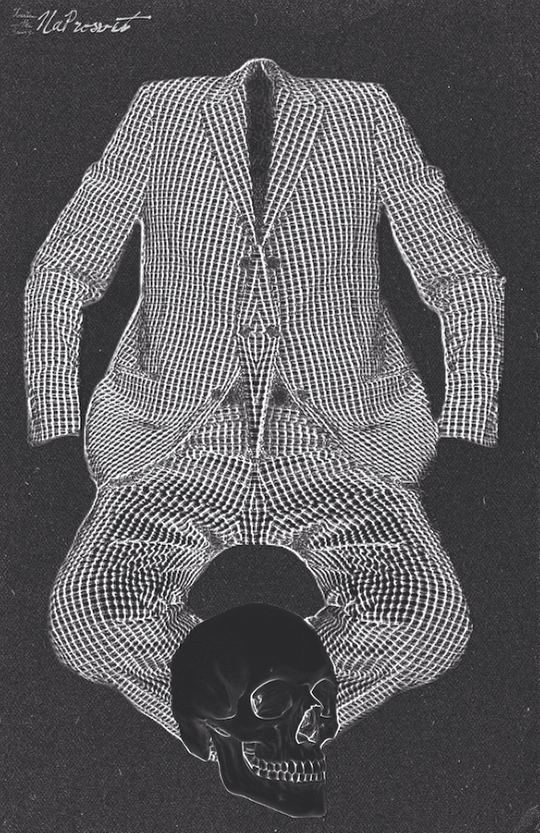
Finally, I played with filters, using the Iris app.
Step 6
And at this point I think that I’m somewhat happy with what I’ve created 😉
2) So, we now go to the creation of the second image. Do you remember, that I told you – Shoot more? Well, I turn to my archives…This is what I need!
Step 7
Once again I’m going to use Decim8! (FOLD4RAP5 effect). Yes, sure, I’m a big fan of the geometry! =)
Step 8
I then head back into Juxtaposer and add a new top image, Or rather, I load the previously saved stamp ( Skull2). By the way, this is another of my favorite main characters (Skull 2).
Step 9

I am a mad scientist, so I clone them one by one and add them in sequence. Actually, I would like to see an “otherworldly triumvirate”.
Step 10
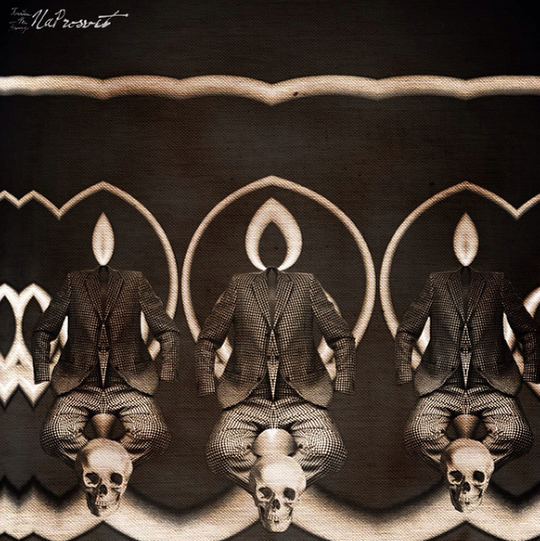
Finally, I add some texture and revert to gloomy colors, using the Iris app.
Step 11
Thats all!
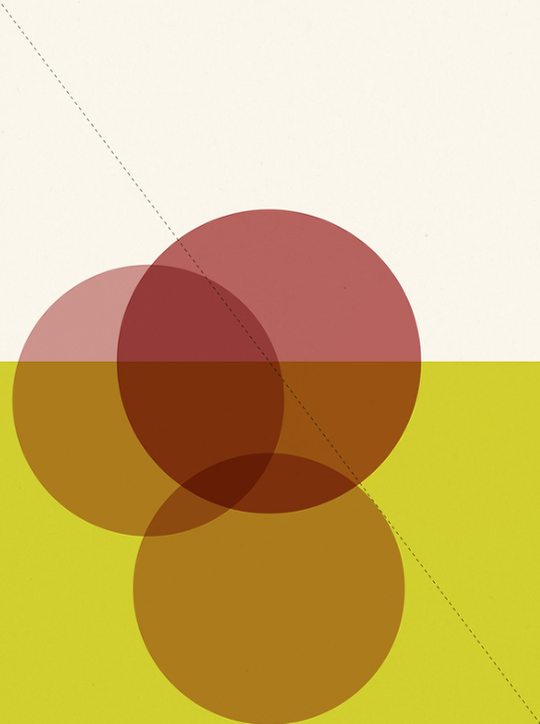
3) Just for fun, I complicate the task, by adding more geometry and freakish mood 😉
My lovely “poster”-images… =)
With clean (almost white) image, I create the graphic image, using “addLib” app
Step 12
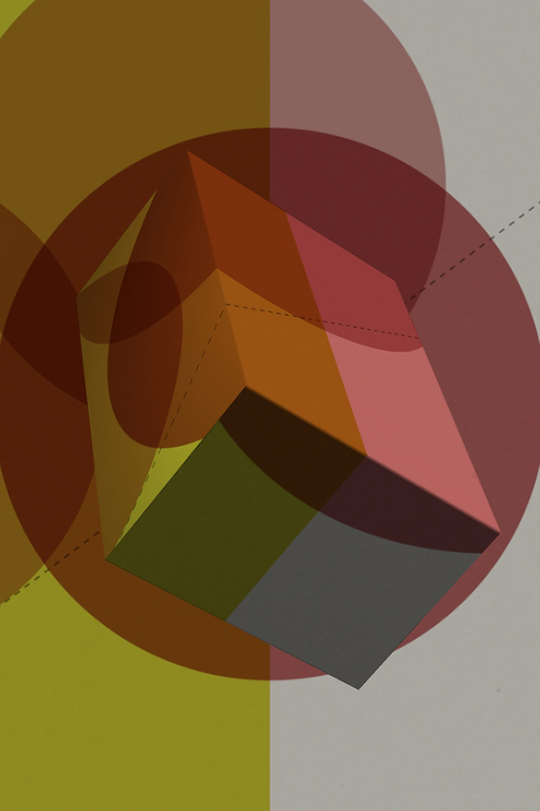
Not bad…. BUT! I was talking about complication!
So, I ran it through the 3D Photo
Step 13
Well, it’s better, but I really want to add some texture and make all the colors intense, so I go to the Pixlromatic app.
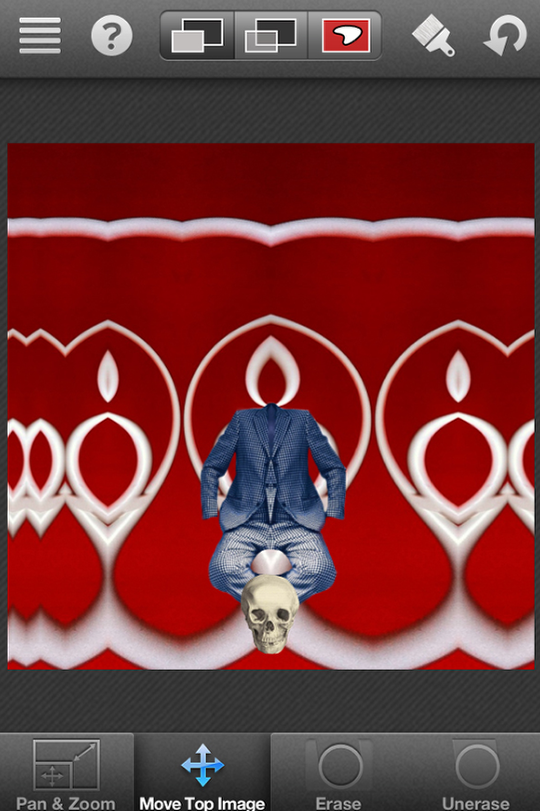
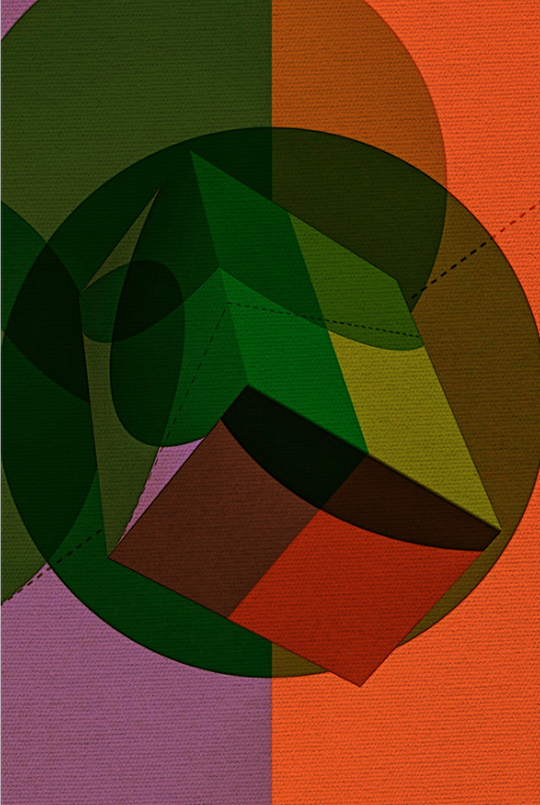
Step 14

Next, I go back into Juxtaposer and add some familiar characters. I think it is too bright, so I make all colors more muted, using the Blender app.(merging with colors texture).
Step 15
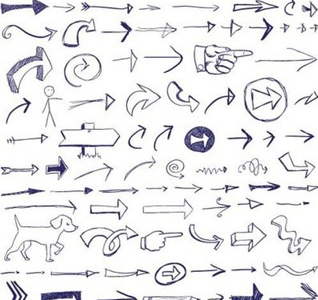
Further I add some graphic arrows, using the Blender app once again.
Final Image
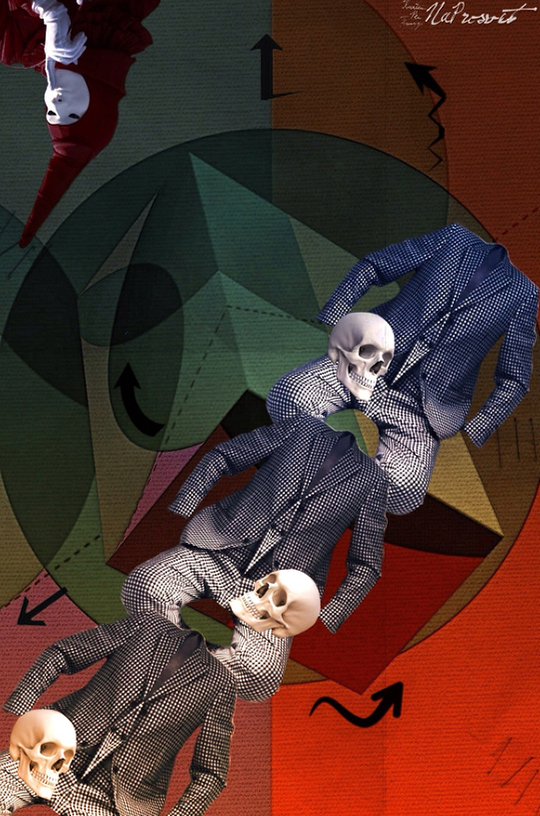
That’s all! As always, ”Let your imagination work for you!”
Links To All Apps Used In This Tutorial
NaProsvet
Natali Prosvetova aka NaProsvet lives in Moscow, Russia and has achieved great success with her iPhone photography. Her work has been published in the online Pixels: The Art of the iPhone gallery, iPhoneArt, TheAppWhisperer (of course) and more. Her works have also been exhibited at the Renaissance Fine Art & Design Gallery in Carmel, as well as Mobile Innovation Network Aotearoa (MINA) in New Zealand and also at the first WiAM exhibition in Naples. Natali also took part in the friendly collaboration of Global Street Photography by Street Expose FB.Natali points iPhone photography as changing her life, for the better, she has been welcomed into the community and has met interesting and talented people from all around the world, above all it has increased her happiness and changed out outlook on life.
3 Comments
Canada Goose Parka Sale
Wow, this post is nice, my sister is analyzing these kinds of things,
thus I am going to let know her.
LynneM
Excellent tutorial. You have a vivid imagination and I like it.
NaProsvet
@LynneM, thanks a lot! Really appreciate your kind words!!