ProCamera – Night photography tutorial with the new ProCamera ISO Boost Mode – Latest Update
ProCamera recently relesead a big update for iOS 6 and iPhone 5. One of the biggest features is the addition of the new ISO boost button for low-light shooting (iPhone 5 only). Unlike the native iPhone Camera, which keeps ISO boost turned on, ProCamera have decided to make it an optional button – providing photographers more control over their low-light shooting.
This tutorial relates to the very latest update of ProCamera version 3.8 that was released earlier today. ProCamera retails for $2.99/£1.99 and you can download it here.
Step 1
For this tutorial, I’m going to show you how to use ProCamera to take shots at night. I’ve decided to also use a tripod for a little bit of stability when shooting. The iPhone is attached to a standard tripod base plate with the Annex Quad Lock Tripod Adapter. If you don’t have a tripod at hand you could also use the anti-shake mode available in the ProCamera settings.
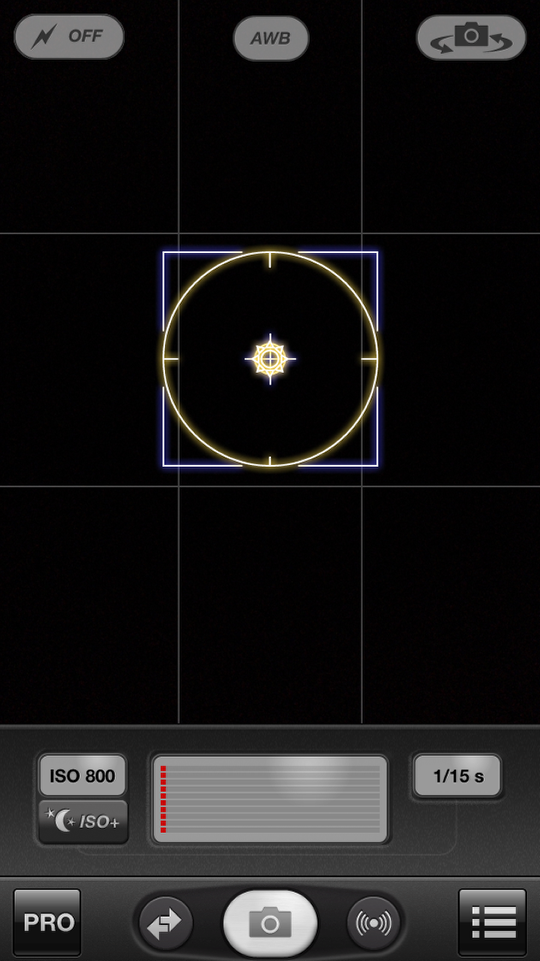
To start, let’s have a look at the new ProCamera 3.8 Screen for iPhone 5.
The iPhone 5 screen takes advantage of the additional space by incorporating a new display including the ISO Boost button and live histogram with shutter speed and ISO readings. The bottom menu functions remain the same.
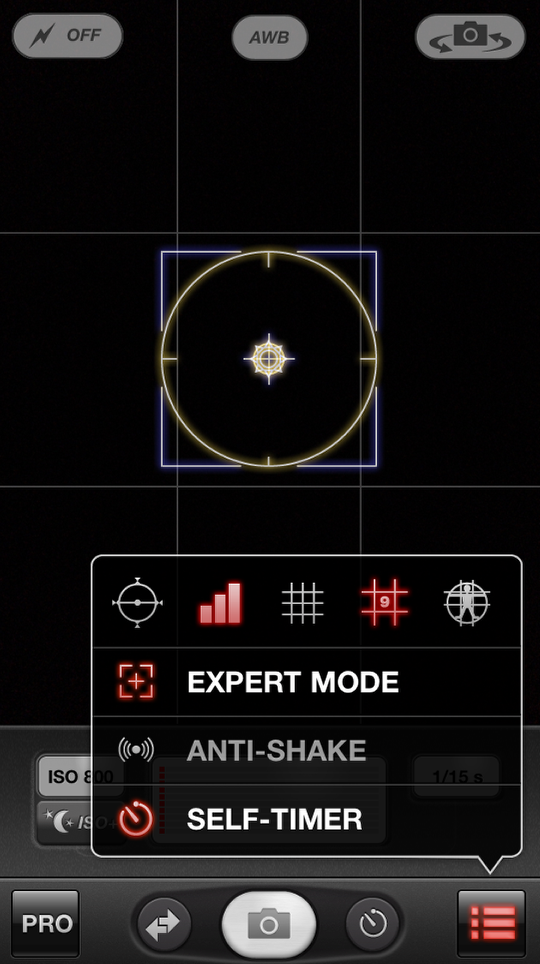
For these shots, I’m using Expert Mode which is activated by the bottom-right menu button. This brings up a set of controls, including the option to turn on Expert Mode. In this menu I’m also going to turn on Self-Timer, which sets the secondary shutter button on the bottom menu.
Step 2
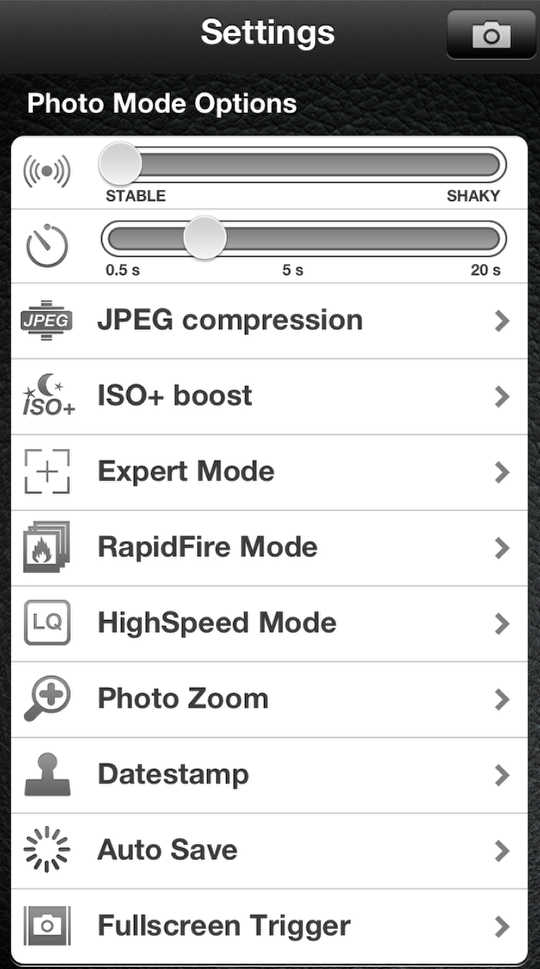
You can change the Self-Timer duration in the PRO Button Settings menu below. The Self-Timer setting is the second function, I’ve set it for five seconds.
Step 3
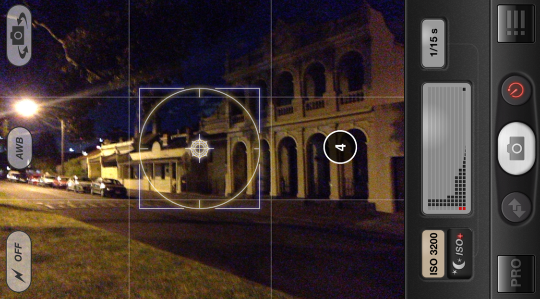
Here you can see the first shot I’ve set up. As you can see on the screen with ISO boost turned off the iPhone is struggling to pick up enough light at ISO 800.
Step 4
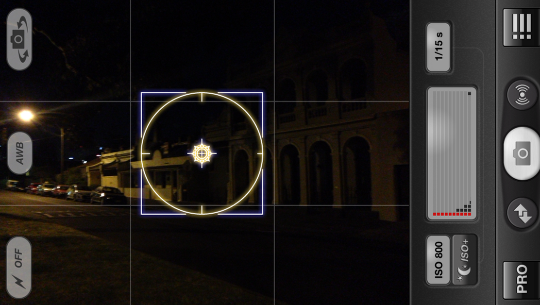
Here is the same image with ISO Boost turned on, enabling the iPhone to go all the way up to ISO 3200. ProCamera shows you when ISO Boost is on by highlighting the ISO readings in yellow.
You can also see that the Self-Timer button is highlighted in red and the countdown is displaying the number of seconds left before the photo is taken.
Step 5
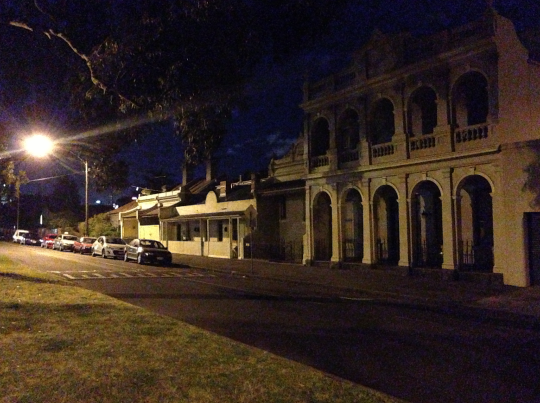
I’m pretty impressed at the difference between the two images. It wasn’t possible to see anything in the first, now you can see detail in the house, street and grass in the foreground. Here is the actual image with no editing. There is a fair bit of noise but I think it’s still acceptable, particularly for online viewing.
Step 6
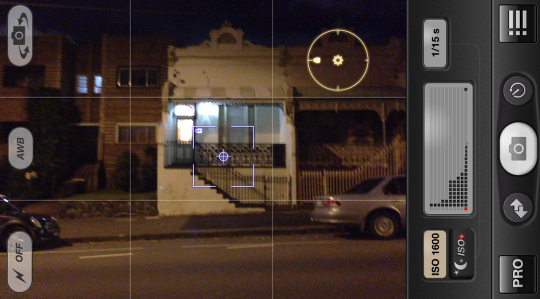
In Expert Mode you can also individually control the exposure (the yellow circle) and focus (blue square). The two examples below shows how you can change the exposure levels by moving around the yellow circle. In the first example I’ve placed the circle on the brightest building results in a dark exposure. In the second , the neighbouring building, resulting in a brighter exposure. The focus square is placed on the central building for both examples.
Here are a few more shots with and without ISO boost mode
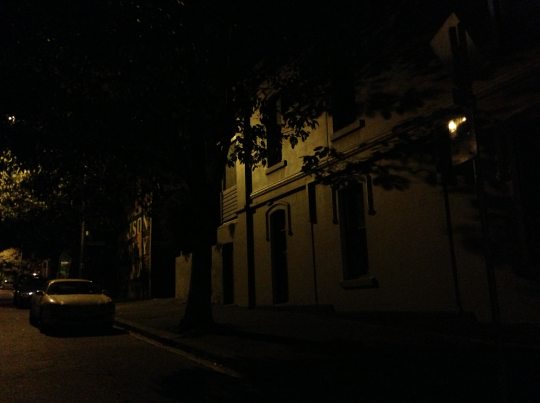
No ISO Boost
ISO Boost
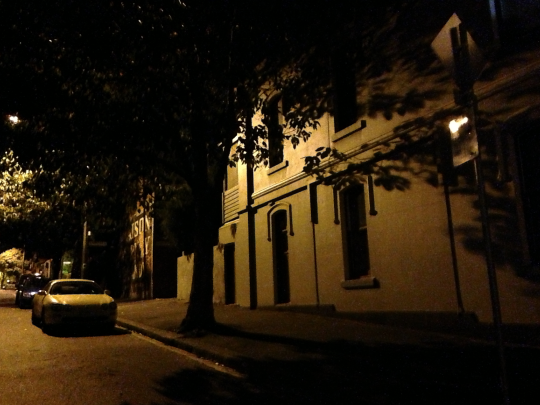
No ISO Boost
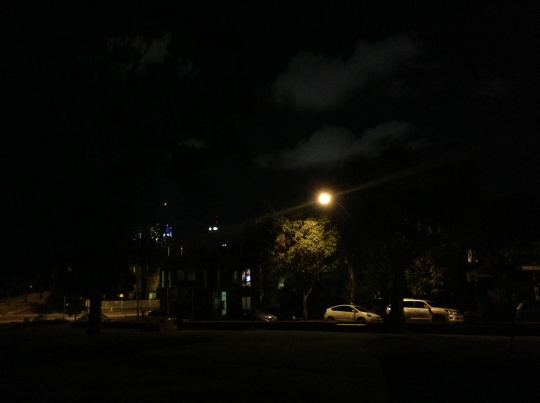
ISO Boost
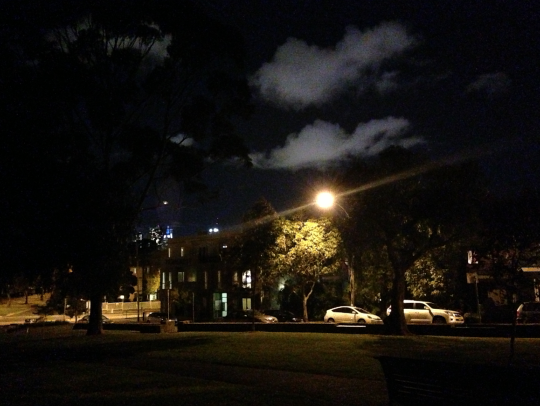
Overall, it’s great to see that ProCamera offers an alternative to the native camera app by introducing the ISO boost mode for the iPhone 5. By coupling boost mode with advanced exposure and focus control and self-timer modes it enables you take good night shots.


3 Comments
Dilshad
Oh wow!!!! Great that isoboost can be turned on and off!!! I take everything that I’ve said on the other post back!!! I might upgrade it then…
Geri
I really love this new feature and can’t wait to try it since ProCamera is my camera app of choice!
Yoni Mayeri
Thanks Misho, I may have to get a 5!