APPart – The Hungry Ghost – Challenged
It’s Saturday, so at TheAppWhisperer.com HQ that means just one thing, APPart – Mel Harrison’s new weekly Column with us. Every Saturday we will publish more of Mel’s fabulous work which focuses on digital art and collage images. Each week Mel will be incorporating a different ‘mainstream’ editing app to inspire you to try some APPart of your own. All links to the apps used are in bold in the content below. Over to you Mel…. (Foreword by Joanne Carter).
‘I have to start with a thank you to Steven Cooper and his Facebook group The Hungry Ghost. Steve provided the original image for this edit and has given me his permission to use my edit in this weeks column so thank you Steve!’
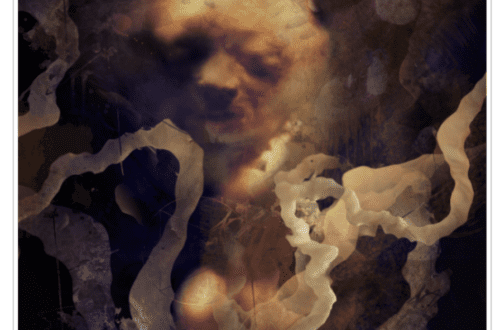
Original Image By Steven Cooper
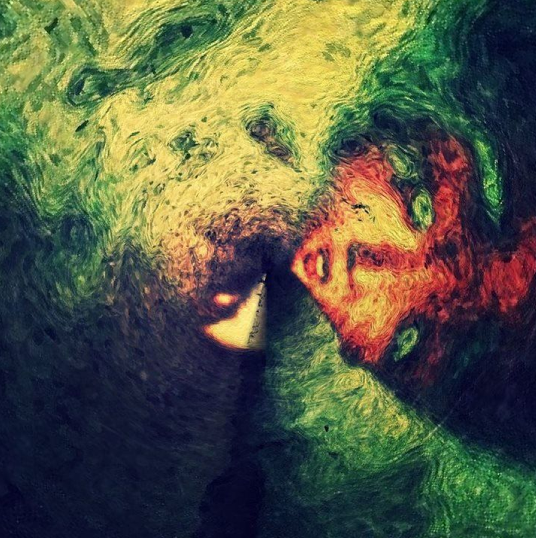
When Steve posted the original image I fell in love with the sweet surprised look on the face and knew what I wanted to do with her almost immediately. I saved Steve’s image into my iPad and went to work.
Step 1
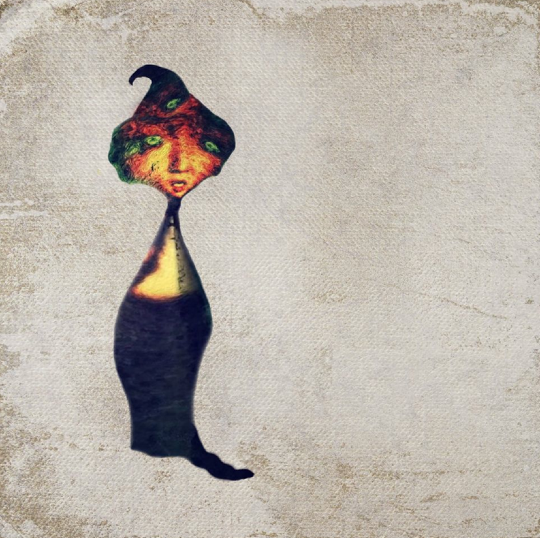
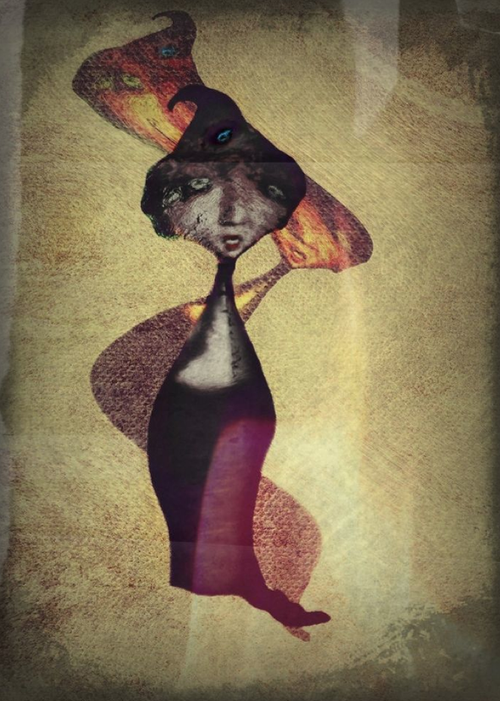
I took her into Juxtaposer using a background I had prepared earlier in Paint FX. I cut out her head, saving it to stamps, and a body by sculpting out the shape then also saved it to stamps. Finally I cut out a section of her head keeping an eye intact, again saved it to stamps. I opened a new session in juxtaposer and assembled the three stamps I made earlier I arranged it so the figure was given a third eye using the section of her head I had cut out.
Step 2
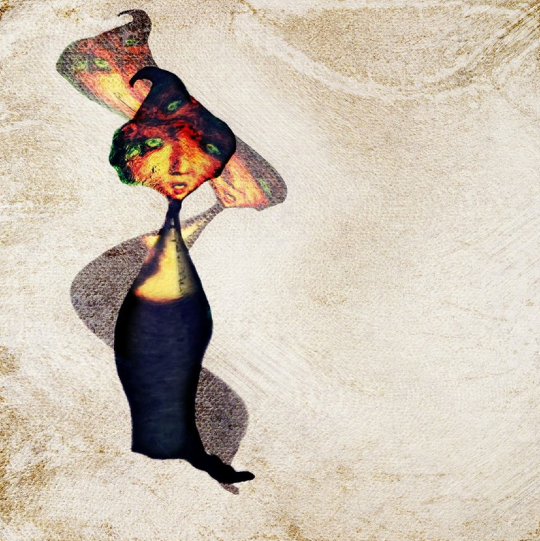
Next I went to Decim8. I am a fan of the Precog1 setting. You do need to be patient with Decim8. It can often take a few goes to hit the exact image you are looking for. My main tip is save anything that is close to what you want because you can always delete later but the random nature of Decim8 means something it generated earlier may not occur again so better to save then to be sorry.
When the effect I wanted was achieved in Decim8 I took the image into pixlr-o-matic and put a subtle flame over the figure.
Step 3
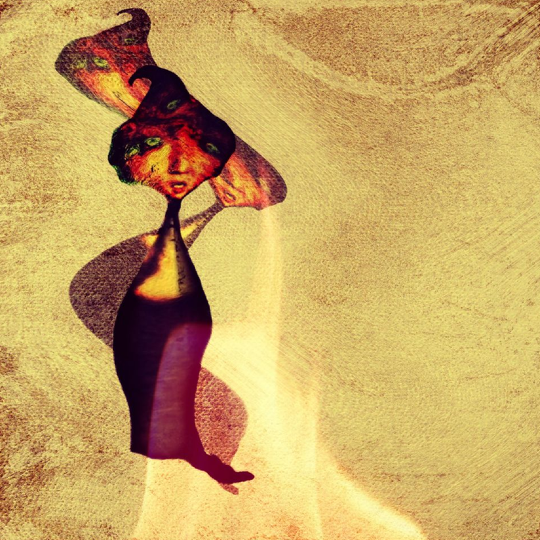
I then cropped down the image in camera roll to centralize the figure.
Step 4
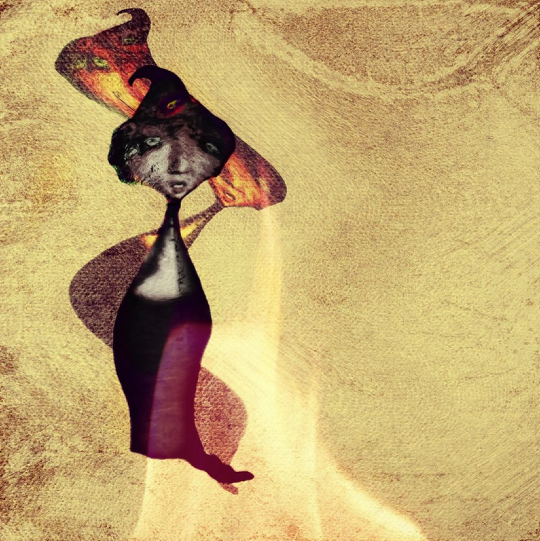
Then I went into Paint FX and used the saturation filter to paint out the color of the main character leaving the color in the ‘soul’ escaping her.
Step 5
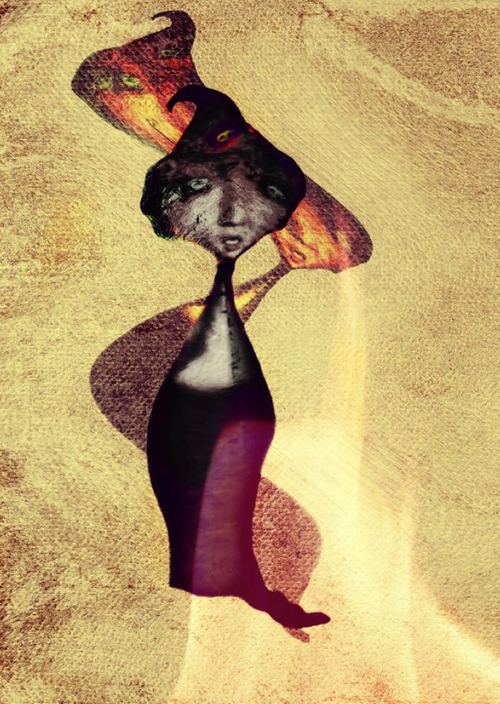
In Scratchcam I added a grungey effect and a paper overlay. I adjusted the opacity of the effects in scratchcam using the slider until I was happy with the effect.
Step 7
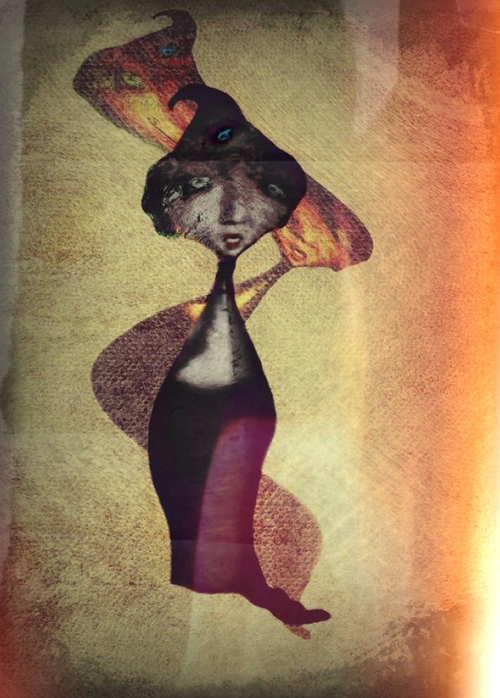
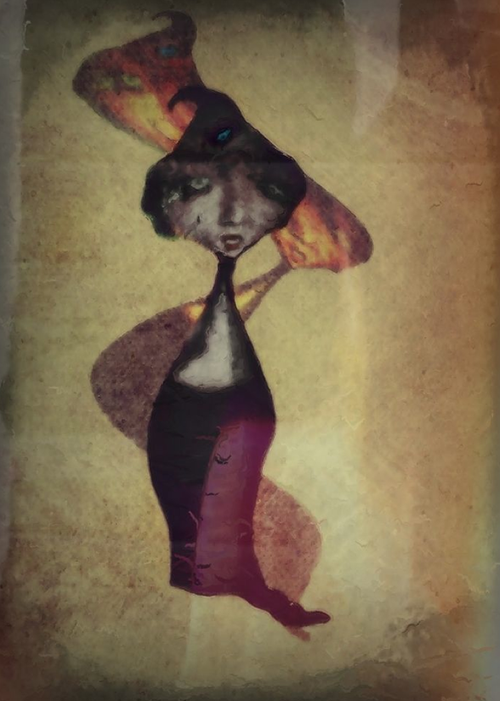
Then I went back into Pixlr-o-matic and added an orange light leak to the right hand side. A little tip for pixlr-o-matic: the filters are in fixed positions but an image can be rotated or flipped in other apps, e.g Filterstorm, then loaded into Pixlr-o-matic, add the filter you desire and then flip or rotate the image back to the correct position.
Editors Note: Just after Mel completed this tutorial the developers of Pixlr-o-matic released a new app called Pixlr Express Plus. This has opacity and directional tools for all your favorite Pixlr-o-matic filters. So, you may want to give that one a try instead of starting this step with Pixlr-o-matic as it will save you switching to Filterstorm for example.
Step 8
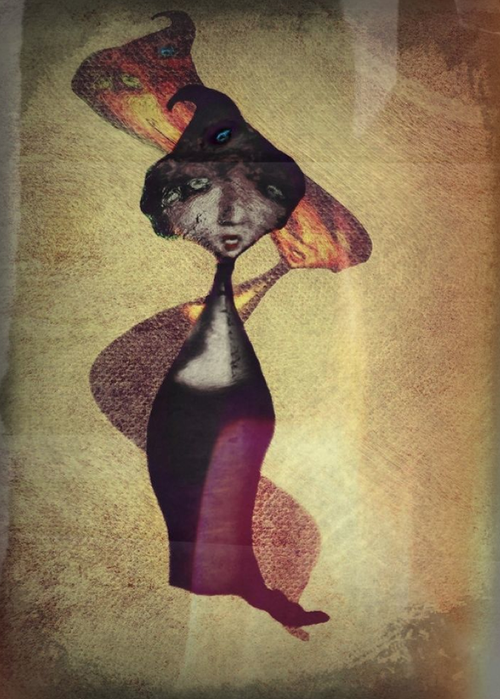
I toned down the strength of the light leak in Image Blender by blending it back in normal mode.
Step 10
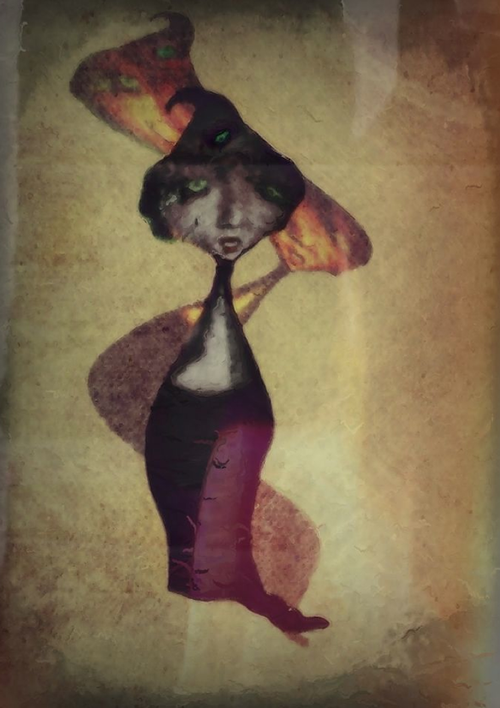
Finally I went into Paint FX again as I was not entirely happy with the blue eye and reverted it back to the green she originally had using the hue filter.

4 Comments
Steve H
Really enjoyed this. Can’t wait to try this out and see what I can come up with.
David
Very cool, Mel. You never fail to impress me…I’m in awe!!
Delta
Great tutorial Mel ! Your work is always fabulous !
Mel Harrison
Thank you Steve, Dave and Delta xx