Tabletop Tutorial: Documenting Your Day With Joby Grip Tight Gorillapod And Grip Tight Micro Stands
If you use your mobile phone to photograph food, or make cookery/crafting demos and tutorials, then at some point, you may face the dilemma of where to position the phone to get the best shots. The obvious place is directly above the table, but whilst climbing up and down, to and from your table top might be great exercise, it’s time consuming, potentially damaging to your furniture and props, and not great from a Health and Safety perspective. In this tutorial, I’m going to show you how I approached the challenge, with the help of two very useful JOBY products: the GripTight Gorilla Pod Stand and the GripTight Micro Stand.
Kitchens are the hub of many people’s homes, with life centering on and around the kitchen table where we not only prepare and eat our meals, but chat with friends and family; work, create art, matchstick models and scrapbook pages; play games, keep in touch with friends or watch TV on our laptops and mobile devices; dump things when we come in from the garden or clean the cupboards; open letters, pay bills, write birthday cards and pack up parcels (because I’m English, the list also includes drinking copious cups of tea). So I thought it would be fun to document all this activity and create of a series of photographs that depict a day in the life of my kitchen table top.
Enter the GorillaPod…
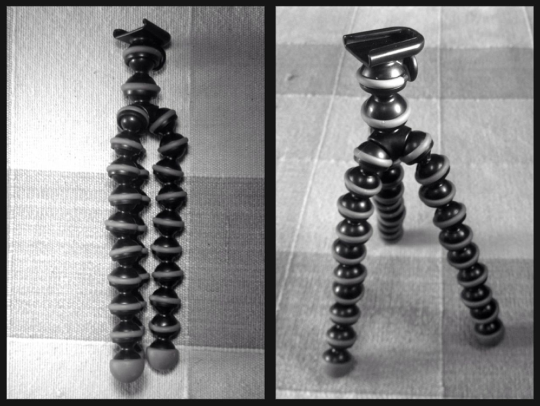
The Joby GripTight GorillaPod Stand is a nifty bit of kit: a tripod with cleverly designed legs, constructed of beads that are socketed together, enabling them to be twisted, bent and positioned in almost as many ways as those of a circus contortionist.

When not in active service, my GorillaPod sits on my desk. With it’s super supple bendyness, it’s a great stress toy: indispensable for those occasions when my dad phones and asks me to take him through how to do something in Photoshop. Just look how super fantastically bendy the GorillaPod is! I am in awe. Even after years of yoga and Pilates, I can’t get into those kind of positions. Have I done years of yoga and Pilates? Well, as you’re asking, no, but I bet Joby send GorillaPods off for yoga sessions before releasing them into the wild.
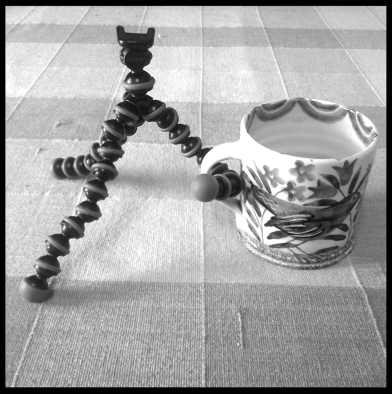
I have no idea why I should want to do this with my Gorillapod, but it makes me happy that I can.

WARNING! The GorillaPod is not only very useful, it’s also very cute. Before long, you will be giving it a pet name and dressing it up in snazzy little outfits.
Here’s mine on a recent fashion shoot.
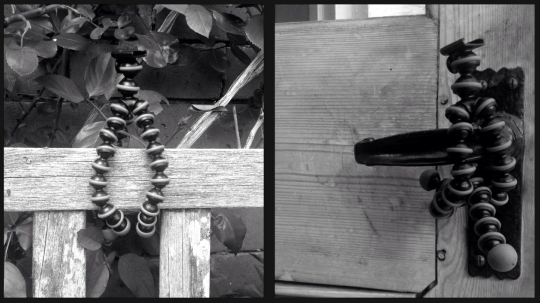
Of course, the real reason that the GorillaPod had been designed in such a cunning fashion, is not to provide Mobile Photographers and video makers with a stress relief toy or cute table mascot, but so that we can position and steady our phones securely in all sorts of extreme circumstances.
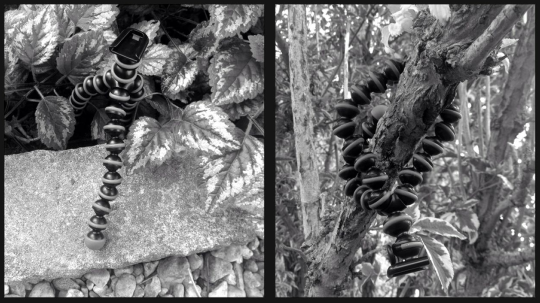
More outdoor GorillaPod action.
WARNING! Do not let the GorillaPod out of your site, they like climbing trees.
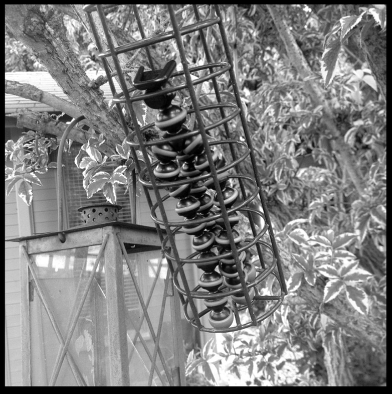
I keep my in here when I’m in the garden.

The GorillaPod comprises two components. Thus far, you’ve seen the tripod. Now let me introduce you to the phone clamp.
This folds flat for convenience of storage. To use it, flip out the grippers at the top and bottom.
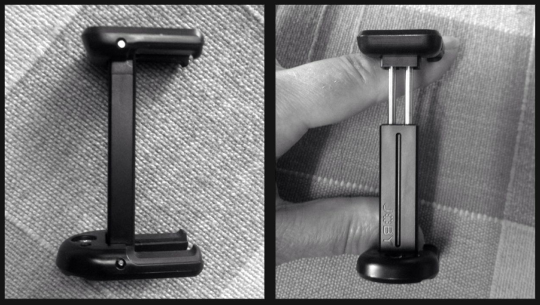
The grippers resemble little fangs, designed to keep your phone in place. The phone clamp expands to accommodate many phone models. This also means that with any luck, each time we upgrade our phones, we won’t need to replace our GorillaPods. Furthermore, it enables phones to be clamped into the GorillaPod whilst inside a wrap around battery pack or lens attachment. Thanks Joby! Other product developers please take note!

The gripper with a curved edge and threaded screw hole is the one that attaches to the tripod mount.
The photo on the right is an aerial view of the tripod mount before the phone gripper is attached. Notice that the mount has an inner component with a screw head? This component needs to be removed from its housing, screwed into the threaded hole in the phone clamp, then slid back into its housing and locked.
So let’s remove the screw component from its housing….
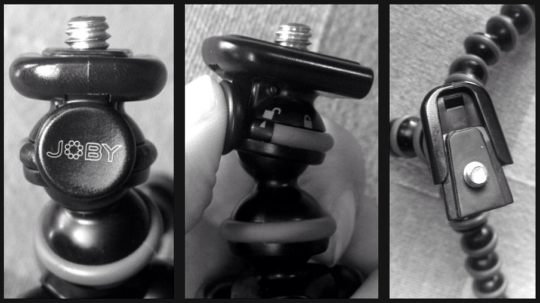
Underneath the back of the phone mount is a button that releases the screw component.
To the side of the button is the mount locking mechanism.
When the lock is in UNLOCKED position, pressing the button releases the screw component and enables it to be pushed out of the phone mount.
Here’s how the mount lock works…

The lock is a rotatable grey rubber ring with two icons above it: an open padlock and a closed padlock. Rotate ring so that the little arrow points to the closed padlock (unlocked) or the closed padlock (locked).
Note: This can be a bit tricky if your hands are wet or greasy.
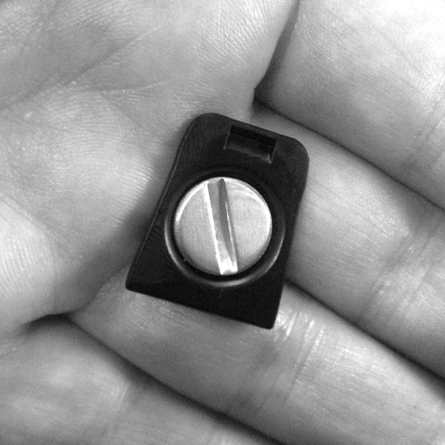
On the underside of the removable locking component is a large screw head. This needs to be attached to the Phone clamp. For this you’re going to need a piece of equipment that doesn’t come with the GorillaPod but that most people usually have in their pocket: no, not an Ikea allen key, but a small coin…
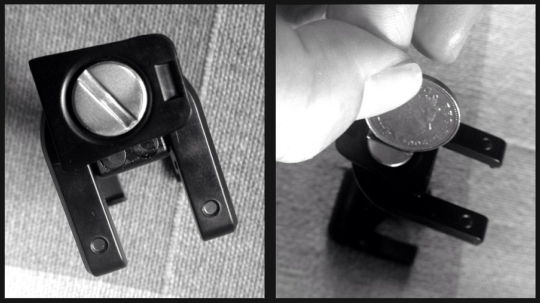
Place the locking component on top of the curved gripper of the phone clamp so that the screw is lined up with the screw hole.
Now use the coin to tighten the screw into the phone clamp.The two components need to be tightly screwed together and lined up so that they point in the same direction, as illustrated in the two photographs below.
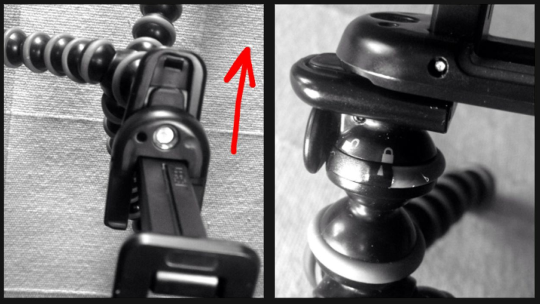
Next, slide the phone clamp all the way into the slot at the top of the tripod mount (where the locking component was before you unlocked and released it.)
Once the locking component is all the way into its slot, rotate the grey rubber wheel of the mount lock so that the arrow is in the LOCKED position.
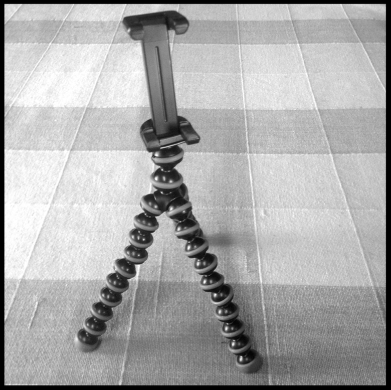
Now your GorillaPod is assembled and ready for bendy action. Remember, DO NOT let it out of your sight!

Now, it’s been a while since the start of this tutorial, so you may have forgotten why we were talking about the GorillaPod in the first place.
Which is unfortunate because I can’t either.
Oh yes, of course, my table top journal…
For an aerial view, it’s necessary to have something suspended over the table, or a bracket fixed to a wall that cantilevers over the table. As it happens, suspended over my kitchen table, there’s an antique oil mantle, with a rise and fall mechanism, so it was an easy matter to wrap the super bendy legs of the GorillaPod around the bottom of the mantle, then adjust the height to get the right amount of table in shot.
Warning! the Gorilla Pod is a very well made product but if you force the jointed legs to wrap around something too tightly, one of the beads may pop out of its socket. Should this happen, DO NOT PANIC! It’s easy to push the beads back.
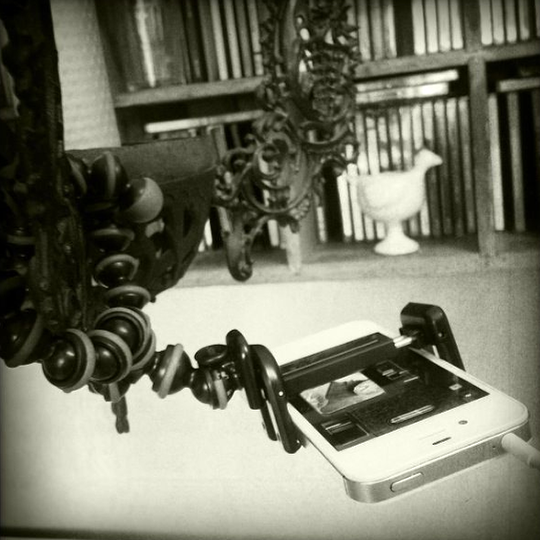
As I’ve already demonstrated, Joby have cunningly designed all their GripTight products so that they can be used with a wide range of phone models.
To begin with, I was anxious that my iPhone would end up in my cornflakes, but there was no need for concern as the gripper grips the phone as snugly and gracefully as a skilled trapeze artist. Hurrah!
I clamped my iPhone into the unit so that was screen was facing UP. That way, I could check that everything I wanted was in shot. The mount is made of smooth plastic, so it’s very unlikely that it will mark the phone screen, but you may wish to use a screen protector, just in case. As I like to live dangerously, I keep my phone screen naked.
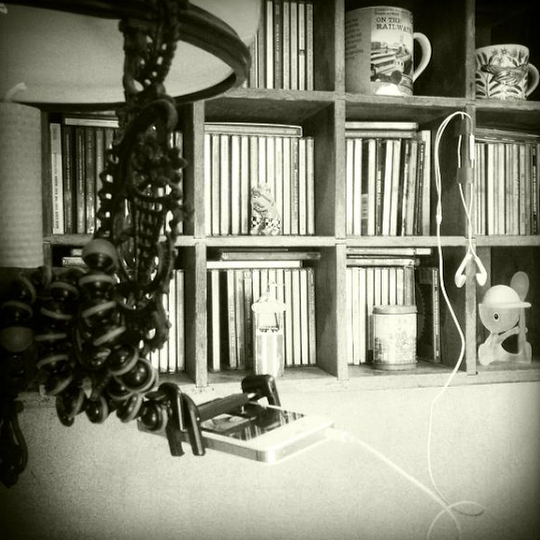
To keep my phone steady whilst shooting, I used the Apple iPhone headphone volume control as a shutter release cable.
For extra steadiness, I fixed the cable to a nearby wall rack (note for stylists: it’s a vintage office letter rack that I found in a skip and is the perfect size for keeping my cds in).

Let’s just take a closer look at the headphone cable: I used electrical tape to fix it to the wall unit and hold in it place. just in case you haven’t used your iPhone headphones as a shutter release cable, it’s very simple: to take a shot, press the + sign. However…
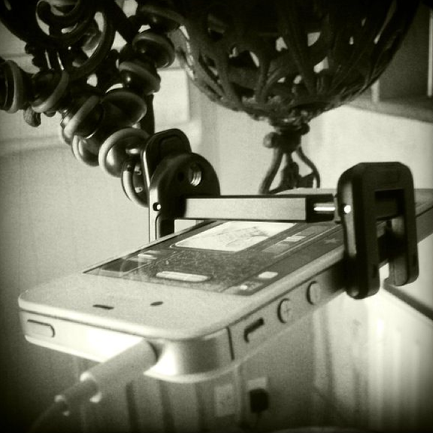
It’s important to ensure that the headphone jack is fully in the iPhone’s headphone socket. Otherwise, the shutter release function will not operate.
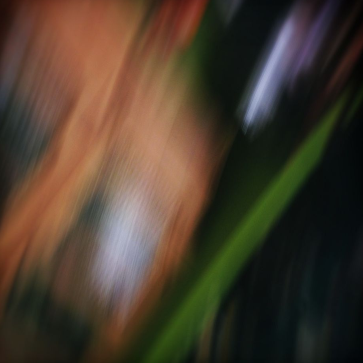
Next, I made a cup of tea whilst I waited for oil mantle with attached Gorillapod to stop swaying around. If I’d missed out this step, my journal shots could ended up looking like the one above.
Note to self: hmm… great way to create some interesting abstract blurred photographs or video. Next time I’ll skip the tea.
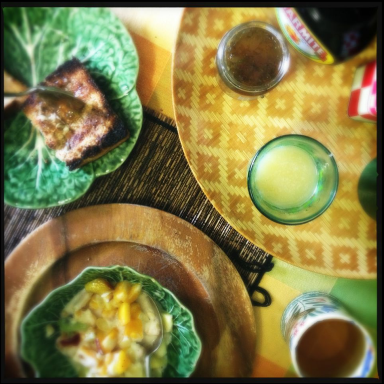
Of course, a bit of controlled blur is avery different matter. I chose to take my diary shots with the Hipstamatic Foodie pack lens and film because I love the colour and the blurred effects perfectly reflect my usual state of mind, especially first thing in the morning.
Now my GorillaPod was ready for action so that at any moment, over the course of the day, I would be able to take a quick shot of whatever was on my Kitchen table.
NOTE: although I wanted my journal photographs to look casual and reflect the merry chaos of my day, before each shot, I took time to make sure that all the elements I wanted to feature, were in frame.
I won’t lie: I did a bit of styling here (except the burnt toast, that was an accident, I don’t enjoy burnt toast). There is something important missing from this scene…
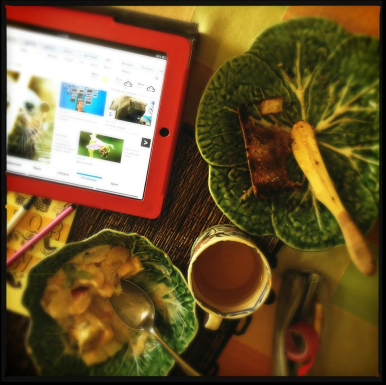
This is how my breakfast table usually looks…

Once the breakfast table has been cleared, I plan my day…
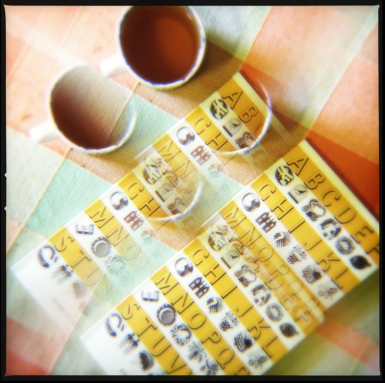
The GorillaPod’s expanding gripper enabled me to have a wrap around filter on my iPhone, whilst it was in the clamp. Hence, dull moments could be made to look much more interesting… or maybe there was something far more exciting than tea in my mug…
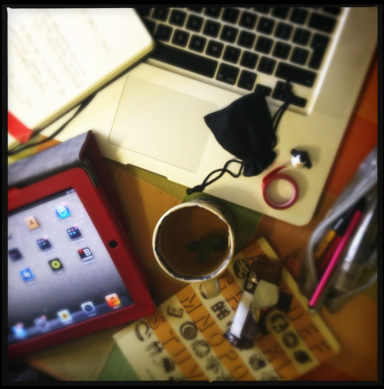
Elevenses (peppermint leaf from my garden in mug (honestly) and table top chaos building up…
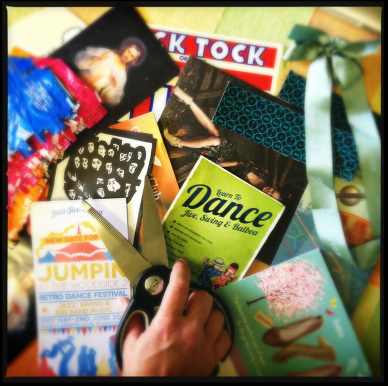
Mid afternoon…total chaos: recycling for Mixed Media projects. Getting my hand into the action added some life to shots but proved to be an interesting challenge.
Now, of course, I’m only showing you a few edited highlights. If you were to make a stop frame animation sequence of your day, you’d be taking many more shots.
Enter the Joby GripTight Micro Stand…
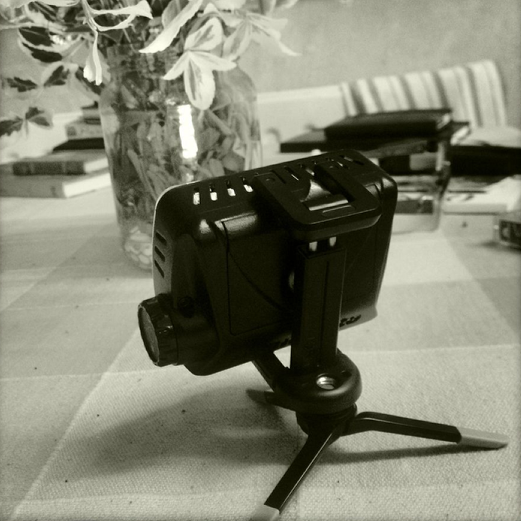
As the day wore on, my kitchen became dimmer and the overhead light began to cast shadows on the table top. I couldn’t use my iPad as a fill light because I was shooting with it while my iPhone was otherwise engaged. I could have attached my Manfrotto KLYP cover and LED light to my iPhone, but that would have given me more top light and I needed some side light. I could have attached my Klyp cover and LED light to the very nice Manfrotto tripod that they were designed for, but that would not have allowed me to get the light in really close.
Then I had a bright idea…I could use my Joby GripTight Micro Stand as a table top lighting stand to hold my Manfrotto Klip LED light.
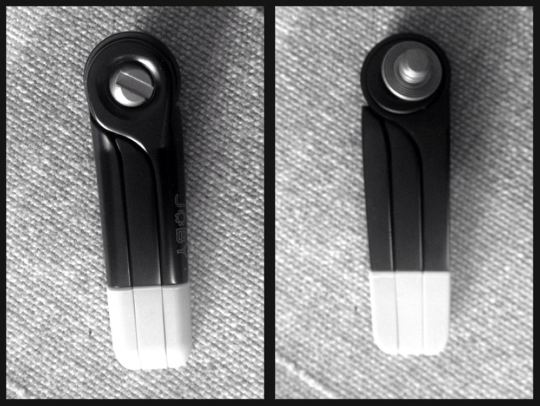
Like the GorillaPod, the Micro Stand has two components that need to be put together before it can be used.
Here are photographs of both sides of the folded tripod stand.
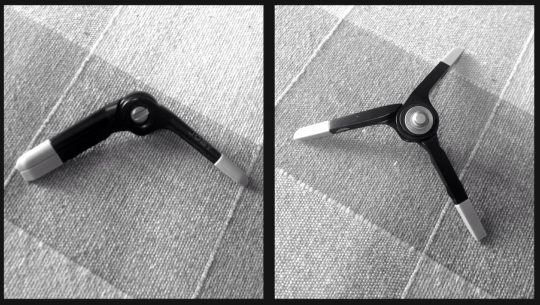
To open up the tripod, pull the legs out as far as they will go, making them equidistant from each other.
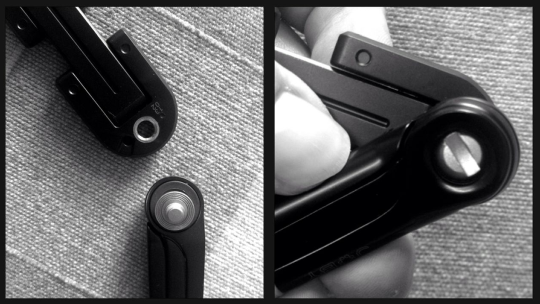
It will come as no surprise that the Micro Stand phone clamp looks just like the GorillaPad’s and attaches to its tripod by the exact same method: a screw and a coin.
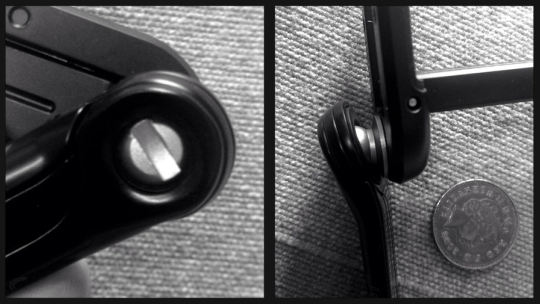
The only difference is that the MicroStand has a rotating ball component incorporated into the tripod mount, enabling it to be tilted at many different angles. Joby designers do it with balls!
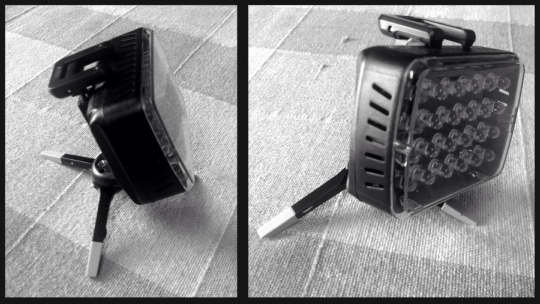
Here’s the MicroStand demonstrating some moves
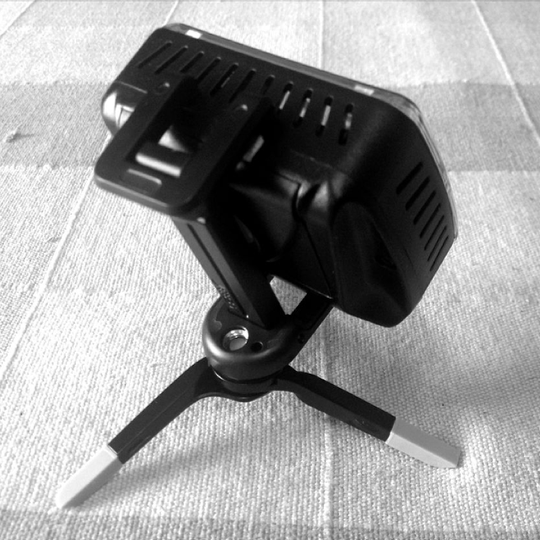
And just like the GorillaPod, the Micro Stand’s phone clamp expands to fit many phone models and other items such as my Manfrotto Klyp LED light. Fantastic!
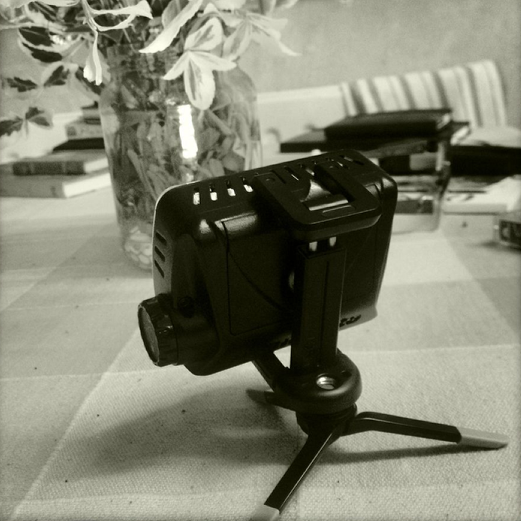
Here’s a shot of the MicroStand in action.
Tip: The Micro stand is designed so that when not in use, it is possible to fold the components up, screw them neatly together and hang on a key ring. Is there NOTHING Joby haven’t thought of???

Now I was able to explore the possibilities of different lighting positions: The great thing about using the Micro Stand with a light source is that it can be moved around on the table and get in very close, with the additional advantage of changing lighting angles.
Tip: For extra drama: try wrapping coloured cellophane (or, if you have any, lighting gel) around the light source.
Another tip: Try using the GripTight GorillaPod as a hanging lighting stand.
And yes, I do listen to cassette tapes: I am THAT retro!

Illuminated chaos…
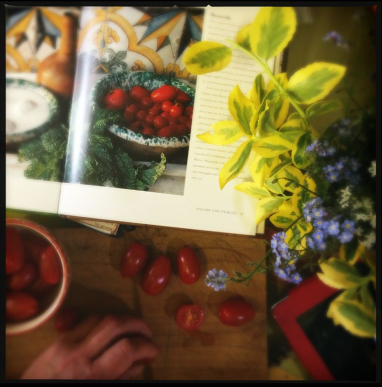
An illuminated fantasy view of me making dinner…
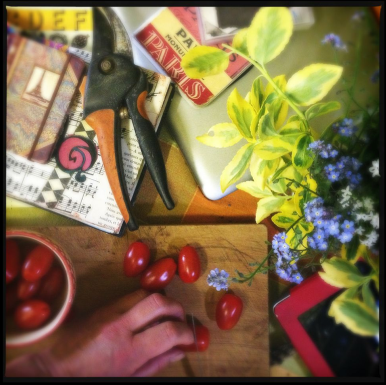
Slightly more realistic view of me making dinner…
Note to stylists and Health and Safety officers: I do not slice up my tomatoes with gardening secateurs…

So, here’s my table at suppertime. I’m going to draw the curtains now because what happens on my kitchen table top after 8pm is far too messy for public viewing.
Note to stylists and Health and Safety officers: Under no circumstances is it advisable to use the Grip Tight Micro Stand OR the Grip Tight GorillaPod as a candle sconce.
I hope this tutorial has inspired you to create your own table top projects and got you thinking about how you might use these useful pieces of equipment. Have lots of fun! I certainly did!

4 Comments
Janine Graf
Oh Nettie! This was witty, informative AND beautiful! I did not know about the headphone cable shutter trick; good to know! Really great article, thank you! 😀
Nettie Edwards
Thank you So much for the fantastic feedback Janine!
Tracy Mitchell Griggs
Looks like a good “must have” accessory – the manufacturer owes you credit, fer sure.
Lavender
Fantastic tutorial! And I did not know about using my earphones as a shutter release. Just that alone will be a handy bit of information.
It looks like the gorillapod is small enough to tuck into your pocket or bag.