Mextures – iPhone Photography App Tutorial – Part 1 – By Jerry Jobe
We’re delighted to publish the first of a three part special series of iPhone Photography Tutorials with the app Mextures by our incredibly talented newest staff member to our Tutorials section, Jerry Jobe, don’t miss this (foreword by Joanne Carter).
If you haven’t picked up Mextures yet, you can download it here.
‘With the advent of digital photography, people were suddenly able to make their photos look incredible. No more messing with chemicals or turning your film over to someone else messing with chemicals. No more wondering if the film you used was old, or if dropping your camera might have cracked the case and introduced a light leak. No more waiting to see if the film had snapped, or you had your finger in the way, or the flash hadn’t gone off, or any number of other things that could make you lose a moment, or a whole roll full of moments.
There are also many apps that help you with your digital shots, so that even if there’s dust on the lens, or a bad white balance, you can nearly immediately produce a clear shot.
So what is one of the hottest categories of apps today? Grunge apps, that take those pristine shots and make them look as though they’ve been sitting in a shoe box for years – the same shoe box that the film was stored in for years before exposure. I’m going to be discussing Mextures (by Merek Davis), one of the newest apps in this category, in a series of posts.
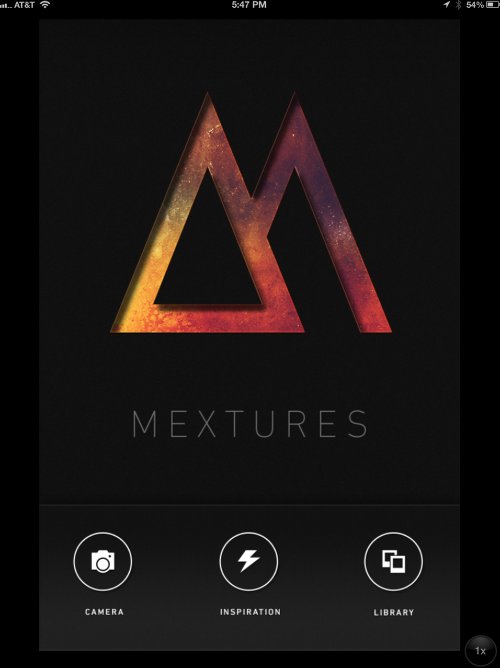
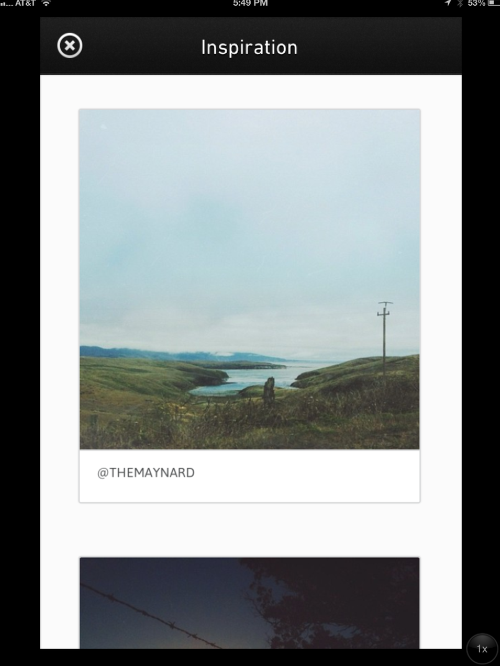
Mextures allows you to take a shot with the device’s camera, or load from your photo albums. It also gives you some inspiration: shots that others using this app have posted to Tumblr.
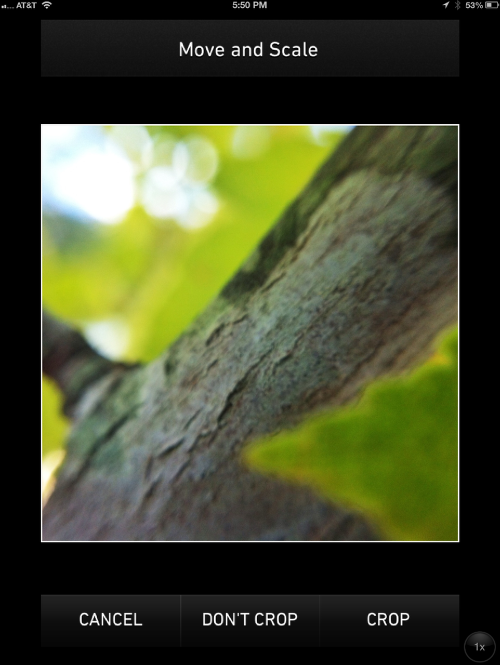
When you load a photo, Mextures asks if you want to crop the photo to a square. As initially delivered, Mextures did not give you this option; it always cropped it to a square for use in Instagram. The developer was quick to respond, however; within weeks the outcry from users was answered. Crop to square or Don’t Crop are the only options, however. In this particular case, my macro photo was already cropped to a square (my finger got into the edge of the photo).
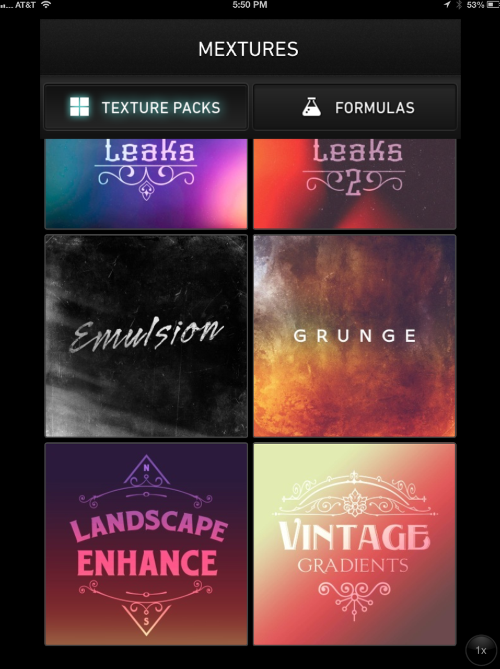
Mextures has two ways of adding grunge to your photo. Individual components are listed under Texture Packs, and Formulas are specific combinations of those components. We’ll discuss formulas in future installments. The Texture Packs include Favorites (unpopulated at first, but as you use the app you can add favorite components here), Grit & Grain, Light Leaks and Light Leaks 2.
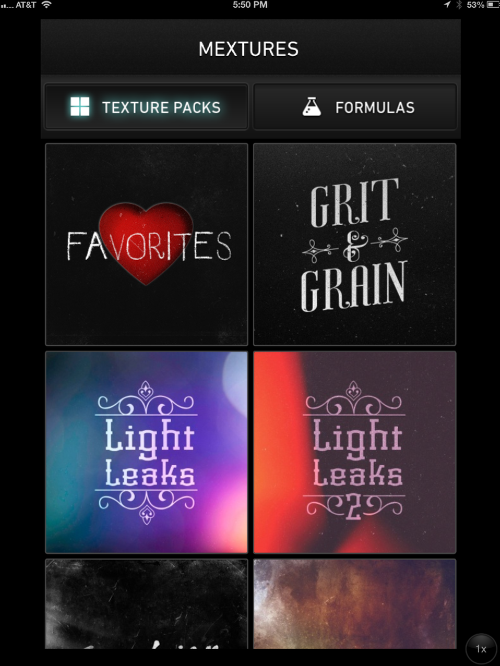
The Texture Packs also include Emulsion, Grunge, Landscape Enhance gradients (including a Vignette) and Vintage Gradients.
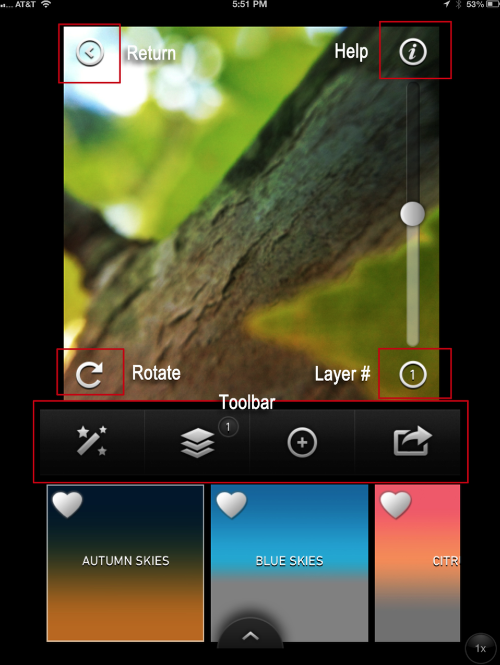
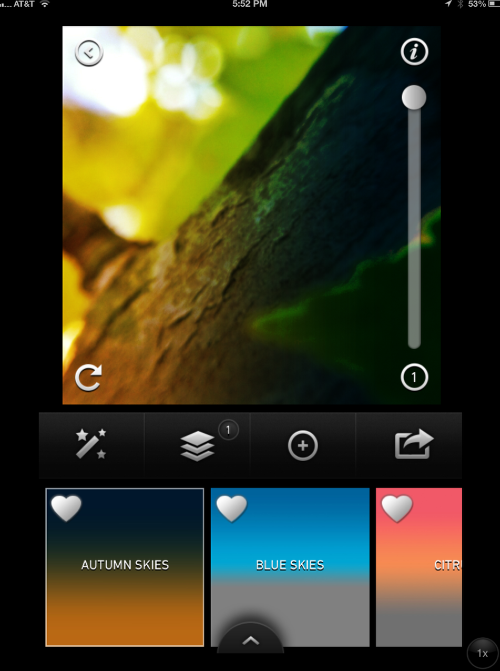
I chose Landscape Enhance, and below you’ll see the main screen for dealing with the individual components. The left arrow is Return, which will discard all changes and return you to the photo picker. The circular arrow allows you to rotate the effect. The “i” is information, or help. The slider allows you to adjust the intensity of the effect, and the number identifies which layer you are currently adjusting of the total layers you have added.
The Toolbar has four buttons. The first (Magic Wand) is the Blending Mode of the current layer. The second takes you to your layer palette; the number shown is the total number of layers you currently have added to your photo. The third (the plus sign) is Add Layer, and the fourth is the Save/Export button.
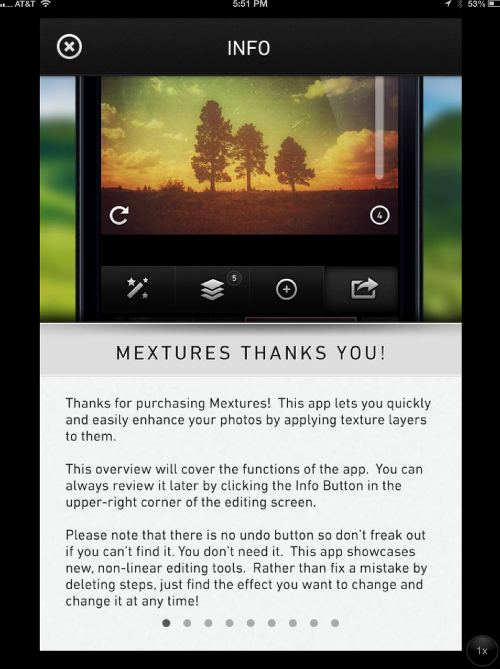
The Help function includes eight screens of information on how to use Mextures and one credits screen. They are a handy resource as you explore the app.
I like the Autumn Skies gradient on my photo here, but not to darken the top and warm the bottom. I need to move the gradient, so I tap on the Rotate arrow once, rotating the effect clockwise. Now the darkening is on the right and the warming is on the left.
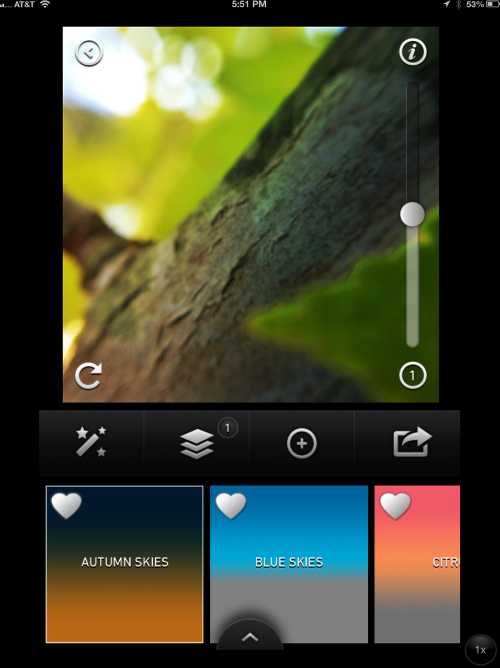
If I liked, I could crank the effect all the way up using the slider. Too strong!
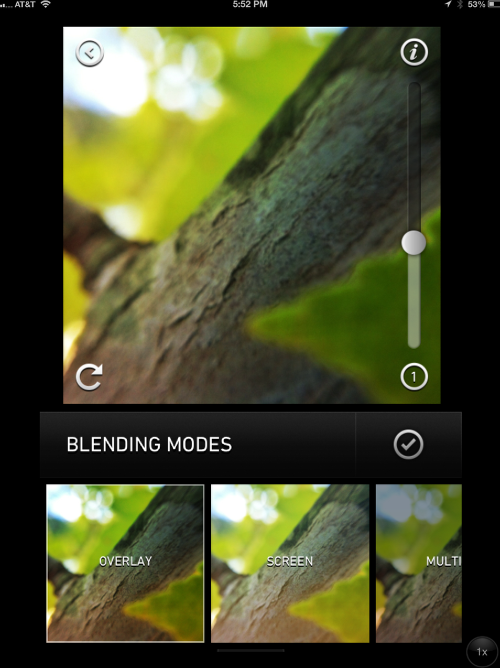
I could also change the Blending Mode to change the look of the effect by tapping the Magic Wand and coming to this screen. Blending modes default to Overlay, and the other two popular modes for blending grunge, Screen and Multiply, are grouped at the beginning, but there are nine other blend modes for your use. I decided Overlay was proper for the Autumn Skies gradient, and clicked the check mark to return to the edit screen.
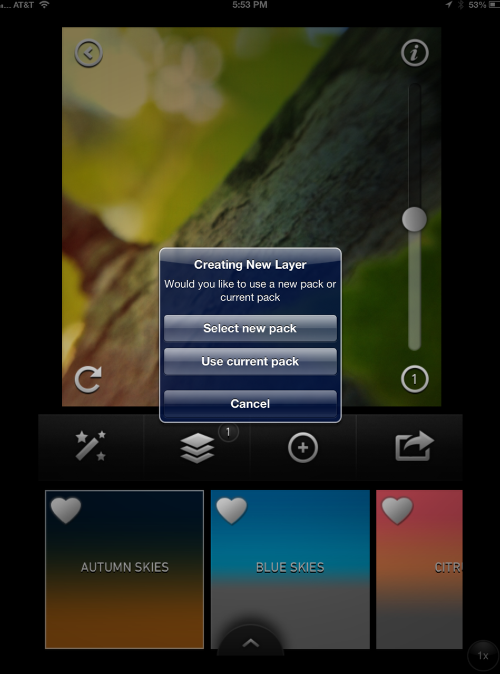
Pressing the Plus button brings up a dialog box for adding a new layer. You can use the current Texture Pack or select from another.
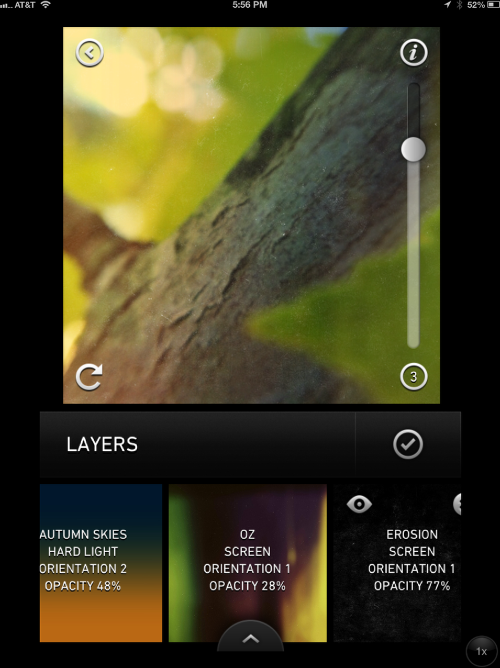
Here I’ve added two more layers and adjusted them, and I’m looking at the Layers workspace. We’ll discuss that more in the next installment.
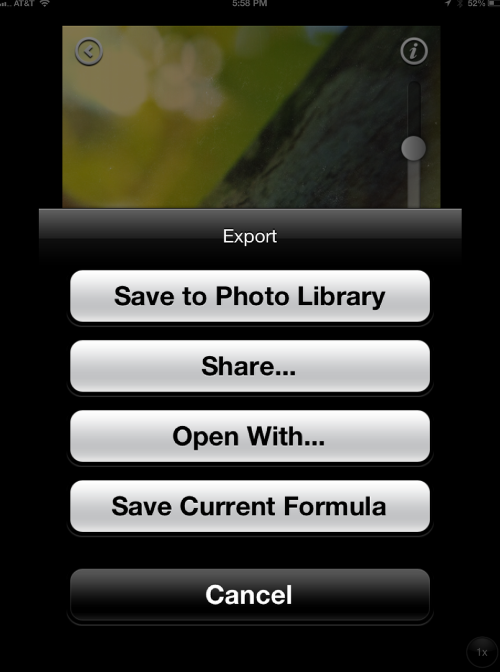
Tapping the Save/Export button gives you the opportunity to save the image to your Camera Roll; Share it on Twitter, Facebook, Instagram or email; Open it in other apps for further editing; or save the Formula (the layers) for future use.
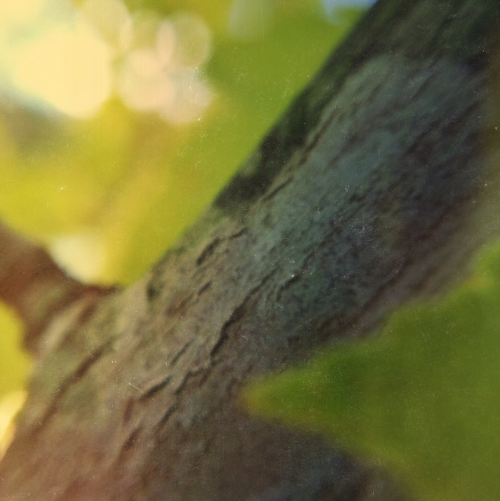
Here’s the result from my few layers added. Mextures can be as subtle or as bold as you wish, with the results only limited by the work you put into it. Come back next time and we’ll get deeper into layering.


2 Comments
David
Good one! Looking forward to the rest of the series!!
RegiB
Thanks for the tutorial! Love that you keep them simple and there are more to come making a series. Really appreciate that you share your technical knowledge with us!