Mextures – iPhone Photography App Tutorial – Part 2 – By Jerry Jobe
We’re delighted to publish the second of a three part special series of iPhone Photography Tutorials with the app Mextures by our incredibly talented Contributor to our Tutorials section, Jerry Jobe. If you missed Part 1 of this series, please go here. Don’t miss this (foreword by Joanne Carter). Over to you Jerry…
If you haven’t picked up Mextures yet, you can download it here.
“When we left off last time, just before saving our image, we were looking at the Layers workspace. Each layer is listed from left to right along the bottom of the screen. Each layer has four variables listed in the middle of the thumbnail for that layer: The name of the effect; the blending mode used on the layer; the rotational Orientation of the layer (1 means the layer is not rotated, 2 means it is rotated 90º clockwise, etc.); and the Opacity of the layer. Below I have added a Neutral Density filter (under Landscape Enhance) in Soft Light mode, unrotated, at 28% opacity as my fourth layer.
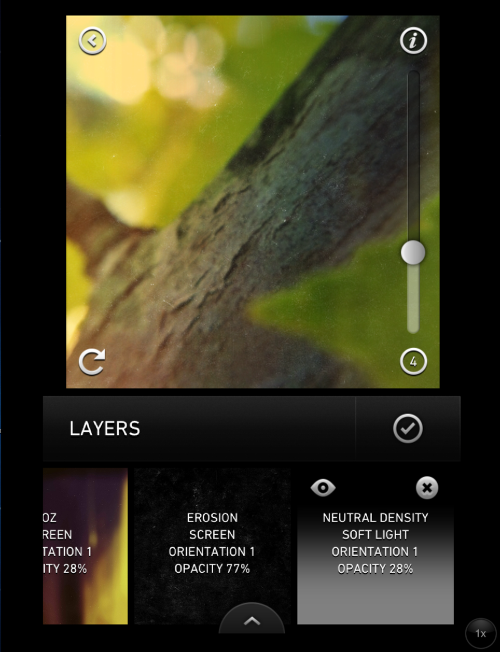
Rearranging the layers can sometimes make a difference in your output. Tap-and-drag a layer to move it within the stack. Here I’ve moved the Neutral Density layer to the first position, or bottom of the stack. The Oz light leak is much less obvious if we apply the Neutral Density first.
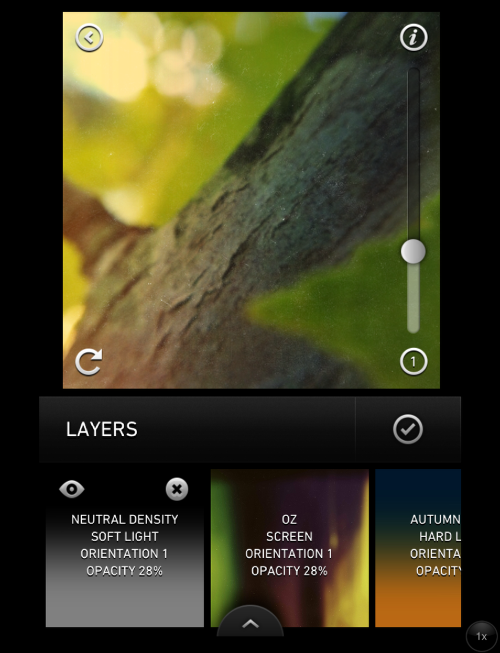
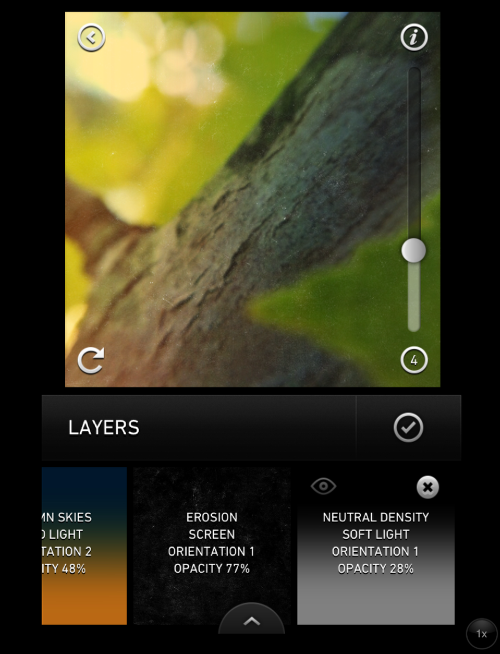
You can quickly compare the image with and without a particular layer by tapping on the eye icon on the highlighted layer. Below I moved the Neutral Density back to its original position, at the end or top of the stack. I then turned it off with the eye icon, which is now gray instead of white.
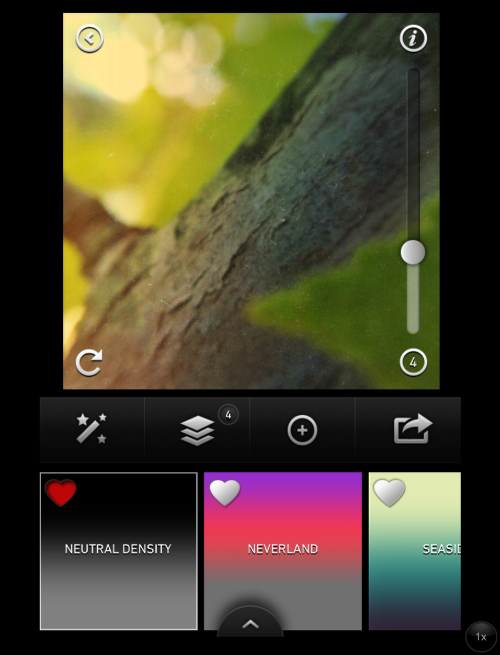
It seems that the Neutral Density filter will be very useful to me in the future – perhaps I should make it a Favorite. In order to accomplish that, I exit the Layers panel and tap on the heart icon on the ND filter in the Landscape Enhance Texture Pack. That turns the heart red and it is added to the Favorites Texture Pack. Now it’s much easier to find (as long as you don’t choose too many favorites).
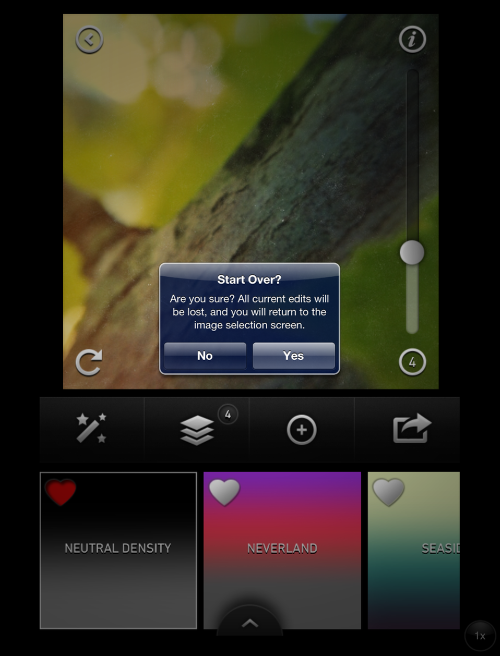
If, for some reason, you accidentally hit the Return button in the upper left corner, you will have the chance to cancel that action. Don’t delete all your work on a whim!
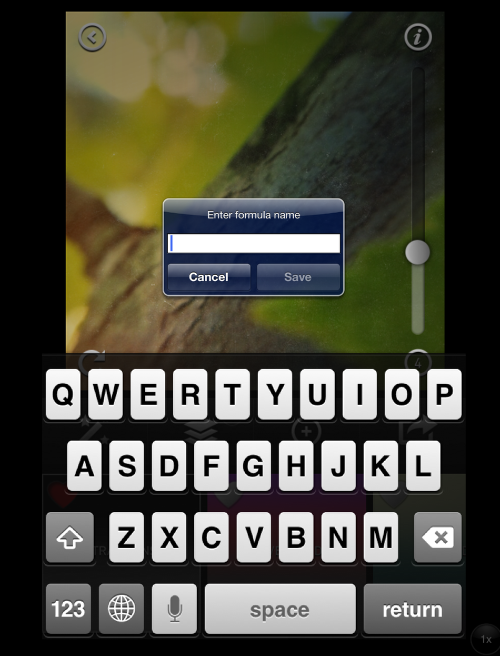
If you come up with a certain set of layers – a formula – that you think will work well on multiple photos, then you can save your own formulas. When you tap the Save button on the Edit screen, one of the options available is to Save Current Formula. The app will ask you for a name for your formula. I named mine after two of the filters used – Autumn Erosion. Mextures will always save to a new formula; it will not overwrite a formula created earlier.
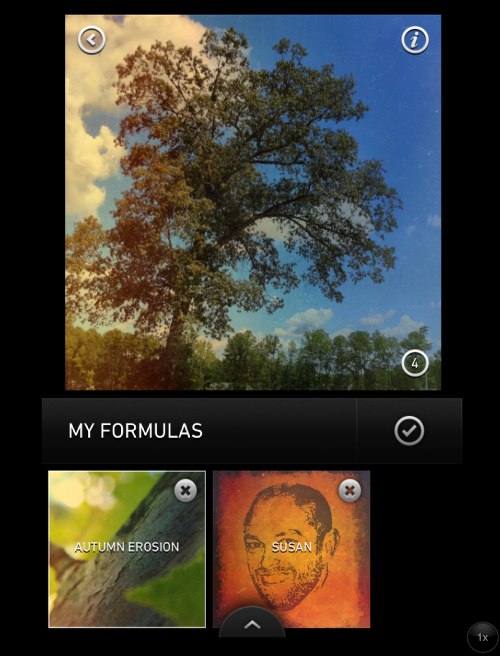
When I load another photo, and go into Formulas rather than Texture Packs, and select My Formulas, then I see the new formula I’ve saved. Selecting that formula and tapping the check mark applies all the layers in that formula to my photo.
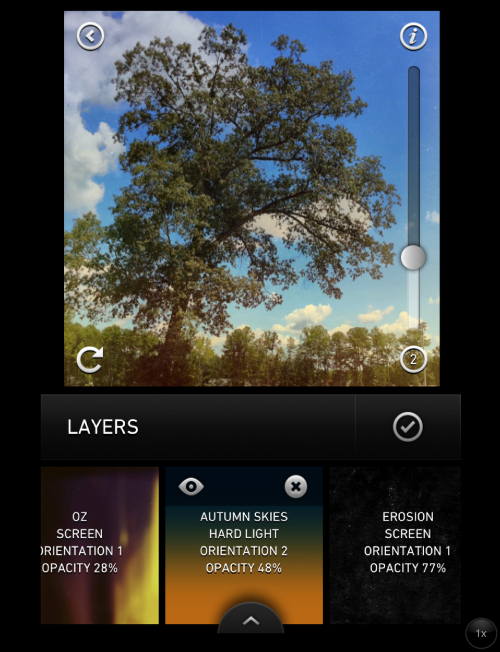
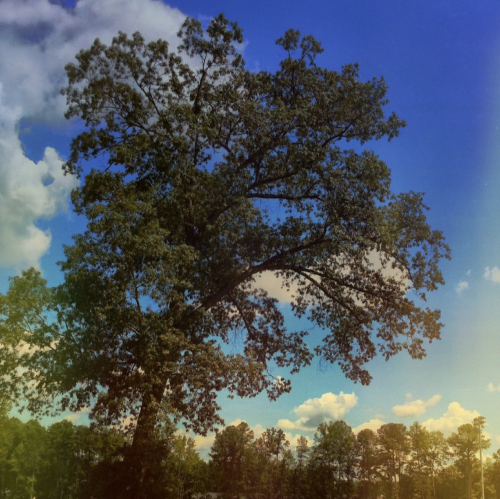
When I pull up the Layers workspace, I can see all the layers loaded, with the same blend mode, orientation and opacity as when I saved the formula. I don’t have to use the formula exactly as it is – I can modify each layer to tailor it to the current photo. I rotated the Autumn Skies layer to position 2 for the branch photo, but I will want to rotate it back to the default position to emphasize the sky in this tree photo.
In order to change the blend mode for a layer, just select the layer and then tap the check mark to exit Layer mode and get back to Edit mode.
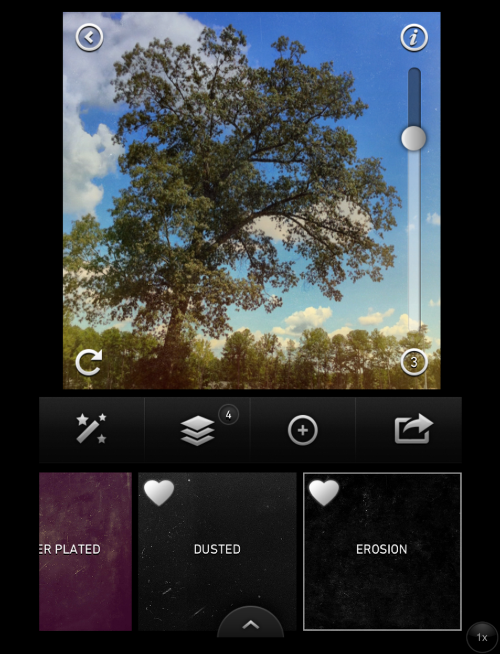
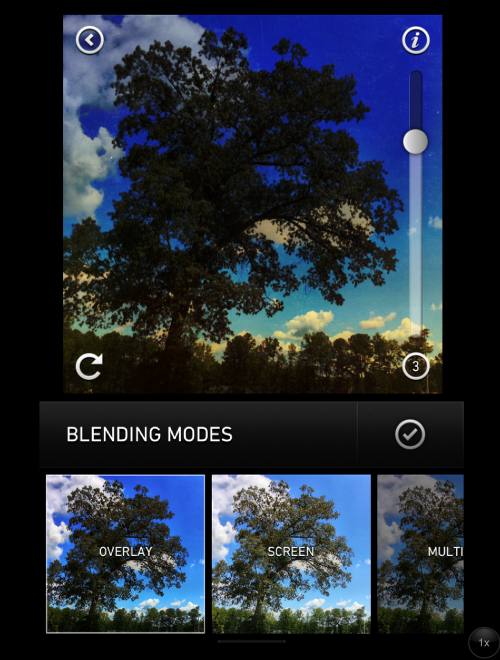
Then tap the Magic Wand and select a new blending mode which will apply only to the current layer.
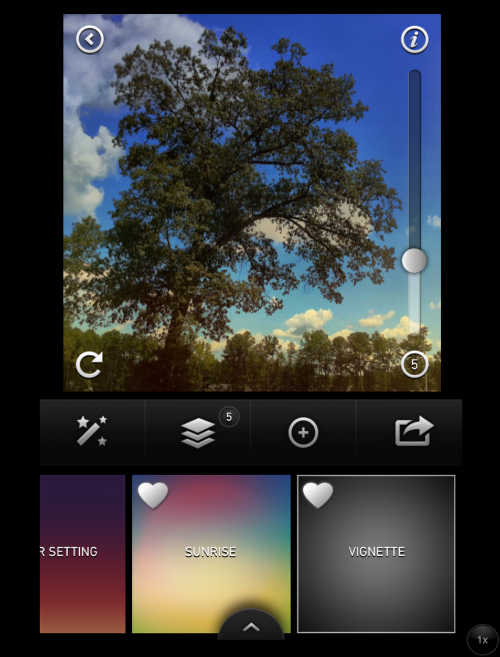
You can also add layers that might be appropriate for the current photo, but which you will not save as part of the formula. In this case, I thought a slight Vignette might be in order.
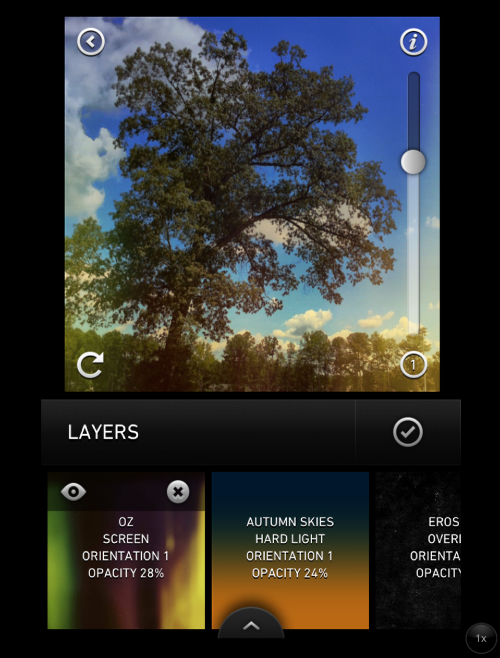
Remember, you can always go back and modify any particular layer. In the case below, I lowered the opacity of the Autumn Skies level from 48% to 24%.
I think you may begin to see that using a combination of the 74 different available effects, each in one of 12 different blend modes, 4 orientations, and at different opacities, makes Mextures a very flexible option for adding that special touch to your photos. But that’s not all! Return for the final installment, when I will go into the pre-packaged formulas made available by the developers at Mextures.


2 Comments
RegiB
Thanks for the second tutorial! Very well done and easy to understand.
Lilian
Thanks for the series of tutorials!