
Deco Sketch – Technical iOS Photography App Tutorial – Part 1 – By Jerry Jobe
It’s with our greatest pleasure that we publish the latest tutorial by our wonderful Technical Tutorial Editor, Jerry Jobe – this time on the very popular app Deco Sketch. This app is from the same developer as the equally popular Tangent app. We’re quite sure you will enjoy this a lot. Over to you Jerry…(foreword by Joanne Carter).
“Writing these tutorials is a tricky business – sometimes. Some apps are limited in scope, and are therefore easy to cover. Others are more comprehensive, and it’s just a matter of breaking the features down into multiple tutorials. But there’s a third class of app. An app that does some wonderful things when you can devote the time to experiment. The user interface may be a little opaque because the ability to customize is so robust, and it may be frustrating trying to get results you like. For these apps, the main problem I find with writing tutorials is that, as a neophyte artist, I find that I am not realizing the full potential of the app while trying to explain it to others.
Nevertheless, I’m going to throw myself into trying to show you how to use one such app. Deco Sketch, by Ben Guerrette, is an app that adds geometric effects to photos – lines, boxes, circles, triangles. This is not an app designed for the casual user, because it’s more useful for composites and abstracts – although the casual user can use Deco Sketch to add a finishing touch to a photo. Let me show you what I mean.
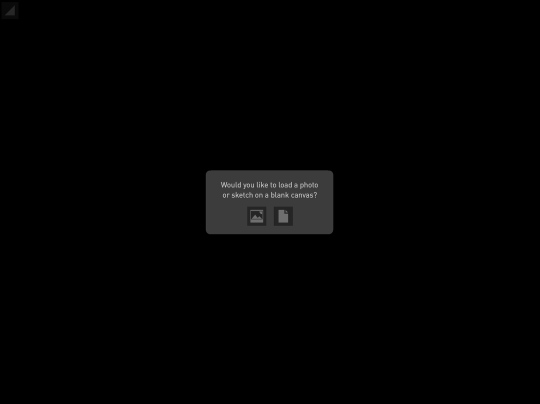
Deco Sketch first asks you whether you’d like to sketch onto a photo or a blank canvas. Today we’ll start with a canvas, and in Part 2 we’ll look at adding lines and shapes to a photo.
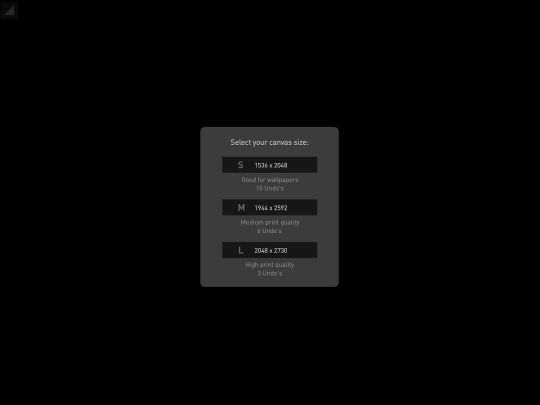
There are three sizes of blank canvas to work with in Deco Sketch. The larger the canvas, the less history is kept, and so there are fewer undos. (Grammar Nazi says there is no apostrophe in undos, because it is plural, not possessive.) I am selecting the Medium setting.
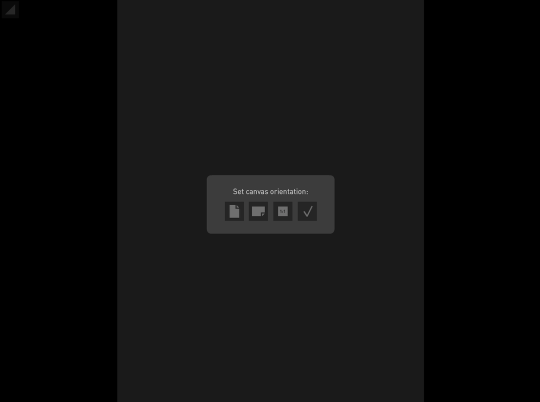
Next, you set the orientation to portrait, landscape or square. I choose landscape, then tap the check mark to confirm. The orientation choice is not highlighted after you tap it; you just need to have faith that it will be implemented when you tap the check.
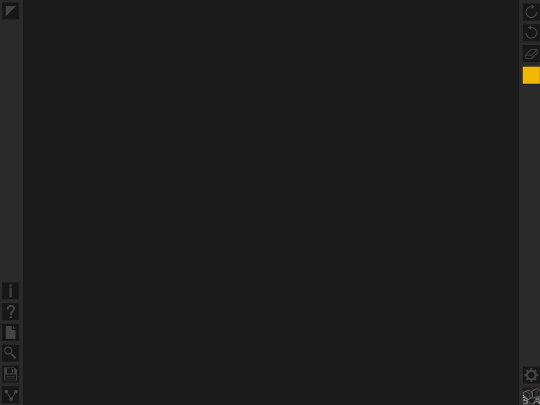
The blank canvas comes up as a dark grey. There are toolbars on either side of the canvas (which stretches underneath the toolbars). On the left top is a triangle button which hides the toolbars so you can sketch out to the edge of the canvas. At the bottom of the left toolbar are buttons for Information, Help, New Image, Zoom, Save and Share. On the right top are Redo, Undo, Erase and Color; at the right bottom are Brush Settings and Brush Selection.
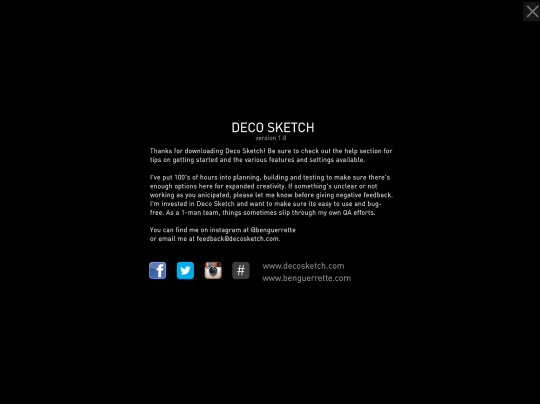
Here’s the info screen, it tells a little about the developer, Ben Guerrette.
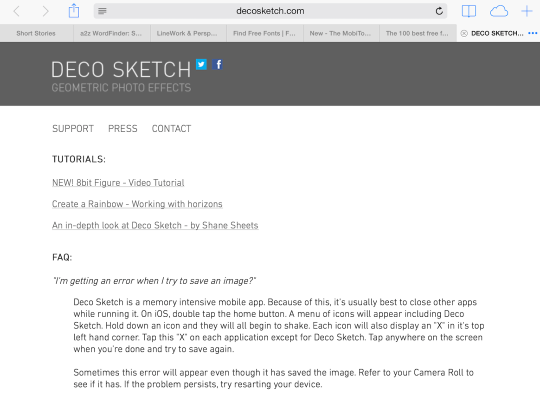
The Help button pulls up a single page in a browser. The web page points you to some tutorials, both video and text-based. The videos are not comprehensive, but rather procedurals that show a specific use of Deco Sketch. As you scroll down on the help page you’ll also see an FAQ and descriptions of the buttons and settings.
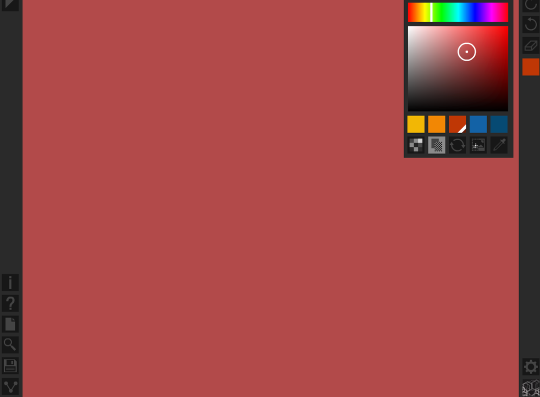
The first thing I’d like to do is to change the color of the canvas, so let’s take a look at the color button. A window appears, and at the top it says “Choose draw color:”. Using the next two blocks changes the range of colors and the tint/saturation of the chosen color. As you move the circular color picker around in the Tint/Saturation box, you will see the color change in the first box of five below the T/S box. It is identified with a white ribbon, and it is the draw color. You can directly choose any of the five colored boxes as your draw color.
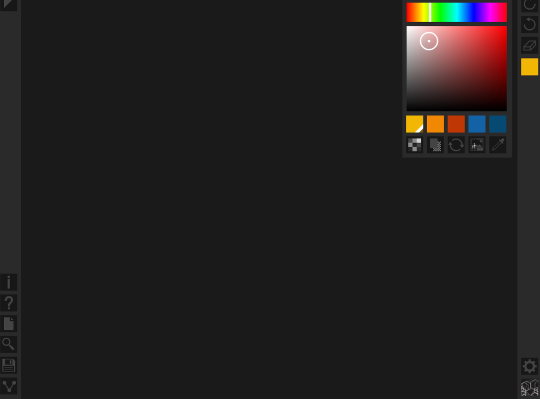
The five buttons at the bottom of the color window allow you to control different aspects of the color picking process: Swatches, Background, Color Cycle, Use Photo Color, and Eyedropper. The only one I’ll be covering in Part 1 is the Background; the others will be covered in Part 2. In the screenshot below I have tapped the Background button and changed the color. As long as that button is highlighted, I am choosing the background and not the draw color. The canvas color changes in real time as I move the color picker around in the T/S box.
I tapped again on the background button, de-selecting it, and chose a blue as the draw color. I tapped the Color button on the toolbar to hide the Color Window, and the Color button now shows the blue draw color. Next I want to select a brush, so I tap the lowermost button on the right. The brushes are broken into ten categories, listed in the bar closest to the right toolbar; each brush category contains several brushes listed to the left of the category bar. Ben says there are 130 brushes – I’ll take his word for it and not count them.
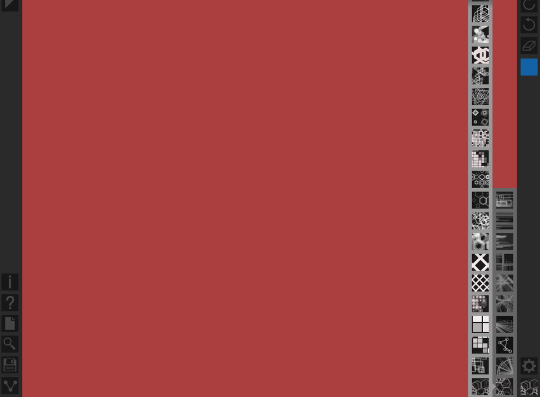
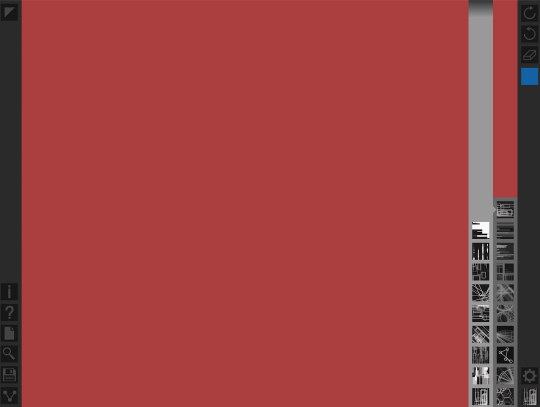
Next I choose the top category and the bottom brush.
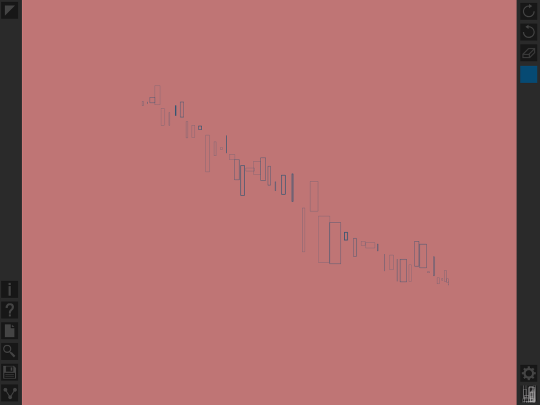
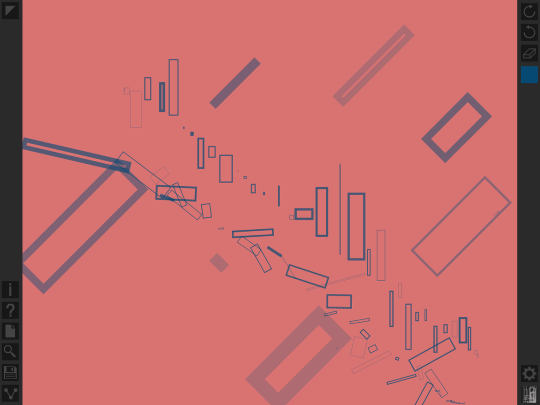
And I draw on the screen. The boxes are placed randomly along the line I draw.
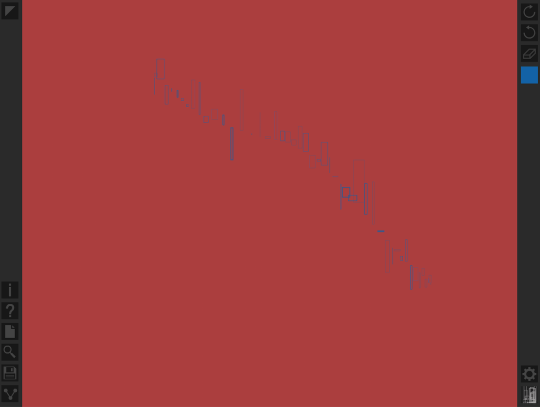
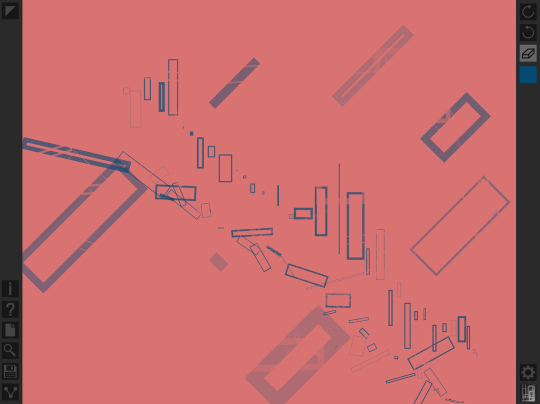
The result doesn’t show up very well, because there’s not enough contrast between the boxes and background. I can change that, however. I access the color window again and change the background color to make it lighter. The background color can be changed under any stroke you’ve drawn, but the drawn stroke will retain its color when you change the draw color. I want the stroke to be a darker blue, so I Undo the initial stroke, change the draw color, and make another stroke.
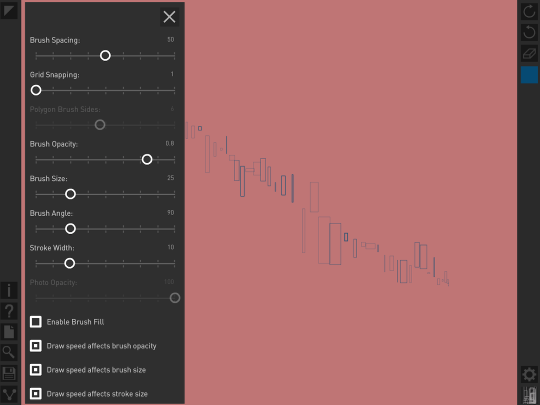
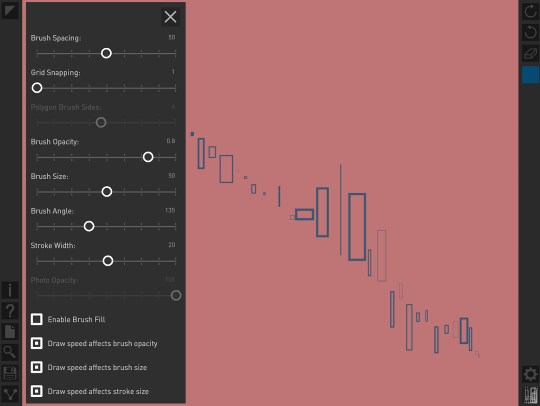
Changing the contrast didn’t make the blocks stand out enough – can I make them larger, with a wider stroke? Well, yes, I can, using the Brush Settings (the Gear button). Tapping the Gear brings up a scrollable window with brush settings. The settings are fairly self-explanatory; the only exception may be Grid Snapping – if the slider is all the way to the left, the shapes will not snap to a grid. If the Grid Snapping slider is moved, an invisible grid is formed for snapping and becomes larger as the slider is moved farther to the right. Notice that sliders that are not appropriate for the current brush/image are grayed out.
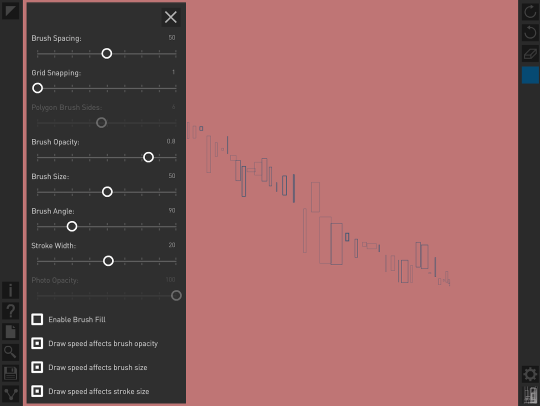
In the following screenshot I have increased the Brush Size and Stroke Width sliders. Notice, once again, that the stroke already in place does not change – settings only affect future strokes.
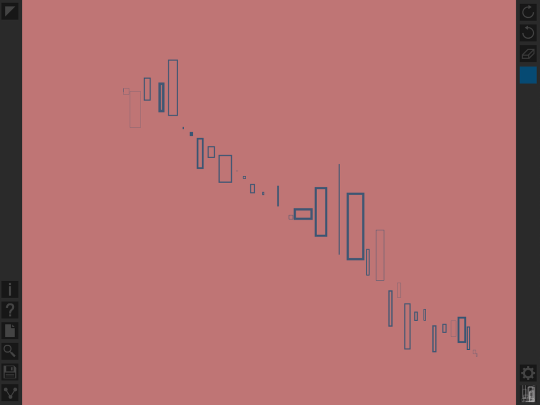
I undo the previous stroke and make a new one with the larger brush and wider stroke.
Next I change the Brush Angle from 90 to 135 (straight vertical to angled 45 degrees to the right).
And make another two strokes:
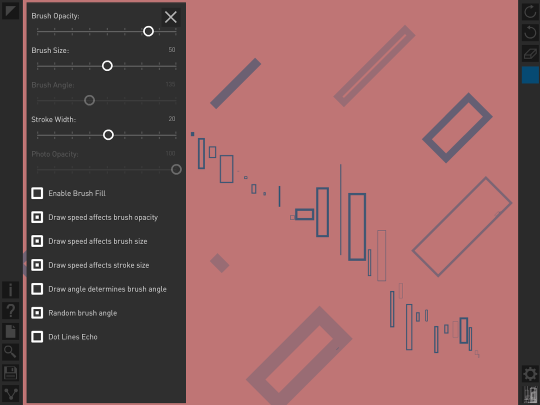
The bottom half of the Settings window uses buttons rather than sliders. Once again, the settings need no further explanation (other than Dot Lines Echo, which will be touched upon in Part 2, and Enable Brush Fill, which would fill in hollow brushes, such as the block brush we are currently using).
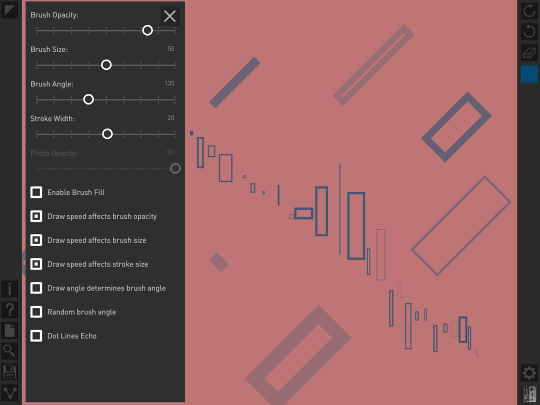
I turn on the Random brush angle setting. The Brush Angle setting is grayed out when the Random Angle button is on.
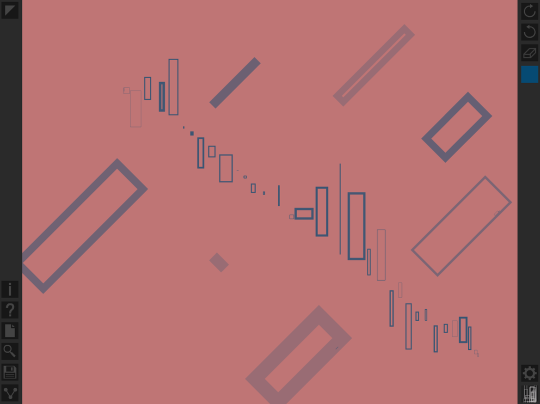
With Random Angle on, it now looks like my blocks are tumbling end over end.
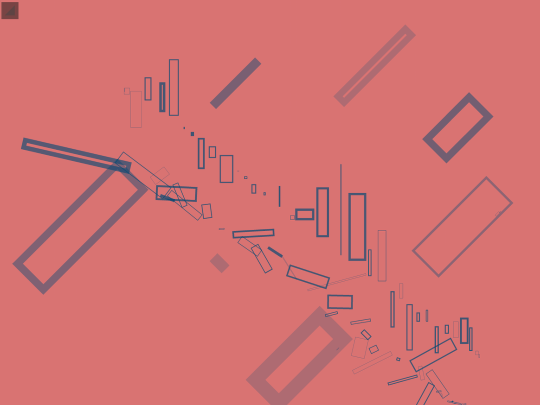
As I said earlier, tapping the triangle button in the upper left hides the toolbars, as seen below.
The Erase function uses all of the current brush settings. In the example shown below, my “tumbling blocks” are used as an eraser on the previously drawn blocks.
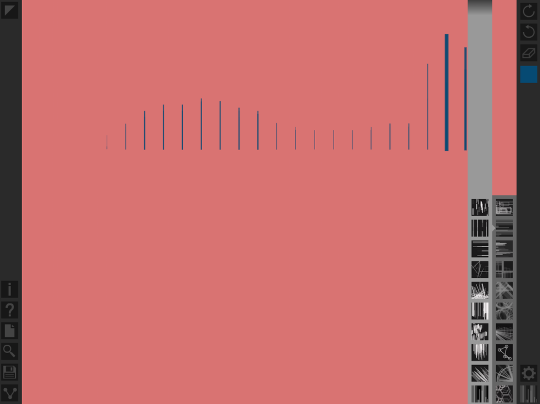
In the following example, we see the “draw speed” settings in action. As I draw horizontally across the screen with a line brush, the size, width and opacity of the lines are affected by the speed of the stroke. A faster stroke results in a larger , wider, more opaque line.
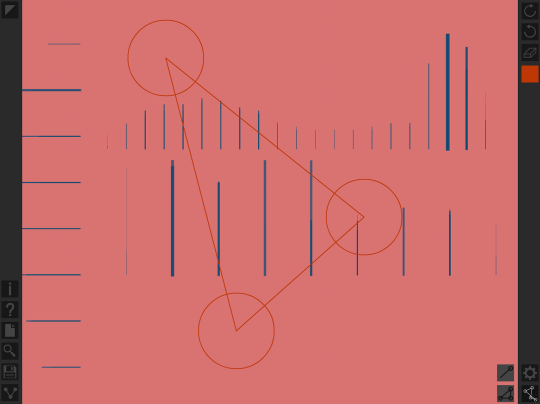
I made another stroke like the one above just below it. Then I changed the brush angle so it would point to the left and made another stroke. Next I changed the draw color to an orange and chose a Continuous Line brush, one that terminates each line with a circle. Ben explains how to handle a continuous line brush very well in his help page, quoted here: “Tap and drag to draw a line and release to commit. Tap and drag again and the next line starts where your last line ended. There are 2 buttons at the bottom (right) specific to this tool. The first one (the closed triangle) will draw a line to your starting point closing the shape. The second button allows you to start a new line.” Here I drew the first two strokes, then tapped the Close button to complete the triangle.
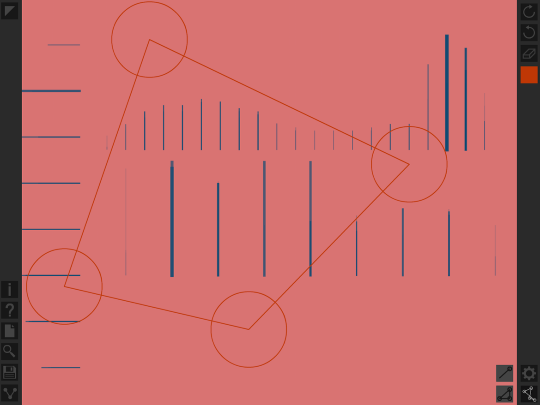
Undoing a Continuous Line shape is a process of one undo for each side. Below I hit the undo button once for each of the three sides of the triangle before creating a four-sided shape. So plan ahead if you’re working at higher resolutions, because you won’t be able to undo an entire shape!
Undoing a Continuous Line shape is a process of one undo for each side. Below I hit the undo button once for each of the three sides of the triangle before creating a four-sided shape. So plan ahead if you’re working at higher resolutions, because you won’t be able to undo an entire shape!
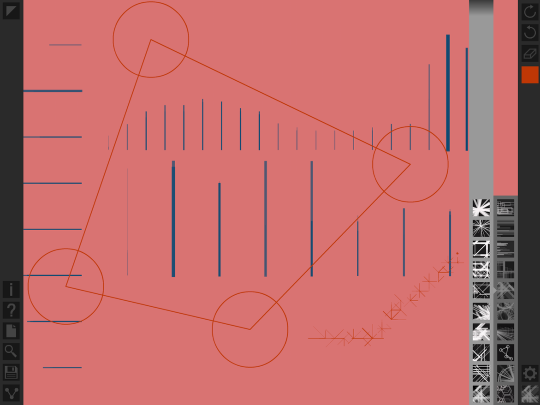
Below I’ve used the Zoom tool to zoom in on the corner and draw using a circle brush. I fill in each of the corners of the canvas this way.

And the experiment ends as shown below:

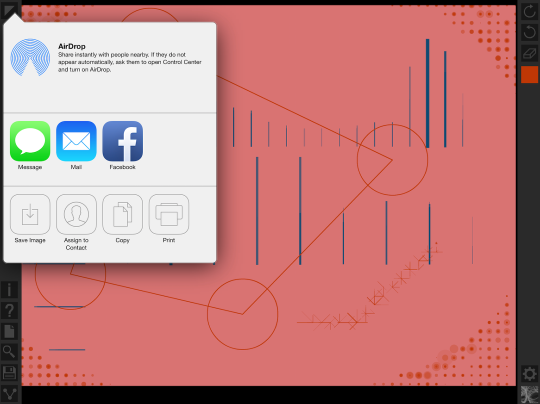
The Save button saves directly to your Camera Roll. The Share button includes Saving in the options shown below.
I’m sure you can see by now that Deco Sketch can be really valuable in adding a “techno” touch to your artwork. Working from a blank canvas, Deco Sketch can create some interesting abstracts. The piece below was started in Deco Sketch and finished in Glaze and Distressed FX. I call it “Random Notes”.

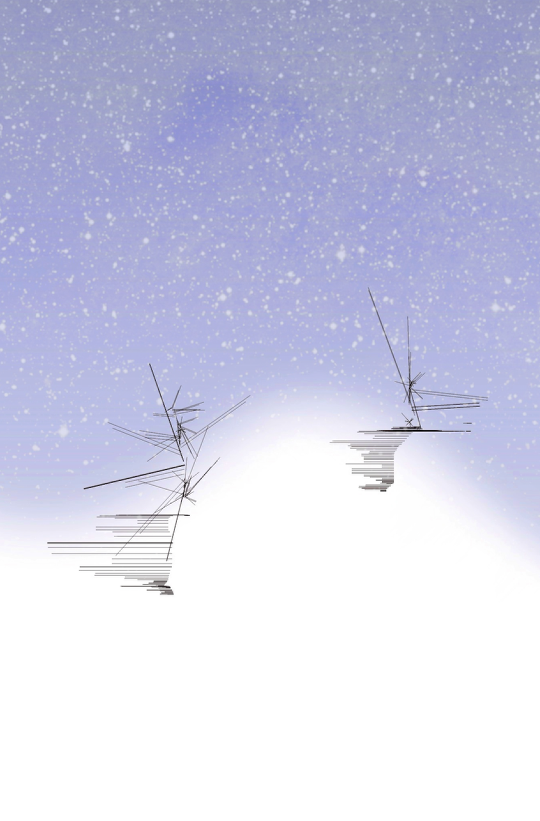
The next piece is more representational while remaining abstract. The background was created with iColorama and Snow Daze, and the “trees and shadows” were done in Deco Sketch.
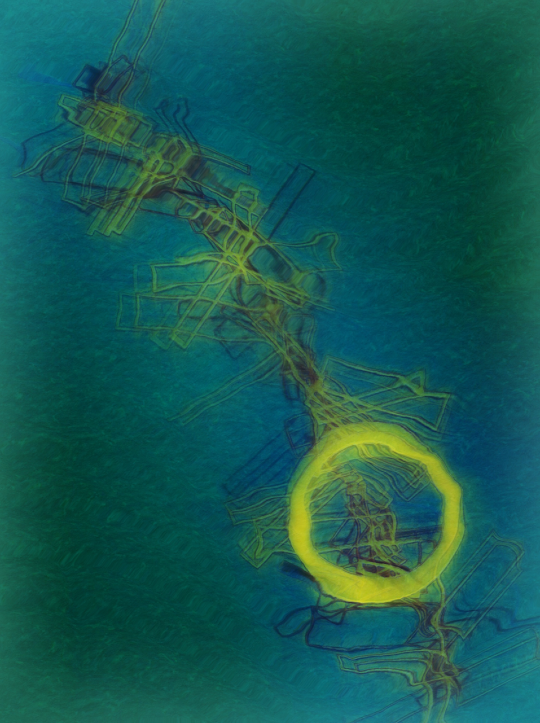
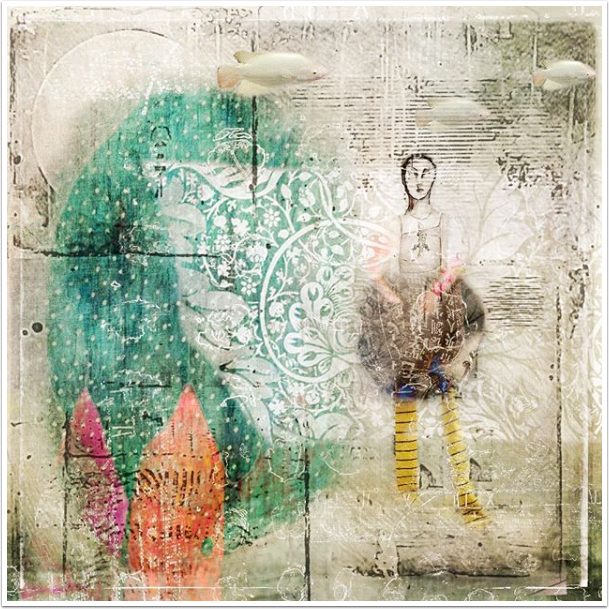
The next piece, “Submerged”, started in Deco Sketch and went through Glaze, Pencil FX, and iColorama to finish.
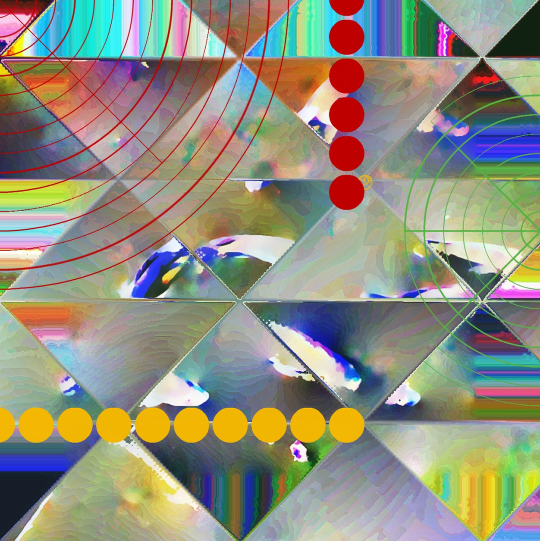
And the final piece started in iColorama and received the finishing radial arcs and circles in Deco Sketch.
In Part 2, we’ll explore color choices more when we combine Deco Sketch with photos. Until then, enjoy!
Jerry Jobe
Never content with just scratching the surface of what an app can do, Jerry Jobe decided to pass on what he learned about imaging apps to others. He’s constantly trying to figure out just what tools other artists have used, and trying to incorporate them into his own work, in an attempt to find his style. He’s written tutorials on over 145 apps so far, which you can find (along with his Song of the Day entries) at http://enthusiasmnoted.wordpress.com/ He lives near Atlanta, Georgia, where he also finds a creative outlet in acting and directing in community theater.

One Comment
Carlos
So many possibilities! Thanks Jerry.