
iOS Photography Technical Tutorial – ‘VinylizeMe’ – By Jerry Jobe
We’re delighted to publish Jerry Jobe’s latest tutorial, this week he puts VinylizeMe through its paces and strikes a beat, don’t miss this. Over to you Jerry (foreword by Joanne Carter).
“Time to spin some wax, lay down a groove on the vinyl…OK, I may be showing my age. But if you’re a person who knows that record albums were for more than scratching, then you might get a kick out of VinylizeMe by BlueSpark Studios, an app that turns your images into record album covers. As for the picture below, advertisers were convinced that the average person fanned out their collection on their coffee tables. I would never have treated my albums in such a haphazard way! Filed alphabetically by artist within genre, they were.

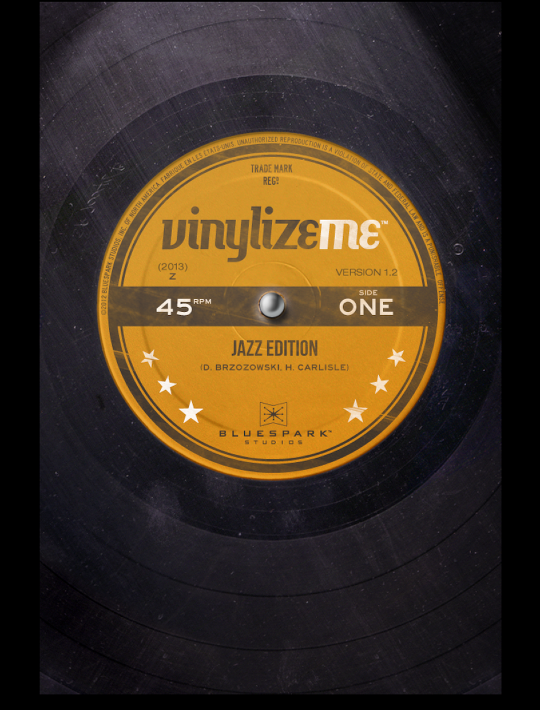
The splash screen begins to give you an idea of what you can anticipate. The templates provided (which you MUST use, no free-styling here) are suggested by the great jazz record covers of the fifties.
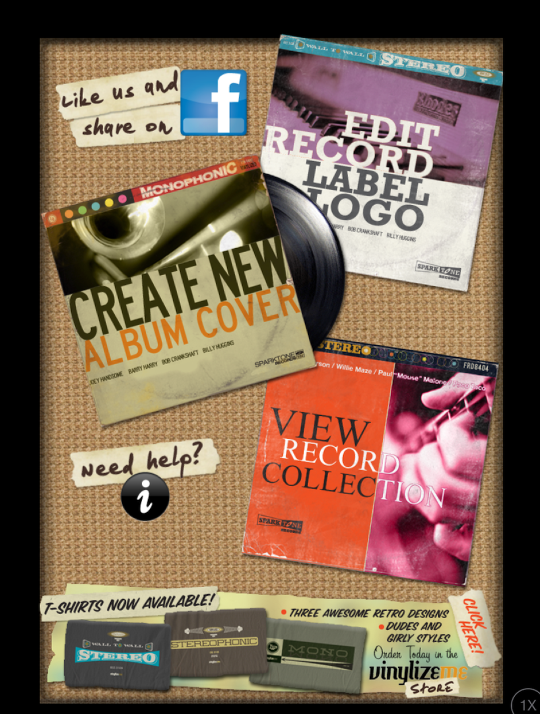
The next screen you’ll see may look complicated, but it’s not. It’s actually just six buttons – six very large buttons. At the top left and the bottom are two buttons you won’t be needing much – “liking” the app on Facebook and ordering pre-packaged t-shirts from their store. Now if they would print your creations on t-shirts…
The remaining four buttons get to the “meat” of the app”. The top right button allows you to create your record label, which will be used in the templates. Next is the button to create the album cover, and then a button to peruse your record collection. Finally, there’s a big “i” that serves as the help in VinylizeMe. Let’s take a look at the help.
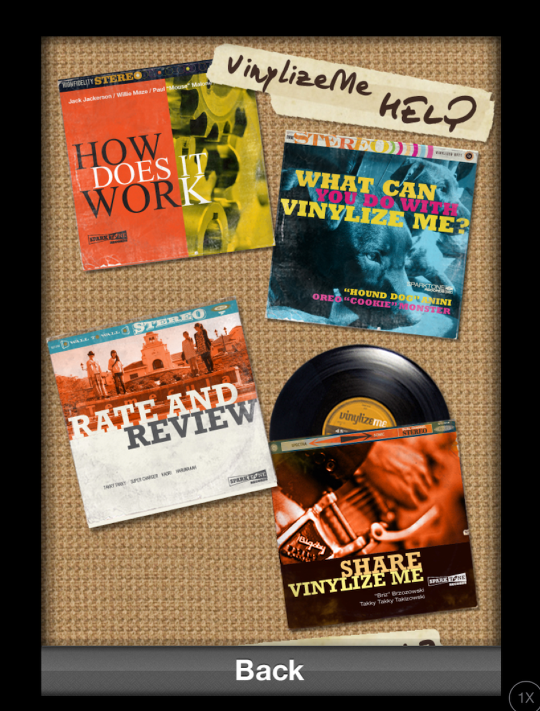
There are four buttons; the first two, “How Does It Work?” and “What Can I Do with It?” takes you to help text that can also be accessed by scrolling down on this screen. The third takes you to the app store to rate VinylizeMe, and the last creates an email to send to your friends, touting the app.
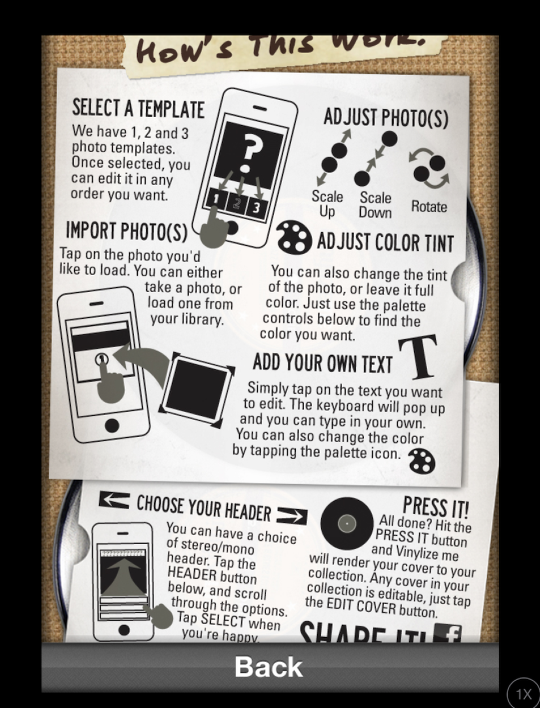
By scrolling down, the next thing we see is “How Does It Work?”. This is a little more than a screen’s worth of info, so you’ll have to scroll back and forth to see it all.
“What Can I Do with VinylizeMe” is just some “humorous” suggestions.

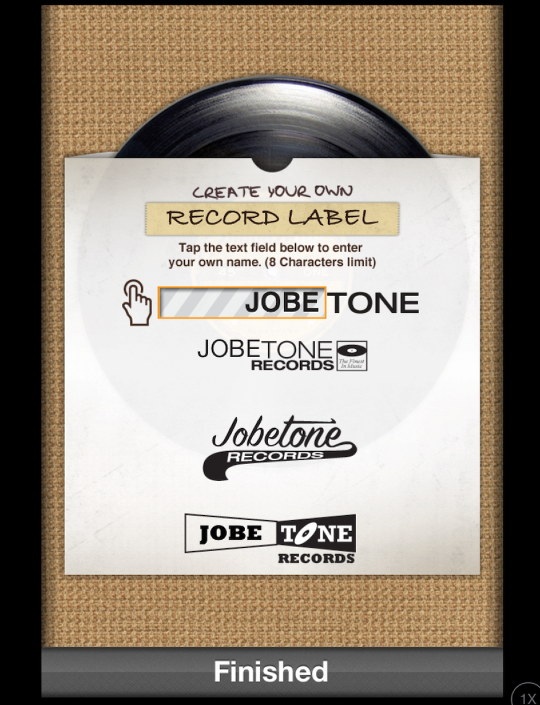
The first thing you’ll want to do is create your record label. If you’re like me, it’s something you’ll do once and then allow it to stay the same through further uses of the app. It’s merely supplying up to eight characters to precede “tone” in the name of your label. It is then applied to the logos which are determined by the template you use.
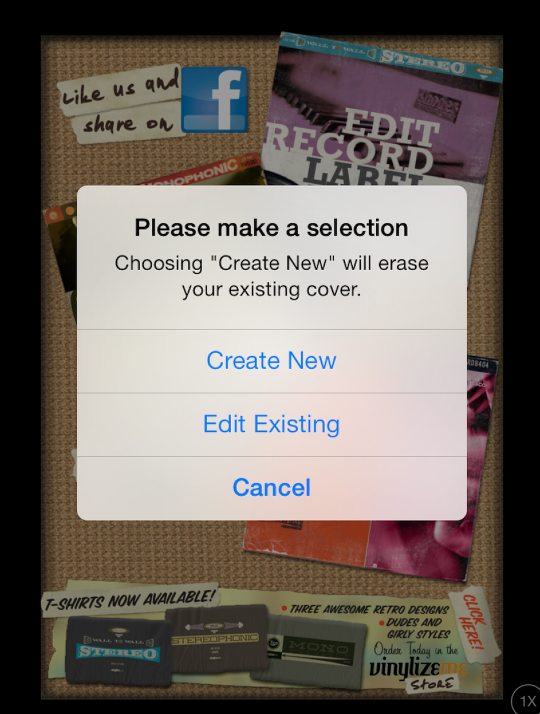
Tapping “Finished” returns you to the main screen, where you can choose to Create New Album Cover. If you already have a work in progress, then the following dialog box will pop up. You’ll want to make sure any prior work is saved before choosing to create a new cover.
The first choice you’ll want to make is the template you will be using. There are 19 templates; 9 are designed to use only one photo, five templates will use two photos, and the remaining five will use three photos. Remember, the templates are hard-coded, and will not allow for much in the way of modification. You can change the photos and the text, but not the layouts. I’ve chosen a two-photo template.

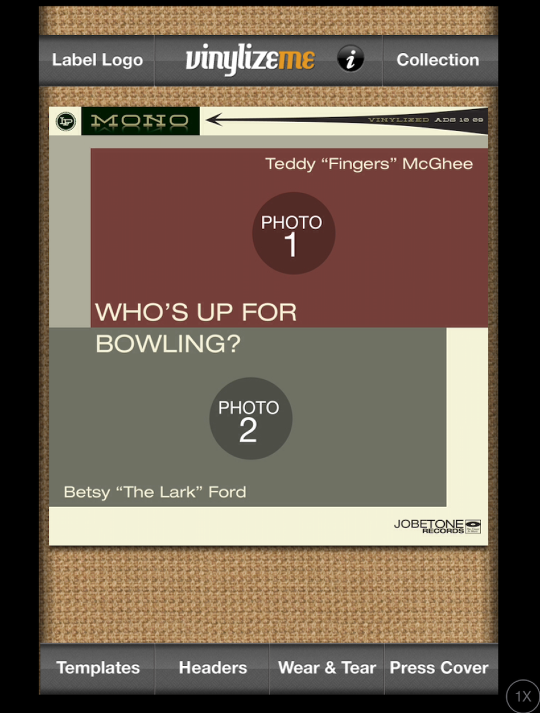
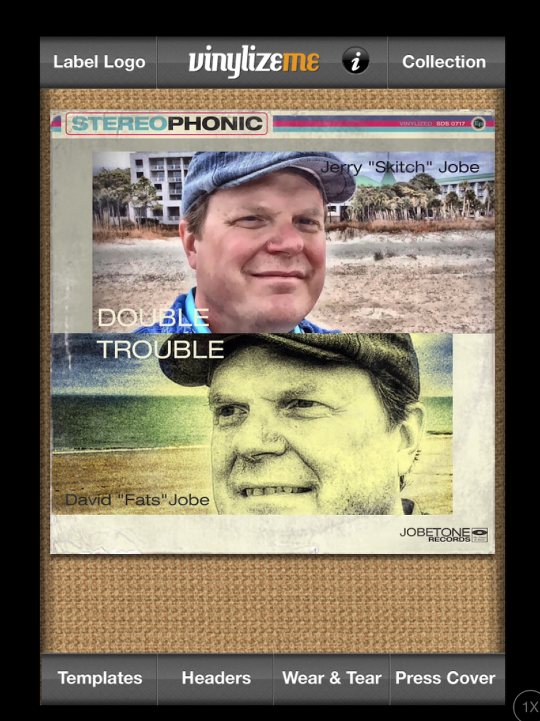
Once you tap Finished, the chosen template is loaded to the work screen. Let’s change the photos before changing the text. I tap on the button on the layout labeled “Photo 1”.
I can take a photo or choose one from my albums. Guess which one I choose!

I’ve chose a selfie that I did some heavy-duty HDR processing on. I can use the standard pinch-and-drag gestures to place the photo correctly within the box.
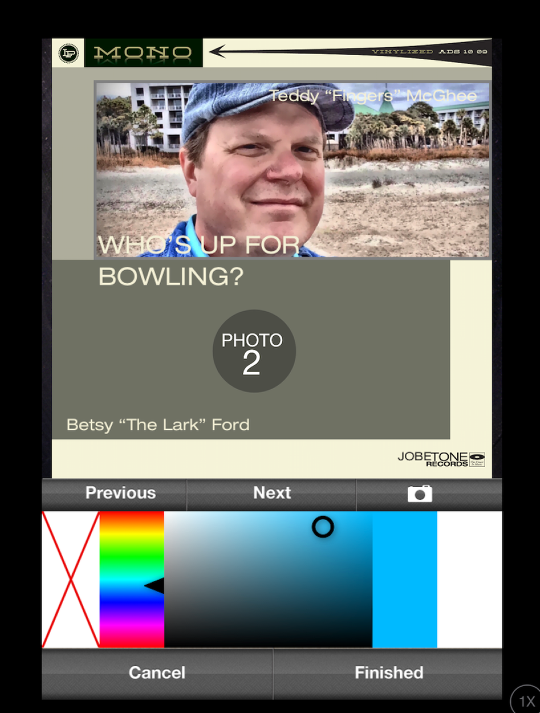
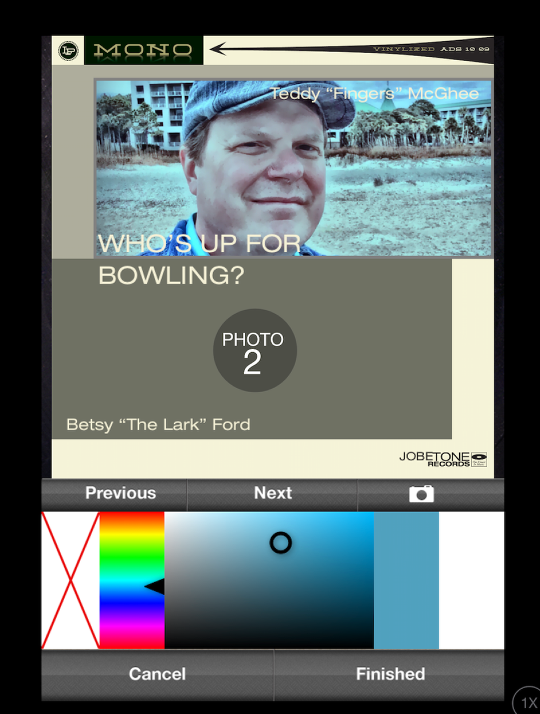
If I want to, I can tint the photo. This is a true tint, not a duotone – some of the original color in the photo will come through. You choose the color by moving the black triangle up and down the color column, and the tint by moving the black circle within the tint box. Tapping the red X will remove the tint. (That’s what I will be doing with Photo 1.)
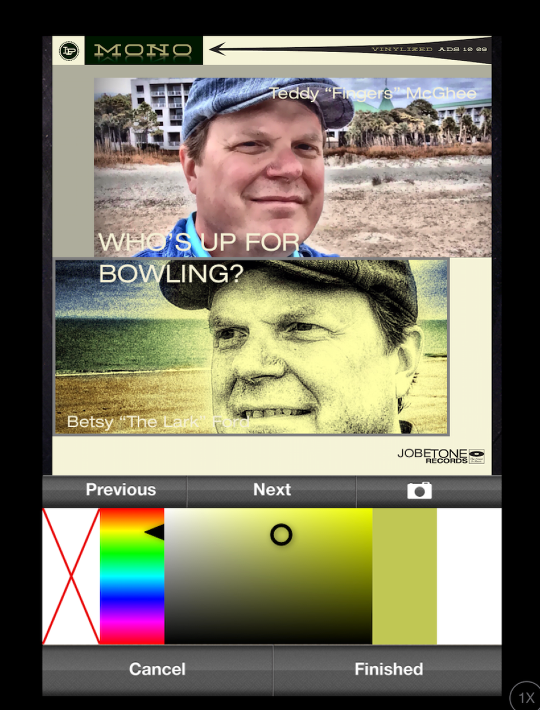
In the screenshot below I have moved on to the next photo and given it a yellow tint that I rather like.
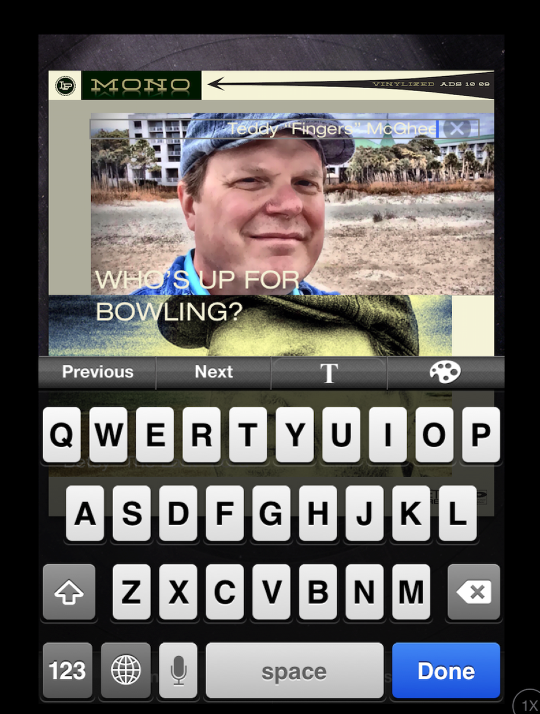
Tapping any of the lines of text will allow you to edit the text. You can change the content of the text or the color, but you can’t change the font or the placement. If you don’t want a particular line of text, just clear it by tapping the “x in a circle” at the right end of the text line.
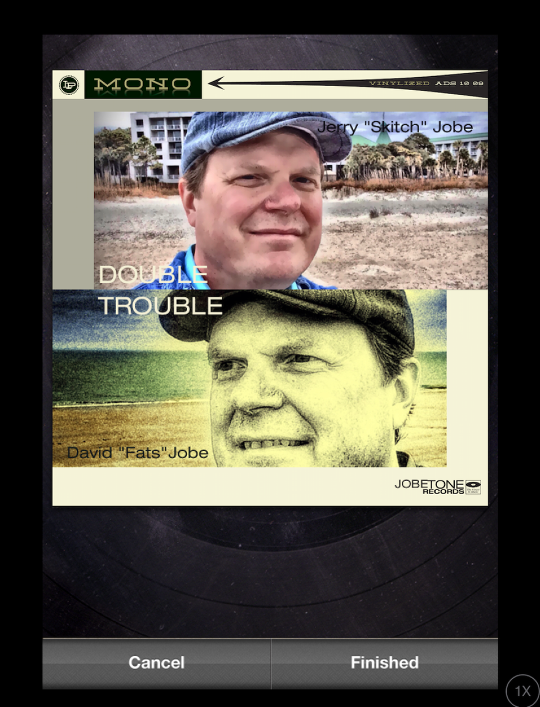
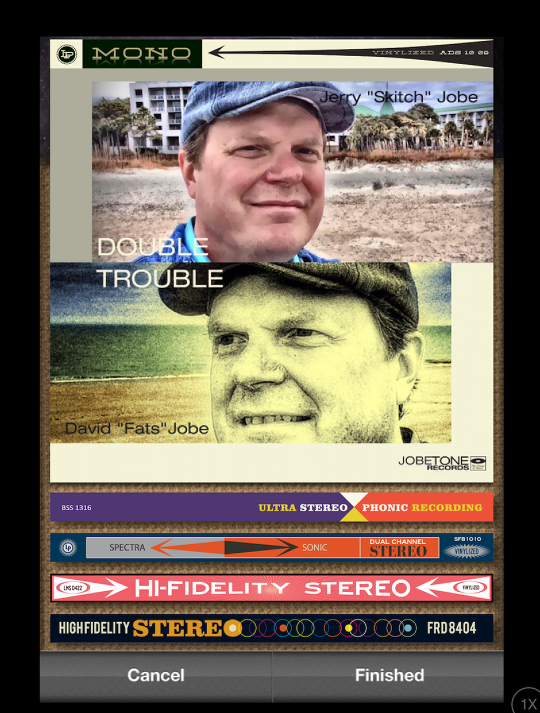
After I’ve changed the lines of text, it’s beginning to look like we’ve got an album by musical twins. Tapping Finished will return you to the work screen, which will allow us to change the header and add wear and tear.
There are 19 headers to choose from. You access the additional headers by scrolling down.
Finally, you can make your album look as though it’s had years of being wedged into stacks of records with ten different styles of Wear and Tear. You choose among them by scrolling from side to side.
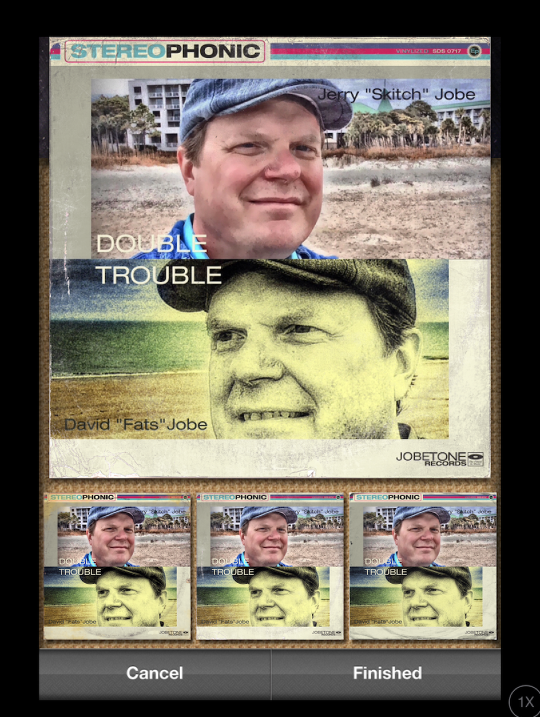
You finalize the album cover by tapping “Press Cover”. This adds the cover to your collection.
You are then presented with the following screen, which allows you to save the finished cover to your photo library and/or share it. (By the way, they’re saved at 2448×2448 pixels, which is refreshingly large!)
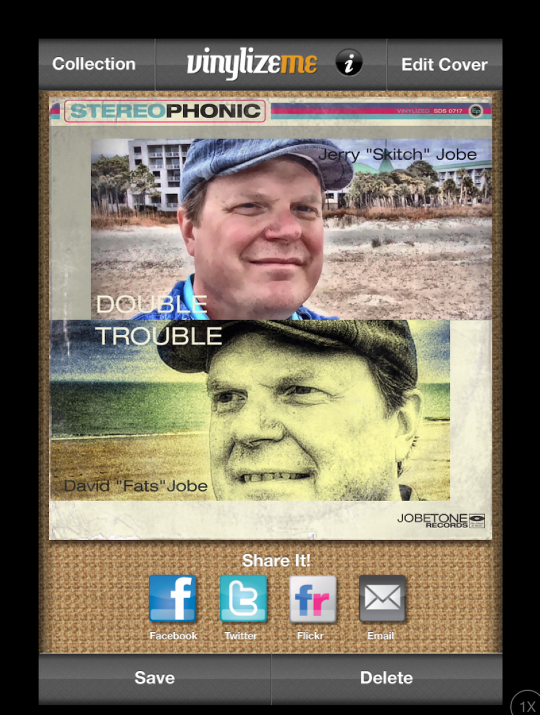
And here’s my – excuse me, our – record!

If you view your collection, you can tap on any of them to edit or delete them from the app.
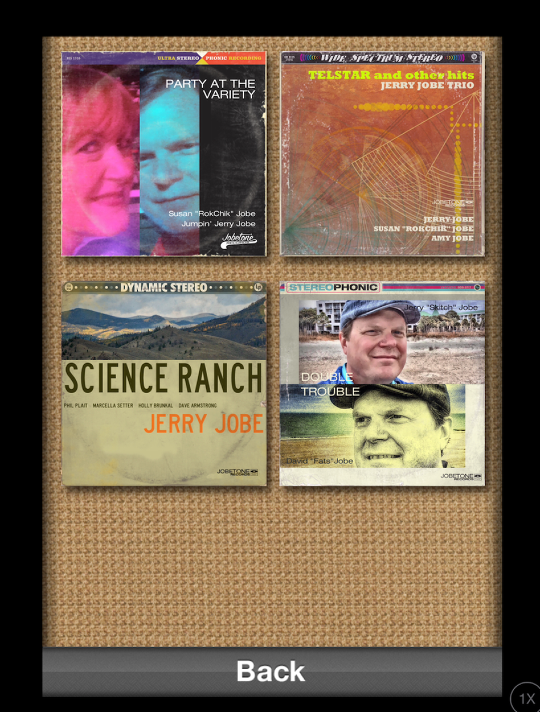
So let me show you my collection. You can, of course, use portraits. Here I used the same photo in both areas, but repositioned it to show my wife, the self-described rock chick, in one box and myself in the other.

You can use landscapes, too, as I did in this one I made after attending Science Ranch 2012. (What a good time that was – perhaps you’d like to attend this year? Just Google it for the info.)

Better yet, you can use your own artwork for that “trippy” quality, as I did below. I created that image using the previously-reviewed DecoSketch.

VinylizeMe is a very structured, but fun, little program. You can’t customize it to any degree. Nevertheless, it’s fun to bring out every now and then when you want to reminisce about those days when your parties depended on what tunes you could spin. Enjoy!”
Jerry Jobe
Never content with just scratching the surface of what an app can do, Jerry Jobe decided to pass on what he learned about imaging apps to others. He’s constantly trying to figure out just what tools other artists have used, and trying to incorporate them into his own work, in an attempt to find his style. He’s written tutorials on over 145 apps so far, which you can find (along with his Song of the Day entries) at http://enthusiasmnoted.wordpress.com/ He lives near Atlanta, Georgia, where he also finds a creative outlet in acting and directing in community theater.


3 Comments
sylvia
love it … posting my cover on FB !
thanks
sylvia
Carlos
What’s the URL?
Carlos
For those of you that grew up with LP’s, this is dope for creating your own covers. Check it out. Thx Jerry for the tutorial.