iOS Photography Technical Tutorial – TypeA – Adding Text To Images – by David Hayes
We’re delighted to publish this excellent tutorial by David Hayes based on the image text app TypeA. This is a new app and has been designed to enrich your images literally with text. David has put this app through its paces and we think you’ll find this an invaluable tutorial. Over to you David (foreword by Joanne Carter).
TypeA retails for $0.99/£0.69 – you can download it here.
My first professional job was with a small ad agency that specialized in creating ads for a local community paper. My job was to serve first as a typesetter and once that was done, a paste-up artist.
This was back in the day of IBM Selector typewriters and optical typesetting machines…long before PC and Apples revolutionized this whole industry. I have always had a love for fonts and typesetting since then so given a chance to try out TypeA developed by Adrian Tirteu…how could I say no!
What I liked right off about this app was it’s clean interface and lack of bells and whistles. While it doesn’t do everything that other typesetting apps that I own, TypeA shines in its simplicity. Let’s take a look!
To get things started, you have to tap on the opening screen. First time in I sat there waiting for it to open but it’s just sitting there waiting for you!

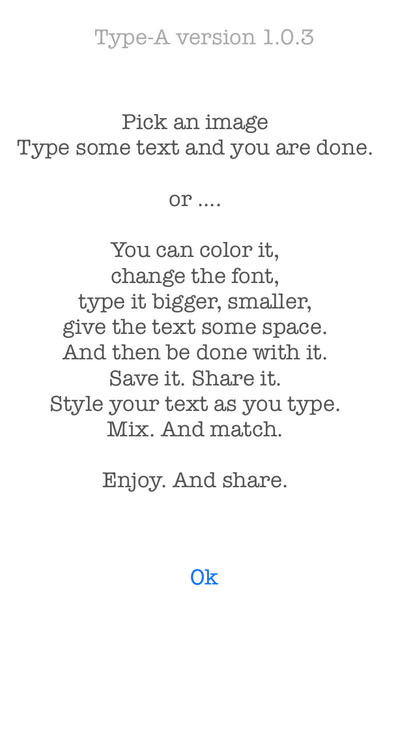
After tapping, you’re given this screen showing three choices: “images” that will take you to your Camera Roll, “type” which takes you to the typesetting screen, and “circle i” that takes you to an introduction.
Well…at least it gives you a bit of a preview. I’ll show you the nitty-gritty stuff as I go along.
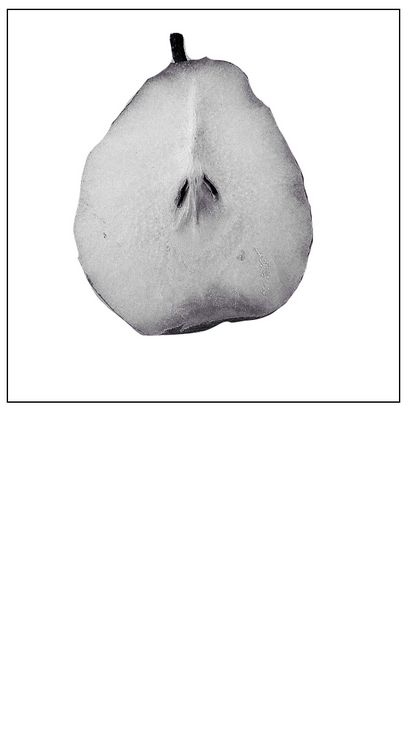
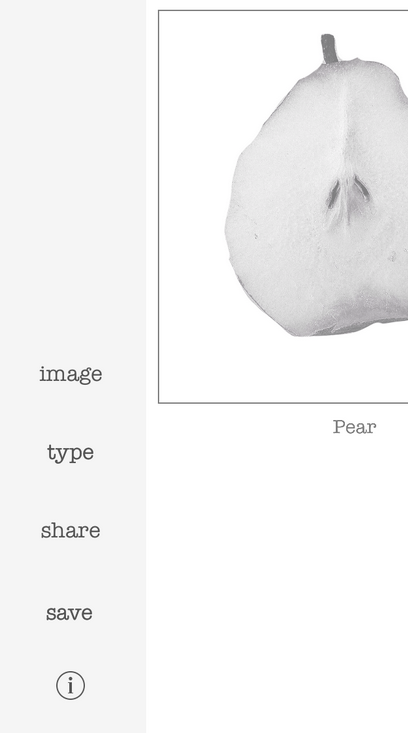
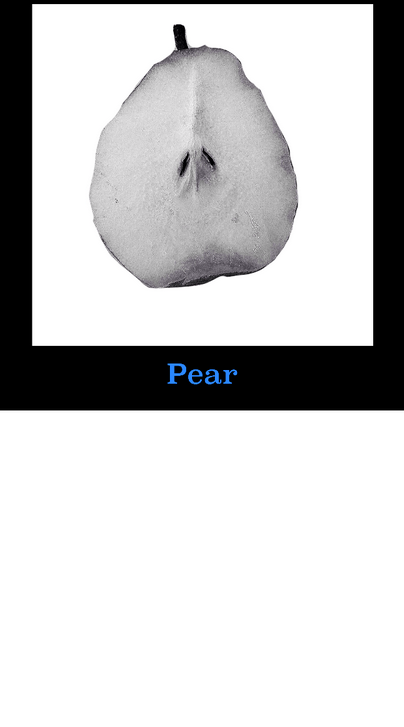
So…I clicked on the OK at the bottom of the intro screen that took me back to the main menu. Clicking on “images” took me to my Camera Roll…where I picked this image of a Pear.

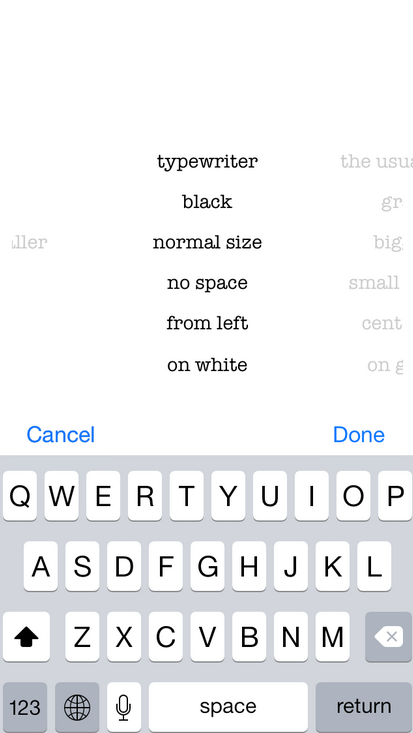
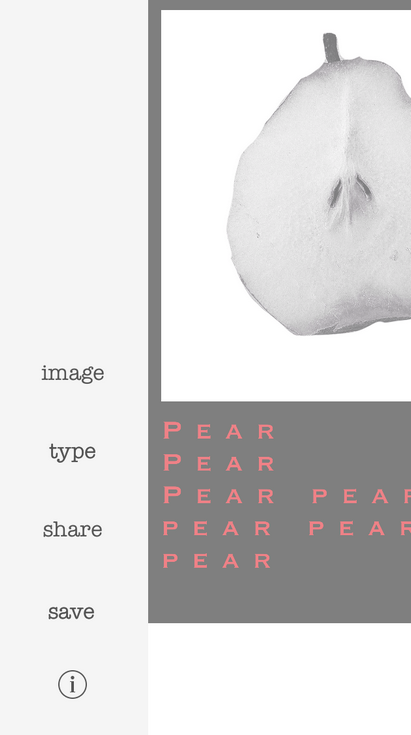
You have to click on the image to go back to the main menu…and there you can click on “type” to get to this screen. You have six categories to work with…starting at the top: the font style, the font color, font size, spacing in between each character (or leading), justification, and background color. Within each category there are choices that are accessed by dialing left/right to your choice. For my first try, I left it as shown. Using the keyboard, I typed Pear. Original, I know. Then clicked “Done”.
And this is what appeared. A very clean look graphically…I like that. I was a little surprised that the Text appears outside the image box and was hoping there was a way to move it…but doesn’t appear that there is.
Wanting to work with this a bit more, I tapped on the image and then tapped again on “type”. This time I hoped to change the font style, etc.
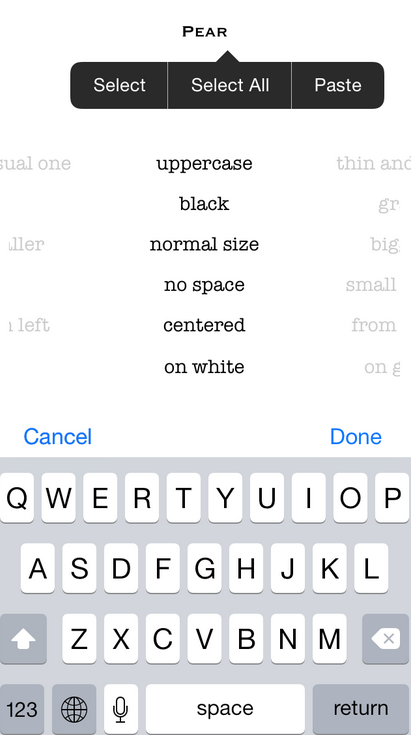
Just changing the category selections doesn’t automatically make the changes to you text. To do this, you have to tap and hold the text area until the “Select” menu appears.

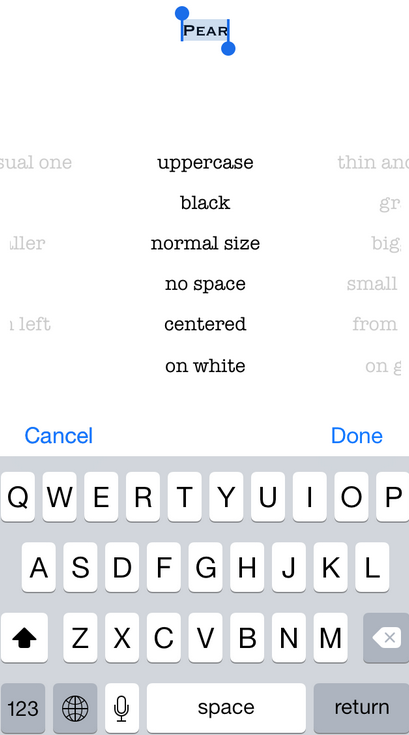
I picked “Select All” and then was able to dial in different choices for my text…that are previewed as you go along.
In this screen shot, you can see what I settled on…and then I clicked “Done” to take me to the image screen.

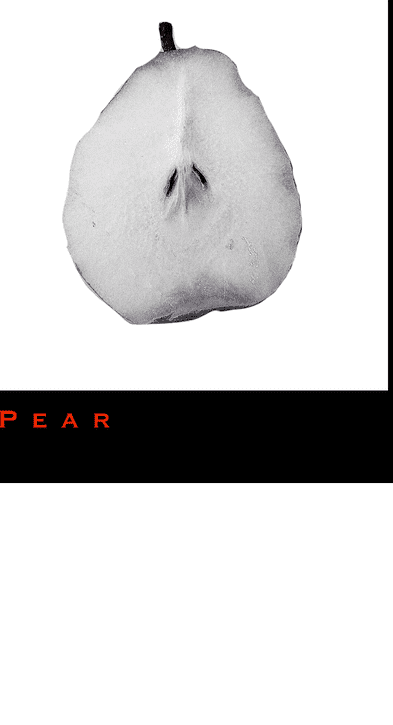
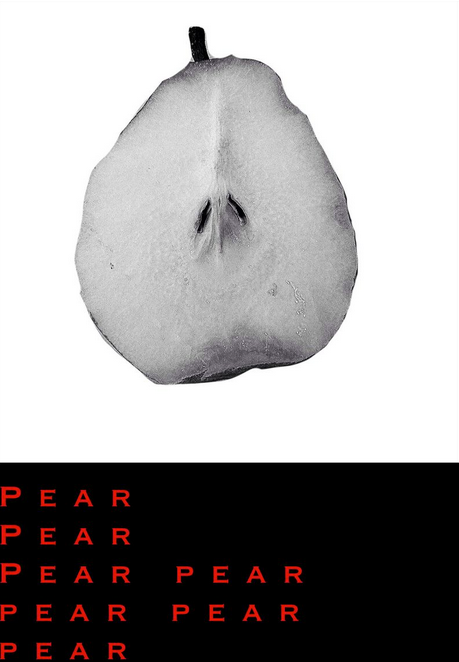
PEAR in red…and to the left…on a black background.
Back to the “type” screen for some more playing around…
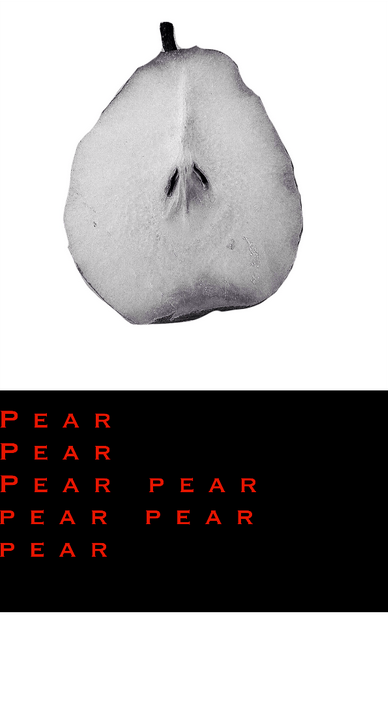
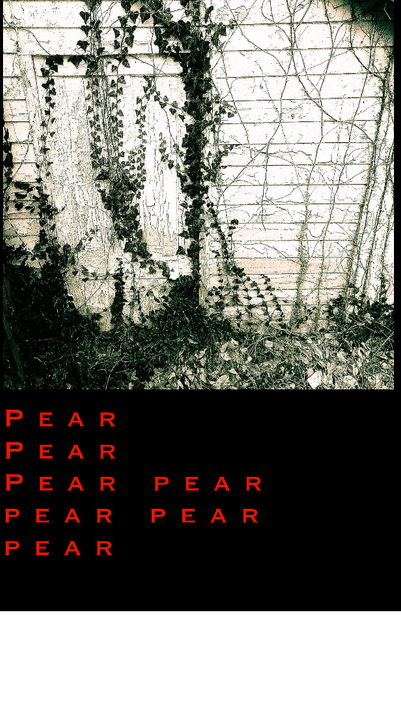
My poem to a PEAR.
While I kept my font style and color the same, you can change this for each line of
text. Your line length is determined by the size of your image…and I will have to admit that I didn’t determine how many lines one could set under an image. I’ll leave
that to you to find out! (Why should I have all the fun!!)
Time to save my creation. I clicked on the image that brought me back to the main
menu, clicked on “save”…and that was that. Saved directly to my Camera Roll.

Poem to A Pear.
But there’s more! Back to the main menu!
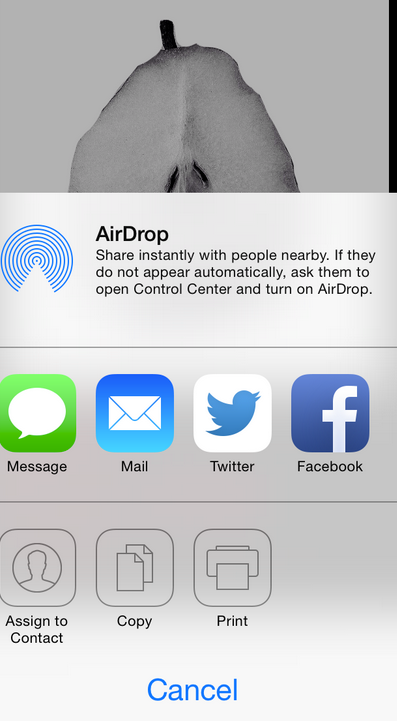
This time I clicked “share”.
This takes you to your iPhone “share” screen. Pretty straightforward.
One more question I had and that was how do I start a new project. So back to the main menu. I clicked on “image”…
In my Camera Roll, I picked this shot of an ivy-covered wall…and here it is…with the text from my Poem to A Pear! So…I went back to the main menu and clicked on “text” to make my changes. Doesn’t seem to be any other way to create a new project.
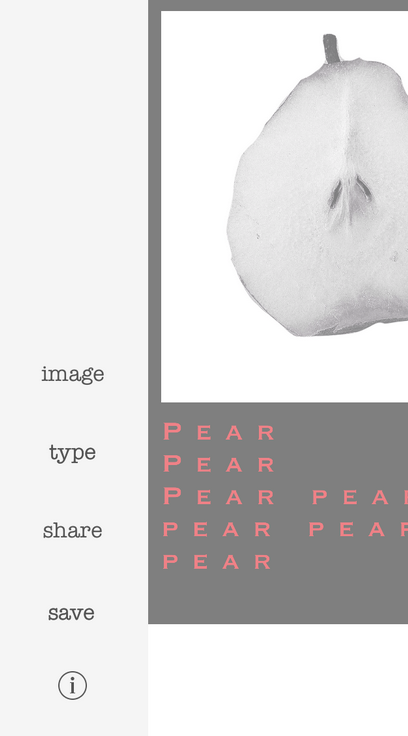
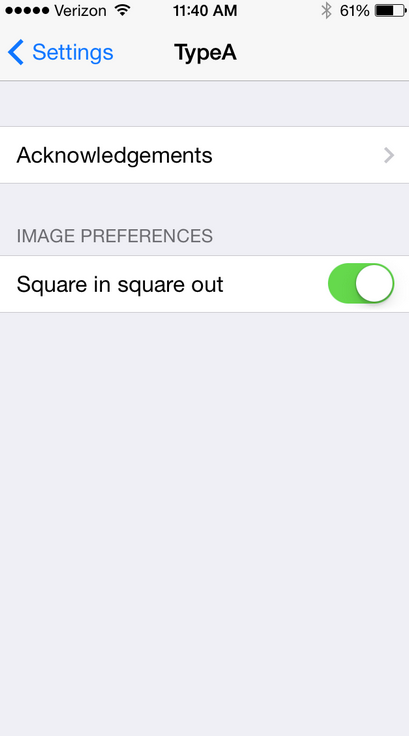
Here’s a formatting preference that I found out by reading the developer’s description on the Apple store. You have to go to the Settings window in your iPhone and scroll down to TypeA in your app list. Activating the “Square in square out” preference means that if you’re working with a square image, it will keep the project “squared” as well. Comes in handy if you do a lot of IG posting! (This
preference remains on until you go back to Settings to turn it off…just something to keep in mind.)
With this preference active, I returned to my Pear image…and this is what it looks like.
So there you have it…a quick look at TypeA. This app is certainly a keeper in my typesetting toolbox and I’m looking forward to trying out more things with it as time goes by!
David Hayes
David is Head of Technical Tutorials here at theappwhisperer.com and this role adds to the many things David has done in his life…some of which he considers more significant than others. Yet, he feels all have made him the artist he is today. He’s been a cook at a truck stop, a janitor at a military base, worked in advertising, been a banker managing other people’s money, and an elementary school teacher. Trained as a photographer as an undergrad, he’s recently returned to these roots and now considers himself foremost a photographer and secondly a mixed media artist.You can find David’s work on many other popular websites including his own: http://www.clearerreflections.com.