iOS Photography Tutorial – Lo-Mob and Superslides: Can Adding A Filter Be A Good Thing? by Jerry Jobe
We’re delighted to publish Jerry Jobe’s latest technical tutorial and this week he poses a very important question – ‘can adding a filter be a good thing?’ He answers this and provides a wonderful tutorial with two very popular iOS Photography apps – LoMob and Superslides to help – don’t miss this, over to you Jerry (foreword by Joanne Carter).
“I love Instagram for its social aspects. Instant visual confirmation of what friends and acquaintances are producing through mobile photography is great, and the results can be easily filtered to skip over “what I had for dinner” shots.
But I’m not the type of person who can be satisfied with slapping a single filter on a photo and posting it. So when I use Instagram, I don’t use their filters. I edit the photo elsewhere and post it “as-is” in Instagram. Can a program with simple filters be useful to a person like me?
The answer, of course, is yes, as long as I make the result my own through further apping. Today’s two apps, Lo-Mob and Superslides (both by Aestesis), are examples of simple filter apps that can be of benefit to everyone from those who like their photography quick-and-dirty to those who relish the journey through multiple apps.
Lo-Mob
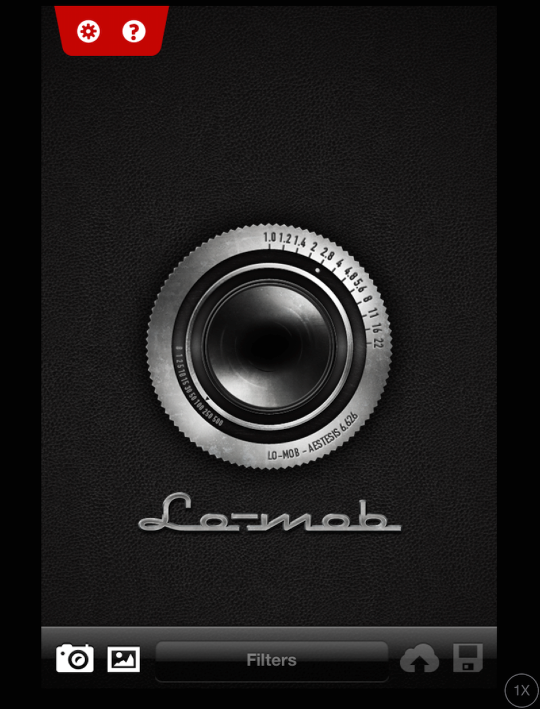
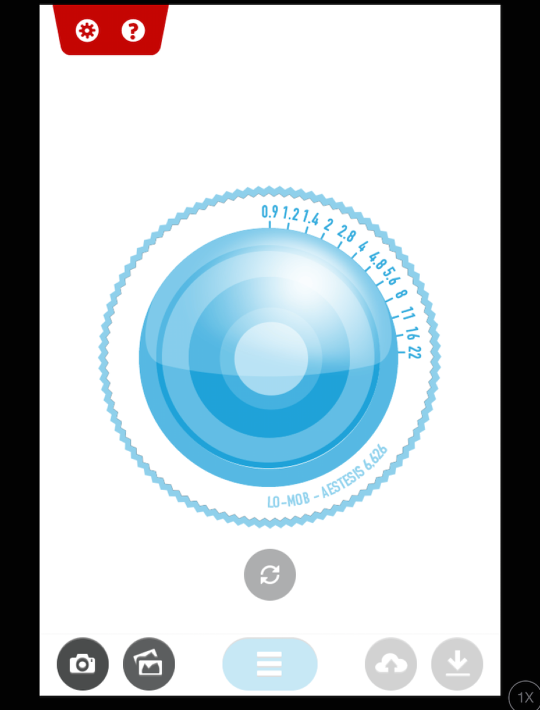
As you might be able to tell from the name, Lo-Mob is all about producing lo-fi effects on your images, as if you had taken them with an old, cheap film camera. As you might expect with this type of app, the user interface is super easy. The initial screen has a red tab at the top for Settings and Help, and buttons at the lower left for using the device’s camera to capture the shot or choosing an image from the Photo Library.
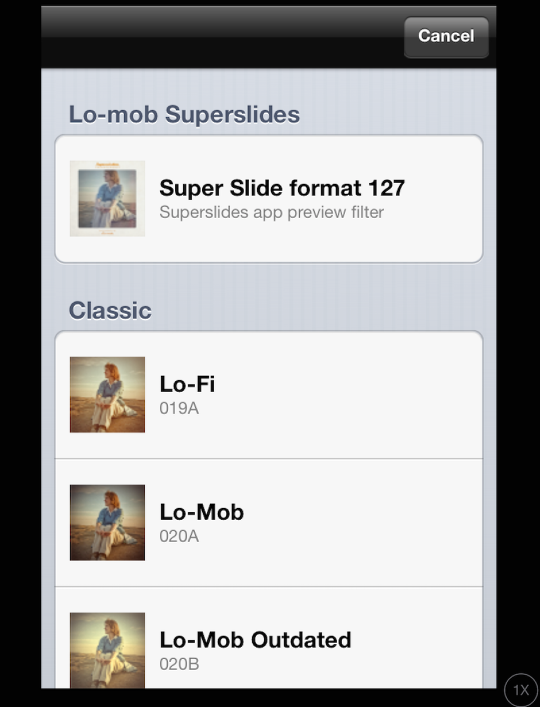
Once you’ve chosen an image, you are taken directly to the filter selector, before your image is shown. The filters are divided into categories. The first is a promotional filter for their other app, Superslides. The next category is Classic, which contains:
- Lo-Fi
- Lo-Mob
- Lo-Mob Outdated
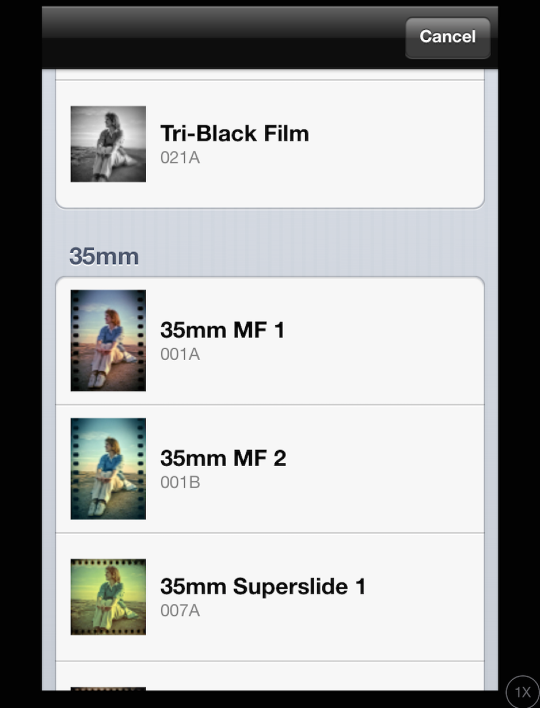
- Tri-Black Film
The next category is 35mm, which contains:
- 35mm MF 1
- 35mm MF 2
- 35mm Superslide 1
- 35mm Superslide 2
- Slide 1
- Slide 2
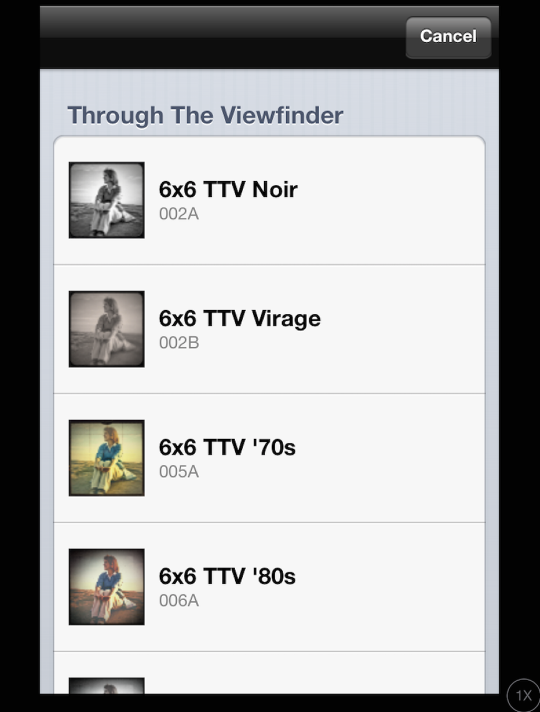
The next category is Through the Viewfinder, or TTV.
- 6×6 TTV Noir
- 6×6 TTV Virage
- 6×6 TTV ‘70s
- 6×6 TTV ‘80s
- 6×6 TTV ‘80s 2
- 6×6 TTV Koretico
- AE TTV Saturated
- AE TTV Print
- AE TTV Desaturated
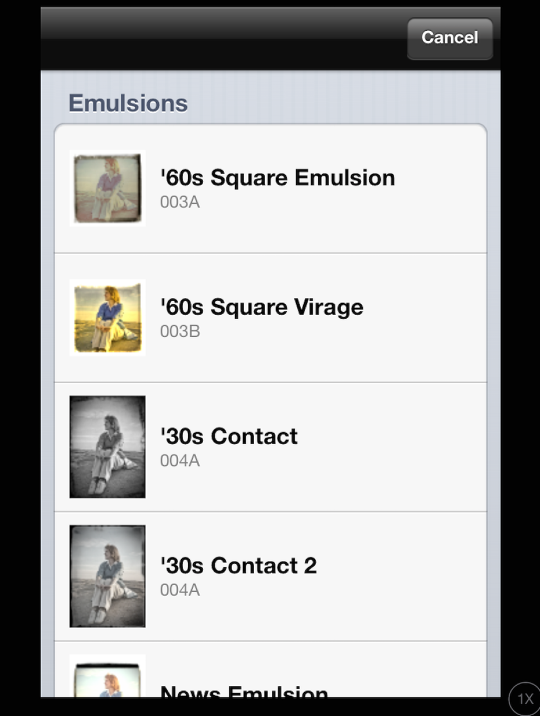
Next is Emulsions.
- ‘60s Square Emulsion
- ‘60s Square Virage
- ‘30s Contact
- ‘30s Contact 2
- News Emulsion
- News Emulsion 13
- News Emulsion 77
- News Emulsion 71
Then we have Instant Photography.
- 3 Vintage Instant
- Family Instant 1 and 2
- Family Instant 2 Outdated
- Impossible Back Instant 2
- Instant Emulsion
- INSTAnt-X Tall
- INSTAnt-X Wide
- Instant Wide
- Instant Wide bis
- Instant Wide bw
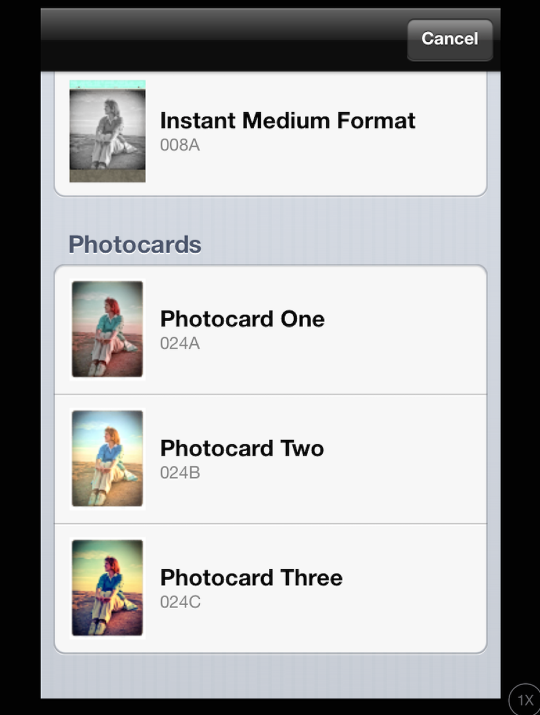
- Instant Medium Format
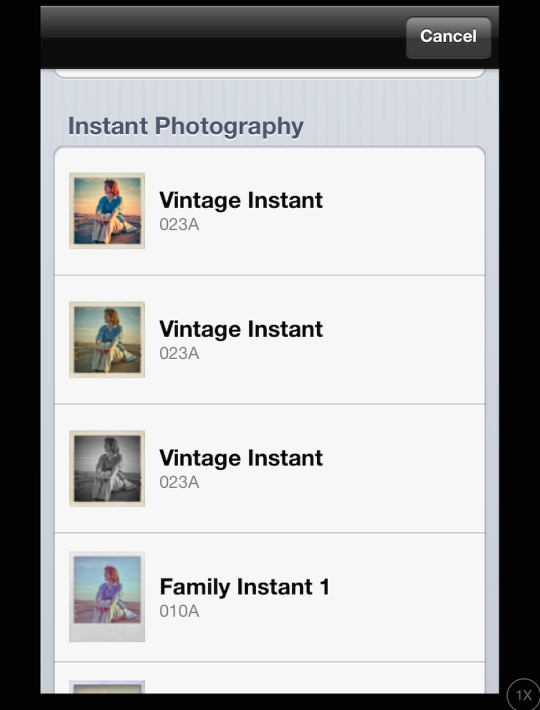
And the final category is Photocards.
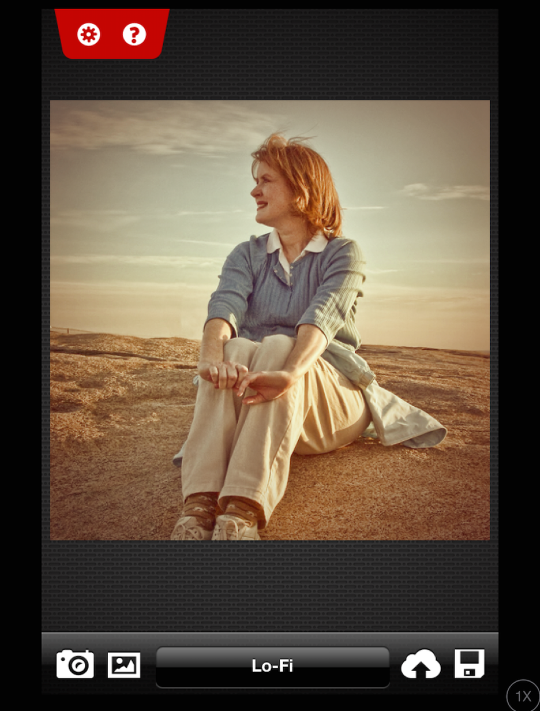
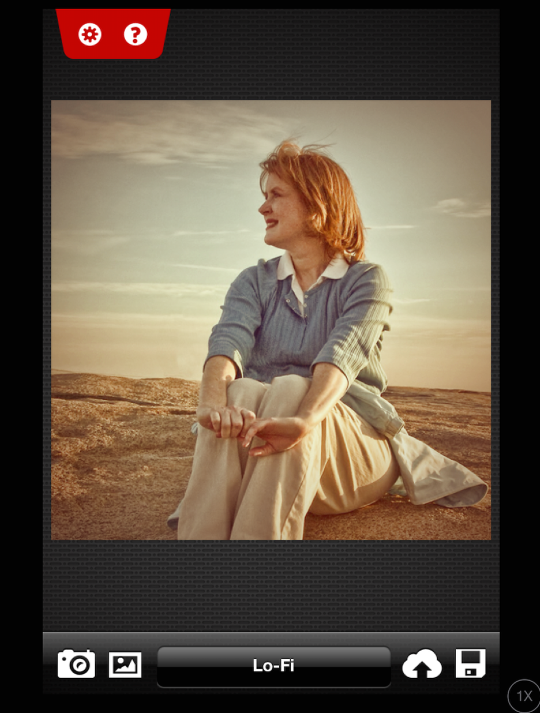
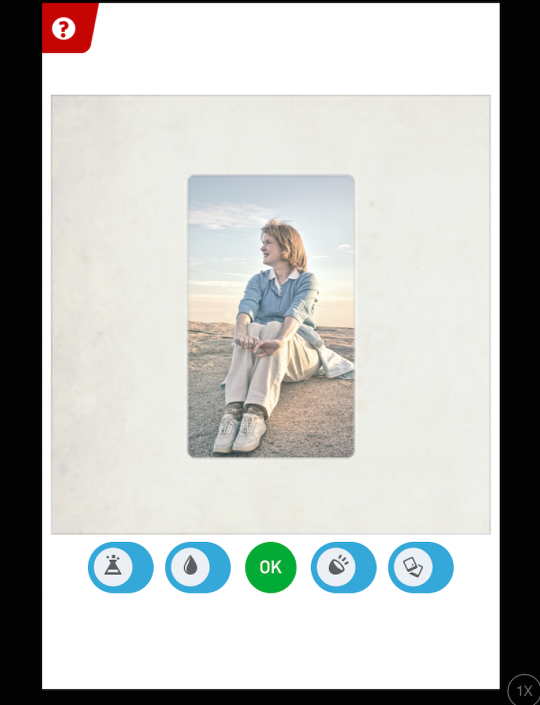
Once you choose your filter, you are shown the image with the filter applied. At the bottom center is the name of the filter chosen; if you wish to change to another filter, just tap the name to be taken back to the filter picker.
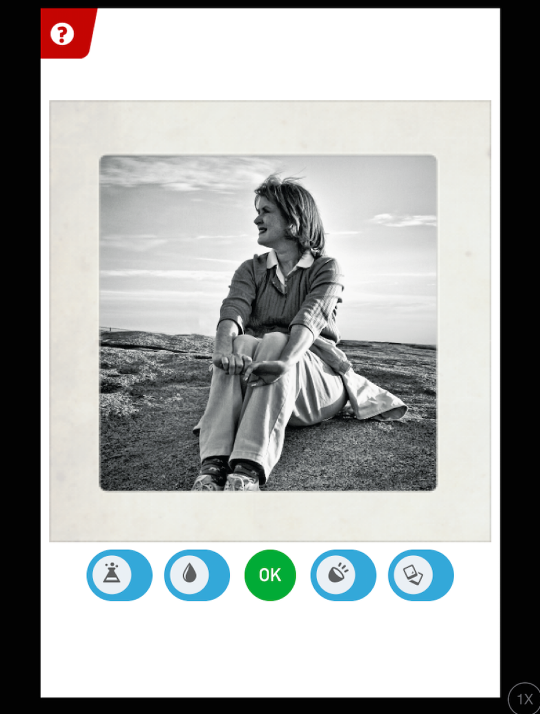
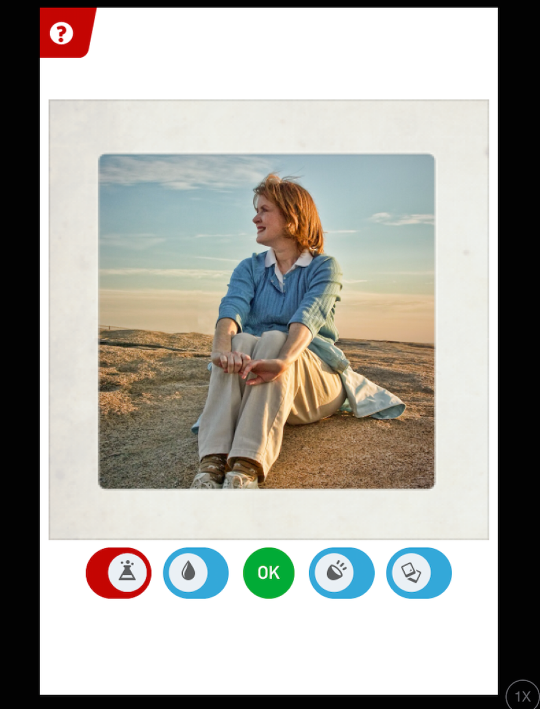
Tapping anywhere on the image will take you to the editor. Each filter has a crop ratio assigned with it, and you can use the standard pinch gestures to reposition the image within the crop (as I’ve done below). There are also switches that allow you to switch off the various components of the overall filter. From left to right they are color/scratches, blur, vignette and frame. Notice how blur and frame are grayed out: that is because those aspects are not used in the currently-selected Lo-Fi filter.
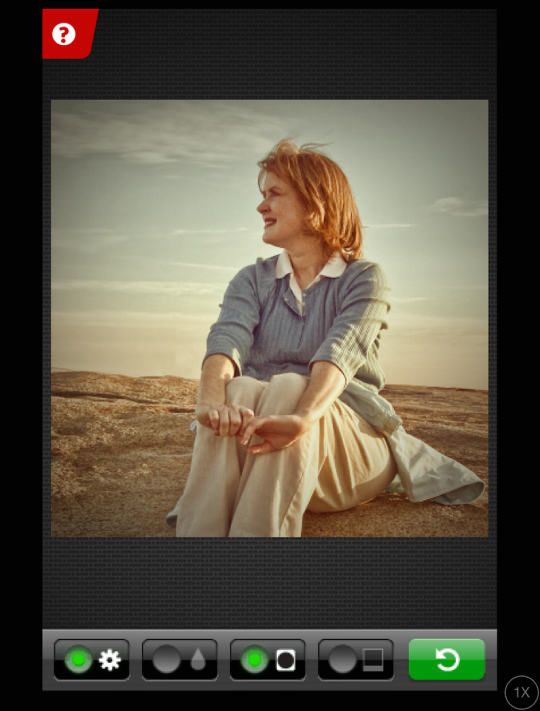
Tapping the green circular arrow on the edit screen returns you to the main workspace; it does not undo changes like you might expect.
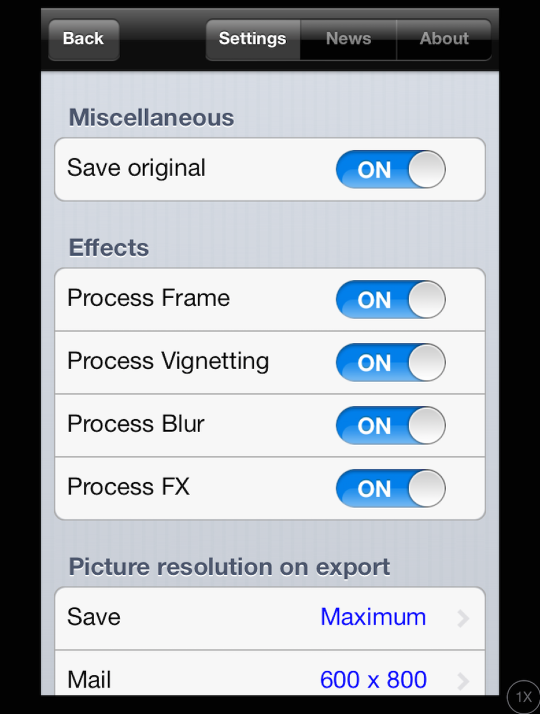
The Settings, accessed by tapping the Gear icon on the red tab, are rudimentary. They include a “Save Original” switch (leave it on unless you are dangerously low on space); switches to remove parts of the filter by default; and resolution switches for output to various export points.
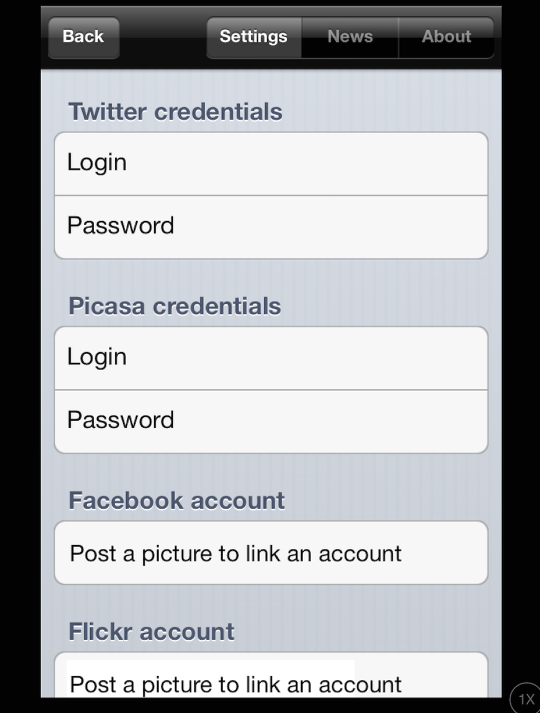
The settings also include credentials for output to Twitter and Picasa.
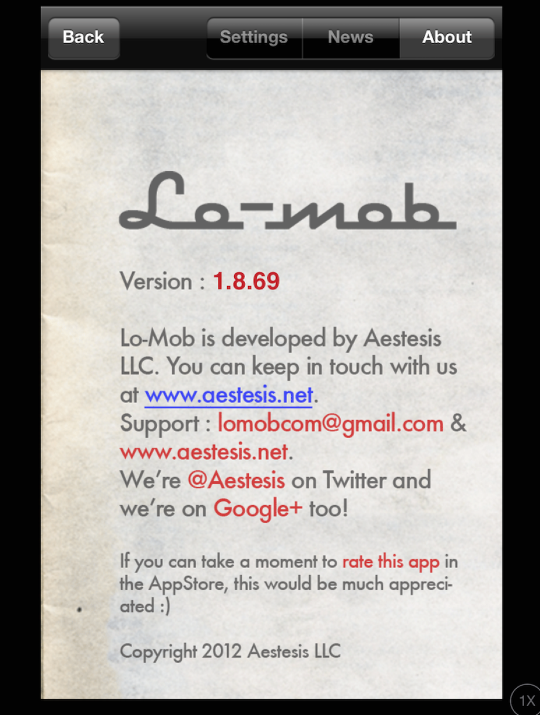
The About tab on the settings page gives you further information.
The Help manual, accessed by tapping the question mark icon on the red tab, is very pretty. It looks like a manual from a camera from the ‘40s or ‘50s.

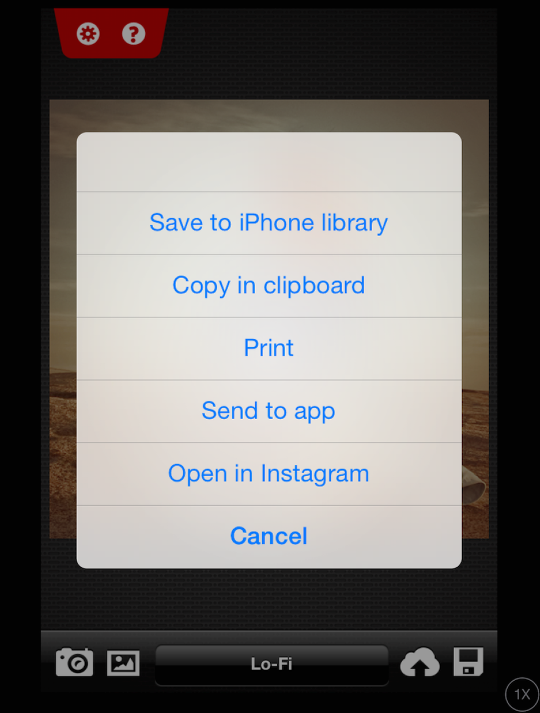
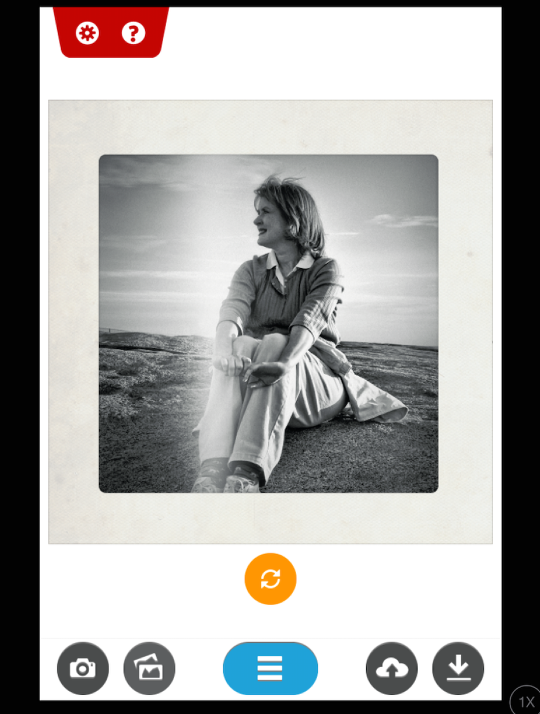
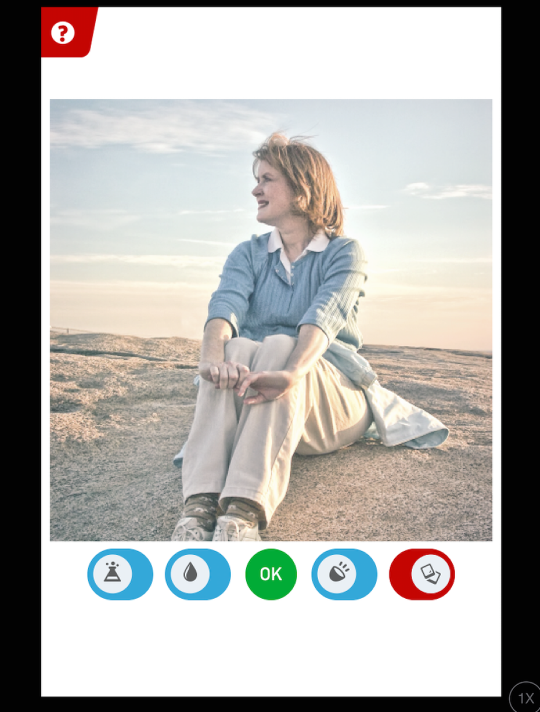
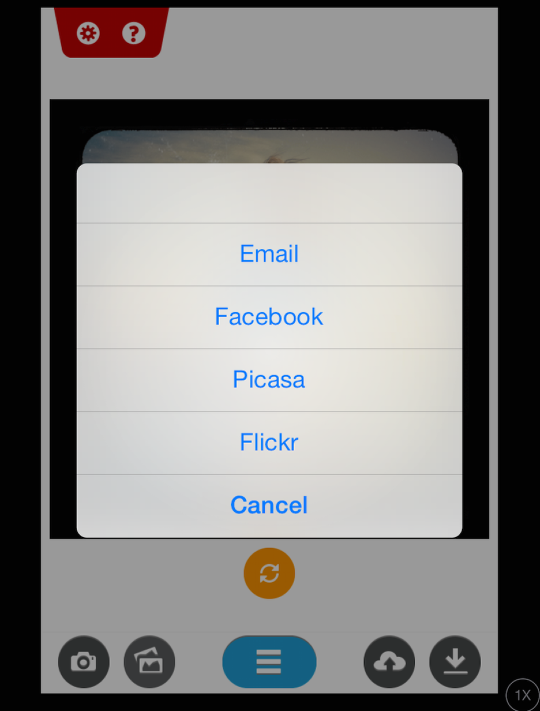
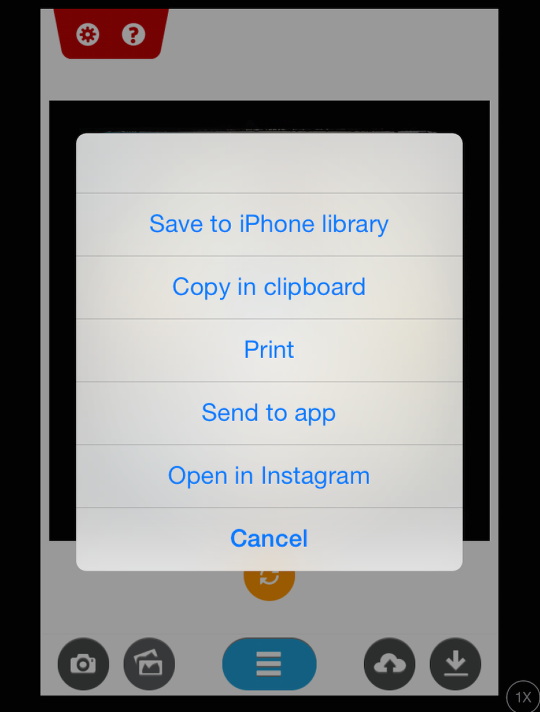
Tapping the Cloud icon at the lower right of the workspace will give you the share options.
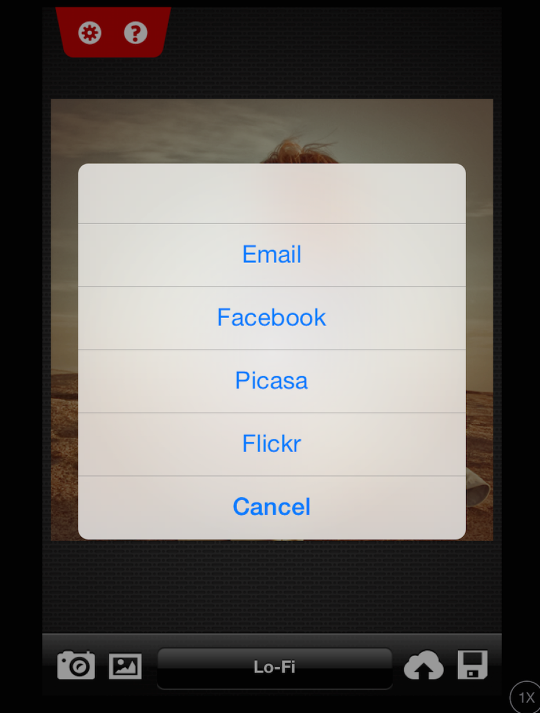
And tapping the disc icon shows you the save options.
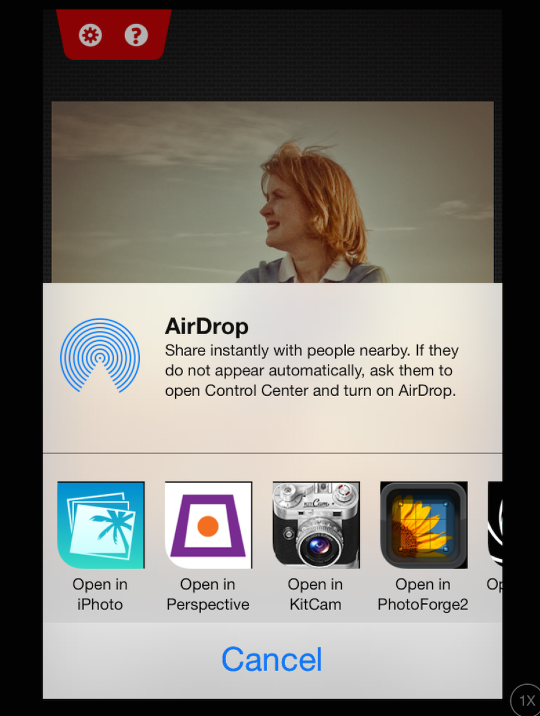
This is one of the apps where I often find myself opening the output in other apps, and Lo-Mob handles the hand-off seamlessly.
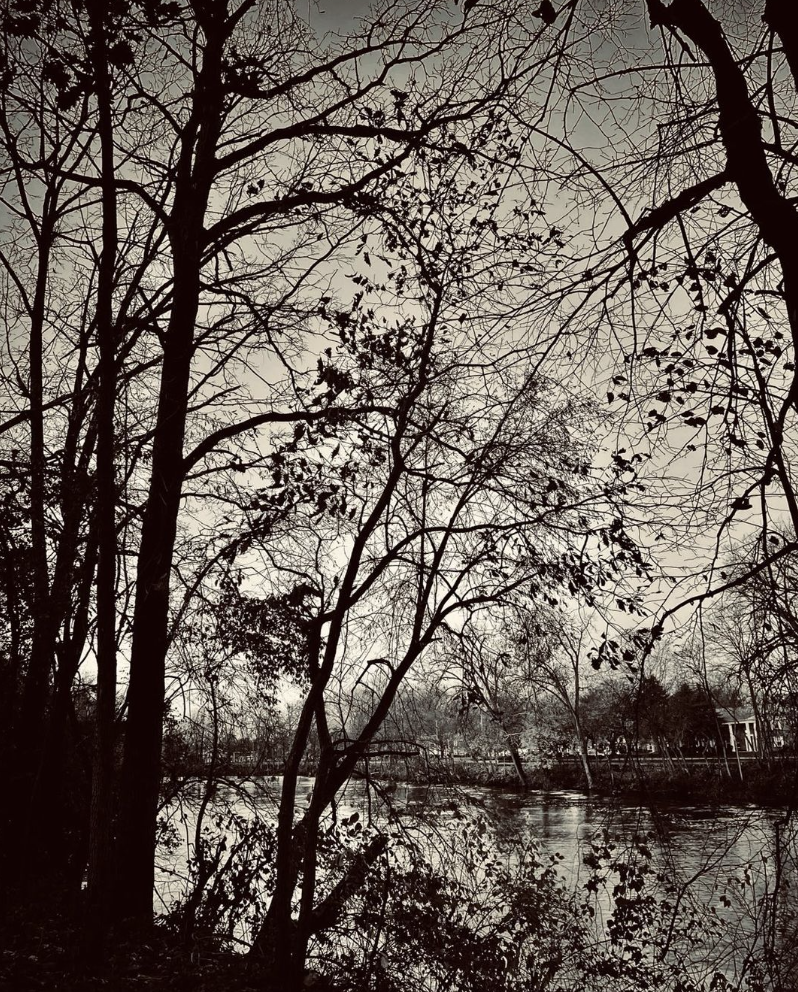
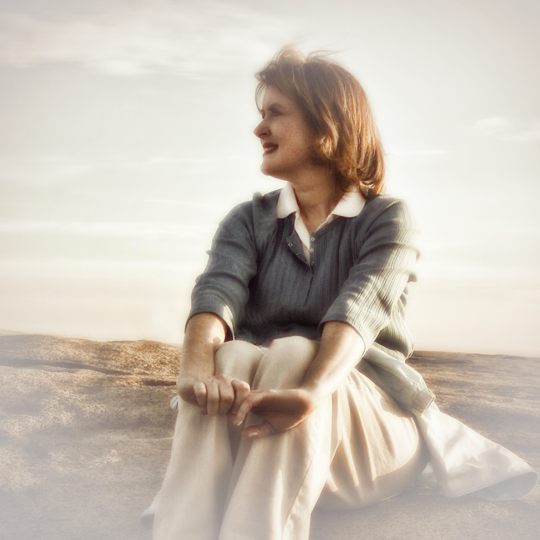
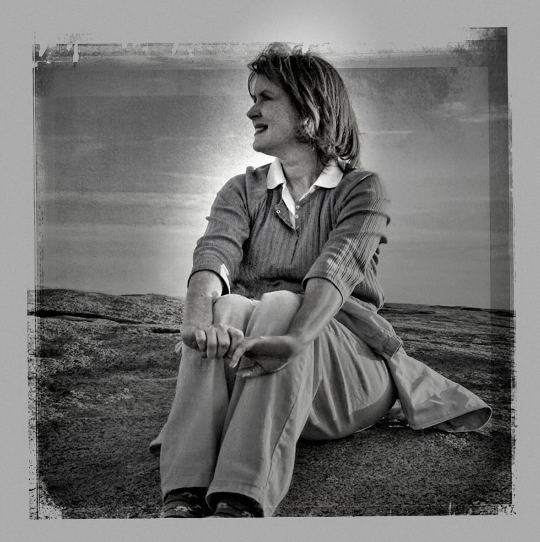
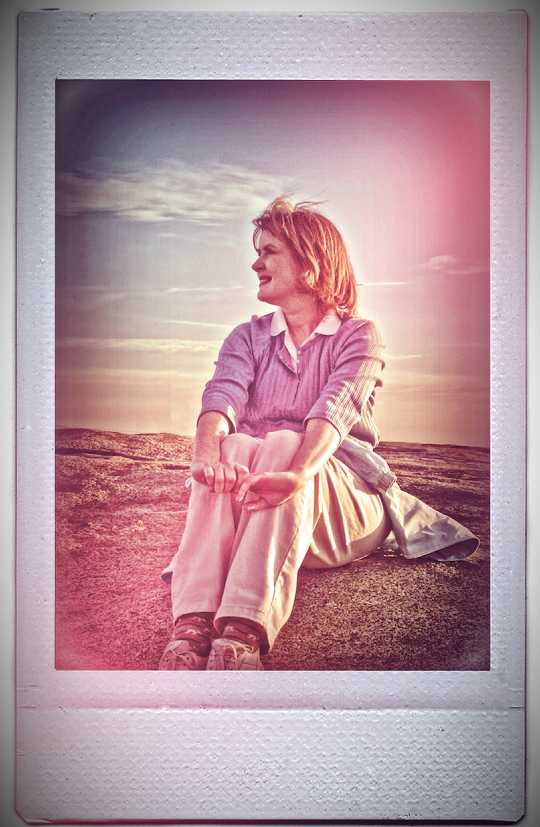
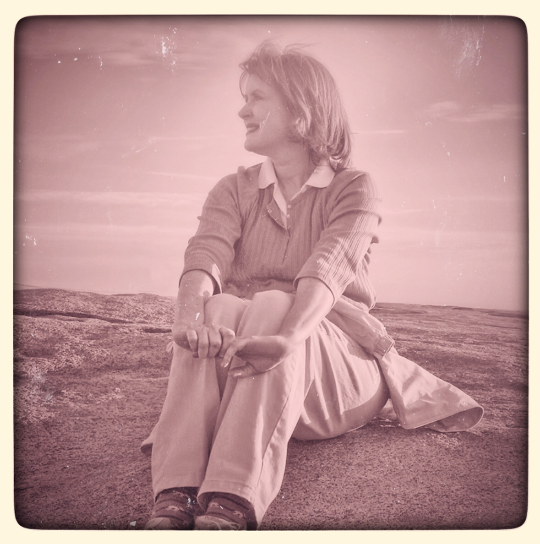
I took the output through JixiPix’s Romantic HD, which gave it a nice glow.
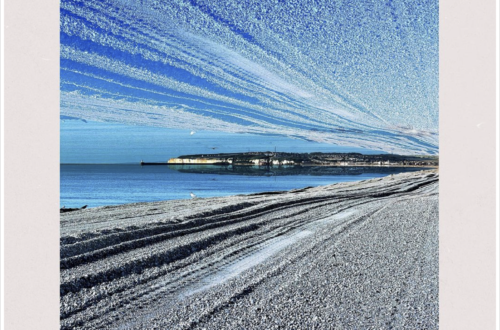
With the next image, I used setting ‘60s Square Virage, then put it through Dramatic Black and White to get the nice spotlight effect.
Below I’ve used the INSTAnt-X Tall filter, then sent it through Simply HDR.
Superslides
Superslides, as you might expect, is remarkably similar. There is only one control that is different, so I’ll be sure to point that out.
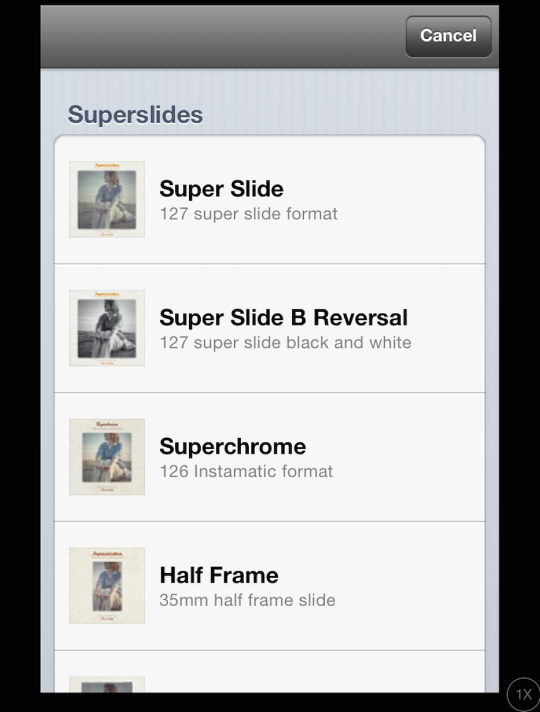
Once again, when you choose your image, you are taken to the filter selector. There are three categories of filters in Superslides. The first is Superslides.
- Super Slide
- Super Slide B Reversal
- Superchrome
- Half Frame
- Super 35
- Super 35 B Reversal
- Supercard
The second category is Flexframe.
- Superframe 101
- Superframe 1010 Exposed
- Freeflex 201
- Freeflex 201 Outdated
- Freeflex 201 Exposed

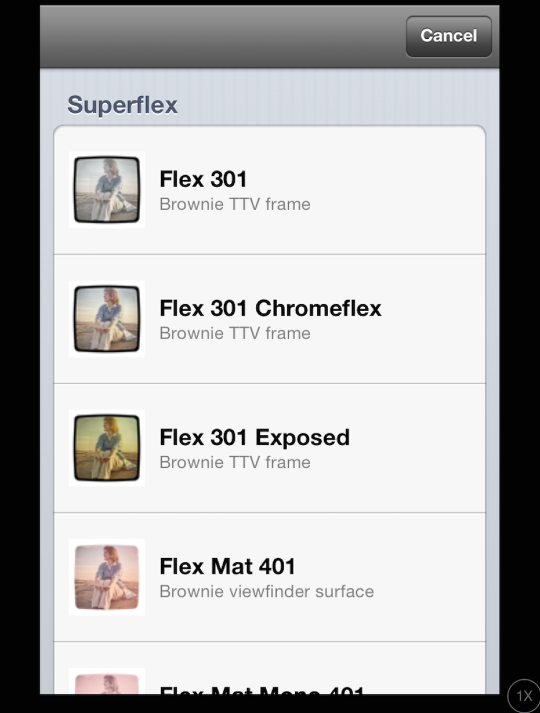
The final category is Superflex.
- Flex 301
- Flex 301 Chromeflex
- Flex 301 Exposed
- Flex Mat Mono 401
- Flex Mat 401 Chromeflex
- Flex Mat 401 Exposed
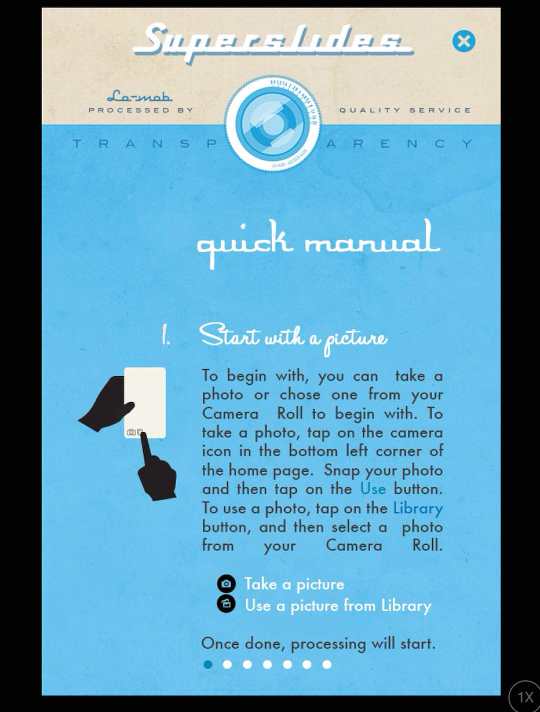
The settings are identical in Superslides, and the help manual is just as pretty.
So there are only 16 filters in Superslides, as opposed to the 44 in Lo-Mob. But don’t think you’re getting cheated, because the added button on the workspace, the orange double arrow, adds randomization to the effect. This extends the looks available.

Compare the image above to the one below. I’ve tapped the orange button, and that randomizes the light leaks and dust added.
Once again, tapping the image takes you to the edit screen. The buttons are color, blur, leak/dust/vignette, and frame.
Below is an example of turning off the color effect.
I wanted to show you an example of what happens when you remove the frame. Below I’ve chosen the Half Frame filter.
Below you can see that I’ve turned off the frame. Why is the image square, rather than portrait as it was in the frame? It’s because ALL slides are square, so Superslides will always do a square crop unless it’s within a frame.
Of course, the Share features in Superslide are the same as in Lo-Mob.
The export features are the same as well.
Here’s the result, using the Flex Flat Mono 401 filter. I wanted to use another frame, so I switched the frame off in Superslides and added Frame 5 in Snapseed.
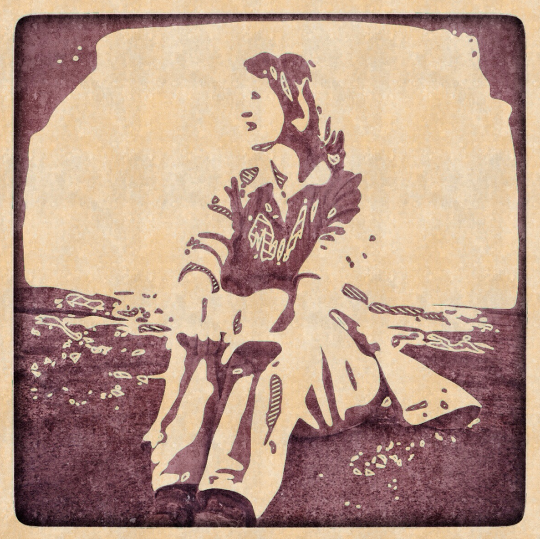
And finally, that image taken through Imaengine, then blended in iColorama.
Neither Lo-Mob nor Superslides may thrill you, taken by themselves. But they are sturdy little apps that can be valuable in your workflow. Enjoy!
Jerry Jobe
Never content with just scratching the surface of what an app can do, Jerry Jobe decided to pass on what he learned about imaging apps to others. He’s constantly trying to figure out just what tools other artists have used, and trying to incorporate them into his own work, in an attempt to find his style. He’s written tutorials on over 145 apps so far, which you can find (along with his Song of the Day entries) at http://enthusiasmnoted.wordpress.com/ He lives near Atlanta, Georgia, where he also finds a creative outlet in acting and directing in community theater.