
iOS Photography Tutorial – PicGrunger – ‘When Just A Smudge Won’t Do’ – By Jerry Jobe
We are delighted to publish our latest iOS Photography Tutorial by Jerry Jobe, this week Jerry has puts the popular grunge app PicGrunger through it’s paces and as usual does a wonderful job, don’t miss this! Over to you Jerry (foreword by Joanne Carter)
PicGrunger retails for $0.99/£0.69 and you can download it here.
“I’ve covered a few apps that make your photos look old and damaged. Some of them can be subtle, like Mextures or Distressed FX. Some of them can be quite intense, like Vintage Scene and Grungetastic (but they also have the capability of being subtle). Today’s app is PicGrunger, by Stephen Spring, and it wouldn’t know subtle if subtle hit it over the head. So if you like your photos to look like they’ve barely survived a flood, then give it a look.
When you start PicGrunger, you get a splash screen. The only control you have is a camera icon which takes you to your Photo Library, not to a built-in camera. (This is the iPad version; the iPhone version does allow you to take a photo with the camera.) That camera icon, however, is hidden behind the app name in the upper left corner.
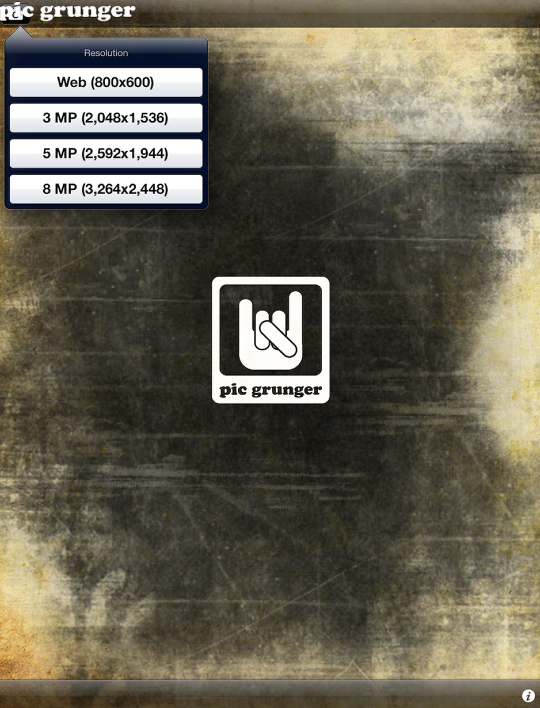
When you tap the camera in the iPad version, you get to choose a resolution for your output. As always, I recommend the highest resolution possible. On the iPhone version, there is a separate Resolution button where you can set to high resolution by default.
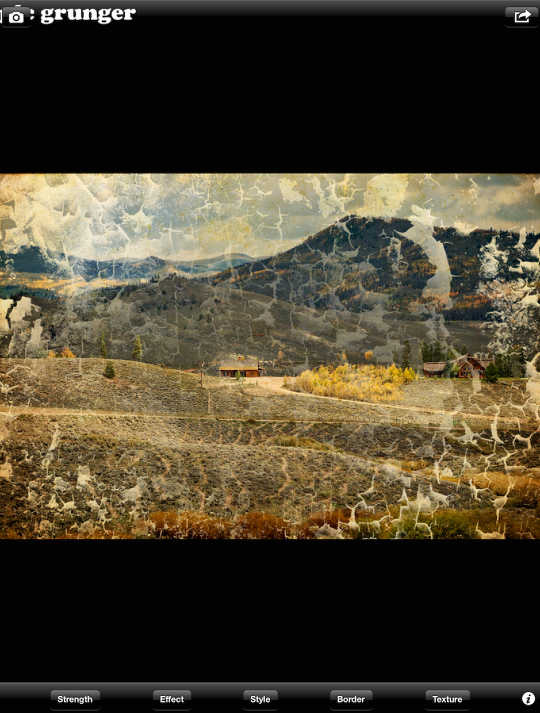
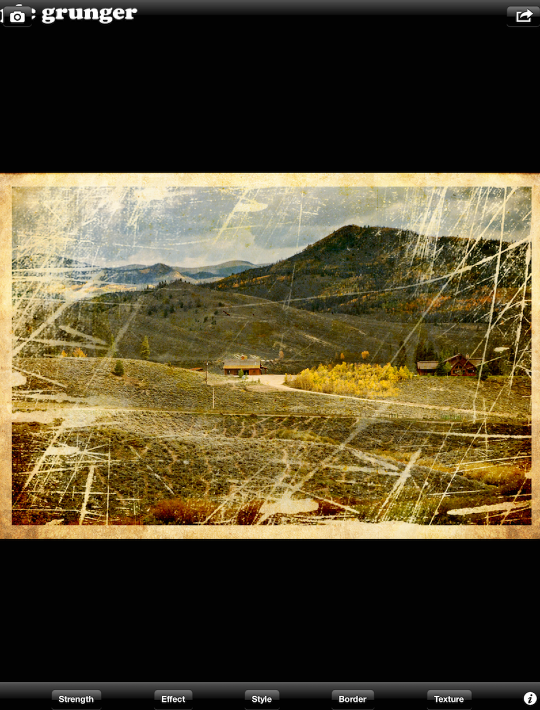
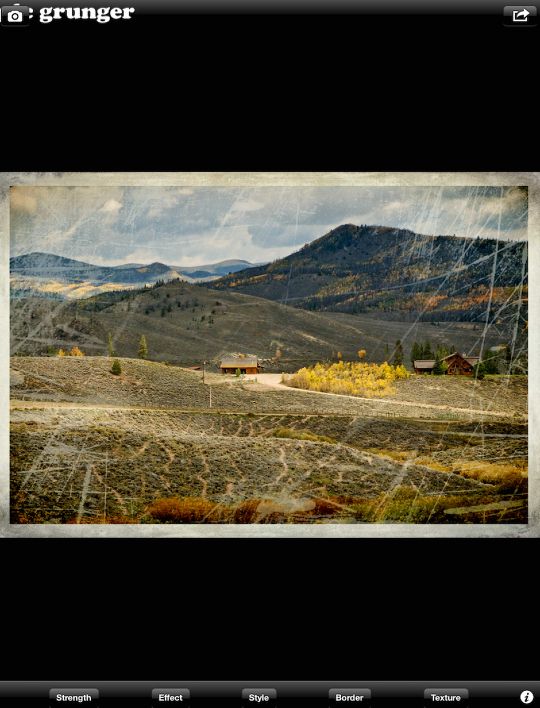
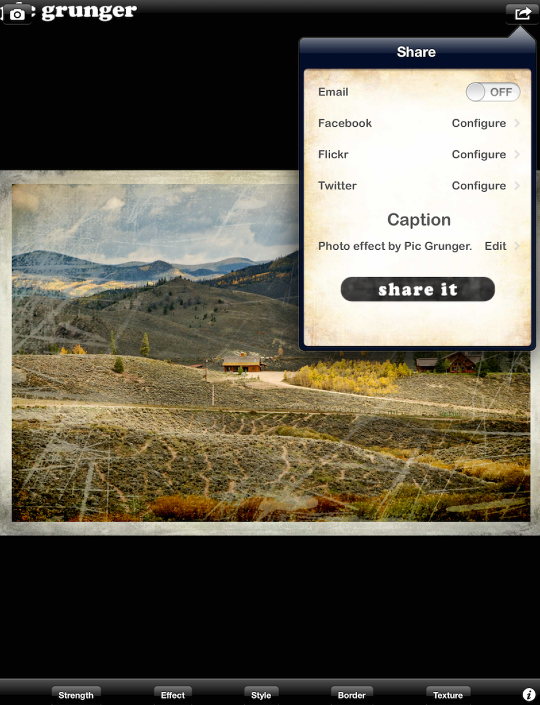
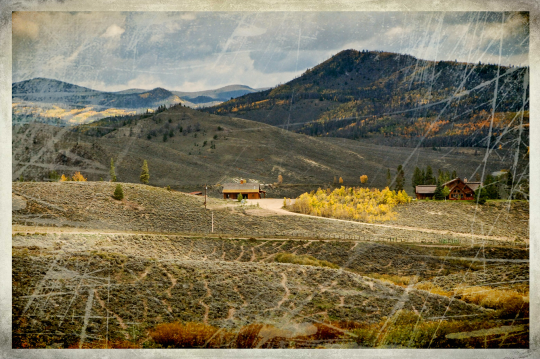
You are then taken to the photo library where you can choose your photo. It is loaded to the screen with default grunge settings. I’ve chosen a nice landscape with a cabin.
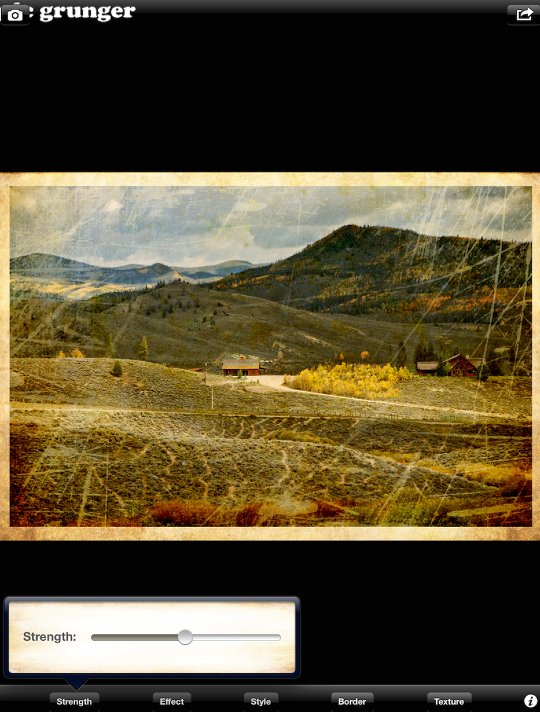
Across the bottom of the screen are five buttons: Strength, Effect, Style, Border and Texture.
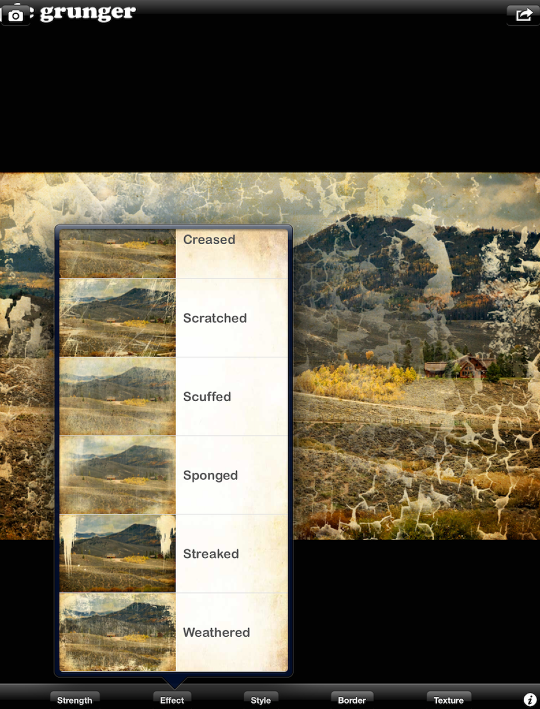
Effect controls the type of damage that is done to the photo. The first six are shown below: Acid, Aged, Bleech Spill [sic], Blotched, Cracked and Creased. Acid is the default.
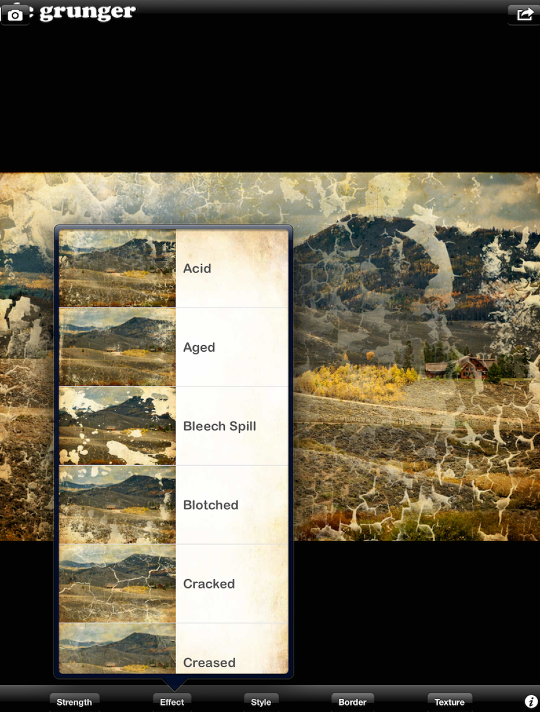
The other five effects are Scratched, Scuffed, Sponged, Streaked and Weathered.
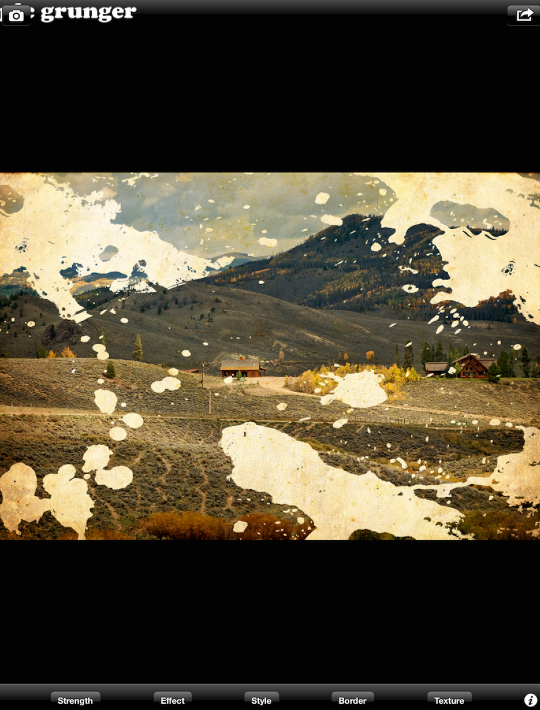
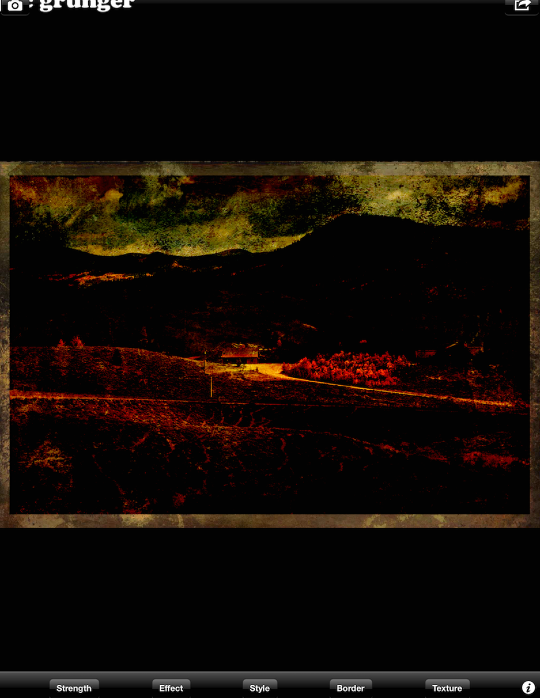
These Effects are quite strong. Take a look at Bleech Spill applied to our landscape below.
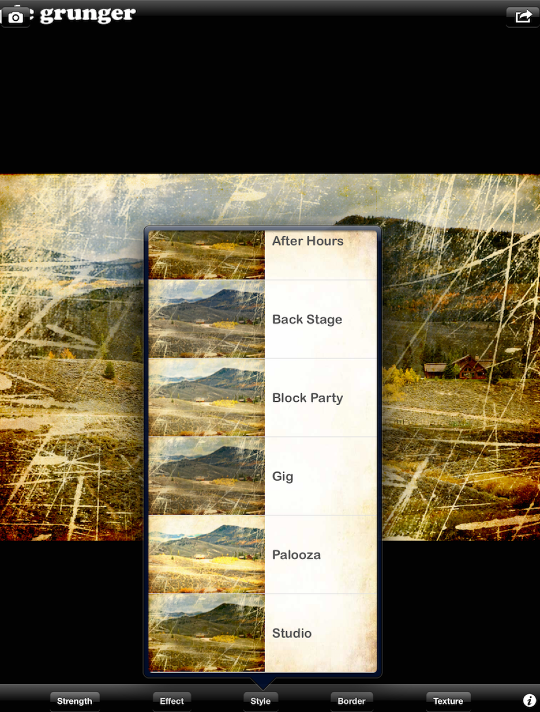
I settle on Scratched and move on to Style. There are six styles that influence the brightness, contrast and warmth of the underlying photo: After Hours, Back Stage, Block Party, Gig, Palooza and Studio. I chose Gig.
The Border option is a simple on/off switch that adds a white border. That white border is influenced by the choice of background, or Texture.
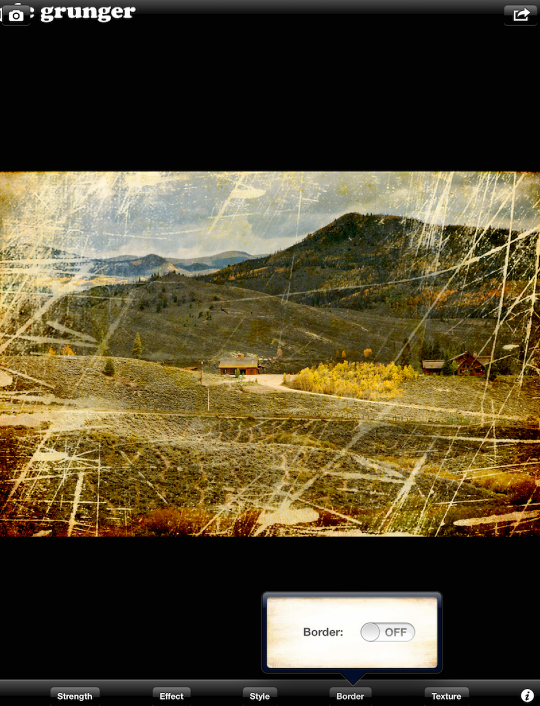
This border is added to the outside of the image and does not cut off the edges of your image.
The Strength slider ONLY affects the strength of the Effect. It does not change the brightness or contrast of the Style, it does not affect the size or opacity of the border, and it does not affect the strength of the Texture, or background.
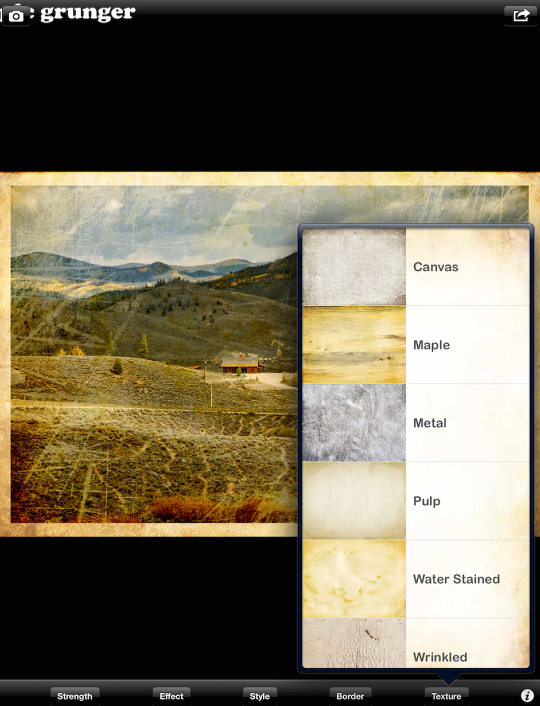
Those Textures are the strongest influences on your final image. They are the backgrounds, or what your image is “printed” onto. There are twelve Textures. The first six are Canvas, Maple, Metal, Pulp, Water Stained and Wrinkled.
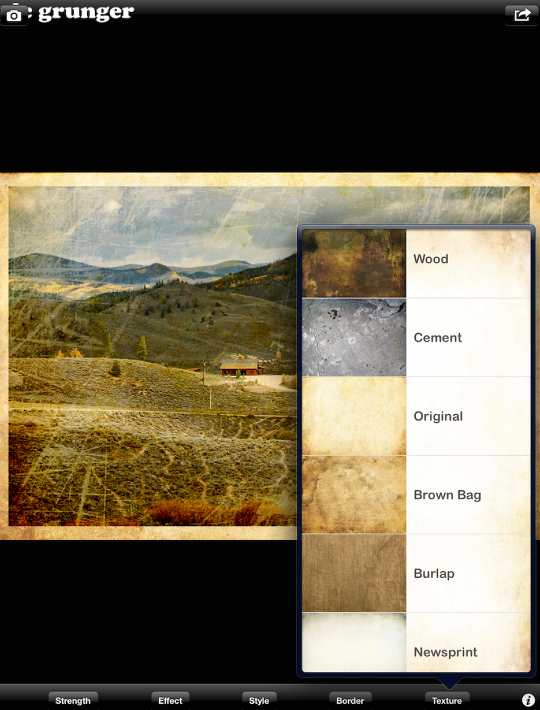
The remaining six are Wood, Cement, Original, Brown Bag, Burlap and Newsprint.
I find that several of the Textures (Wood, Canvas and Burlap, for example) are so intense as to make them useless for my purposes. A separate Strength slider for them would help improve this app. Look at what the Wood Texture does to our image below.
The Newsprint texture is nice, and one of the most subtle available, so that’s what I choose for my image.
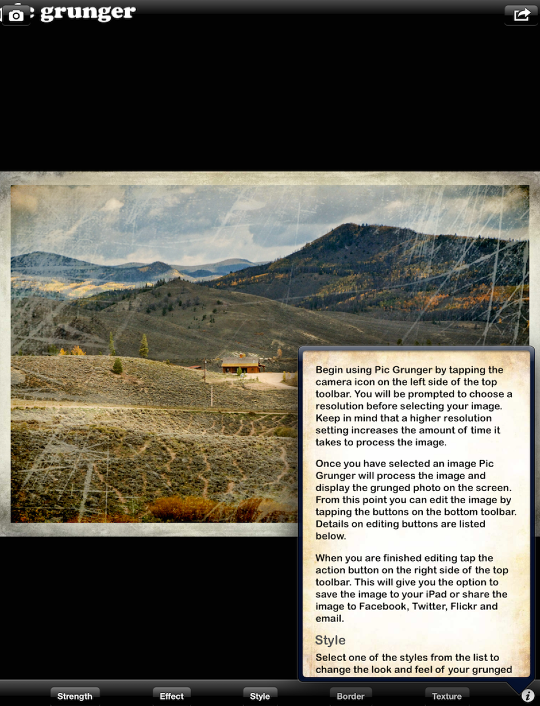
There is a help text accessed by tapping the “i” in the lower right corner, but you won’t need that, since you’ve read my tutorial!
The button in the upper right gives you the choice to Save the image to your Camera Roll, or Share the image on social networks.
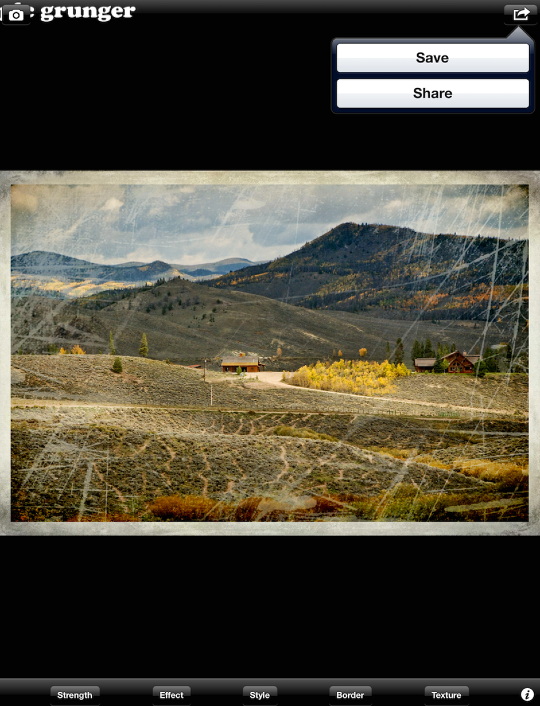
Share options are limited to Email, Facebook, Flickr and Twitter.
And here is the final result!
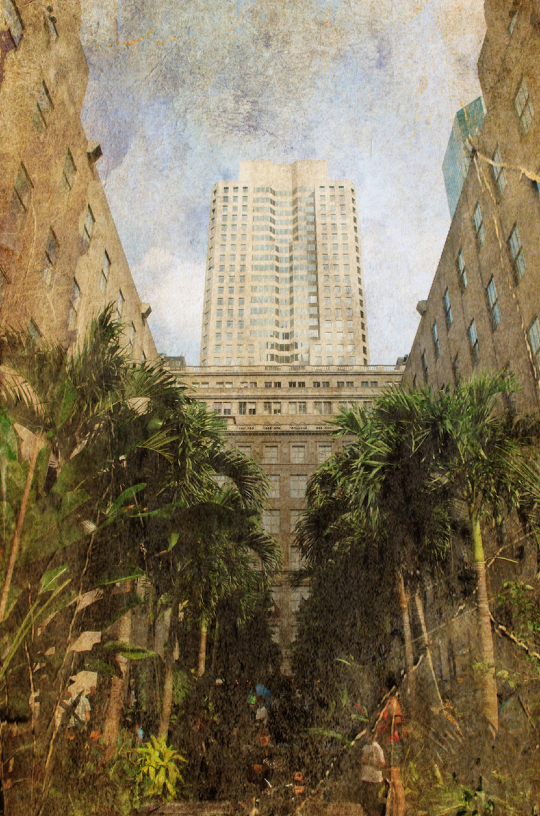
Here’s a scene from RockefellerPlaza, using Creased as the Effect, Block Party as the Style and Brown Bag as the Texture.
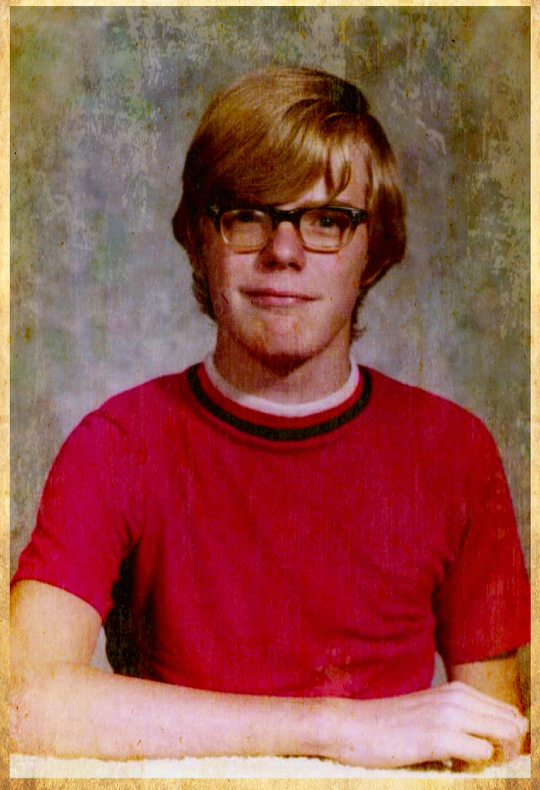
And finally, here’s an old photo made even older with Scuffed, Studio, Pulp and a border.
PicGrunger is worth a dollar. You can get nice effects if you stay away from the obnoxious Effects and Textures. Its lack of customizability means that you won’t use it as a go-to app, but occasional use can be fun. It would be appreciated if the app was updated with a couple of minor fixes, such as a Texture Strength slider and standard Brightness/Contrast/Saturation controls. Enjoy!
Jerry Jobe
Never content with just scratching the surface of what an app can do, Jerry Jobe decided to pass on what he learned about imaging apps to others. He’s constantly trying to figure out just what tools other artists have used, and trying to incorporate them into his own work, in an attempt to find his style. He’s written tutorials on over 145 apps so far, which you can find (along with his Song of the Day entries) at http://enthusiasmnoted.wordpress.com/ He lives near Atlanta, Georgia, where he also finds a creative outlet in acting and directing in community theater.
3 Comments
Barbara duBois
I like PicGrunger and use it quite a bit. I agree with Jerry that a strength slider on the Textures would be most helpful. I have found that if you go back to Style with the stronger Textures you are able to tone it down there a bit. The other thing I do with strong Textures is to use Image Blender with another version of the image to get what I want. Yes, update, please and add some new stuff! Thanks, Jerry.
Jen Pollack Bianco
An excellent tutorial. While I don’t use it frequently, Pic Grunger is an excellent tool! well done Jerry!
Joanne Carter
Thank you so much for your feed back Jen x