
iPad Photography App Tutorial – Pixelmator Part 1: Overview by Jerry Jobe
We are delighted to publish our latest iPad Photography App Tutorial by Jerry Jobe. This week Jerry writes Part 1 (of 5) on the brand new Pixelmator iPad app (as previewed at Apple’s latest Keynote, introducing the iPad Air 2). Pixelmator is a hugely accomplished app and we are quite sure you are going to really enjoy this series of tutorials. (foreword by Joanne Carter).
Pixelmator for iPad retails for $4.99/£2.99 and you can download it here
“Certain companies are justly celebrated for their image manipulation software on the desktop. Adobe is one of those, with Photoshop and Lightroom. When those companies decide to expand into mobile devices, the results are highly anticipated.
Such was the case when the Mac desktop product Pixelmator was adapted recently for use on the iPad. I have to admit that my desktops, since the early eighties, have been PC/Windows devices. Therefore, I cannot say how well the Pixelmator experience translates to the iPad. All I can do is go over the app as it currently exists and compare it to other apps in the same category: photo/drawing suites. These suites can accomplish a dizzying number of tasks, and need multiple tutorials to cover them with anything approaching completeness. Accordingly, this overview will be followed by a number of additional tutorials that will cover various aspects of Pixelmator”.
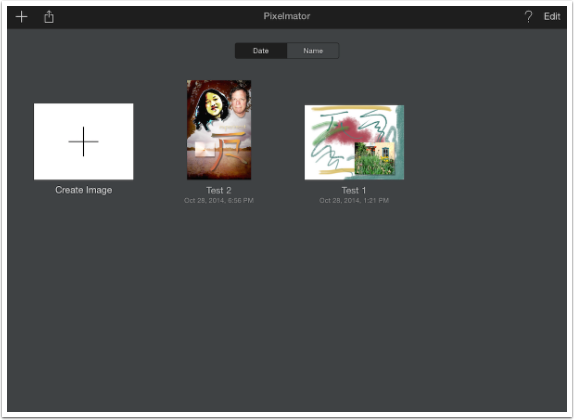
Like other apps that allow for layering like Photoshop Touch, Leonardo and Procreate, Pixelmator, when opened, takes you to a gallery. All work you do within Pixelmator is saved to the Gallery, ready for you to continue in a later session. From the Gallery you can open the layered file, duplicate it, delete it, or save it as a flattened file to the Camera Roll or the cloud.
Saving to the cloud may be in a layered format so that it can be edited in Pixelmator on the desktop; the documentation is unclear as to whether that is true. The documentation does say that tapping “Open in App” (which will be shown later in the “Save” options) will give you the option to pass a PSD layered file to the other app. You cannot save a layered file to your Camera Roll.
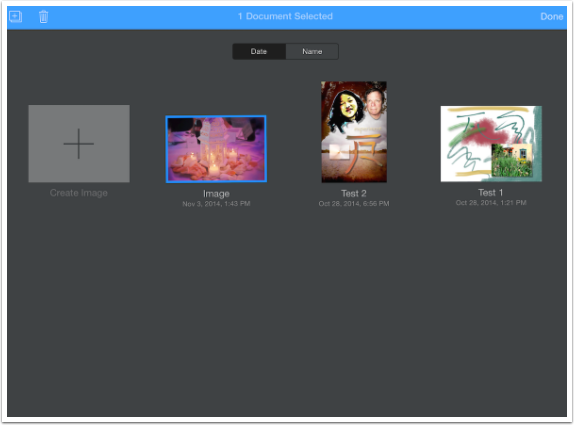
When you’re in the Gallery, tapping Edit in the upper right corner will allow you to select more than one image for mass Delete (Trashcan icon at upper left) or mass Duplication (double box with + sign icon). Be sure to clear your gallery as much as possible, because layered files, which are saved in the app, are much larger than the resulting flattened JPEGs.
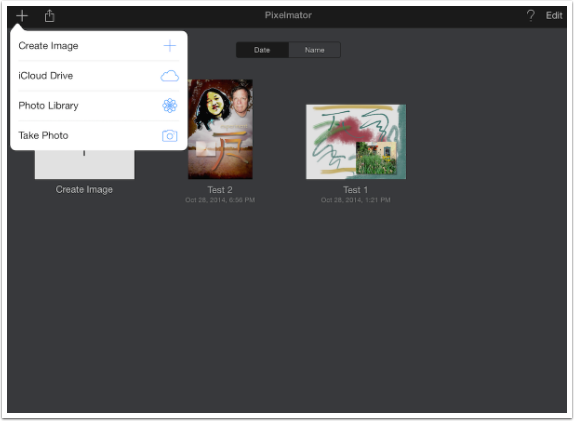
To open a new image for editing, it first has to be brought into the Gallery. There are four ways to do that. Take a photo; import an image from the Camera Roll or iCloud; or create an image from scratch. Create Image will be examined in the next instalment.
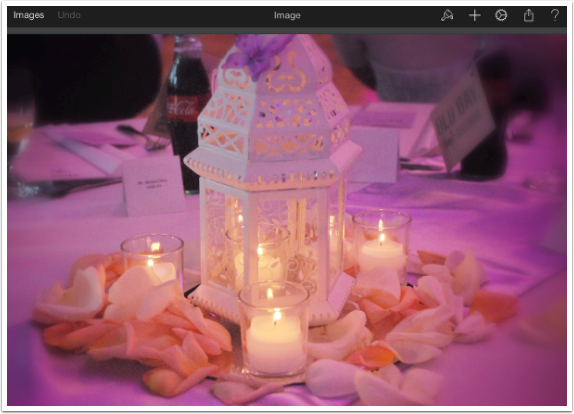
I loaded an image from my Camera Roll and was taken to the main workspace. Below you can see that returning to the Gallery would just be a matter of tapping “Images” in the upper left. At the upper right are five icons: Tools, Add, Settings, Save and Help. As part of this overview we will cover Settings, Save and Help, but the main editing is done in Tools and Add.
By the way, you can hide that upper menu bar by tapping on the center of it; tapping again at the top center of the workspace will restore it.
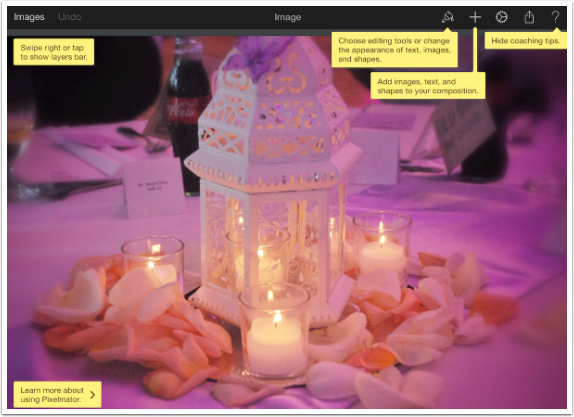
Tapping the question mark (Help) icon will show you the following Tips screen. More robust help is shown by tapping the “Learn more” tip at the bottom left or tapping Settings>Help.
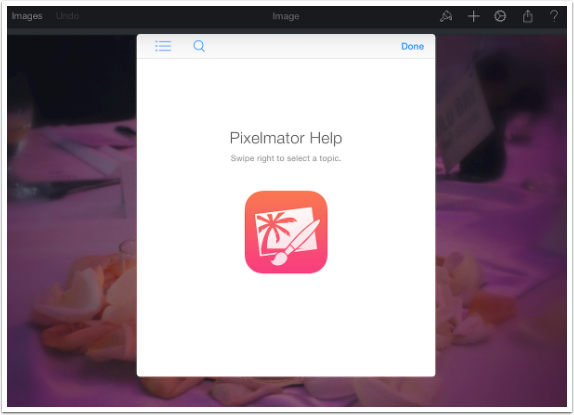
Below you’ll see that in-depth help. You can swipe right on the box or tap on the List icon at the upper left of the box to show help topics.
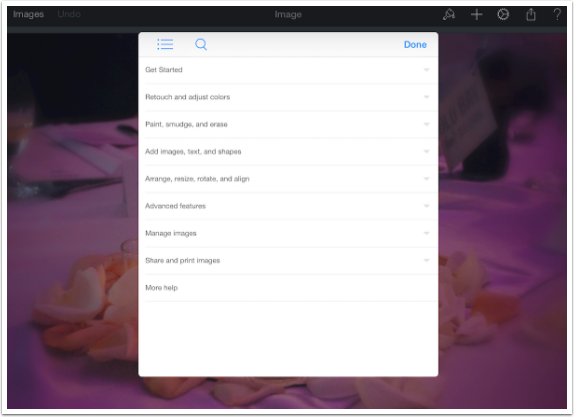
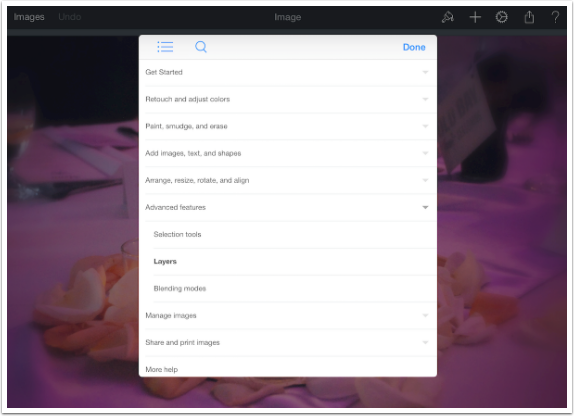
Below you’ll see the list of topics; as long as you see a down arrow at the end of the row, those topics are further broken down into sub-topics.
Next you’ll see the sub-topics, and tapping the sub-topic will take you to text and screenshot explanations of the various features.
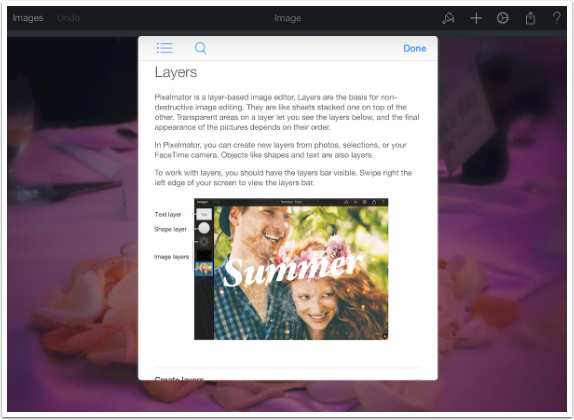
And here is an example of one of the help files.
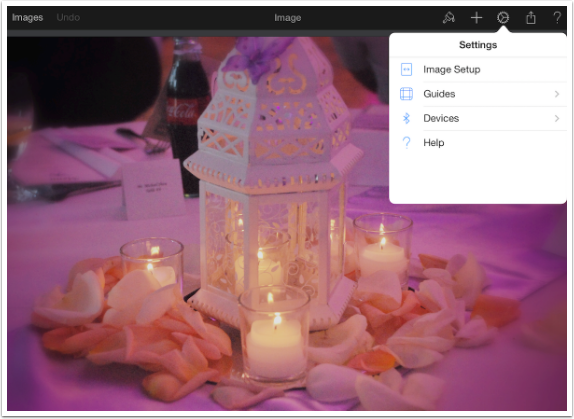
As I said earlier, help can be accessed through the Settings dialog. You also can access three other options: Image Setup, Guides and Devices.
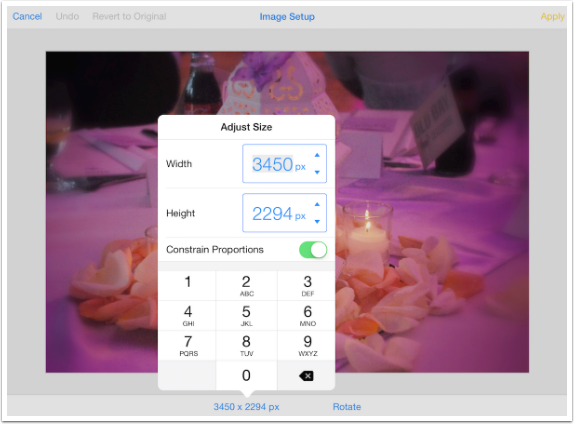
Below you’ll see Image Setup. You’ll see the size of the image in pixels, and the Rotate options.
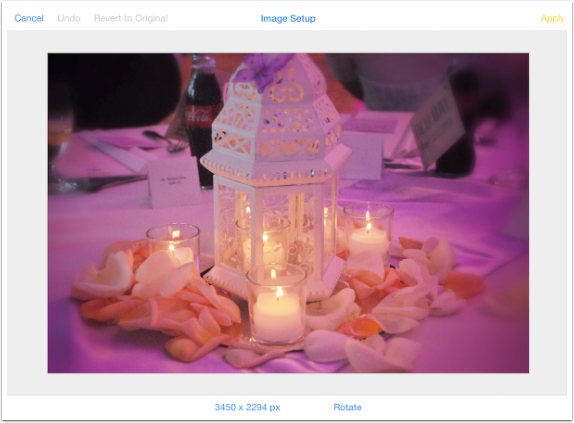
By tapping the pixel dimensions, you are given the option to change the dimensions. As with most layering apps, the number of layers you can overlay on your image is limited by the size of the canvas. Given a particularly large image, it may not be possible to add ANY layers. Keep that in mind when deciding what size image you should work with.
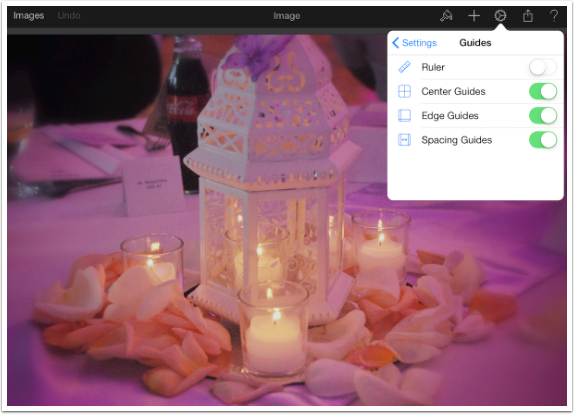
The Guides help you in placing layers such as Shapes or Text. They provide a “snap-to” guide that appears when you are close to the center or edge, and helps you to align layers correctly. I keep them all on except for the Ruler.
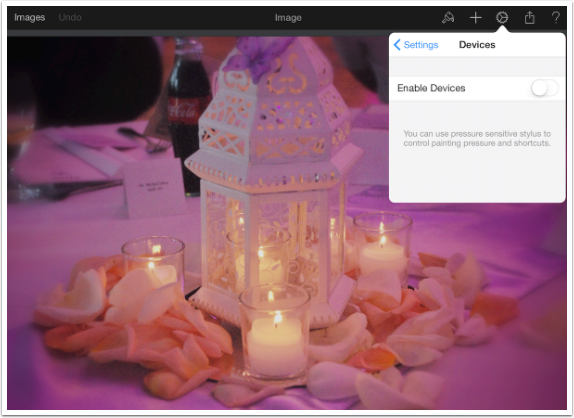
Settings>Devices allows you to use Bluetooth pens for aid in drawing using Pixelmator. I was unable to find a list of supported devices, and I do not use such a device myself.
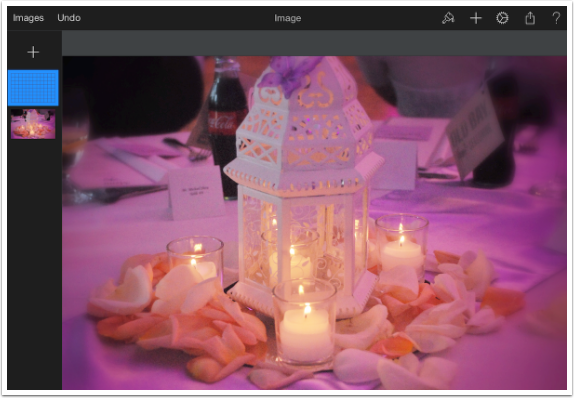
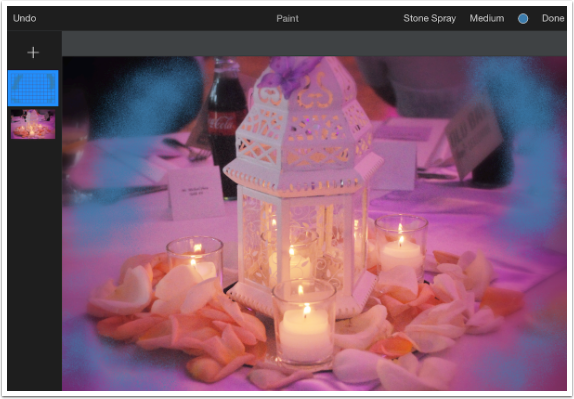
Pixelmator is a layering app, and the layers are accessed by swiping from the left side of the screen towards the right. The Layer menu is scrollable up and down so you can work through your layers. A + sign at the top allows you to add a blank layer you can paint onto. The workspace automatically adjusts to shrink your image on the screen to accommodate the Layers menu. The active layer is indicated with a bright blue.

Below I have added a blank layer by tapping the + sign. The transparency of the layer is indicated by the grid, which is shown in the Layers menu but not in the actual image.
The blank layer is for painting, so I made some blue strokes with the Stone Spray brush. (Painting will be covered as best as I can in a future instalment.) Notice how the paint strokes are shown in the Layers menu as obscuring the transparency grid.
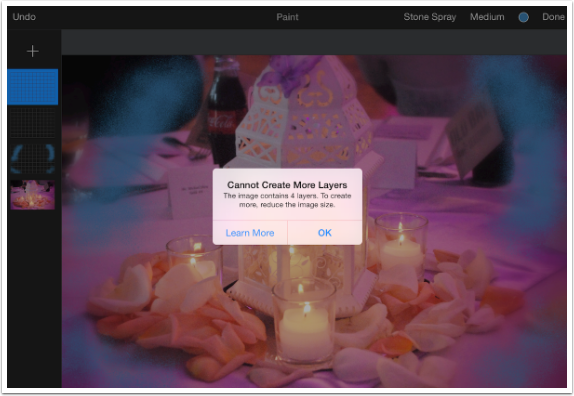
In order to show you the result of trying to add multiple layers with a document of some size, I continued to add blank layers until I got the message below. For my image, which was 3450×2294 pixels, the maximum number of available total layers (including the background) is 4.
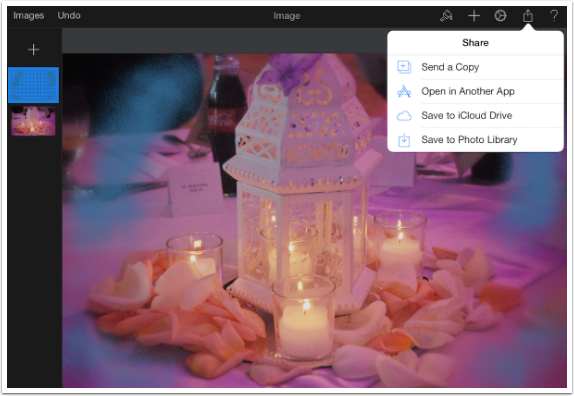
Once you’re done working on your image, you’ll want to save it. (Don’t worry, I haven’t lost my mind. I know this image is worthless as it is.) Merely exiting to the gallery will save the layered image as it currently exists. Tapping the Save or Share icon will bring up the following options for saving. Remember that it is possible to open a PSD file in another app; however, finding another app that will open layered PSD files directly can be a problem. PS Touch will not accept a file passed to it, for example.
This article has covered the basics of Pixelmator. A file was opened, basic settings were explored, a blank layer was added and the file was saved. Basics of dealing with the Gallery were also explored. I know that this does not give you an idea of everything that can be done with Pixelmator, but I needed to cover basic tasks. Next time we will start out with Create Image and then move on to some basic tools. I hope you’ll join me! Enjoy!
Jerry Jobe
Never content with just scratching the surface of what an app can do, Jerry Jobe decided to pass on what he learned about imaging apps to others. He’s constantly trying to figure out just what tools other artists have used, and trying to incorporate them into his own work, in an attempt to find his style. He’s written tutorials on over 145 apps so far, which you can find (along with his Song of the Day entries) at http://enthusiasmnoted.wordpress.com/ He lives near Atlanta, Georgia, where he also finds a creative outlet in acting and directing in community theater.


3 Comments
Carolyn Hall Young
Thank you Jerry, and the App Whisperer. This is a complex app, and I can really use this help with it. I am looking forward to hearing more about it!
Allan Copson
As always Jerry, very comprehensive, I look forward to further tutorials on this app, thanks
Vicki Sergent
Re Bluetooth pen devices: if you go to Settings > Devices > then Enable Devices, there will be a fly out menu that allows you to choose from the supported devices.