Joanne Carter – TheAppWhisperer Speaks at The Photography Show 2015 – Day 2 – Seminar 3 (Part 3 of 5) Mobile Self Portraiture Tutorial by Jennifer Bracewell
I hope you’ve been following The Photography Show articles I have been posting, if not, please go here. We (Vivi and I) presented incredible material and the audience were totally capitvated. In our third seminar we included mobile art and photography tutorials, created by some of our Columnists. In this post I will recreate the tutorial by Jennifer Bracewell, editor of our Portrait of an Artist Column, that we presented to the audience on 24th March 2015. This is the third of four tutorials and demonstrations that we presented in Seminar 3 and we followed these with our incredible Flickr Group Showcase of curated images from our specially set up Flickr Group for the show, where we asked for new and unique images, we’ll be posting this once we have published all of the tutorials.

Lighting is very important. Diffused natural light, such as through a window pane, is nice

If you don’t have a good lighting situation, you can make a reflector as shown here with a paper plate and foil. You may also use a small light (not a flash) as a fill light. Experiment with placement to obtain your desired result. Getting the lighting right is the start to a beautiful portrait with any camera.

Jen uses a Bluetooth camera remote to take her self-portraits. You can also use a timer, available in lots of the camera apps such as Pro Camera 8. A small tripod is helpful, or you can prop your phone up against something. There are also “selfie sticks” out now, long poles that hold the phone at the end.
In addition to lighting, you need to use your phone’s rear camera, not the front “selfie cam”, if you want to end up with acceptable resolution. That’s one of the challenges when shooting with a mobile phone.
Here the camera is setup, the reflector is in Jen’s hand and she’s played around a bit with the light. She’s looking for a dramatic, maybe glamorous image and here’s the original, which is unexciting at the moment.

This was taken into the app called Face Tune, it’s good not just for portraits but for any kind of retouching and refining. Here, she’s enhanced the eyes and lips while smoothing the skin a little


Jen knew that she wanted a dramatic monochromatic image so she took the image into the Noir app, which delivers nice black and white results.


Looking for a more “film-like” quality to her image, Jen brought it into the Magic Hour app and chose the Ilford preset and also used the tilt-shift here to blur the left side of the image a little bit.


Jen was pretty pleased with this, but looking still for a more dramatic, cinematic and glamorous portrait. She decided to take an image of some steam and water droplets and blend it with this portrait. She used Union App by Pixite, a nice app for blending and masking. She moved the image around until she was happy with the placement and then experimented with different blending methods and opacity. She chose “Overlay” at around 50%


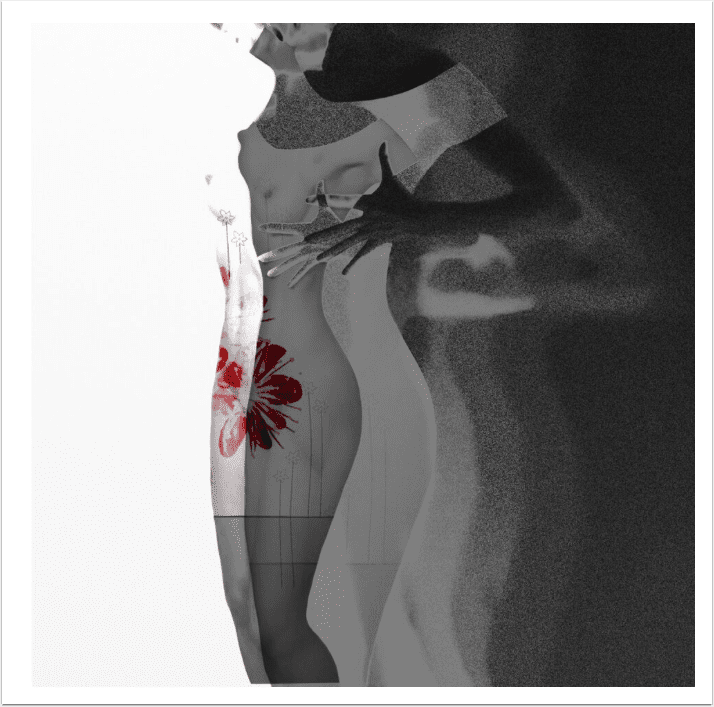
Here’s the final image

Selfie Tips


2 Comments
lee atwell
super, joanne! wonderful tutorial, jennifer! thank you for sharing your insights and knowledge – your images are always to inspiring!
Jelly Beans
Great tutorial!!!!!