Mobile Photography / Art Tutorial – GeometriCam: Fine control, but to what end?
We are delighted to publish Jerry Jobe’s latest mobile photography/art tutorial for our reading and viewing pleasure. This time Jobe takes a look at the new app GeometriCam. Read his thoughts as he puts it through its paces (foreword by Joanne Carter). Take it away Jerry…
“Thanks to the exposure given to my tutorials by TheAppWhisperer, I occasionally am contacted by developers who want me to do an article on their new app. Such was the case with this week’s app, GeometriCam, and its developer, Giuseppe Capozzo.
Sometimes I will turn down such requests. I want my articles to come from the same place as the average user of the app, and the average user does not get free apps. I accepted a free copy of GeometriCam, but informed Signore Capozzo that he may not get the review that he expects. As I wrote to him, “I’m not a big fan of turning images into shapes; I haven’t reviewed some of the big ones like Percolator and Trimaginator, and my reviews of XnShape and Part were not glowing.” He was fine with me being honest in my review/tutorial. That’s what I like to see – a developer confident in his or her app.
So let’s take a look”.
GeometriCam retails for $1.99/£1.49 and you can download it here.
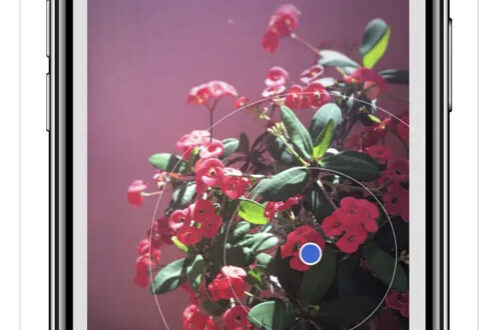
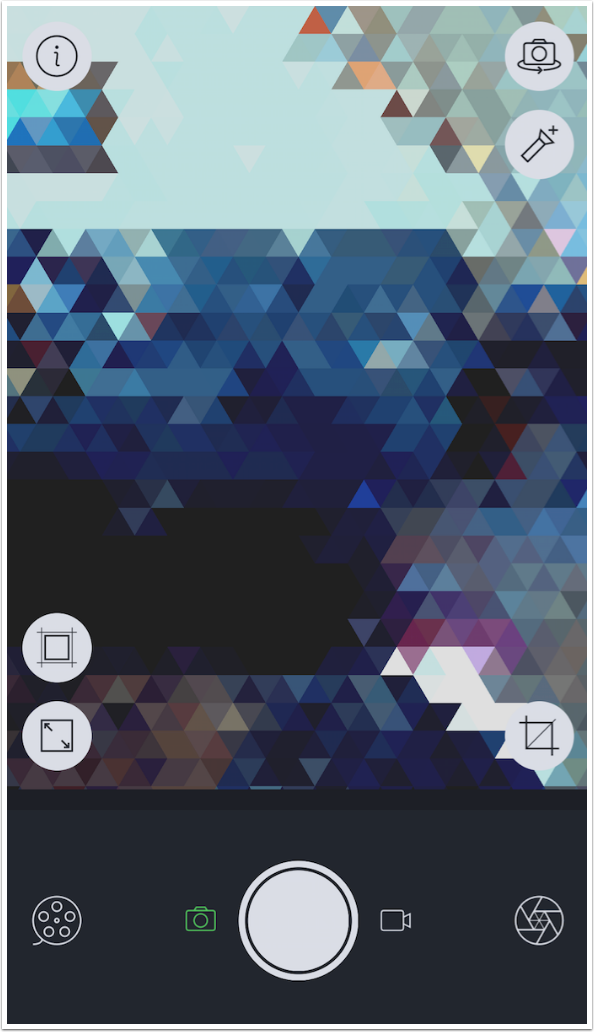
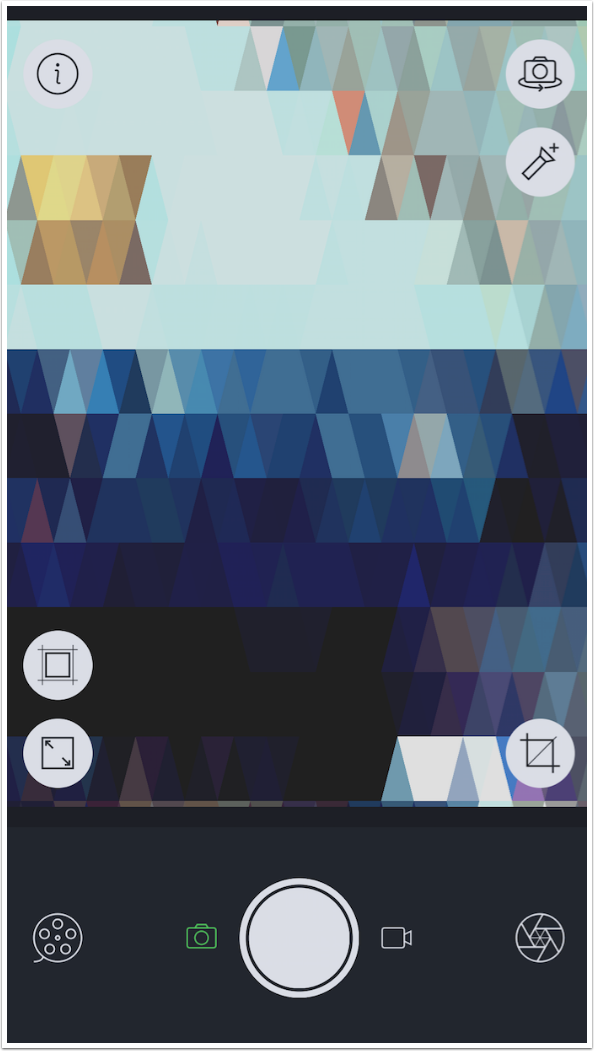
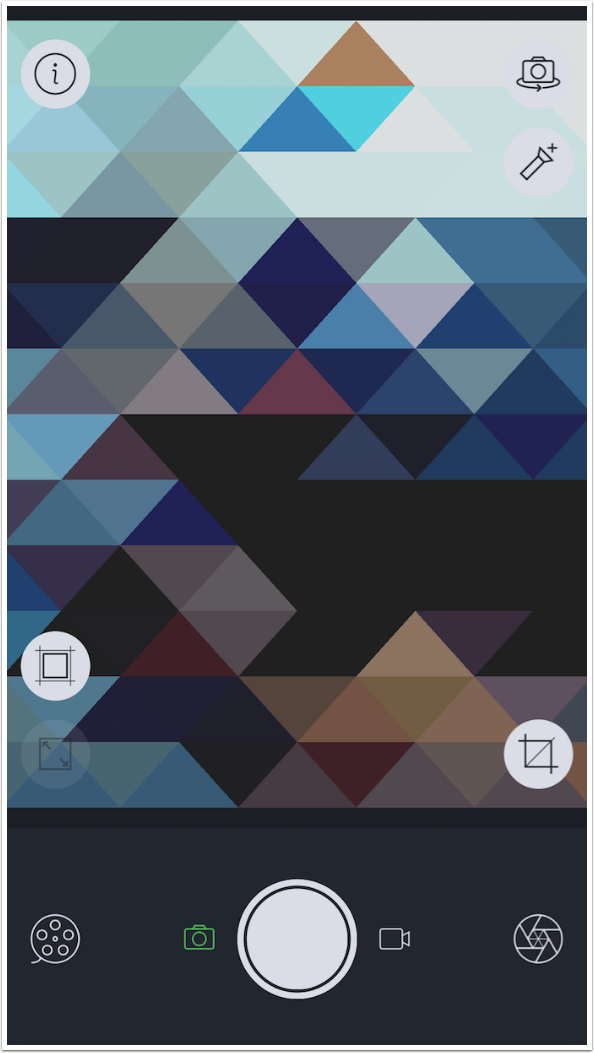
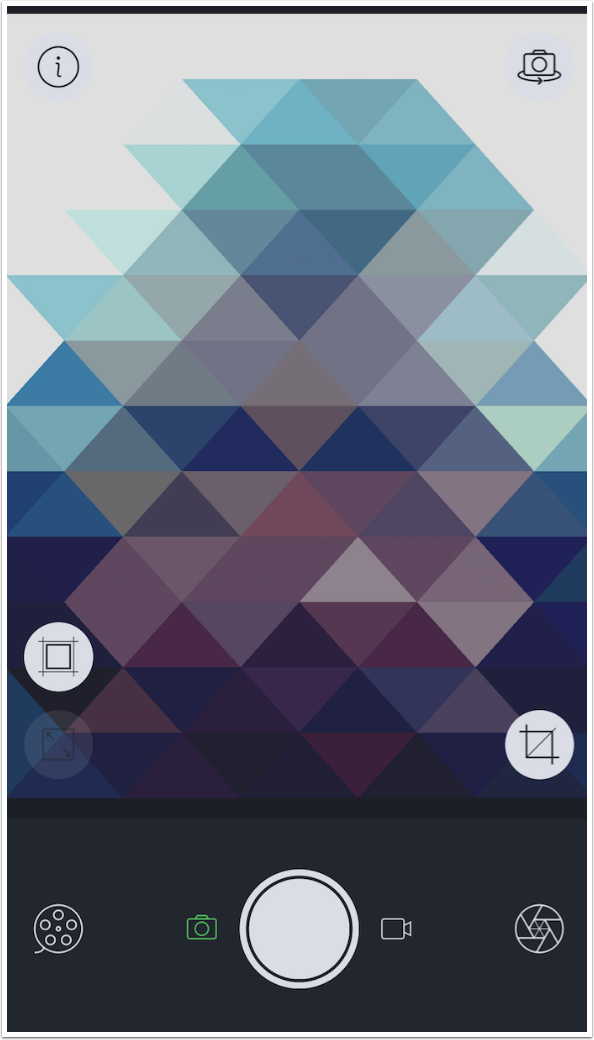
As you might expect from the “cam” part of the app name, GeometriCam is designed to allow you to capture a photo or video. Unlike some other camera apps such as Hipstamatic, you are able to see the geometric effects applied in real time. The buttons are mostly self-explanatory; at the top left is Info, at the top right the Camera allows you to swap between the front- and rear-facing cameras. When you are using the rear-facing camera, you can turn on the flash as a constant light, or flashlight. On the left of the shutter button at the bottom is the choice for capturing photos; on the right is the choice for capturing video. The Film Reel at bottom left is used to select photos and videos already captured for editing. The Aperture button at bottom right takes you to further editing choices.
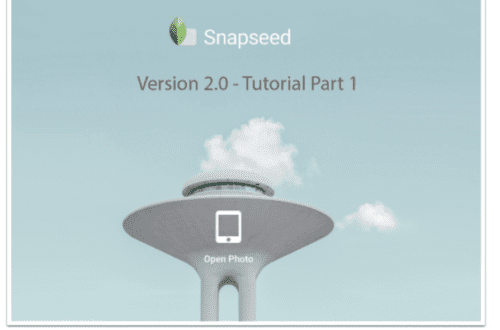
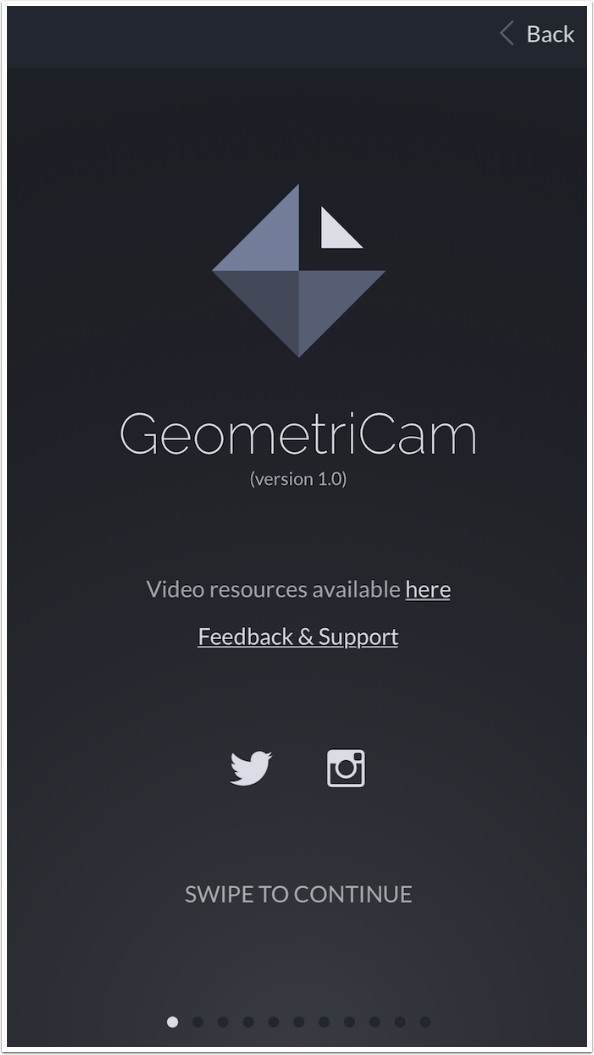
Tapping the Info button will take you to several pages of help. Swiping from right to left advances through the pages.
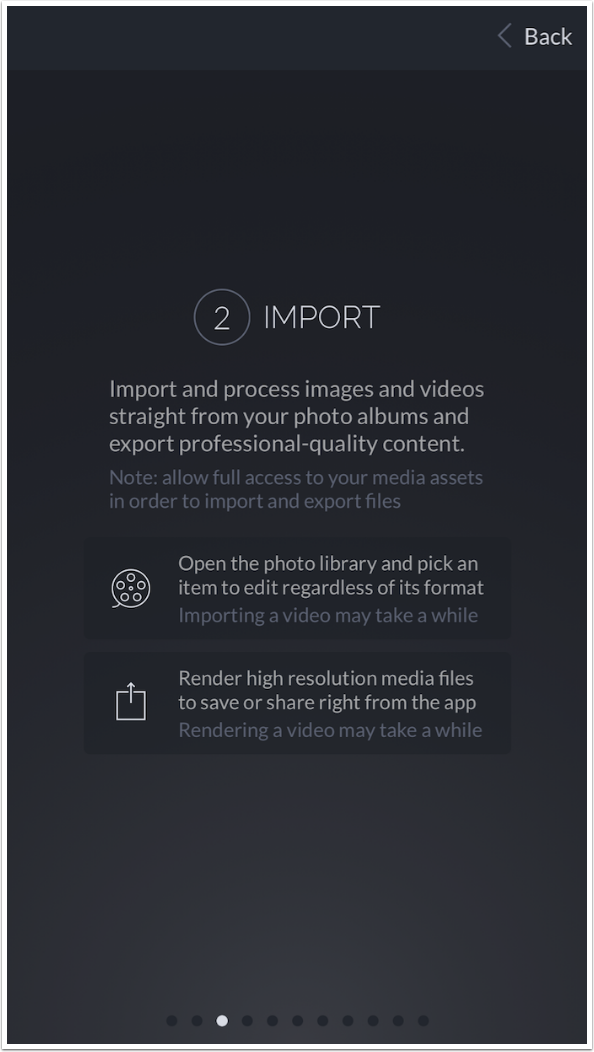
The help is fairly comprehensive, and very clearly expressed. Notice the statement about rendering of high-resolution files. GeometriCam will often produce larger files than what was input to the app.
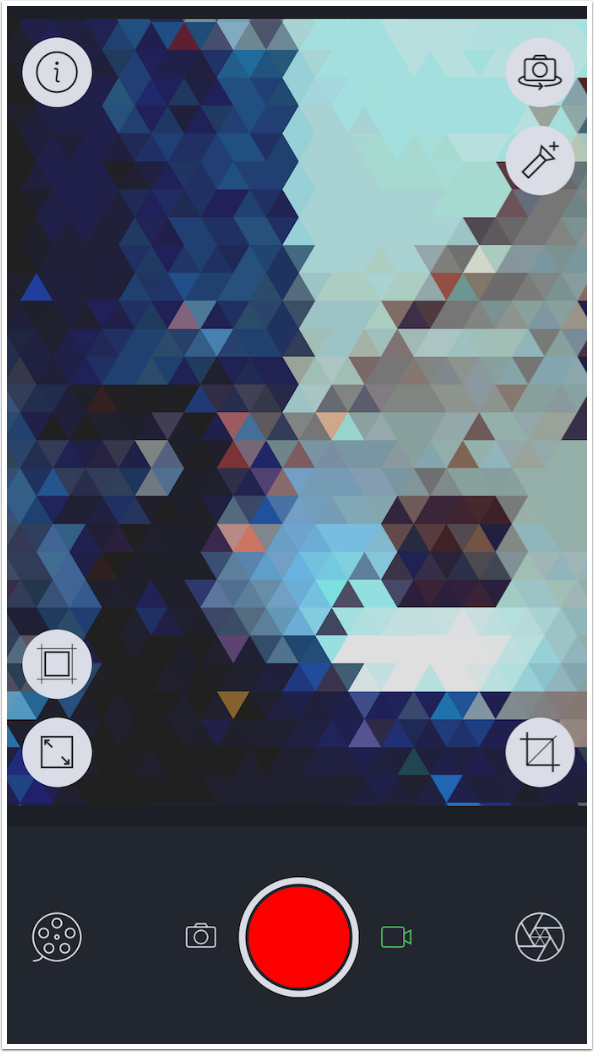
When you choose to record video, the Shutter button will be red instead of white. As you are recording, the red circle becomes a smaller red square.
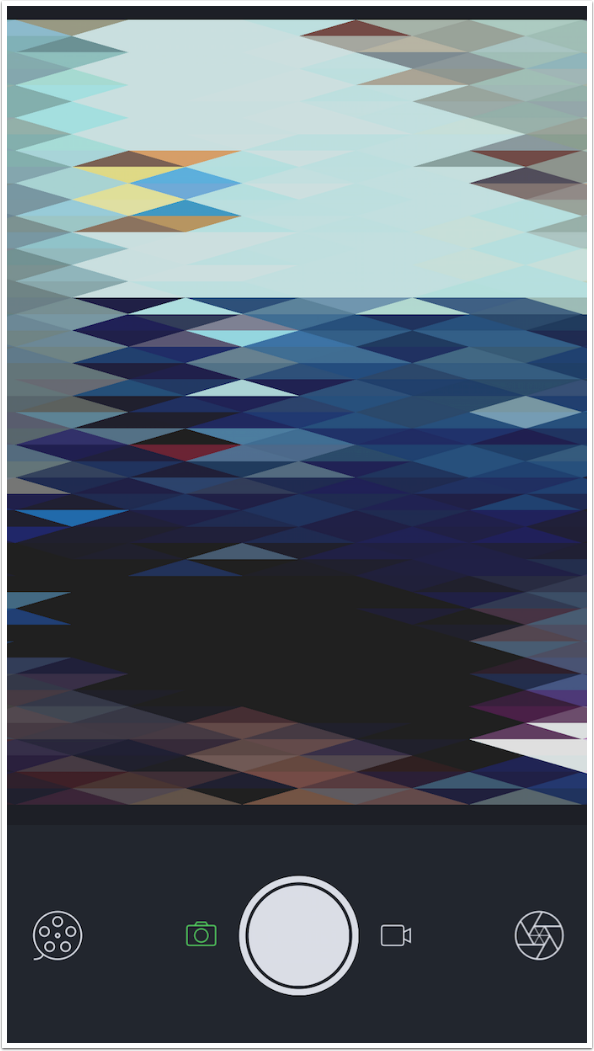
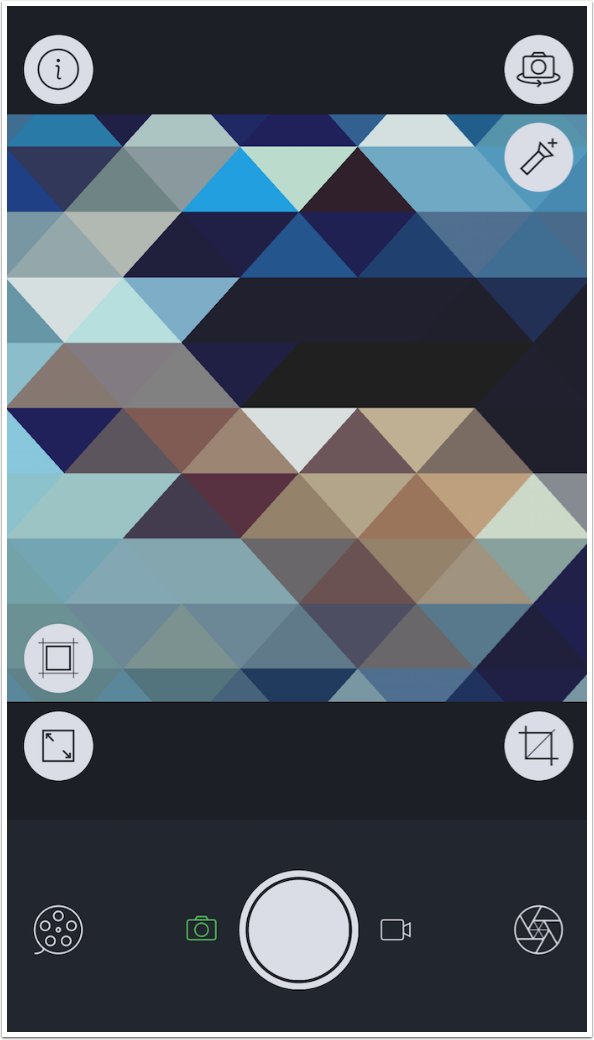
You can change the size of the shapes with a two-fingered pinch. By swiping the screen, you can also change the aspect of the shapes used to make up the image. In the screenshot below, I have swiped downward to make the triangles stretch vertically.
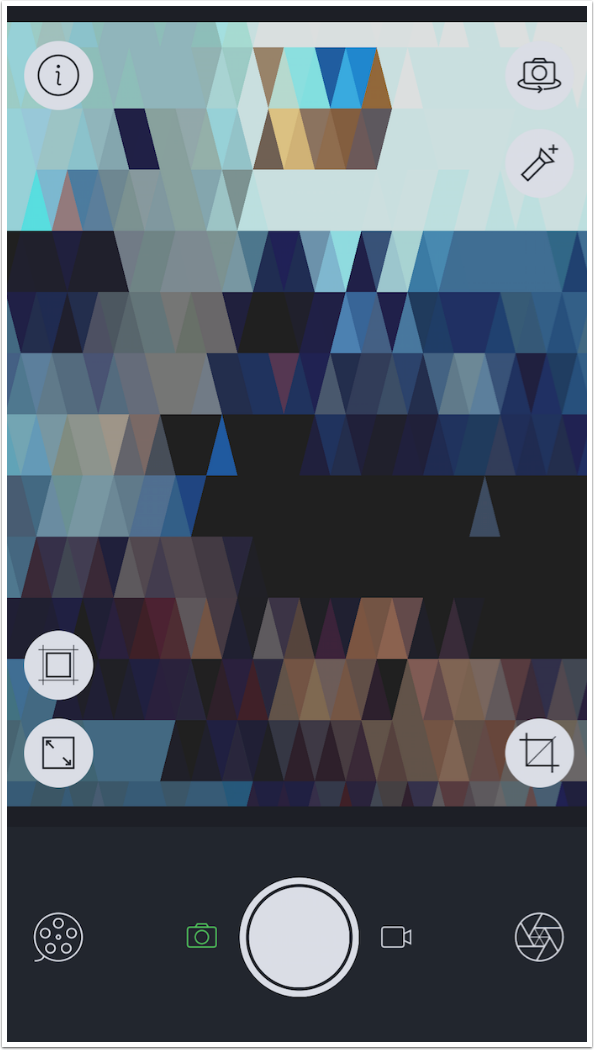
Swiping to the right makes the triangle stretch horizontally. (A single tap to the image hides the buttons that overlay the image. Another tap brings them back).
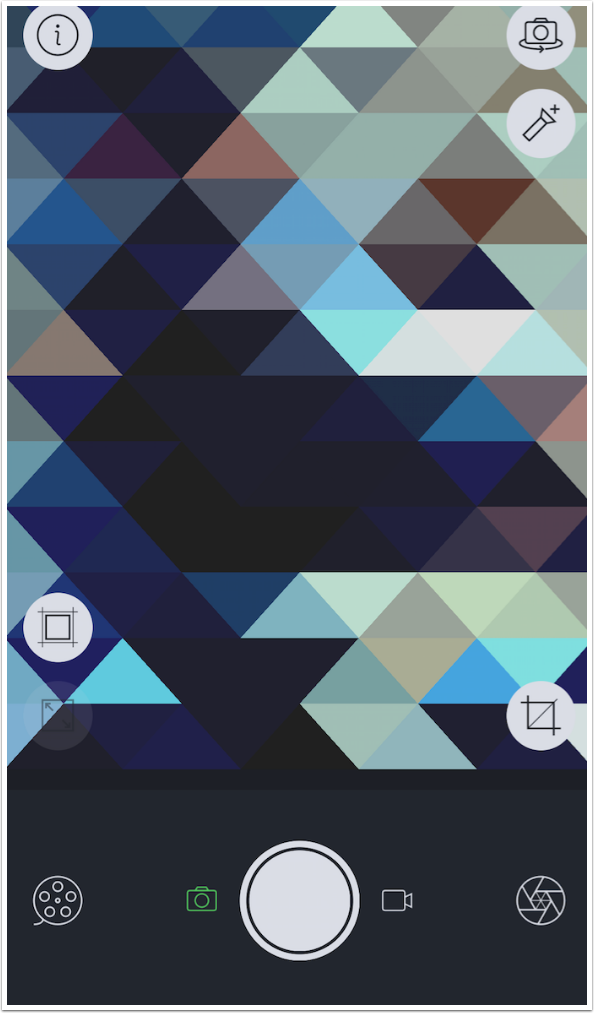
If you look at the screenshot below, you will see that the triangles overlap the edges of the screen at the top and bottom. There is a way to automatically resize your shapes to bring the edges of the shapes to the edges of the screen.
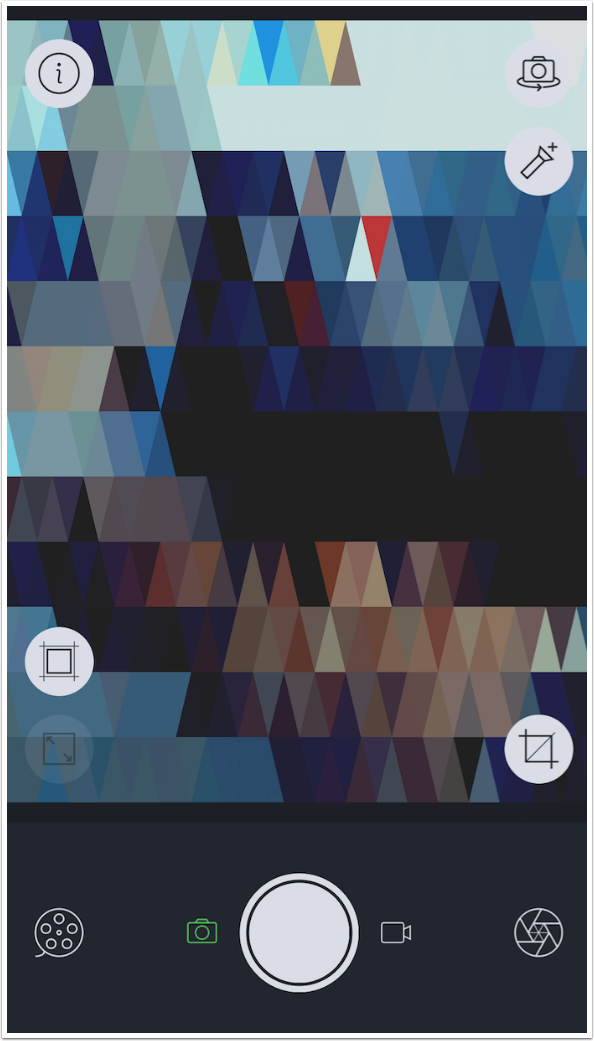
Tapping the square with arrows at the bottom left of the image brings the edges of the triangles to meet the top and bottom of the screen. (The pattern requires that some of the triangles on the left and right edges are cut exactly in half).
The other button, the square-within-a-square, forces the pattern being used into a square. I’ve applied that below. Notice that the triangles themselves are not made square (height the same as the width of the base). That is because the pattern looks like a box with an X that reaches the corners of the box. The pattern is actually made of four triangles, making the height half the width of the base. (Math. Ain’t it wonderful)?
The Crop button on the lower right of the image cycles through three different crop ratios: 3:4, 9:16 and 1:1. One tap will advance to the next ratio.
Rotating the camera to landscape mode in your hands has no effect on the orientation of the buttons on the screen. The screenshot below looks as though my iPhone is still being held in portrait mode, but it is being held in landscape mode.
The capture is still made in landscape mode, however, as I found out when I pressed the shutter button. I now have the option to Save the image to the Camera Roll, Share it with other social media platforms, or send it to Instagram.
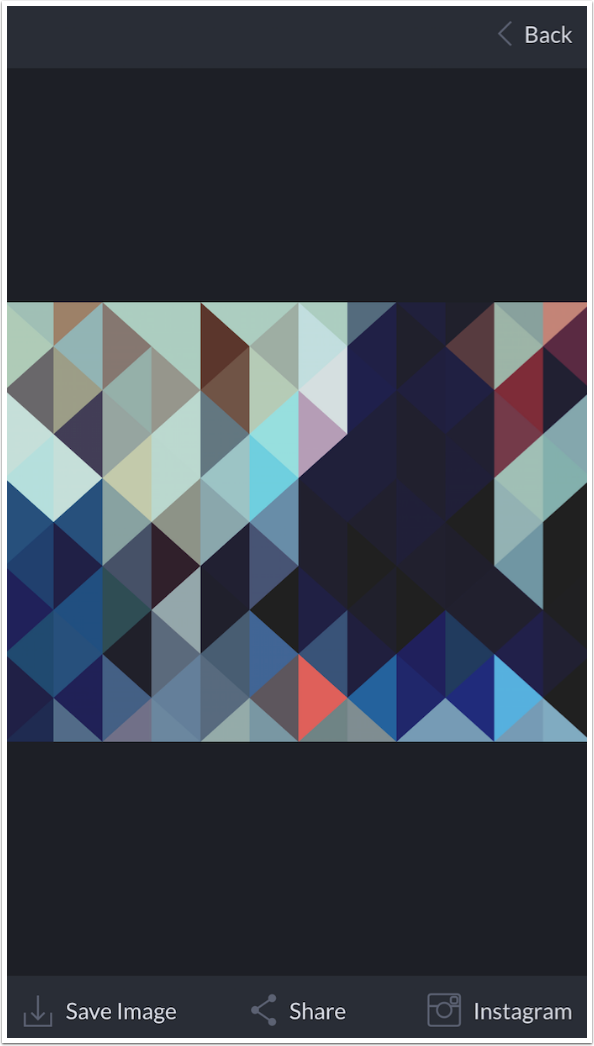
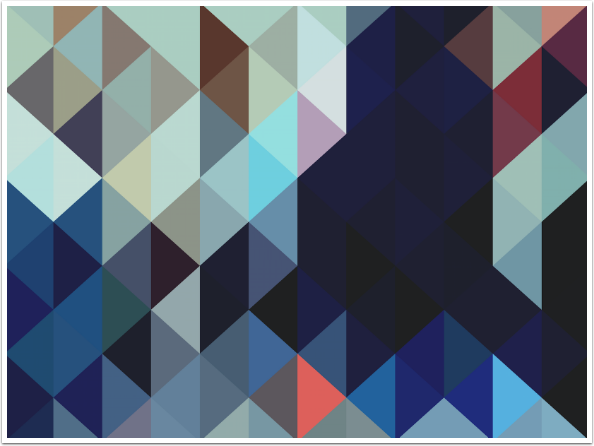
This is the saved image captured in landscape mode.
In the screenshot below I have swapped to the front-facing, or selfie, camera. Notice that the Flashlight button has disappeared, as that is not an option for that camera.
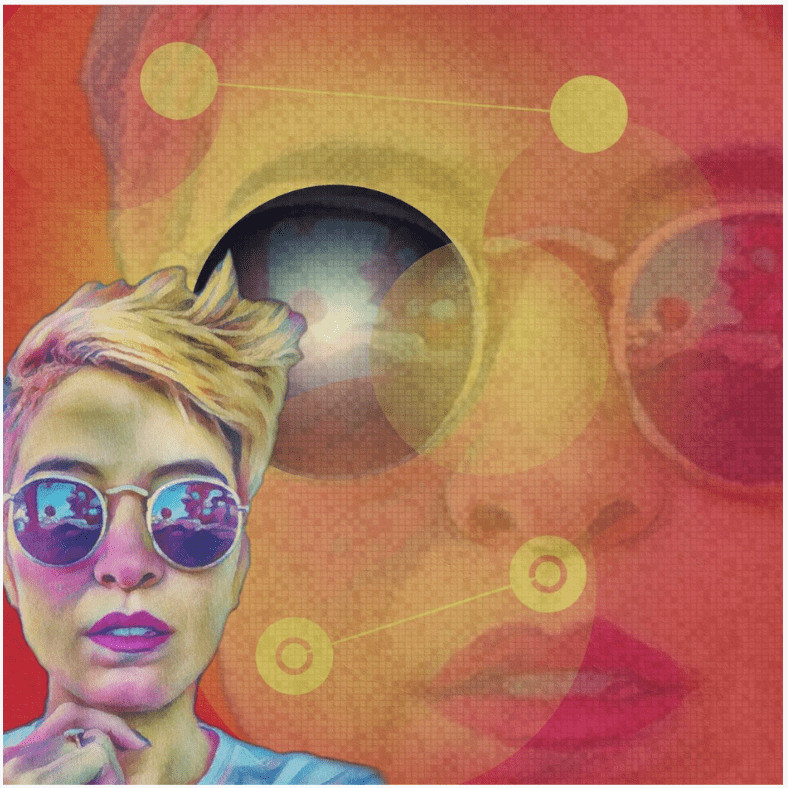
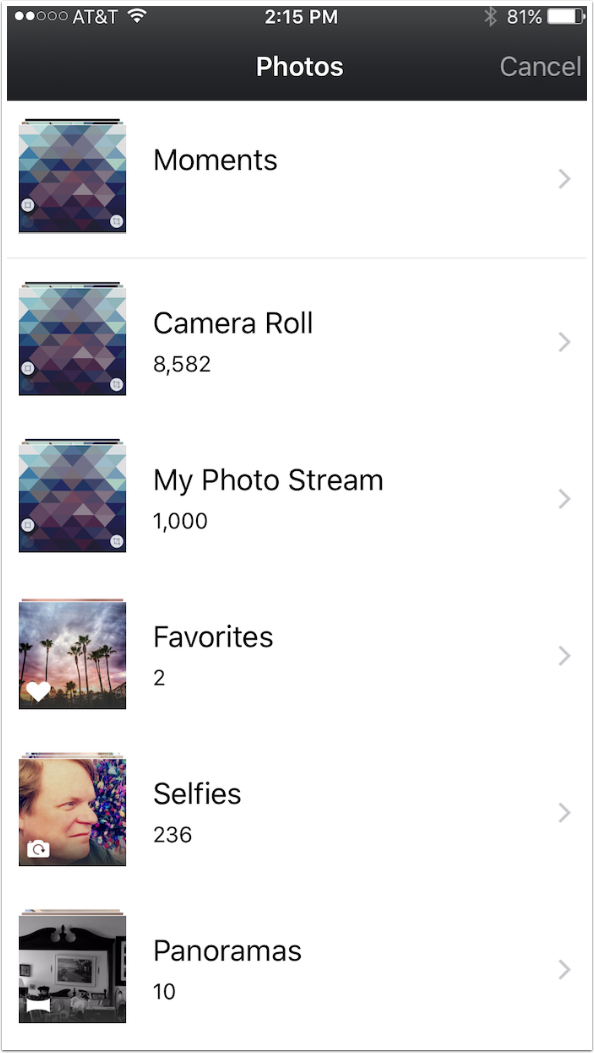
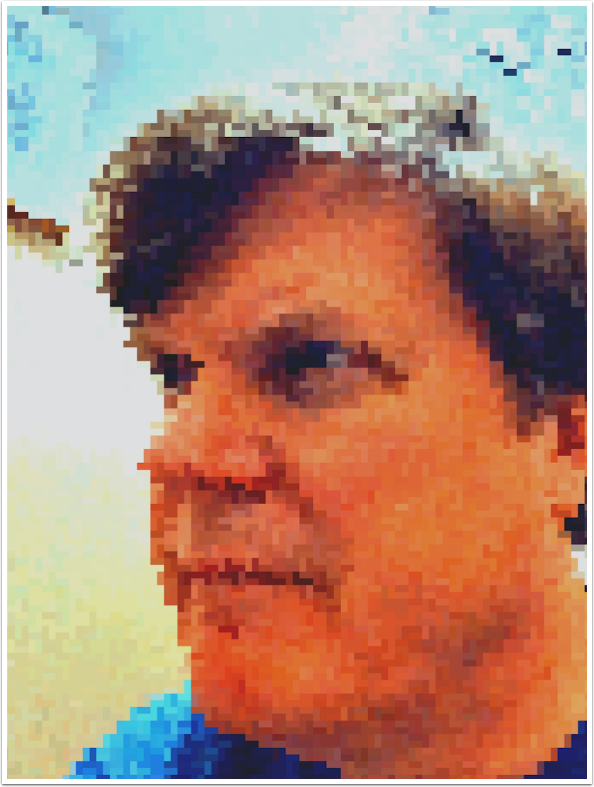
Tapping the Film Reel icon allows you to load an image from your Photo Library. I will be loading the image seen below in the Selfies folder. Images with a lot of detail become very abstract when a geometric effect is added; selfies or portraits tend to retain enough of the original image to be somewhat recognisable.
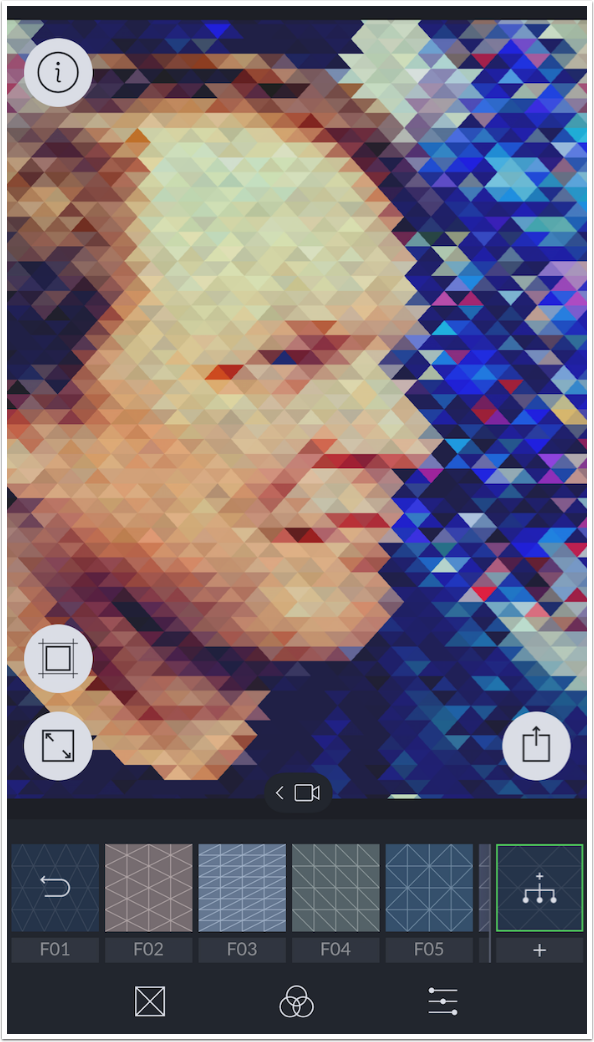
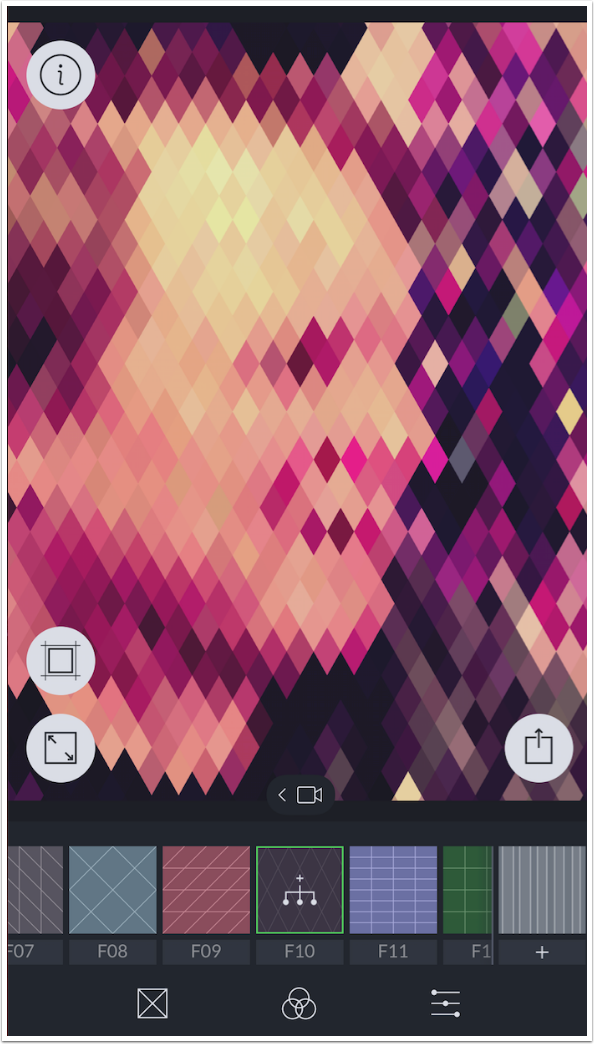
I’ve loaded the image and tapped the Aperture, or Edit, button. Now there are Preset thumbnails at the bottom of the screen. Each preset is made up of three different types of setting: Shape, Color and Tuning. The buttons to edit Shape, Color and Tuning directly are at the very bottom. The presets are numbered F01 to F32. The Mixer button, which allows you to mix the three characteristics of Shape, Color and Tuning from three different presets, is at the right end of the preset thumbnails.
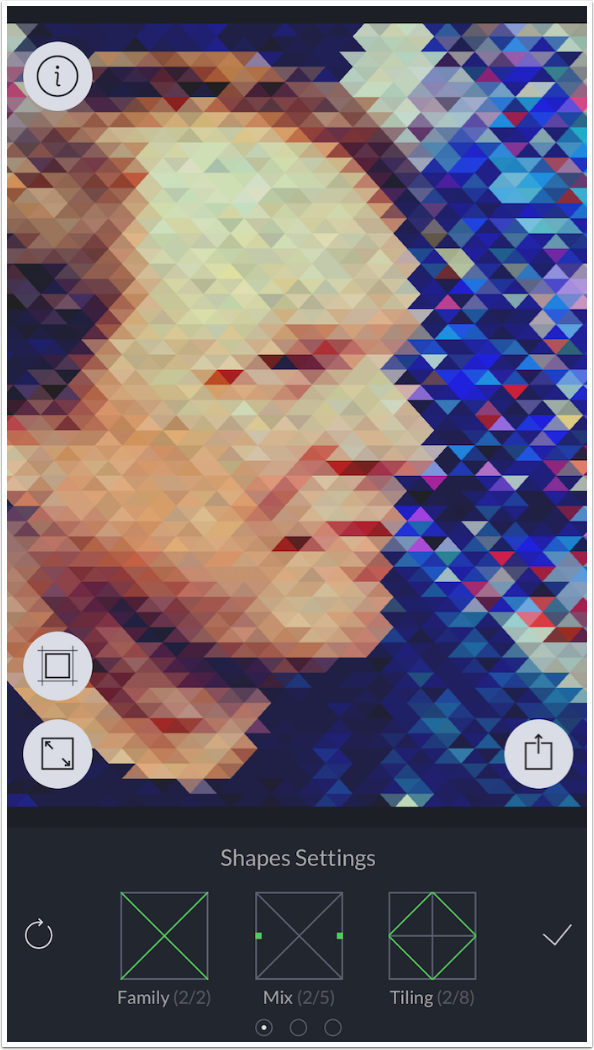
First we’ll take a look at the Shape controls. GeometriCam allows for three different shapes: Triangle, Circle and Square. These different shapes are accessed by scrolling left and right on the bottom. Each shape has three different controls, and the controls are changed by tapping on each one to cycle through the different values. The controls for Triangles are Family, Mix and Tiling.
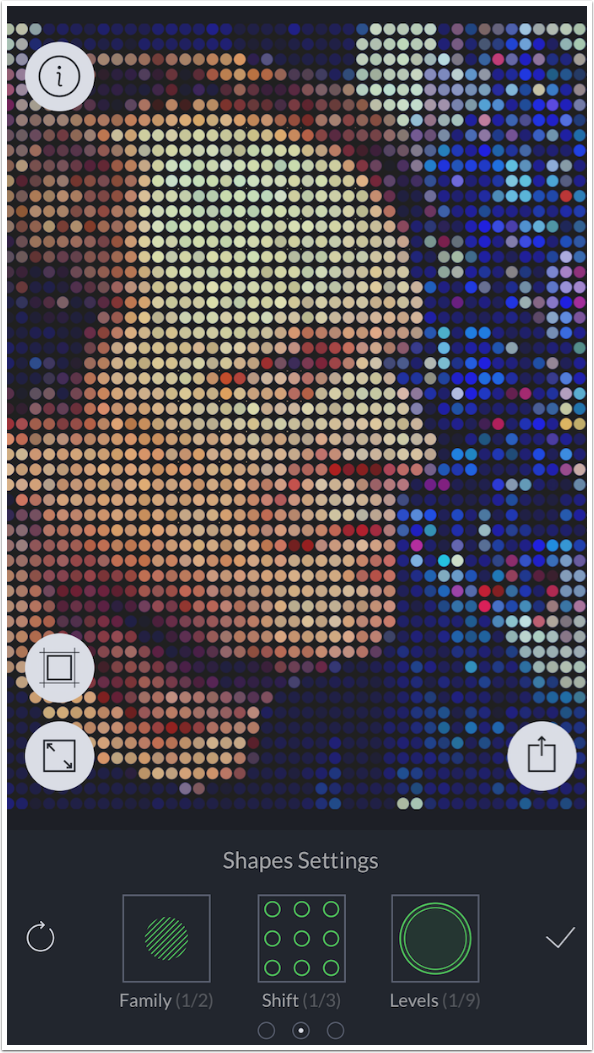
The controls for Circles are Family, Shift and Levels.
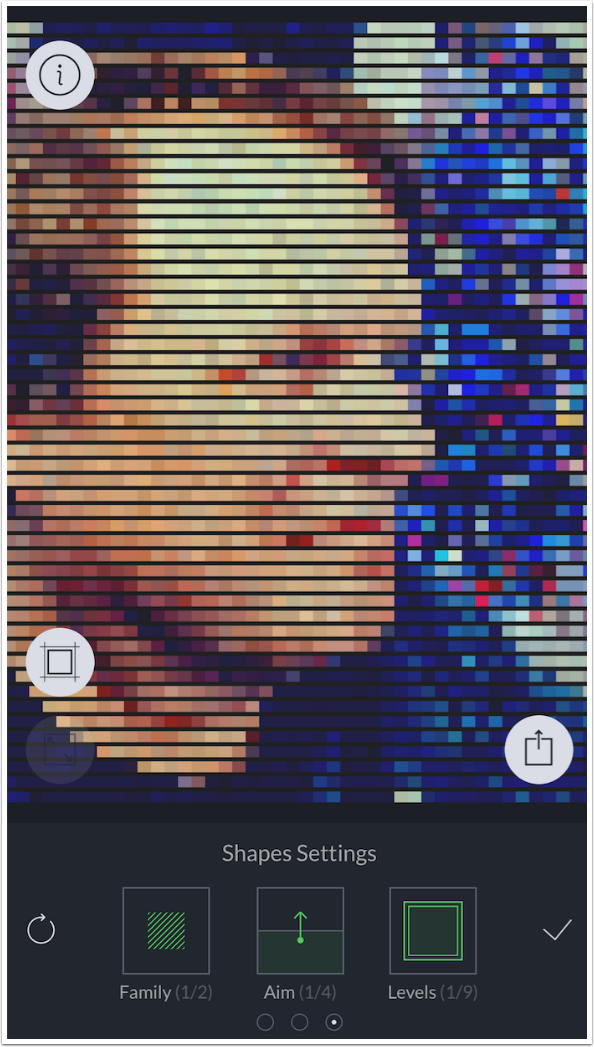
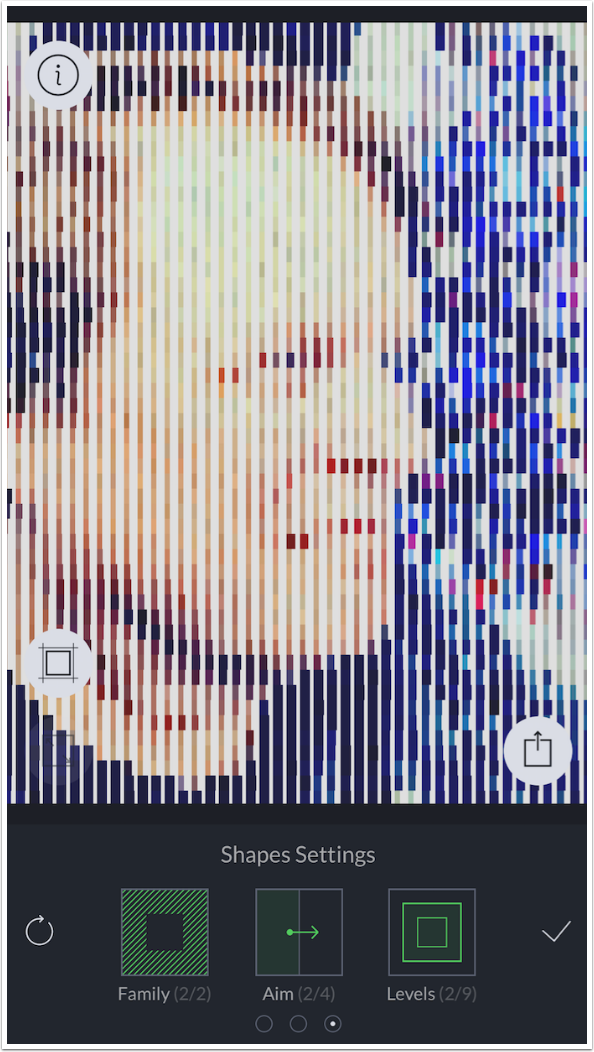
The controls for Squares are Family, Aim and Levels.
Many different looks can be accomplished through the use of these controls. By changing the Family and Tiling controls on the Triangle shape, I get a look that is not reminiscent of triangles at all.

Below I just changed the Tiling.

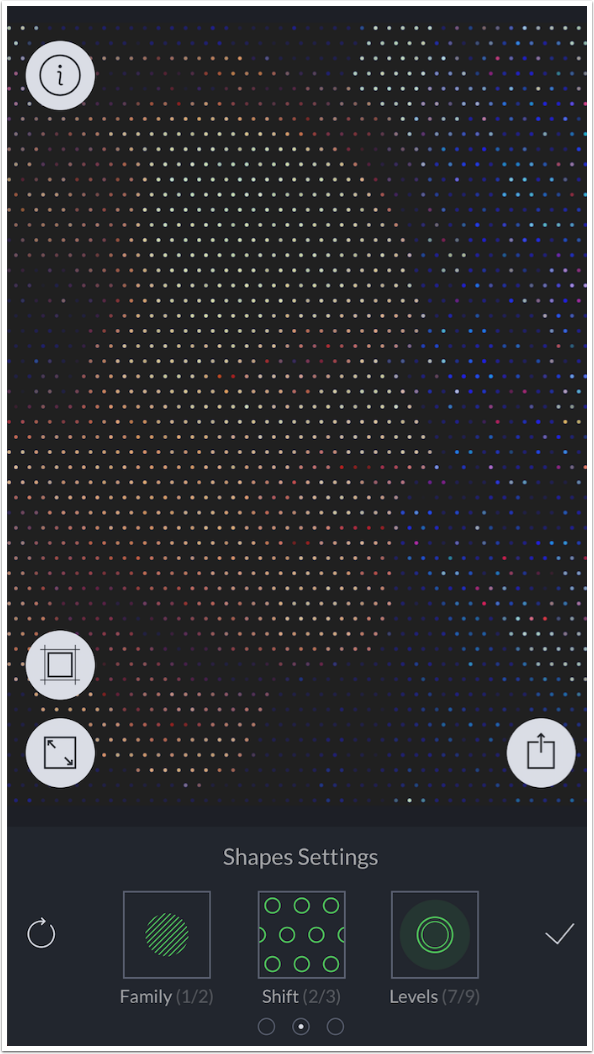
Below I changed the Shift and the Levels for the Circles. (Note: swiping vertically or horizontally on Circles does not change the aspect ratio, making them ovals. Instead, it changes the space between rows of circles).
Squares and Circles require a “field” or background color. The Family control on these shapes change the background from black to white.
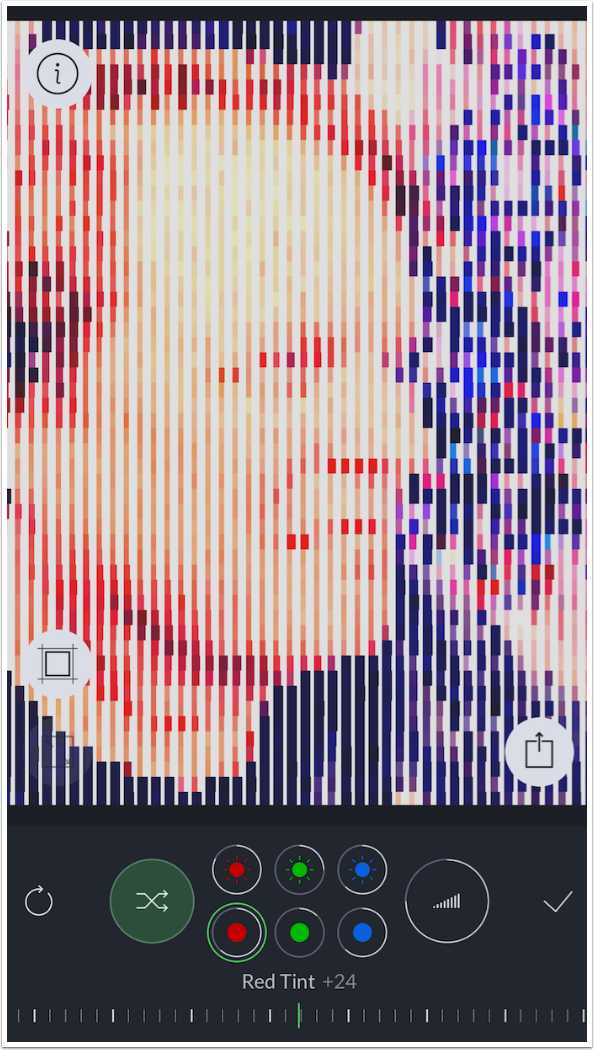
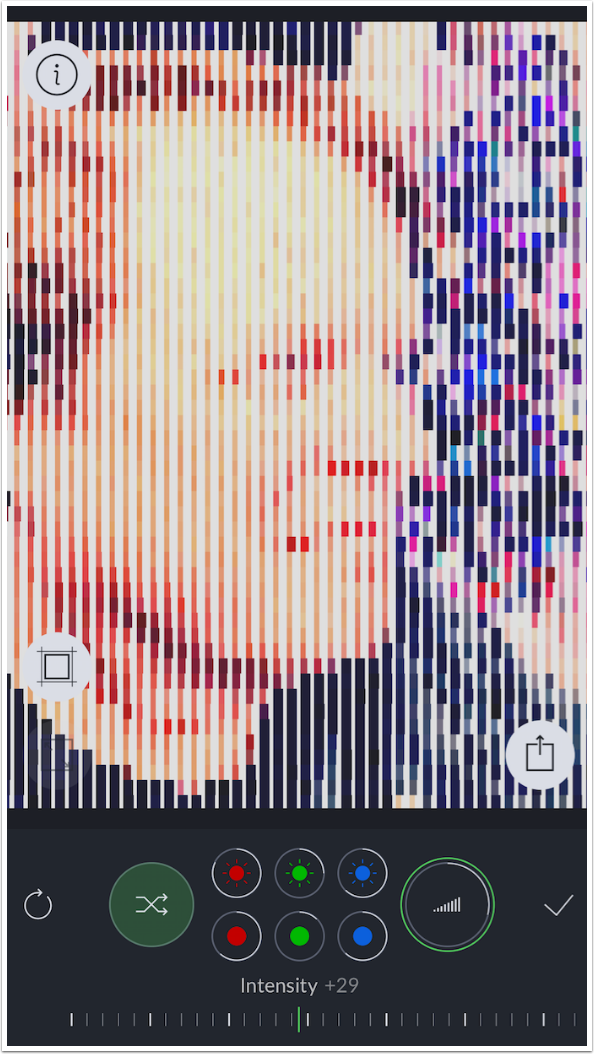
The Color control has seven adjustment buttons: Red, Green and Blue Brightness; Red, Green and Blue Tint; and overall Intensity. When you tap one of those buttons, a scrollable gauge appears at the bottom to make the adjustment. There is also a Randomiser button.
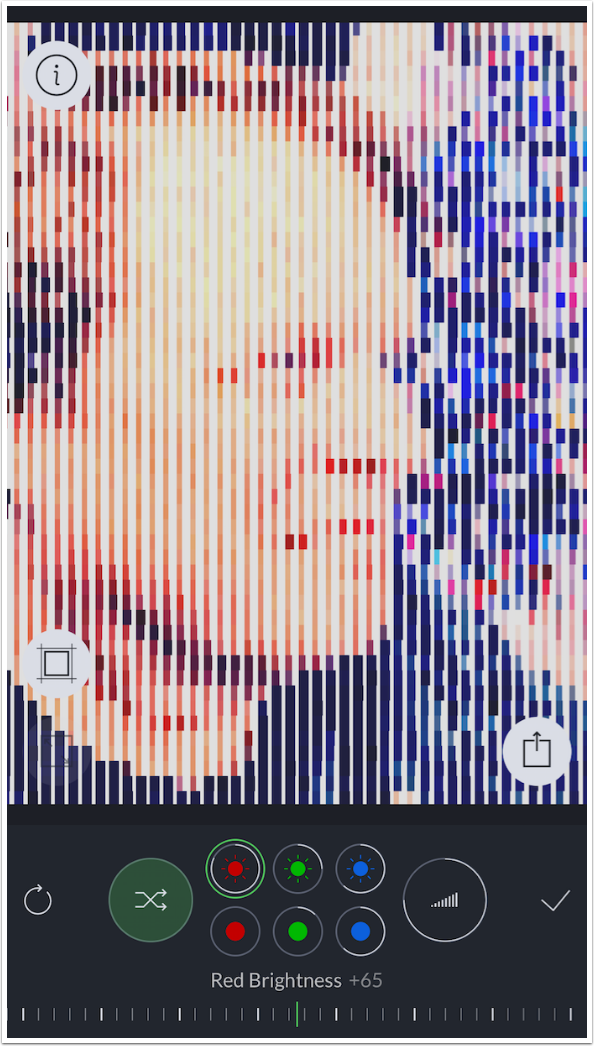
These controls will change the color of the field as well as the shapes. It requires a lot of hit-or-miss adjustment to adjust it exactly to your liking. I recommend starting with a preset with the correct colouring, and changing the Shape and Tuning controls accordingly.
Below I pulled the overall Intensity down a little.
The Tuning control starts with a Color depth slider. It goes all the way from 1-bit depth (solid black and white) to full 32-bit color depth (over 16 million colors). In the screenshot below I’ve moved it down to 2-bit color; the default is 24-bit color.
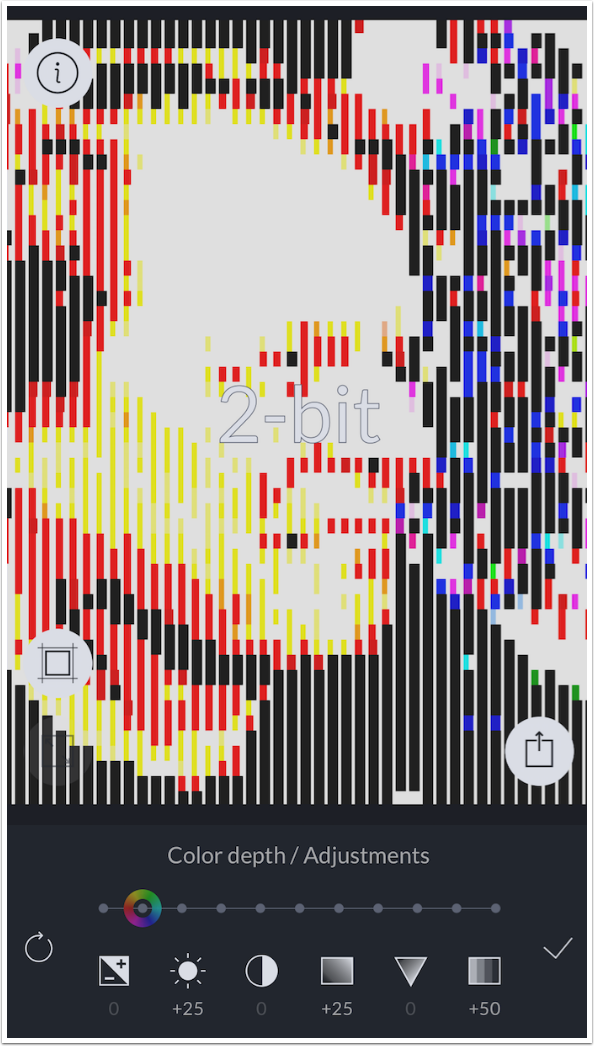
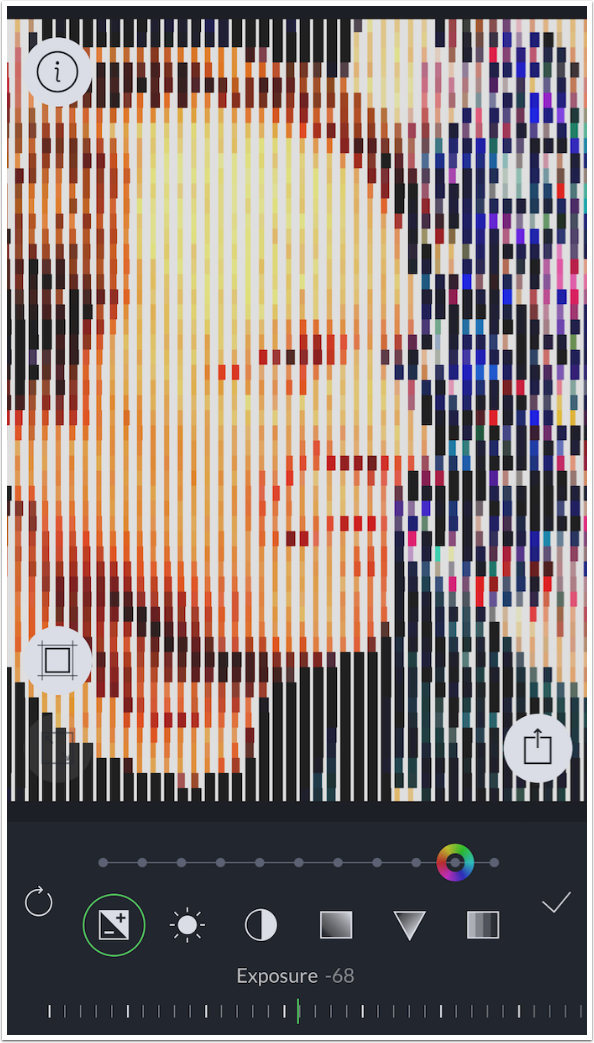
The six controls at the bottom are Exposure, Brightness, Contrast, Saturation, Vibrance, and Fade. Tapping on one of the buttons will bring up a gauge to swipe to manipulate the adjustment. The circular arrow will reset the values; the check mark accepts the values.
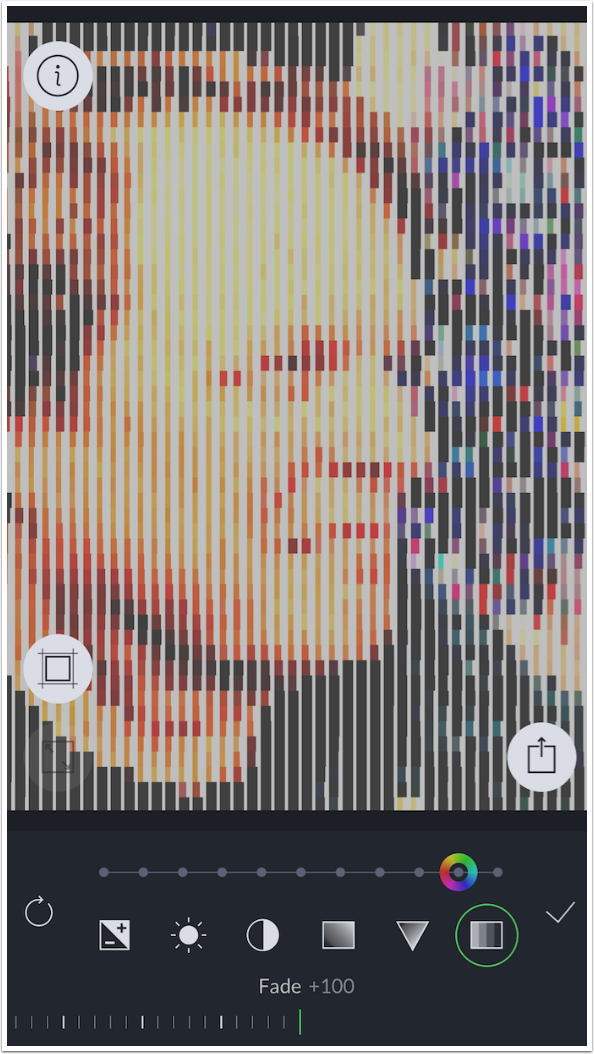
Below you’ll see an example of the Fade control at its full strength of +100.
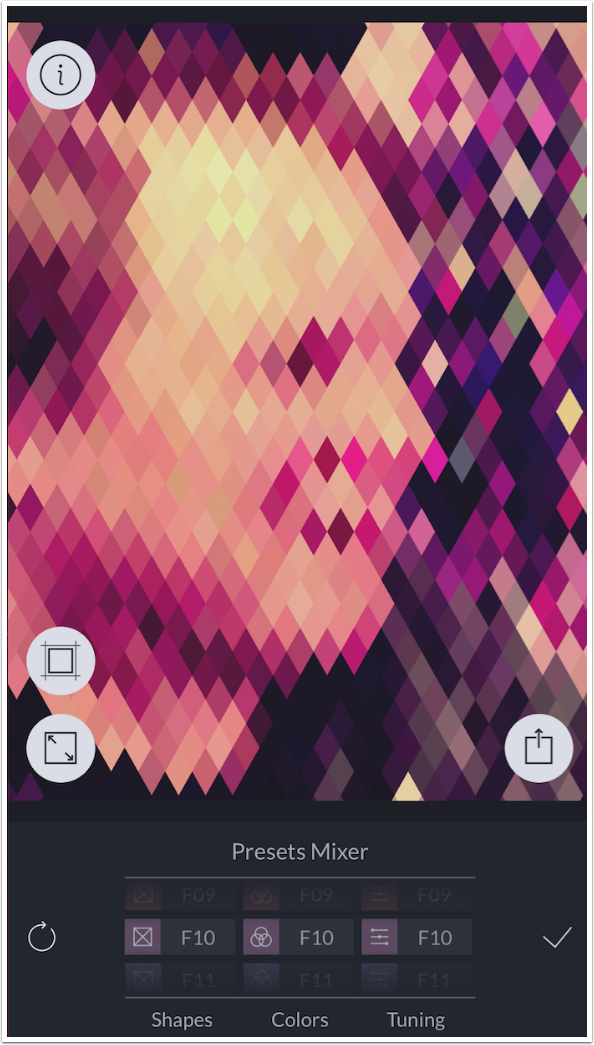
When you’re on the Presets screen, either tapping the Mixer button on the right or tapping the Preset thumbnail twice will take you to the Mixer control. As I said, this allows you to mix the three controls (Shape, Color and Tuning) from anywhere from one to three different presets.
It looks like a slot machine, and you move the wheels up and down to change their value. Here I’ve got F10 for all three values.
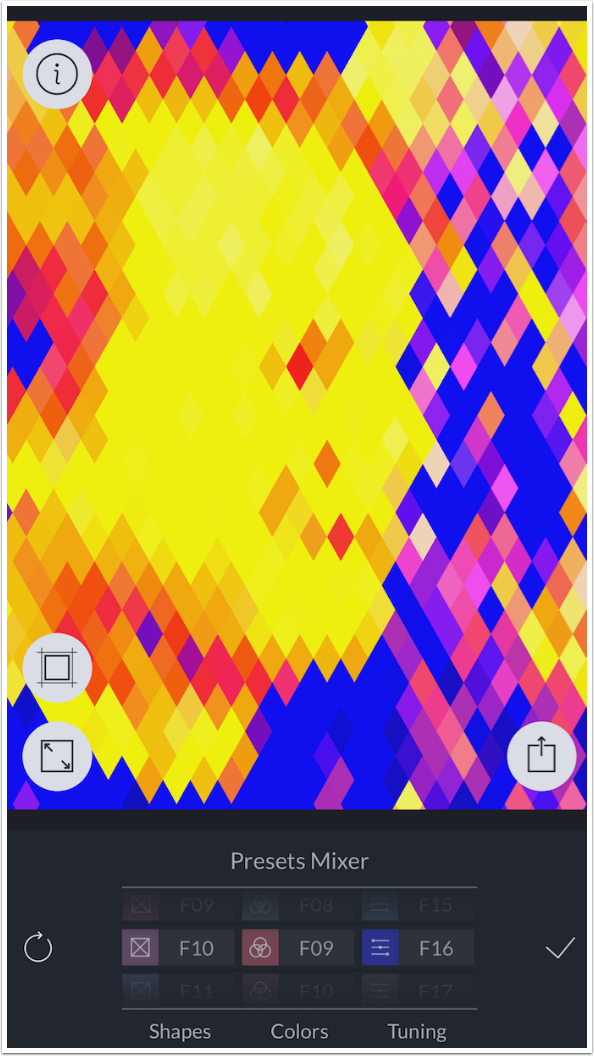
Here’s the result of changing Color to F09 and Tuning to F16.
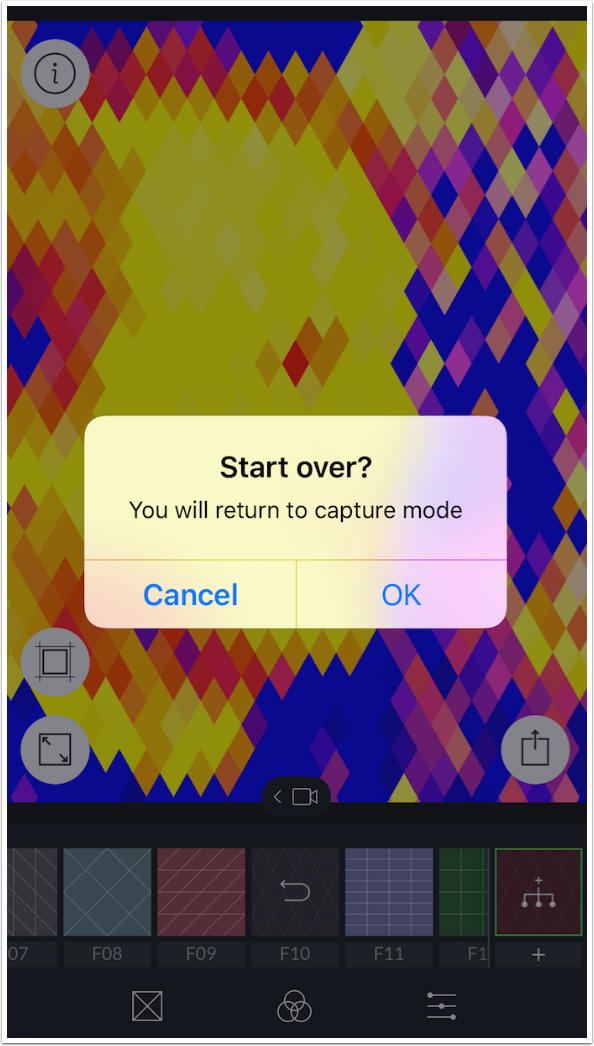
On the Preset screen you’ll notice a small black camera icon, lower center. Tapping this will take you back to the Capture screen without saving your results. You get a confirmation dialog asking if you want to start over.
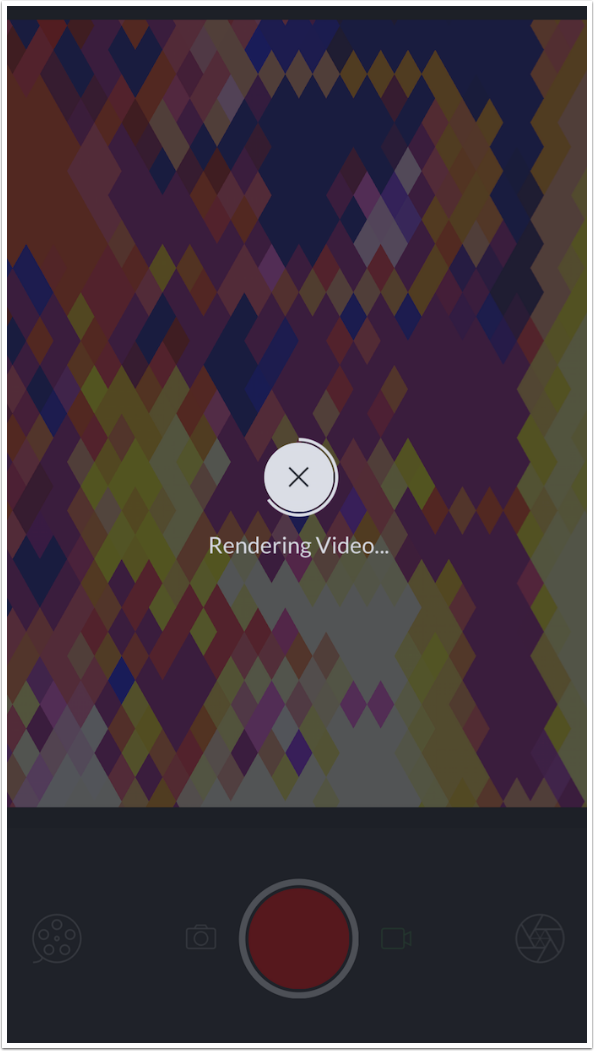
Going back to Capture mode does not change your Shape, Color or Tuning values. So when I then capture a video, it is using the same colourful settings I just left. When I tap the shutter button to stop recording, the app takes some time to render the video.
Here’s the example video, made by panning around my kitchen.
GeometriCam example from Jerry Jobe on Vimeo.
GeometriCam does save at higher resolution. This is possible because it is rebuilding the image, pixel by pixel. This selfie was originally 955×1274 pixels, but the result as saved from GeometriCam was 2446×3264 pixels.
So, GeometriCam offers a lot of options, and they are fairly easily controlled. (The exception is Colors, which has too many controls. I would prefer a color picker, a single brightness slider, and the Intensity (Opacity) slider. That would more closely align with controls in other apps, and would be easier to understand and manipulate.) But are the results worth it? The results out of GeometriCam, untouched by other apps, still leave me cold.
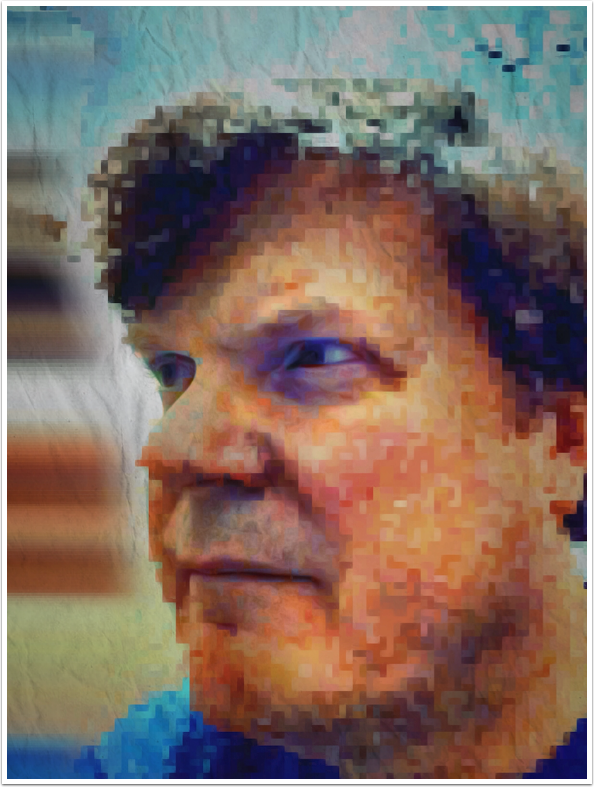
But, of course, one rarely leaves the results from a single app alone. By blending the GeometriCam results back with the original in iColorama, along with some toning changes, a few Abstract brush strokes, and some crumpled paper texture, I get a result I’m much happier with.
Here I use GeometriCam and Decim8 versions merged with the original in iColorama, along with an inversion at the top.

The bottom line is, I do recommend GeometriCam, even though I am generally not interested in changing my images to shapes. It’s well-built, creates high-resolution images, and does not have any in-app purchases to bloat the price. I won’t use it much (although you might), but it’s a handy tool for those times when I want a bit of graphic structure in my blends. Until next time, enjoy!
Jerry Jobe
Never content with just scratching the surface of what an app can do, Jerry Jobe decided to pass on what he learned about imaging apps to others. He’s constantly trying to figure out just what tools other artists have used, and trying to incorporate them into his own work, in an attempt to find his style. He’s written tutorials on over 145 apps so far, which you can find (along with his Song of the Day entries) at http://enthusiasmnoted.wordpress.com/ He lives near Atlanta, Georgia, where he also finds a creative outlet in acting and directing in community theater.