iPhone 14 Pro Camera Review: Scotland – via Austin Mann
Many thanks to our friend Austin Mann who has granted permission for us to reproduce this iPhone 14 Pro camera review from Scotland. To go directly to his site, please click here.
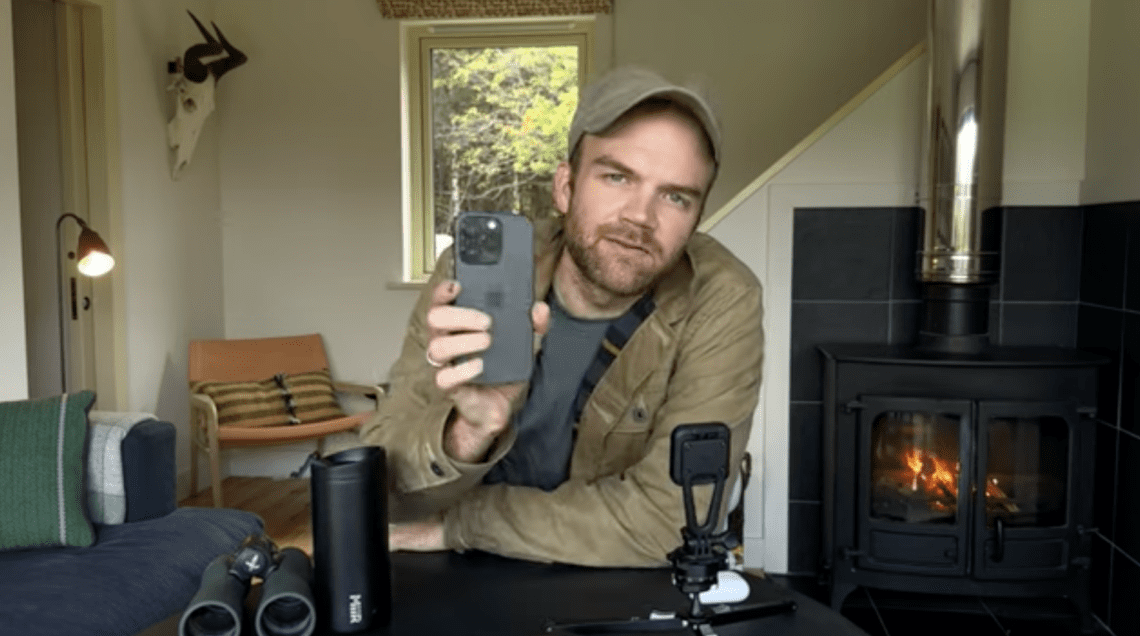
We’re here on the beautiful Dunton Kilchoan Estate in the Scottish Highlands with the iPhone 14 Pro cameras — we’ve been hiking, biking, and boating all around the area, pushing these new cameras to the limit.
The features that really caught my eye during Apple’s keynote were the giant new 48 megapixel sensor, better low-light thanks to quad-pixels, Action mode stabilization for video, and satellite connectivity — and we’ve had a blast putting these new features to the test!
Big thanks to our partners Audiio for the killer music in our videos, Halide for the best camera app for iPhone, my amazing photo lab ProDPI and MiiR for all our awesome adventure gear.
Let’s jump in.

MASSIVE MEGAPIXELS
The iPhone camera has touted a 12 megapixel camera for seven years, and the last time it saw an upgrade the jump was from 8MP to 12MP on the iPhone 6s. The iPhone 14 Pro introduces a massive resolution jump to 48MP, quadrupling the iPhone 13 Pro’s sensor.
When I learned about the increase in resolution of the iPhone 14 Pro sensor, I was cautiously excited. I’ve long been happy with the 12MP files coming out of my iPhone, and I know higher resolution sensors often have their trade-offs. All that said, I was excited to see this massive jump in megapixels in the iPhone 14 Pro as it will open doors to capture more detail, crop in on images, and also open up new possibilities for larger format prints at higher DPIs.
I crop 100% of my images. Whether by just a few pixels or cropping out most of the frame, I use cropping as a tool to balance/direct the viewers eye to where I want it and to cut out the fluff.
See this example image below. The image feels simple, clean, and focused with no distractions in the frame. Your eye knows right where to land comfortably because there’s nothing to pull it away.

The above image is a very tight crop from the image below. I use this technique frequently with my traditional pro cameras to cut out distracting elements, but not something I do with iPhone photos because the resolution just hasn’t been there. The cropped image above is still over 3000 pixels wide because I started with a 48 megapixel file.

This is a powerful way of seeing and shooting, and I encourage photographers with all cameras to be more creative with their cropping as it can often elevate an average image to an excellent image with a few clicks.
Printing iPhone Photos
We’ve been printing more and more iPhone photos for personal use and also for collectors of our art. At 12 megapixels, we generally aren’t blowing up our iPhone photos to larger sizes (unless they are shot in Pano mode), but quadrupling image resolution means we have way more flexibility for large format prints shot on iPhone. I shot this BTS image of Jordan (below) and am really excited to send it off to my lab (ProDPI) to be printed extra large for the wall in his house.

Look how quickly the fog was changing this scene in just a few moments! Image below also shot at 48MP in ProRAW:

iPhone 48 MP DNG File Sizes
Many of you have been curious about the file sizes of the 48 megapixel ProRAW DNG files. I’ve found them to be mostly around 80MB, with the smallest files as low as 45MB (a shot with mostly sky and little detail), and the biggest being 115MB (a shot with tons of detail in leaves). For comparison, my Sony A1 (50 megapixel) RAW files are usually in the 120MB range. The image pixel dimensions of the 48 MP files are 8064×6048.
I’ve made the following 48MP ProRAW DNG file available for download. Just click the link below.

Shooting at 48MP in Low-light Conditions
When we went out on the boat looking for whales in the evening, I switched from 48MP to 12MP because I knew I’d be dealing with fast-moving subjects (animals) and shooting from a moving platform on the boat. This meant the camera is super responsive and will be rendering the best possible image files in these limited lighting conditions.

Best Camera Settings
When I first started shooting with iPhone 14 Pro, I was thinking about it as my new 48 megapixel camera, assuming I would just always be shooting 48MP ProRAW. But after just a few days using it, I’m pretty sure I’ll generally leave my settings set to 12MP ProRAW and only push up to 48MP when I really need it. Here are a few reasons why:
-
12 megapixels is still where the camera really shines — it’s lightning fast, it’s the same resolution across all lenses, and it’s fantastic in low light.
-
Capturing in 48 megapixels is a bit slow. It’s not crazy slow, but it’s slower than I’m used to, and I feel like I miss shots in the moments between frames when the iPhone is processing the larger 48MP files.
-
Available storage options (both in the iPhone and iCloud) have not expanded despite the file sizes being so much bigger, and I don’t want to run out of space.
-
Battery life seems to get zapped more quickly when shooting all day at 48MP.
-
In most cases, 12 megapixels is more than enough. I like the idea of higher resolution, but in reality I don’t need it in most daily shooting scenarios.
So I’ll default to 12MP ProRAW and think of 48MP ProRAW as a bit of a “boost mode” — activating it in specific scenarios, such as capturing a beautiful landscape (like the sunny mountain landscape above) with the intent to print.
QUAD-PIXELS AND LOW-LIGHT
When shooting in low-light conditions, the iPhone 14 Pro automatically trades the super high resolution for much better image fidelity. It does this by stepping down from 48MP to 12MP, which effectively increases the pixel size, keeping the image grain smoother and the detail sharper.
I shot the image below handheld about an hour after sunset and as the moon was rising in front of us.

I generally found the iPhone 14 Pro would stay in normal mode and not switch to Night mode until the scene was very dark, and when Night mode does finally kick on, the exposure times were about half of the iPhone 13 Pro.
Take a look below and you’ll see a modest but noticeable improvement in detail in the green plants, as well as edge sharpness on the mountain in the distance.

Quick tip: In this case, I found the sharpness to be favorable on iPhone 14 Pro, but I do feel many of the images I’ve shot are a bit too processed and/or over-sharpened. When this happens, I’ve been bringing the ProRAW files into Lightroom CC and adjusting the “Apple ProRAW” profile slider to the left to reduce the HDR/sharp look if it’s too much for me.
ACTION MODE
Action mode speaks for itself — just check out the results below.
We found Action mode to work very well in outdoor, daylight scenarios, especially when handheld compared to hard-mounting to a moving vehicle.
At times, we were caught a little off-guard at how much light it needed. For instance, inside an airport during daytime, it didn’t work because it needed more light. It’s also important to realize the field-of-view crop is substantial (because the software is using the outer edges of the frame for stabilization), so shooting with the .5x Ultra Wide lens is closer to the FOV you’re used to with the 1x Main lens.
4K CINEMATIC MODE AT 24 FPS
Cinematic mode (like Portrait mode, but for motion video) looked interesting from the beginning, but it lacked a couple of key features that prevented common use.
As you may know, the film industry standard frame rate has long been 24 fps, so I’ve always found it a bit ironic that Cinematic mode has been locked at 30 fps!
Now with the new ability to shoot at 24 fps and in 4K, footage shot in Cinematic mode can integrate into larger projects. This mode is a couple steps closer to being a tool filmmakers can actually use in their workflow. Next up, I would love to see ProRes Cinematic mode.
TRAVEL WITH SATELLITE & ESIM
iPhone 14 Pro & Garmin inReach MINI
The addition of satellite connectivity to iPhone is a huge deal to me. Much of my work takes me beyond the range of cell signal (for the last week in Scotland, we’ve not had cell service), so I have a Garmin inReach MINI I carry with me — mainly as an SOS communicator for when I’m in the backcountry. Sometimes I use it for text messaging, but this is not something you can do via iPhone satellite service. I pay about $30/month for Garmin’s service, and thankfully I’ve never needed to hit the SOS button, but I carry it when I’m outdoors just in case.

Now, with the release of Emergency SOS via satellite on iPhone 14 Pro, I don’t plan to carry the inReach nearly as often, and I’ll pause the subscription to save the monthly fee, with the added benefit of weight savings in my pack. Keep in mind, the Garmin has its advantages with super long battery life and an extremely durable build made to withstand the rigors of multi-day expeditions, so I think it’s worth keeping around.
But probably the most exciting aspect of satellite connectivity being built into iPhone 14 Pro is that loved ones like my wife, Esther, will have it with them all the time. It’ll be ready for them to use whether they’ve planned for it or not.
eSIM & Travel with iPhone 14 Pro
I’m a bit concerned about the practicality of an eSIM-only approach for travelers with US iPhones who frequently visit the developing world. My wife and I usually land for a project, get money changed, and pick up a local SIM card so it’s easy and cheap to communicate with people in-country. I keep these SIM cards in my daily bag (see image above), and for areas I’m frequently traveling I can just swap the SIM card upon landing and be ready to go.
Apple recommends using eSIM to get your line ahead of time, so I tried to sign up for a line in East Africa (we plan to be there quite a bit next summer), but haven’t yet been able to figure out how.
I did go through a couple guides on how to set this up as I’d really like to get it to work (and I’d be thrilled to toss my bird’s nest of SIM cards), but will need more time to get it sorted out.
Update: if you’re curious about this for yourself, check out this resource provided by Apple to clarify how eSIM works for travelers.
HALIDE’S TECHNICAL READOUT
Halide is by far my favorite third-party manual camera app. I use it when I need precise control over exposure and focus, especially when shooting macro. I also enjoy their Technical Readout feature that offers a bit of an x-ray into the camera hardware inside iPhone. Here’s the readout on this year’s iPhone 14 Pro camera.

It’s interesting to note that the sensor size doesn’t read as 8064×6048 — instead it reads the same as last year at 4032×3024, which leads me to guess that Apple’s camera team is really treating the 12MP files as standard across the entire system, including third-party apps, but will allow the push up to 48MP at special request. I know the team at Halide is working on a deep dive into how all of this works, so keep up with their blog here.
DIGITAL WORKFLOW CHALLENGES
I really like how iCloud Photos works and syncs between all my devices. This is the method I generally use to back up my iPhone photos and edit them on my Mac, but this only works with an active and fast internet connection — and when you aren’t on a tight timeline.
Offloading photos/videos via Lightning cable is another story. I’ve had some serious pains trying to transfer content from my iPhone to my MacBook Pro. I’ve been on YouTube watching videos, unplugging, switching Lightning cables, restarting devices — doing all the things I can think of. I finally found a tip that said if you turn on Airplane mode, then Apple Photos will properly load, and thankfully it did.
These pains offloading media are not a new issue specific to the iPhone 14 Pro, and I really hope it is solved soon.
Once I finally did get the files onto my Mac, viewing the 48 MP ProRAW files in Apple Photos was pretty slow (it takes a long time to preview or zoom to 100%), so I decided I would use Image Capture to import files to the Finder and then view them in Adobe Bridge. This process was simple and direct, but then when I get the DNG files in Bridge, they all looked super dark because the ProRAW profile wasn’t loading there. I had to abandon this method.
I’m genuinely excited about the new cameras, but now I’m growing increasingly anxious about media management and post production, so I hope this stuff gets addressed soon.

A FEW WISHES
-
Night mode with all-red display: After seeing the all-red Night mode on the new Apple Watch Ultra, I can’t help but wish for this same feature on iPhone. It’d be useful in all kinds of low-light scenarios, but especially when protecting your night vision while working to photograph stars.
-
Improved digital workflow support: Attention to digital workflow is critical, and in my opinion it’s this area that needs the most improvement. I’ve wasted 5+ hours just this week trying to get photos/videos off my iPhone using a combination of Apple Photos and Image Capture so I can back up, review, and share.
-
I wish there was a quick in-camera resolution switch: I wish I could switch ProRAW resolution between 12 and 48 megapixels within the Camera app instead of buried in Settings. It feels like something I want to go back and forth between fairly often, and it’d be great if it were similar to how video resolution/frame rate is adjusted with a simple tap in the top right corner.

BUYING ADVICE FOR PHOTOGRAPHERS
If you’re a serious iPhone photographer and interested in buying the iPhone 14 Pro as a camera upgrade, here are my thoughts.
-
Last year’s iPhone 13 Pro is a really strong camera, and though the iPhone 14 Pro outperformed it in most side-by-side tests, it wasn’t a huge margin (except for the massive resolution increase).
-
If the 3x lens on your iPhone 13 Pro drives you nuts, the 14 Pro brings back the 2x perspective — and offers a much more responsive 3x Telephoto.
-
If you are constantly wishing you had more resolution from your iPhone camera, the iPhone 14 Pro 48MP ProRAW option has you covered — but keep in mind capturing these super-high-res files has its trade-offs, and 48MP is only available at 1x in normal mode.
-
If you are using an iPhone 11 Pro or earlier, you should seriously consider an upgrade as you’ll get to step up to ProRAW, plus massive improvements with the Ultra Wide lens, low-light performance, and Telephoto responsiveness.
-
If you often find yourself on shoots in remote locations and you carry (or want to a carry) an emergency satellite communicator, the iPhone 14 Pro is an excellent upgrade.
THE BOTTOM LINE
With high-resolution imaging capability, Action mode stabilization, and a Cinematic mode that now supports 4K at 24 fps, the iPhone 14 Pro is a powerful imaging tool in the pocket of a creative pro. Beyond the cameras, new safety features like Emergency SOS via satellite and crash detection are exciting to have with me (and with my loved ones).
Now I’m just hoping we see some monster steps forward in the digital workflow so we can quickly get these beautiful files off our cameras and into our projects to share with the world!
ASK ME ANYTHING ON
INSTAGRAM STORIES
I’ll be doing an AMA on Instagram Stories shortly and will be happy to answer any questions you might have about iPhone 14 Pro, photographing in Scotland, or anything else.
Join me there for more insight or to ask a question of your own.
Please support us
TheAppWhisperer has always had a dual mission: to promote the most talented mobile artists of the day and to support ambitious, inquisitive viewers the world over. As the years passTheAppWhisperer has gained readers and viewers and found new venues for that exchange.
All this work thrives with the support of our community.
Please consider making a donation to TheAppWhisperer as this New Year commences because your support helps protect our independence and it means we can keep delivering the promotion of mobile artists thats open for everyone around the world. Every contribution, however big or small, is so valuable for our future.


