4 Crucial Steps to Prepare Images for Printing
Creating a great printed image is a gratifying experience, but it requires more than just pressing the print button. As you will realize, an online photo can look quite different from a physical one because a lot can go wrong. From colors to resolution and sizing, there are a few crucial steps to ensure the image looks perfect when printed.
Check The Monitor Calibrations
Monitor calibrations are the color settings that determine the appearance of an image. This is an important step, especially for custom poster printing. Without proper calibrations, the colors you see on your screen may look completely different than the physical printed version.
To calibrate the monitor, use color calibration software and hardware. It will change the overall color scheme, ensuring that it looks as close to accurate on any screen as possible. Calibrate the monitor at least once but more often if older or used frequently.
Resize & Crop the Image
Most images need to be resized according to the desired dimensions and cropped or edges trimmed. Doing this makes the image fit correctly on the page and look great. Keeping the pixel count high is also vital for excellent print quality. To check the resolution, look at the image size, usually written in pixels per inch (PPI); aim for 300. Enlarge the file when printing huge photos.
Save the File as PNG or TIFF
TIFF (Tagged Image File Format) and PNG (Portable Network Graphics) are the two most popular file types for saving a digital image. These formats maintain the highest quality of the printed image, preserving color and contrast. JPEG or JPG formats can cause a decrease in image quality due to compression, but they’re easier to transfer and edit.
Additionally, understand when to choose 8-bit and 16-bit. These are the number of bits used to store and edit each pixel. The 8-bit option is the most commonly used and offers sufficient quality when printing. For more detailed images, use the 16-bit option but only if your editing program is compatible.
Choose DPI
DPI (Dots per Inch) measures the number of dots printed in one inch. Choose an appropriate resolution, as the more dots there is, the better the image quality and detail. A minimum of 300 DPI is recommended for printing, but higher resolutions will produce sharper images. Be careful with DPI in larger images to avoid pixelation.
A print image should be sharper to look its best. Use a good sharpening algorithm to avoid artifacts and halos that appear when over-sharpening. Also, more detailed photos require more sharpening, but you can get away with little or none in larger, simpler images.
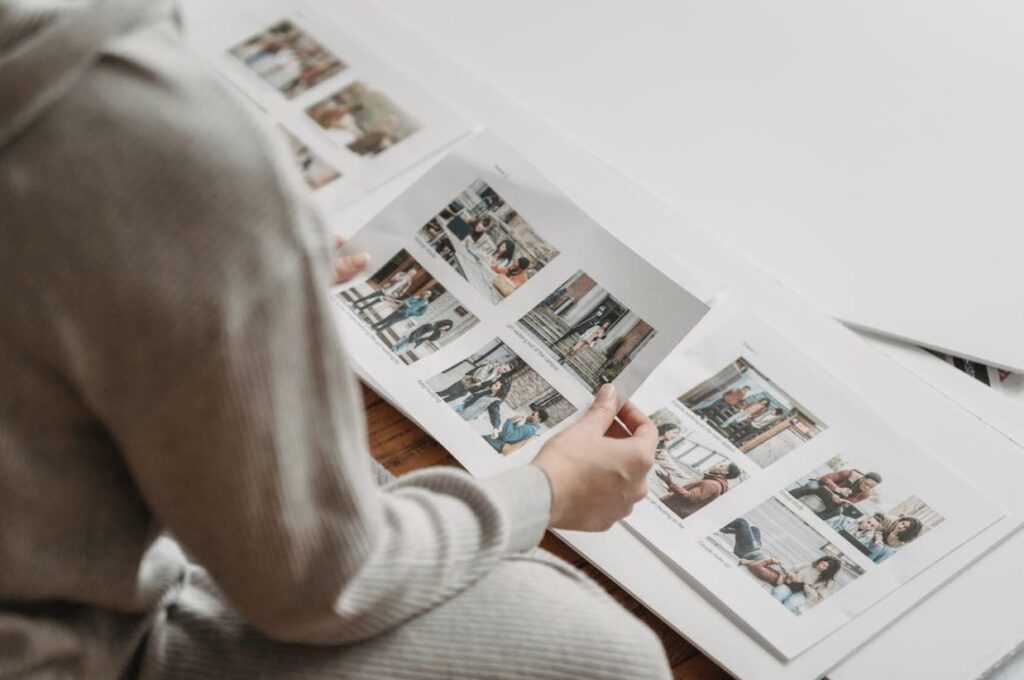
Print Test Images & Make Adjustments
After finalizing the settings, print a test image. Doing this allows you to make final adjustments before printing the entire collection. Check for accurate color, sharpness, and saturation before proceeding. Also, ensure that the printer settings are appropriate. Consider a professional printing service when you still can’t get the perfect print. You’ll quickly get the best quality images with their expertise and advanced equipment.