AppArt School – How to Shoot in RAW with an iPhone
AppArt School -AppArt School – How to Shoot in RAW with an iPhone
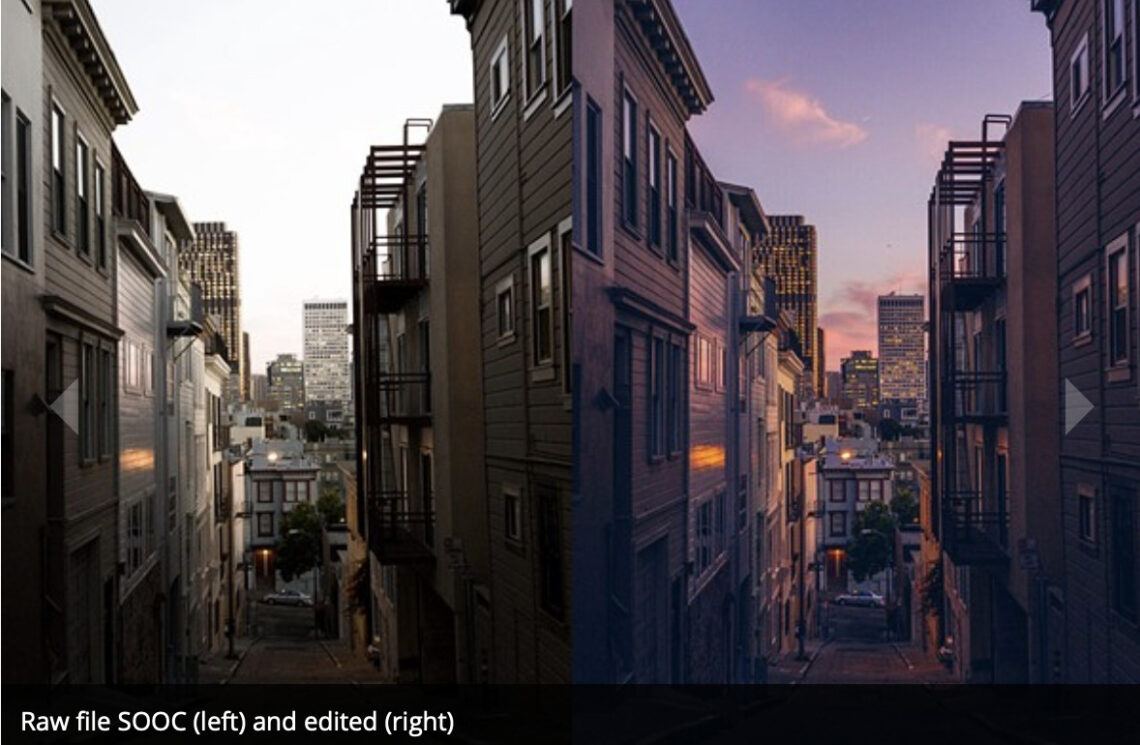
Shooting in RAW format on an iPhone allows you to capture more image data and provides greater flexibility in post-processing. However, please note that not all iPhone models support RAW capture. Here’s how you can shoot in RAW if your iPhone model supports it:
- Open the iPhone camera app: Launch the default camera app on your iPhone.
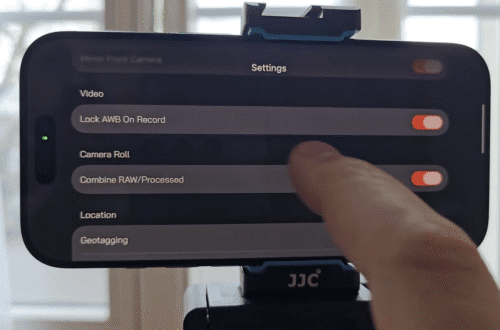
- Access the camera settings: Look for the “Settings” icon within the camera app. It is usually represented by a gear or slider icon. Tap on it to access the camera settings.
- Enable RAW capture: In the camera settings, search for an option related to file format or image quality. Different iPhone models may have slightly different settings menus, so the wording may vary. Look for an option that mentions “RAW” or “RAW+JPEG” and enable it. This ensures that your iPhone will capture images in RAW format alongside JPEG.
- Capture images in RAW: Once you have enabled the RAW capture setting, return to the camera interface. You should see an indication or icon that RAW capture is active. From now on, every photo you capture will be saved as a RAW file in addition to a JPEG file.
- Edit RAW images: After capturing RAW images, you’ll need to use editing apps that support RAW files to process and make adjustments. Popular editing apps like Adobe Lightroom, Snapseed, or VSCO offer RAW editing capabilities. Install one of these apps from the App Store if you haven’t already.
- Import RAW files: To edit the RAW files, you’ll need to import them into the editing app of your choice. Most editing apps have the option to import photos directly from the iPhone’s camera roll. Open your editing app and locate the option to import photos.
- Edit and process RAW images: Once you have imported the RAW files, you can start editing and making adjustments. RAW files contain more image data, allowing for greater flexibility in adjusting exposure, white balance, sharpness, and other parameters. Experiment with different adjustments until you achieve the desired result.
- Export and save the edited image: After editing, you can export the final image in a format suitable for sharing or further use. Most editing apps allow you to save the edited image to your camera roll or share it directly on social media platforms.
- Remember, shooting in RAW format will take up more storage space on your iPhone. It’s a good practice to transfer and back up your RAW files to a computer or external storage device periodically to free up space on your device.
Lastly, keep in mind that RAW files require more post-processing compared to JPEG files. Take the time to learn about RAW editing techniques, explore tutorials, and experiment with different adjustments to make the most of your RAW captures.
Please support us
TheAppWhisperer has always had a dual mission: to promote the most talented mobile artists of the day and to support ambitious, inquisitive viewers the world over. As the years pass TheAppWhisperer has gained readers and viewers and found new venues for that exchange.
All this work thrives with the support of our community.
Please consider donating to TheAppWhisperer as this New Year commences because your support helps protect our independence and we can keep delivering the promotion of mobile artists that’s open for everyone around the world. Every contribution, however big or small, is so valuable for our future.


