Fotomecha – iOS Technical Tutorial By Jerry Jobe
We’re delighted to publish our latest Technical Tutorial by Jerry Jobe, this is the first of a two-part tutorial on two apps, Fotomecha and ClassicSAMP, they take multiple exposures and put them into grids. Jerry starts with Fotomecha. Over to you Jerry (foreword by Joanne Carter).
Fotomecha retails for $0.99/£0.69/download
ClassicSMAP retails for $1.99/£1.49/download
‘Back in the 1950s, filmmakers began bringing the split screen effect into the mainstream as Doris Day talked to Rock Hudson on the phone. As directors continued to experiment, the screen was increasingly divided into multiple slices – most famously in the opening to the TV show The Brady Bunch. Mobile photo apps allow for the same kind of division of the screen, and I’m going to cover two of them in the next couple of tutorials.
The two apps I’m covering are remarkably similar, but they each have their advantages. The first is Fotomecha, by emotionale. This app will also create little GIF “movies” out of the individual shots that make up your split-screen images…
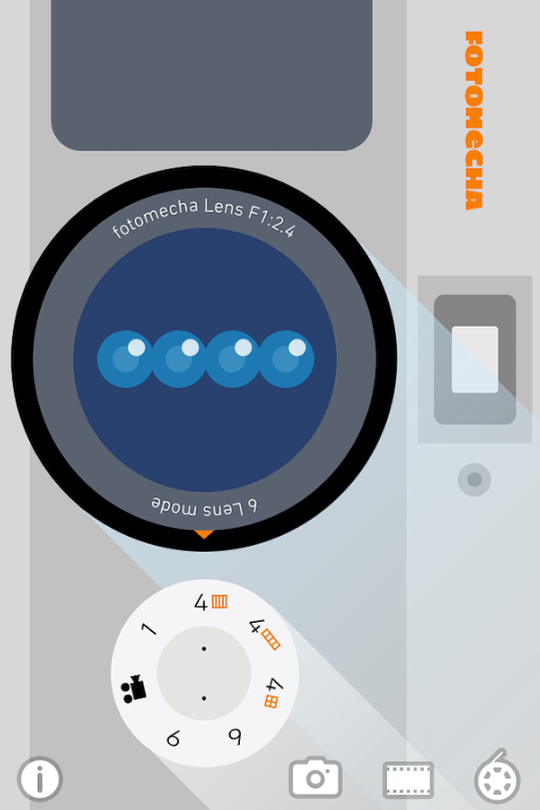
The opening screen resembles a camera. The lens indicates what the current setting is on the dial below the lens – in this case, four strips laid out side-by side. The dial shows that you can take an individual shot; four shots laid out in strips, side by side or in a 2×2 grid; six shots in a 2×3 grid; nine shots in a 3×3 grid; or a GIF “movie”. Below the dial are four buttons: the Info button, the Camera button (take your shots), the Film button (convert your split-screen photo to a GIF), and the Reel button (the GIF library, which allows you to handle the GIFs you’ve made).
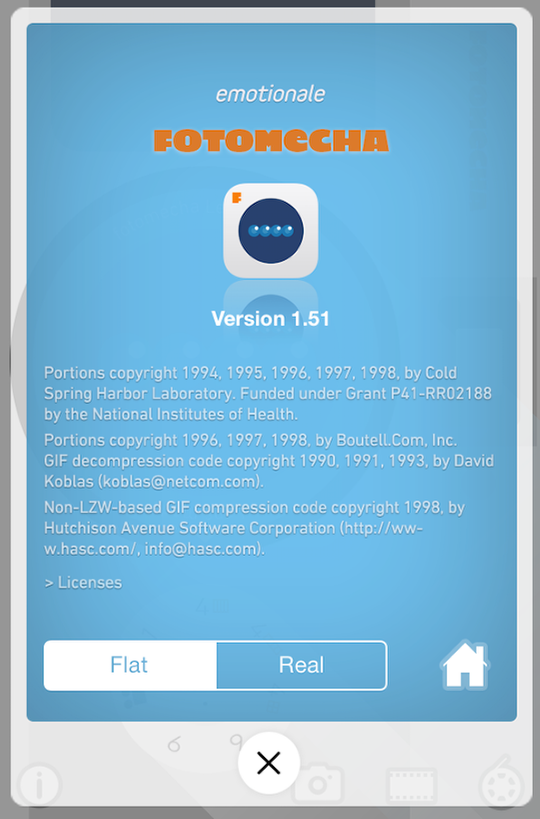
Pressing the Info button brings up the following screen. You can change the interface from the flat iOS7-type interface to a “real” interface. Pressing the home button takes you to the emotionale web site; pressing the X will exit this screen.
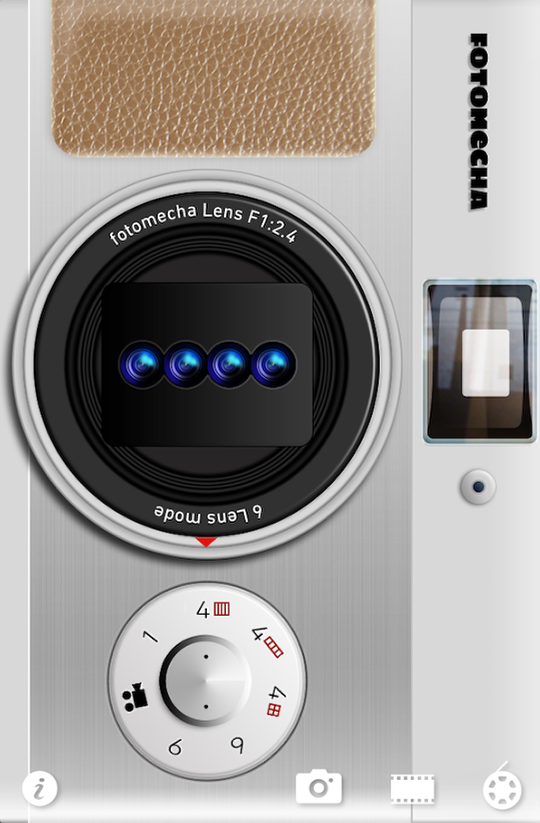
Here is the “real”, somewhat 3D interface
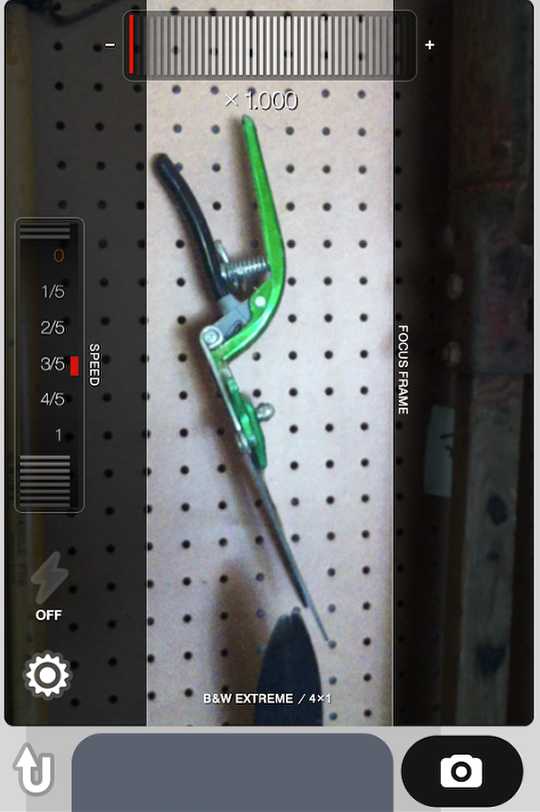
Once you press the Camera button, you’ll be taken to the image capture screen. Since the current lens setting is to capture four side-by-side strips, the viewfinder shows you a long, thin strip. At the top is a zoom dial; I would not recommend its use because a digital zoom degrades the resolution drastically. (I’ll show an example of this later.) On the left side is a dial which adjusts the amount of time in between shots once you trip the shutter. The automatic settings are from 1/5 of a second to a full second between shots. The 0 indicates manual mode; the next photo in the sequence will not be taken until the shutter button is pressed. Also on the left is the flash setting; the Gear for further settings; and the curved Arrow to return to the “front” of the camera. The shutter release is on the lower right (the camera).
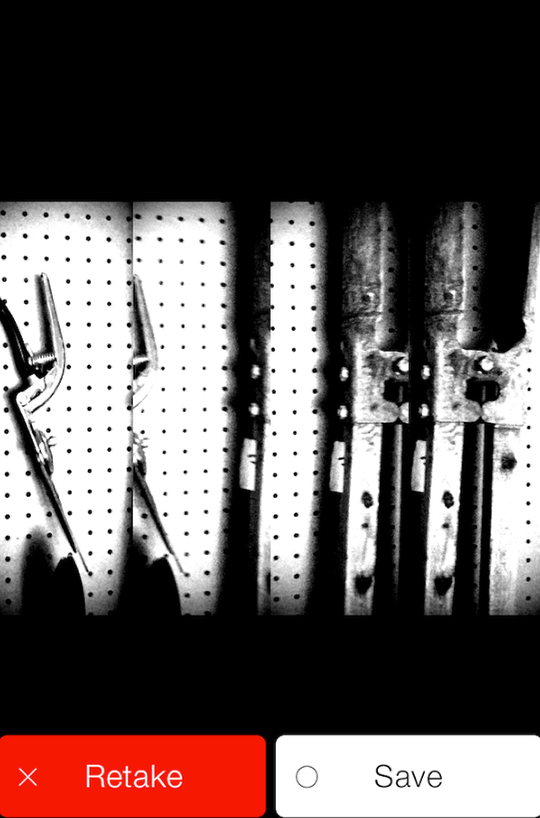
Once you trip the shutter, you will see the viewfinder flash as each shot is taken. Once the shots are taken, you will be shown the result. At this point you can save the result to the camera roll or discard the result by Retaking the photo(s).
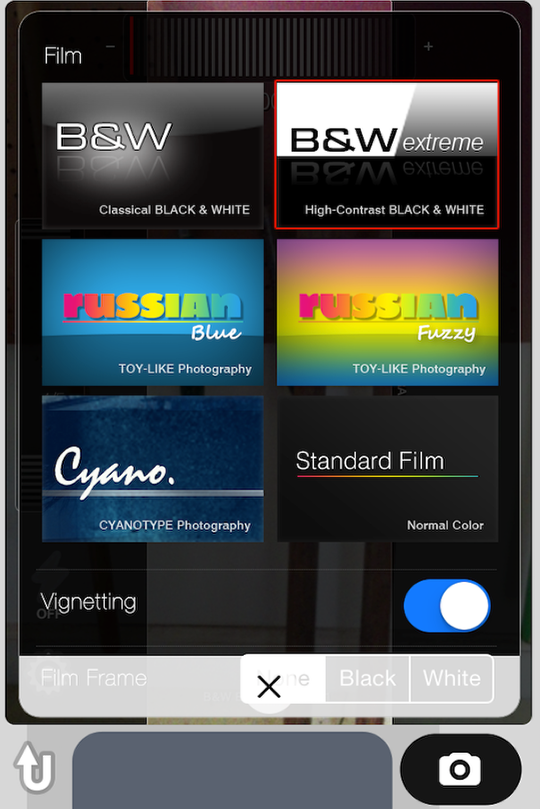
Pressing the Gear shows the other settings. First of all, you have six different films to choose from, ranging from 2 B&W films to cyanotype to toy cameras to standard. My favorites are B&W Extreme and the Standard.
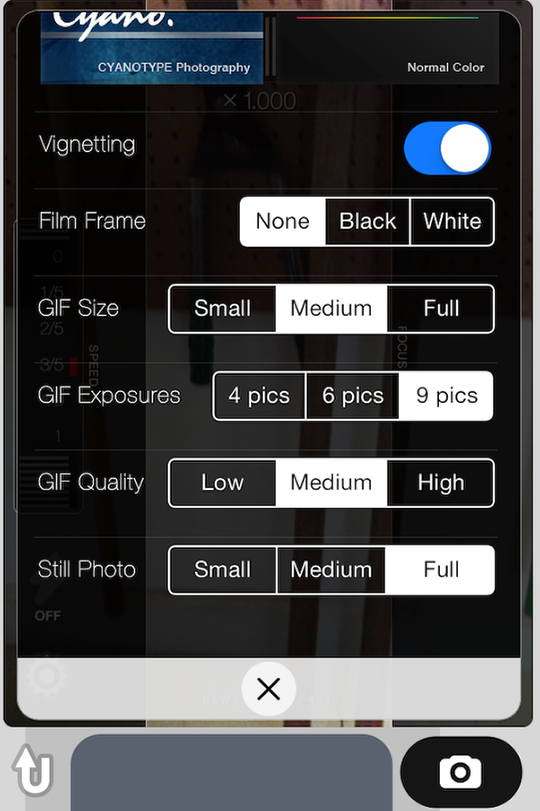
Scrolling down brings the remaining settings into view. Vignetting darkens the edges of each “slice”. Film Frame, or the edges of the slices, can either be None, Black or White. (All examples here use no frame, but the Black and White frames are very thin and not obnoxious at all.) Still Photo controls the resolution, and should always be set to high.
The remaining three parameters have to do with those little movies, the GIF files. The Size and Quality is up to you. Normally, I suggest that you up the resolution as much as possible for still photos since you might want to use all or part of the image in a composite – and the larger the better when you want to pick out a piece of the image. But with GIF files, which can get quite large, you are not going to do any post-processing, and so the need for extra resolution is not quite so great. The GIF Exposures parameter tells how many images will be in a GIF created on-the-fly, with the video camera option on the main dial.
As we saw in the example above, the slices run from left to right to create the result. If you want horizontal strips, you’d turn your phone a quarter turn. If you turn the phone counter-clockwise, you might think the left-to-right order would be preserved, and the images would be taken bottom-to-top. That is wrong, however. Below is an image where I moved the phone as if it were going to take pictures bottom-to-top (moved it upwards).
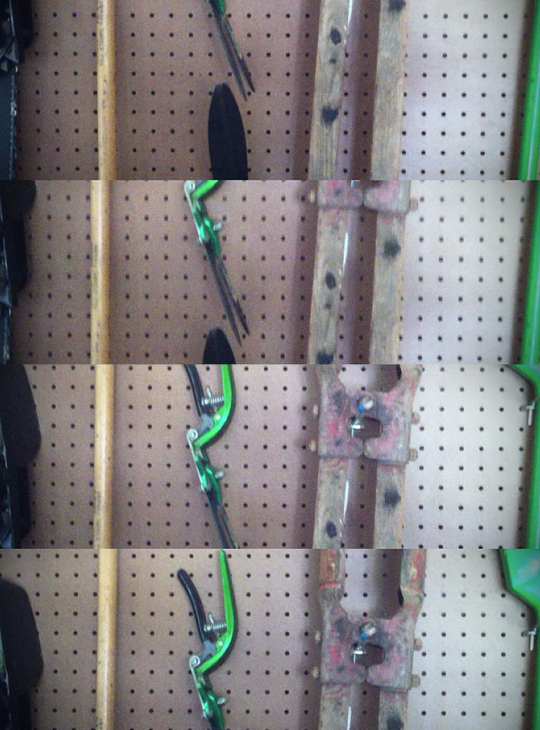
That put the highest point of the image in the lowest strip. Now look under this paragraph and see an image where I moved the phone downwards, and you’ll see them placed in proper order, from top to bottom.
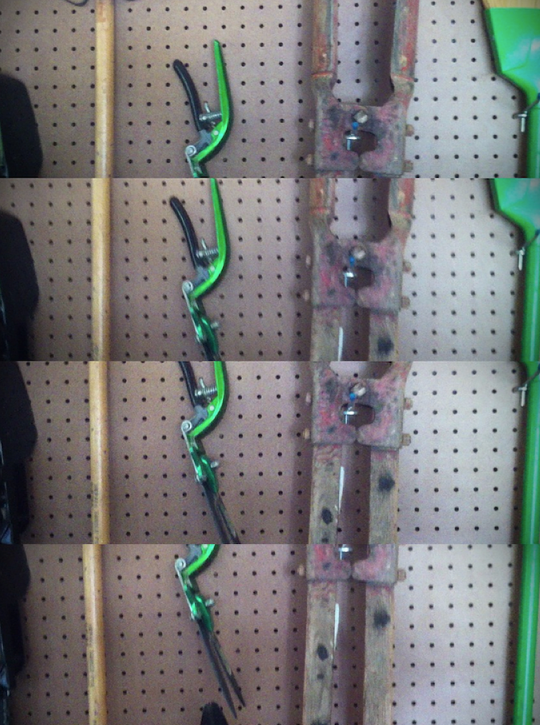
I told you that I’d show you an image that uses the digital zoom (about x2.8). Notice how blurred and grainy it looks. Avoid digital zoom!
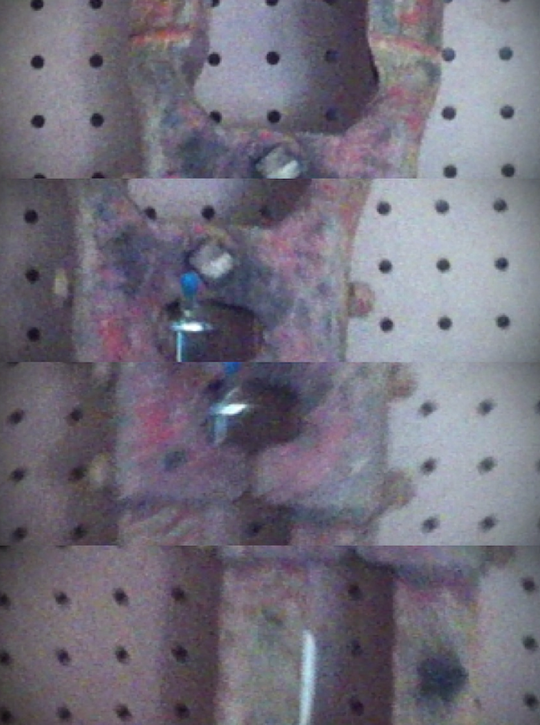
The second 4-part setting is not strips, but four 4×3 images. Fotomecha does not always recognize, in this setting, whether the photo you wish to take is in landscape or portrait. For example, the picture below was fine.
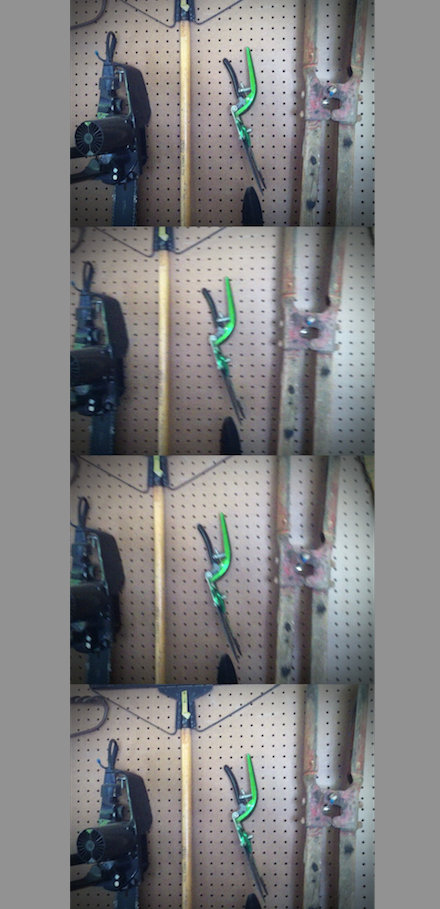
But this next photo was incorrectly saved as portrait, and I had to make it landscape afterwards.

Here’s an example of the 2×2 grid.
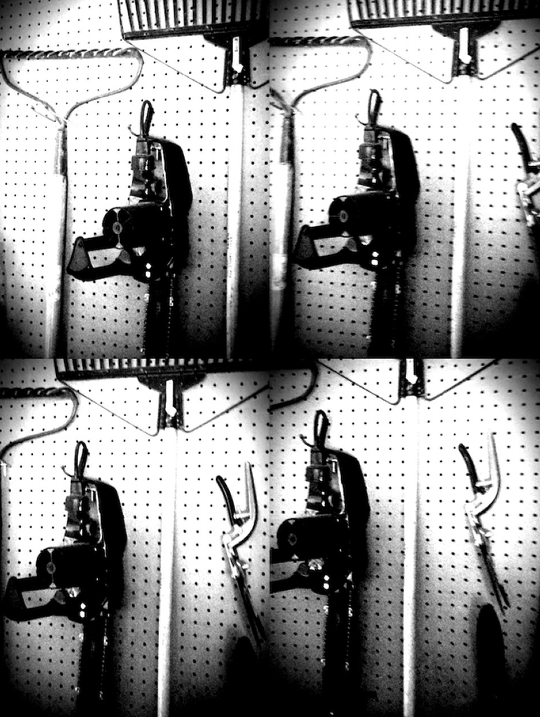
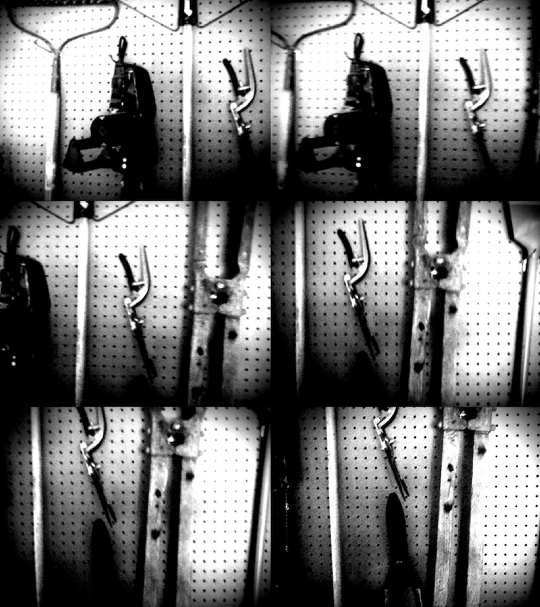
An example of the six-photo grid:
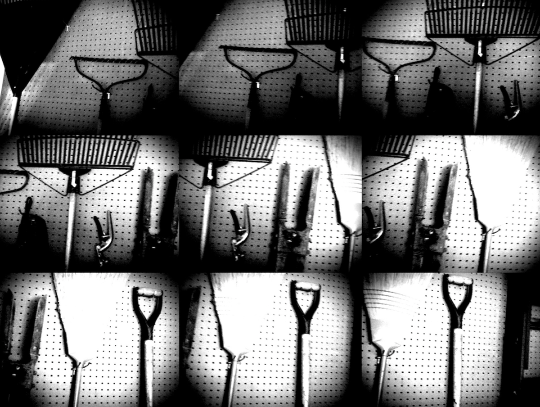
And an example of the nine-photo grid:
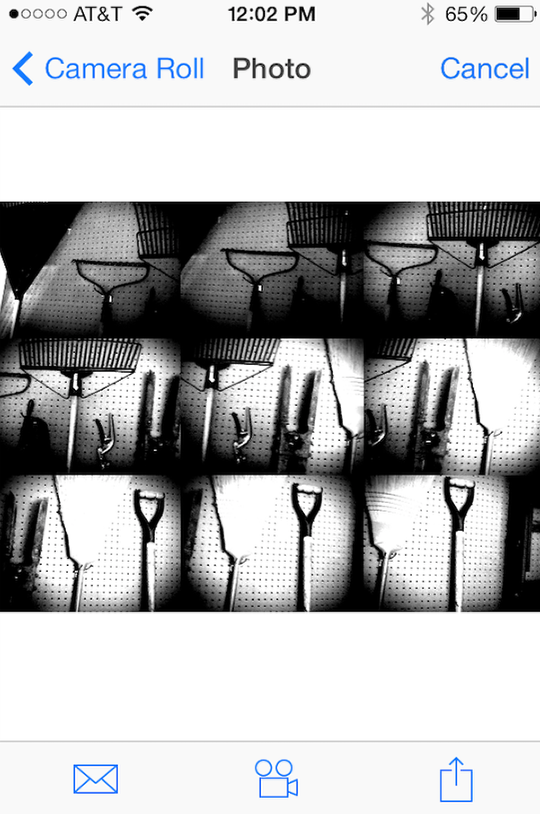
As I said above the Film button on the main screen (“front” of the camera) allows you to create a GIF from the single images in your result grid. You’re first asked to choose your photo from the camera roll. Then select the movie camera image in the center bottom.
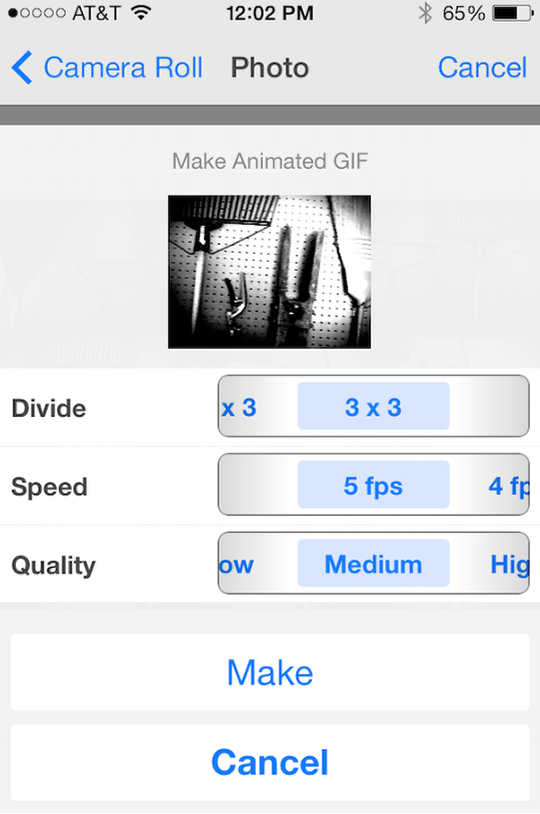
You can make a GIF from any photo, not just those taken with Fotomecha. So you have to tell Fotomecha how to divide the photo into “frames” for your movie. In this case, I’m using the 3×3 setting to conform to the grid already present. Then I set the speed and the output size, and tap Make.
The GIF movie is placed into the GIF library.
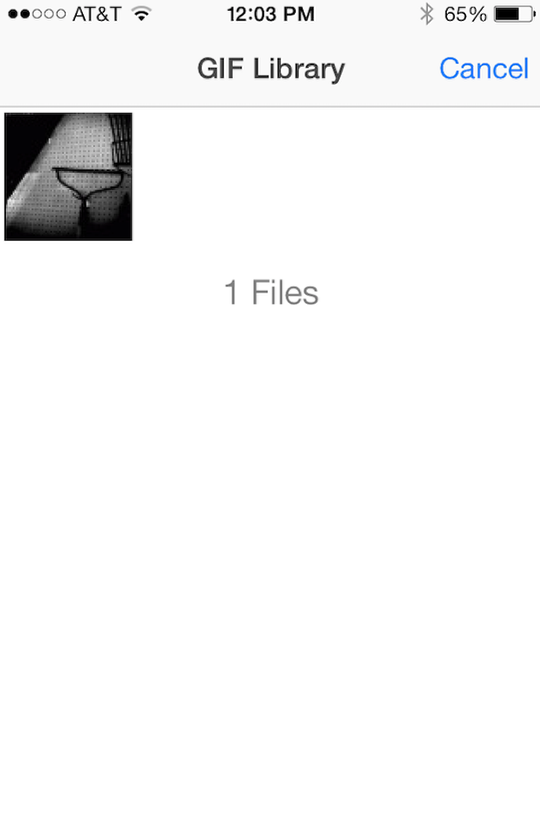
And here is what the GIF looks like.
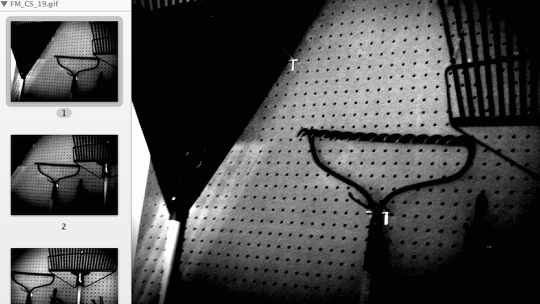
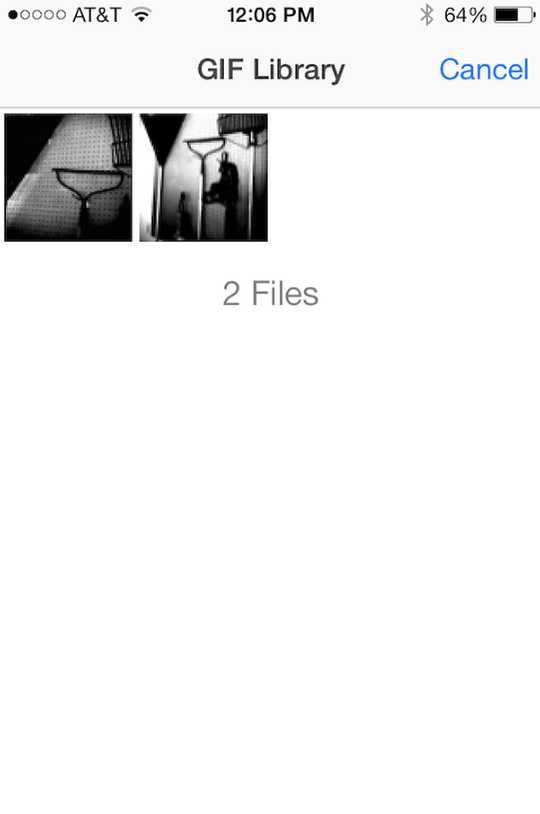
Of course, in addition to creating a GIF from a photo, you can also shoot a GIF directly. Those are also placed in the GIF library. Once it’s there, you can mail it, send it to Facebook or Twitter, or you can actually convert it back to a photo grid using the second button, a square with grid lines.
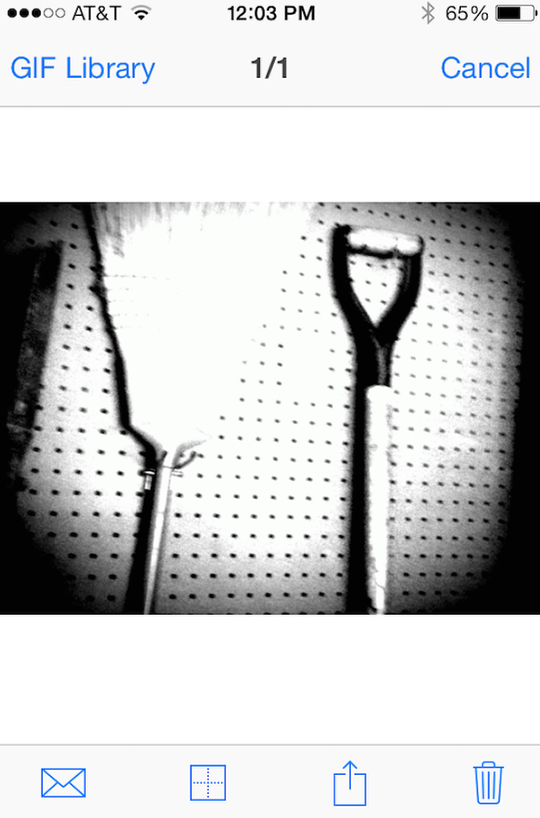
The conversion to a photo has no parameters; the number of images in the grid depends on the number of frames in the GIF.
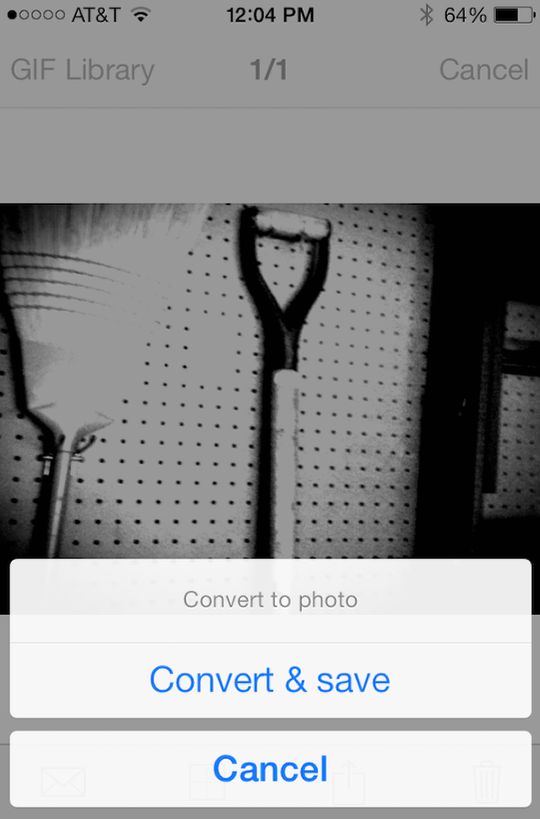
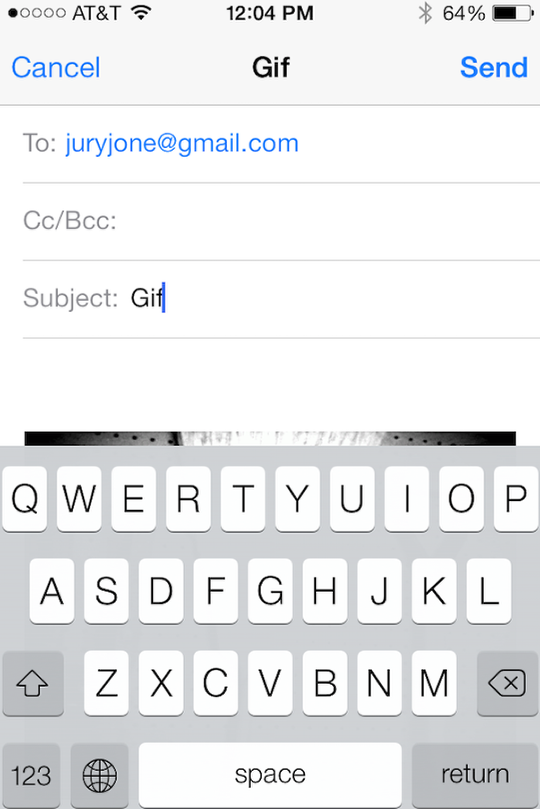
You can also email the GIF. Since the Camera Roll does not handle GIF images, this is the handiest way to move the GIF images around.
Below you’ll see the GIF I created with the “Make GIF from photo” option along with another GIF I shot directly.
So, is Fotomecha right for you? If you want to shoot images in a grid, then the next app I will cover may be for you, with a few more options. But if you want to shoot both photo grids and short GIF movies, then Fotomecha is your app. Enjoy!
I’ll finish with an image post-processed in iColorama with a masking technique I discussed here.
