Image Blender Tutorial – How To Create A Stunning Composite Image
The Image Blender app is a easy and wonderful way to blend different images together to get a unique look. With the new update to this app, you can now take the second image and arrange and mask. It can also be useful to up a resolution that was cut down by another app.
In this tutorial I will demonstrate how to create a stunning image from many composites. Take a look at this. If you’re inspired don’t hesitate to download this app. It is one of the most popular iPhone photography apps currently available.
Image Blender retails for $2.99/£1.99 and you can download it here.
Step 1
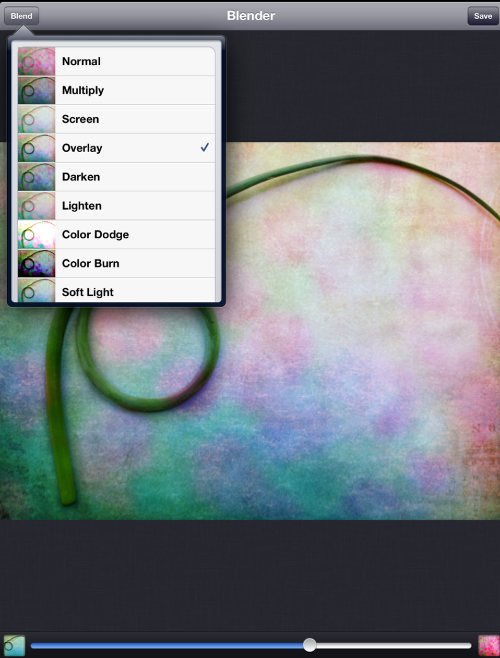
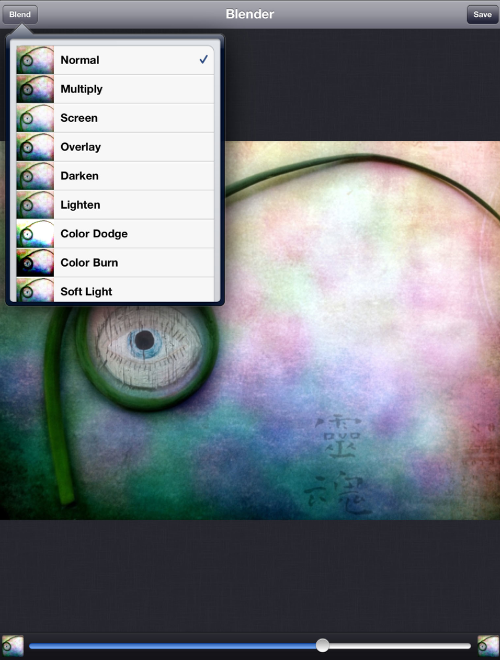
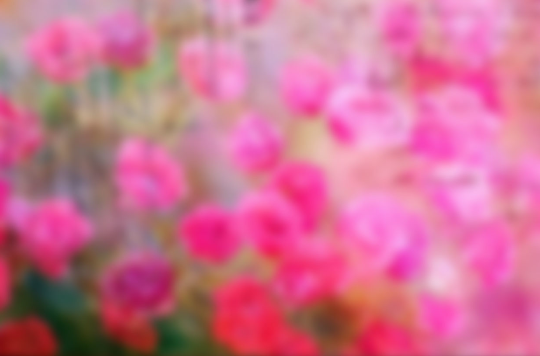
I brought the garlic sheath and blurred flower (see below) into Image Blender and used the Overlay mode. I adjusted it to my liking with the slider. Most of the time I will scroll through the different modes to see which one would work best.
Step 2
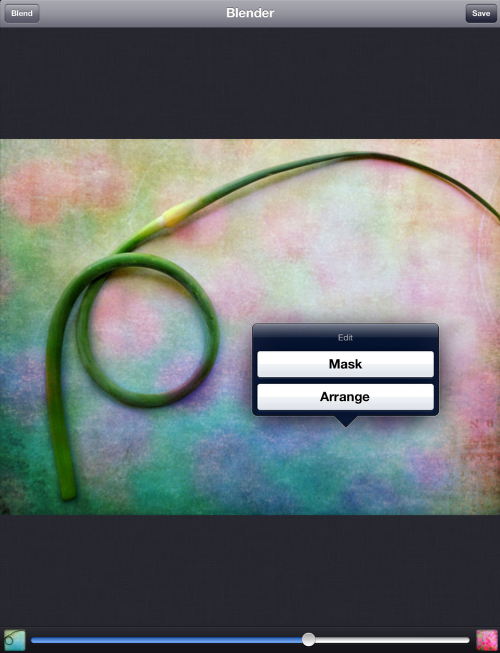
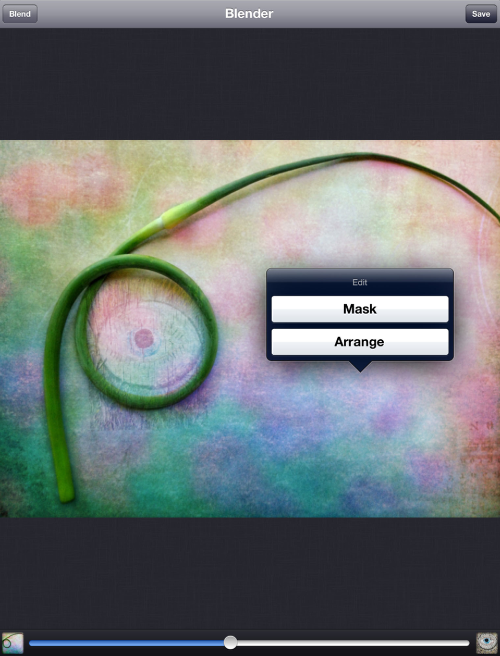
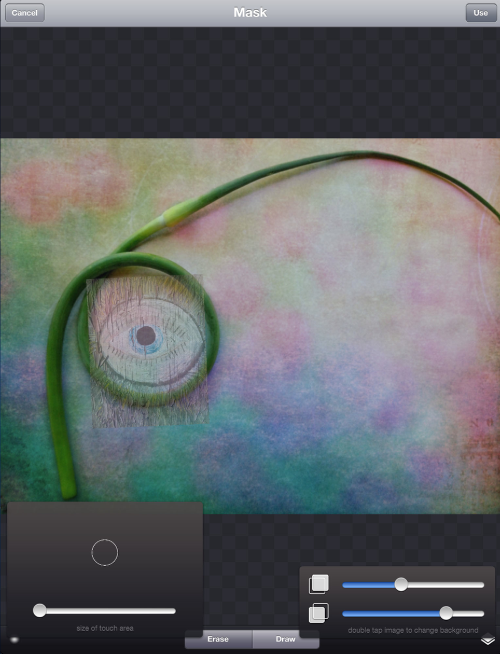
Tap on the image and you will see the Mask and Arrange edit box. In this example I wanted to mask the garlic sheath to hide some of the color that came thru on the blend.
Step 3

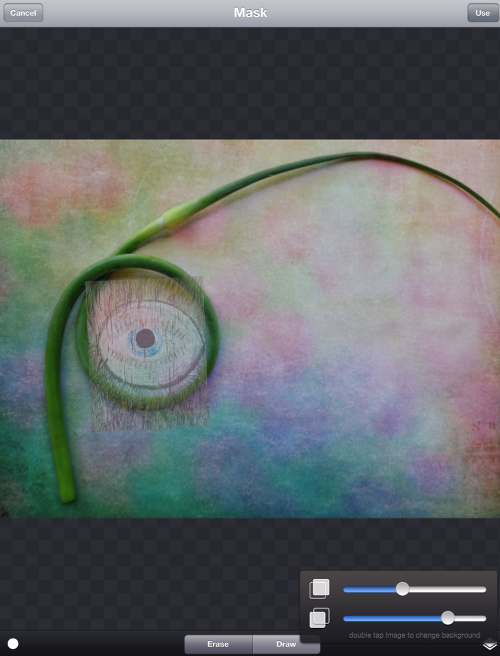
Tap on the bottom right and a slider box will come up. The slider can help in the masking process by making the bottom or top image more or less transparent.
Step 4
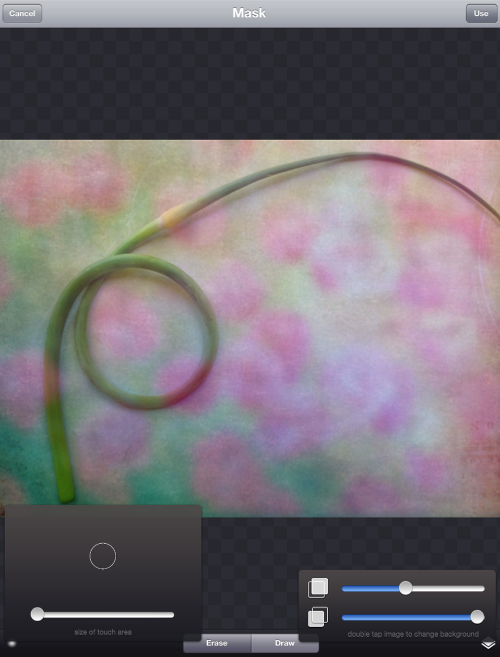
On the left bottom corner you get a choice of a soft or hard brush and if you hold down on the brush a slider will come up to determine the size of your brush. When masking you will be changing from a larger brush to smaller many times.
Step 5
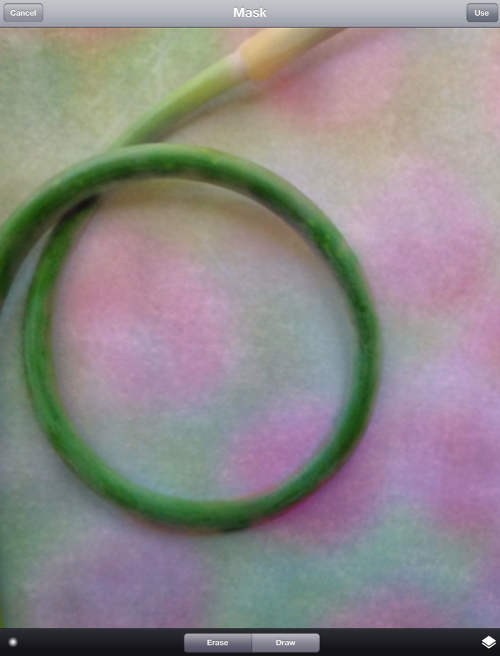
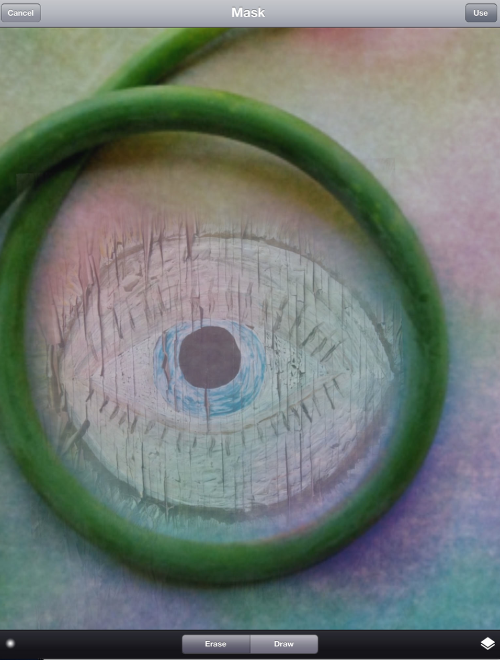
It helps a great deal to pinch in or out on your image to paint in your mask.
Step 6
Here I needed to start all over with the blend, so that I could arrange a new image over the previous blended one. You can remove an image and add a new one by holding down on the bottom right or left thumbnail of the images. A Remove dialog will appear. Tap remove and you are ready to bring in a new image.
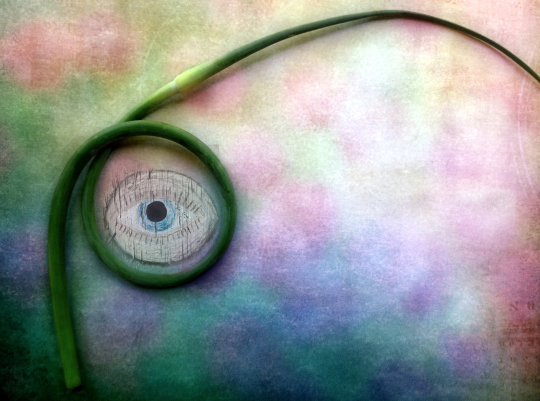
In this Blend I first took the blended image that I saved after step #5 and eye ball texture image. Before I did any kind of blending, I tapped on the image to get the Mask/ Arrange box. Here I chose Arrange and used my fingers to make the top image smaller and to place it where I wanted it.
Step 6 Continued
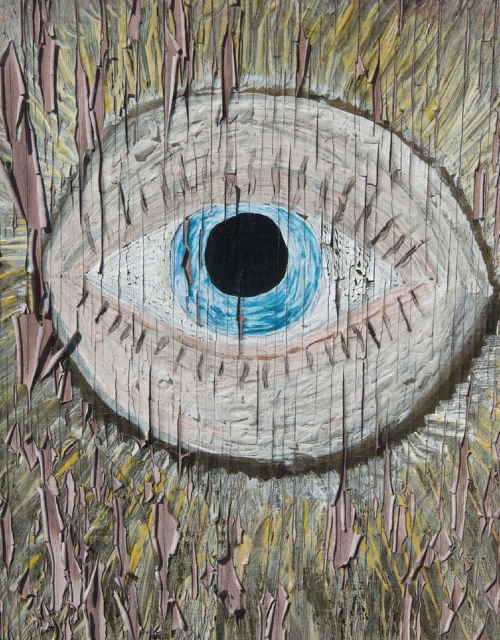
In this Blend I first took the blended image that I saved after step #5 and eye ball texture image. Before I did any kind of blending, I tapped on the image to get the Mask/ Arrange box. Here I chose Arrange and used my fingers to make the top image smaller and to place it where I wanted it.
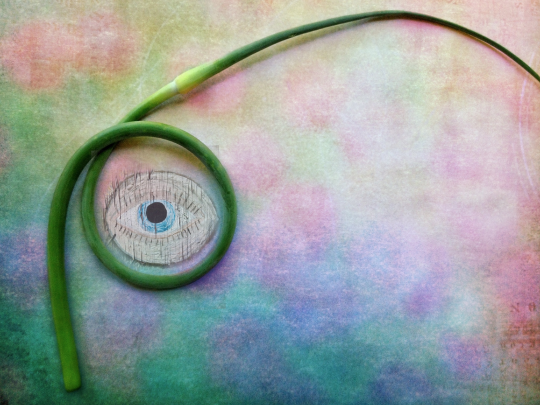
Mask And Arrange Results – After Step 6
Step 7
I then used the Transparency and Opacity Sliders and set them to my desired settings.
Step 8
Next I selected brush type and size.
Step 9
Next I zoomed in to Paint Mask.
Step 10
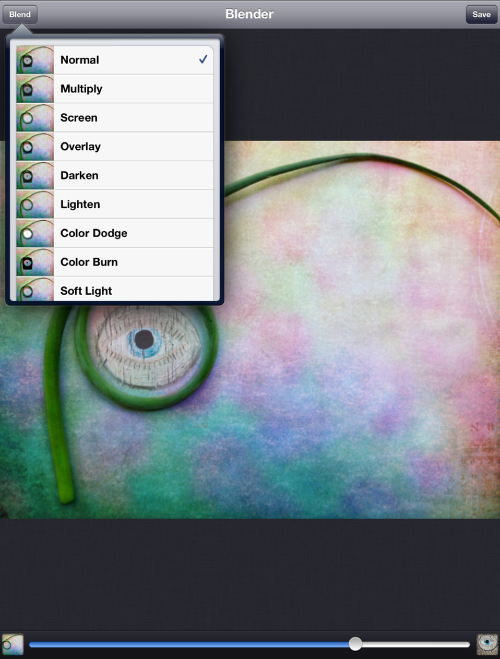
After the masking I needed to blend the two. Choose the Normal mode and adjust with the slider.
Step 11
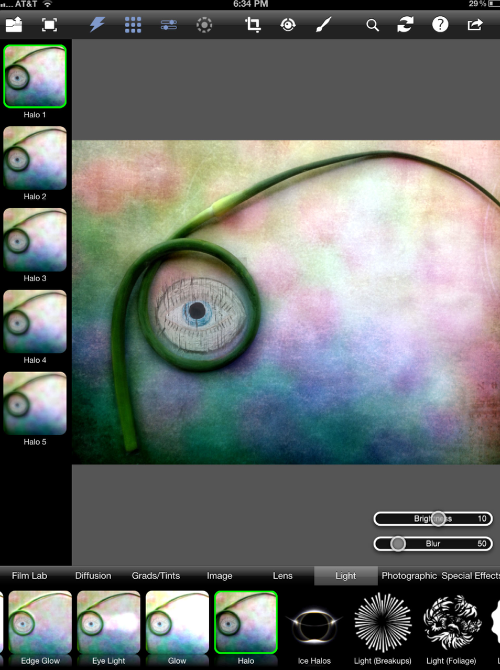
I then took the finished blend into Photo fx Ultra, I thought it still needed an extra boost. Here I chose Light – Halo 1.
Results After Step 11
Step 12
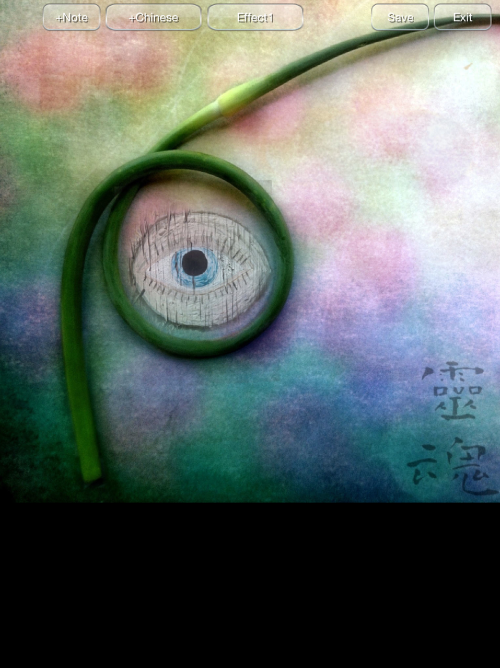
I wanted a Chinese word for this image. I opened an app by DecDive called Chinese Word Photo, unfortunately this app is not currently available in the US app store. This app saves in a low resolution a big no-no for iPhone art that will be printed. Image Blender will help to get the image to a higher resolution.
Here in the Chinese photo app you chose your word (I chose Soul). Tap on the effects box to get no effect, by default when opened there will be an effect places on the image.
Step 13
I then reopened the image in Image Blender. This time to correct for the resolution. The first image should be your larger sized one, in this case
the finished blender with the eye. The second image is the low resolution one with the Chinese writing.
Final Image
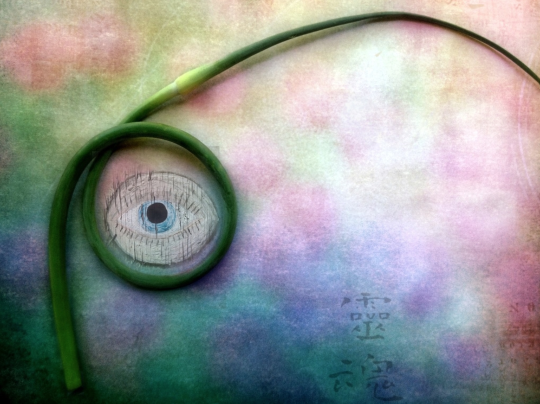
Here is my stunning final image. I hope you have enjoyed this tutorial, please comment below. I was inspired by Image Blender to produce this awesome scene and hope you will try it too.
Additional Notes And Information – Original Image
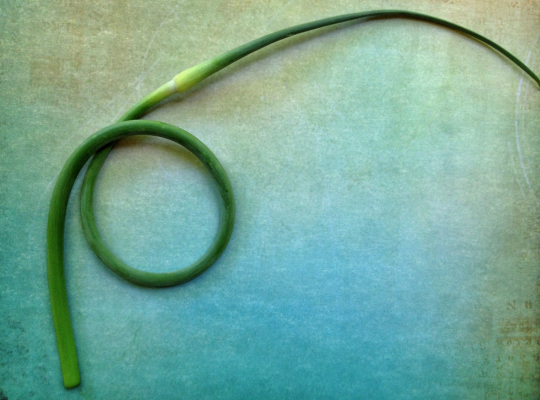
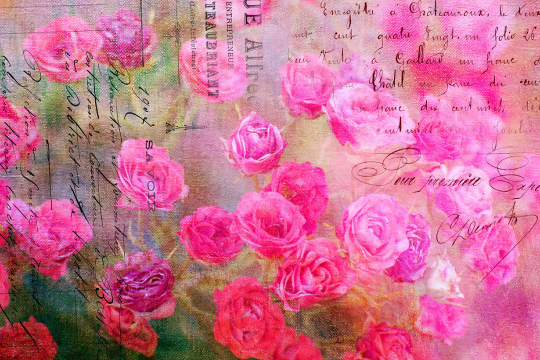
Here are the original images I started out with. The pink flower image that I used to blend with the garlic sheath was created by my friend Darla Oathout www.darlaoathoutphotography.com. She graciously allowed me to use it. I did take it into Blur Fx to soften it more.
Original Texture
Atextured Blue
Please help us…
TheAppWhisperer has always had a dual mission: to promote the most talented mobile artists of the day and to support ambitious, inquisitive viewers the world over.
As the years pass TheAppWhisperer has gained readers and viewers and found new venues for that exchange. All this work thrives with the support of our community.
Please consider making a donation to TheAppWhisperer as this New Year commences because your support helps protect our independence and it means we can keep delivering the promotion of mobile artists that’s open for everyone around the world.
Every contribution, however big or small, is so valuable for our future.
Irene Oleksiuk
Irene Oleksiuk was born and raised in Chicago and now lives about 40 miles from the city, in a country setting where she feels she belongs. In 2001 Irene signed up at the Morton Arboretum and started working on her Nature photography certificate. She loved it and met some great people. Since she purchased an iPhone her photography has really taken off. Irene contributes to Pixels/the art of iPhoneography and combined with the help of Knox Bronson (Pixels), Irene’s images have been show in galleries across California.
14 Comments
Fabio D'Andrea - fastcomet
Great tutorial and great image!
Irene Oleksiuk
Thank you Fabio!
David
Really cool tutorial, Irene!! Your image is incredible as well…thanks for sharing both with us!! (Too bad the Chinese Word Photo app isn’t available in the US..looks like a fun one to use!)
Irene Oleksiuk
Thank you so much David! I am in the USA, when I purchased Chinese word it was sold here, now cant find it in the app store.
sara mccracken
Great tutorial and image..thanks for the detailed step by step.
Irene Oleksiuk
Thank you Sara, appreciate your feedback. Hope all is well with you.
Cat Morris
Great tutorial Irene! I’m a huge Blender fan and use it in almost all of my work too.
Irene Oleksiuk
Thank you Cat! By the way, I love your work.
Jennifer
Fantastic tutorial and image! Thanks for sharing!
Irene Oleksiuk
Thank you Jennifer. Appreciate.
Pingback:
hemanti
nice review. i love to use image blender and instafusion app to edit my photos.
Hassan sani
Thank you am very appreciate
Susan Detroy
hi, I have not used Image blender as yet.. and am often looking for blending ideas. Thanks for the step byt step..