Mobile Photography / Art Tutorial – Flowpaper: Mesh these effects into your artwork
We are delighted to publish Jerry Jobe’s latest mobile photography/art tutorial for our reading and viewing pleasure. This time Jobe takes a look at the app Flowpaper. Read his thoughts as he puts it through its paces (foreword by Joanne Carter). Take it away Jerry…
Flowpaper retails for $0.99/£0.79 and you can download it here
“Computer art has been around for over fifty years. Allowing software to create lines based on user input is computer art at its most basic. Today’s app, Flowpaper by Diatom Studio (available for both iPhone and iPad), is a beautiful new take on that initial foray into computer art”.
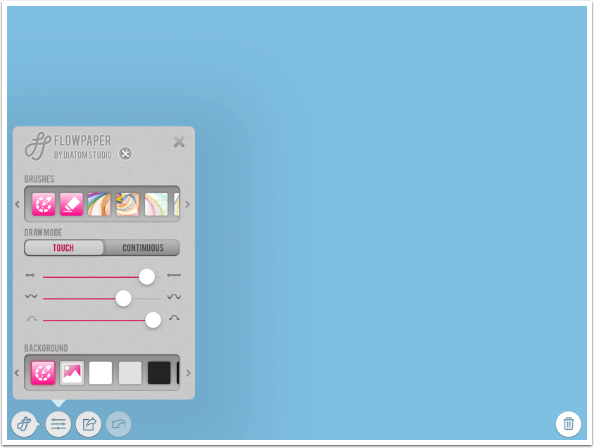
The user interface for Flowpaper is simple, to allow you to use as much of the screen for your canvas as possible. There are buttons for Settings, Save, Undo and Trash.
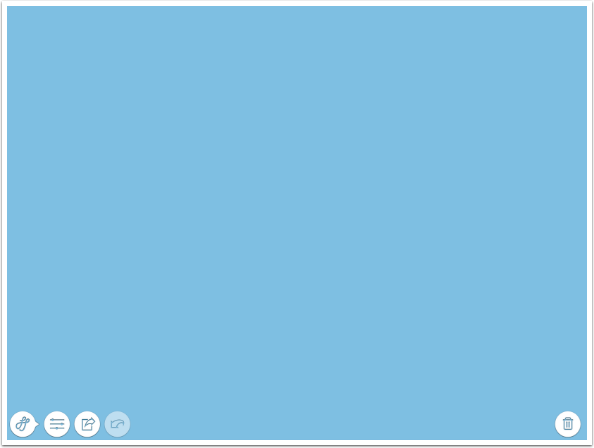
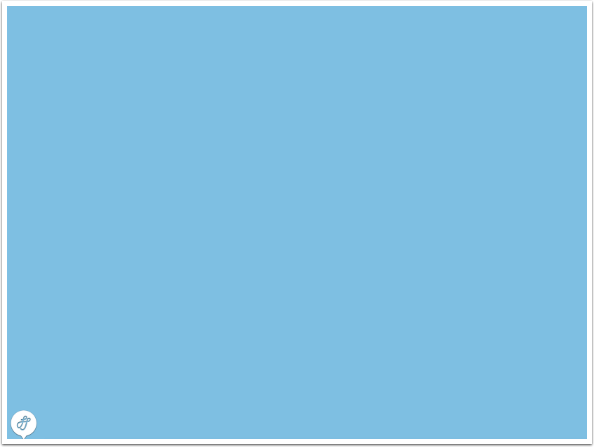
The fifth button, which looks like the Flowpaper logo, hides the other four buttons so you can see even more of the canvas.
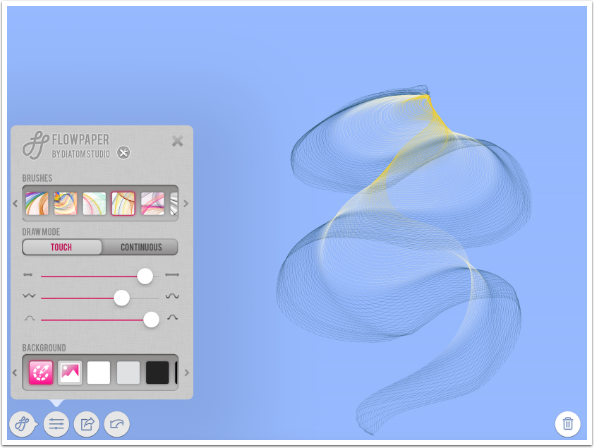
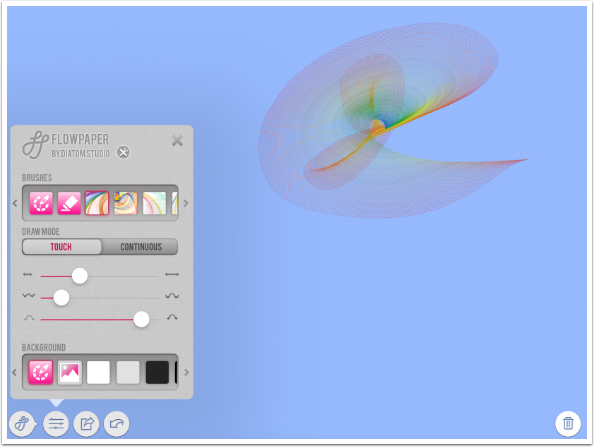
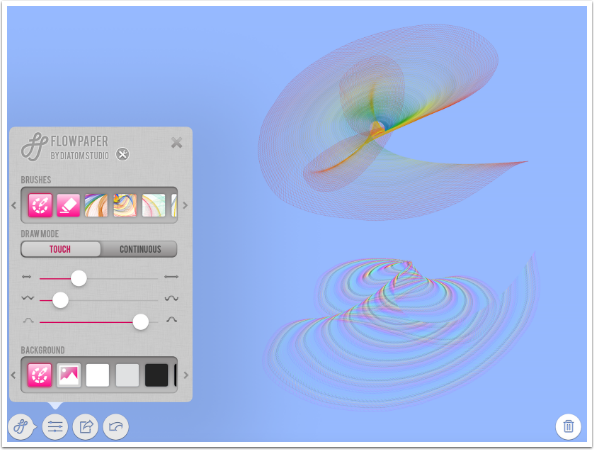
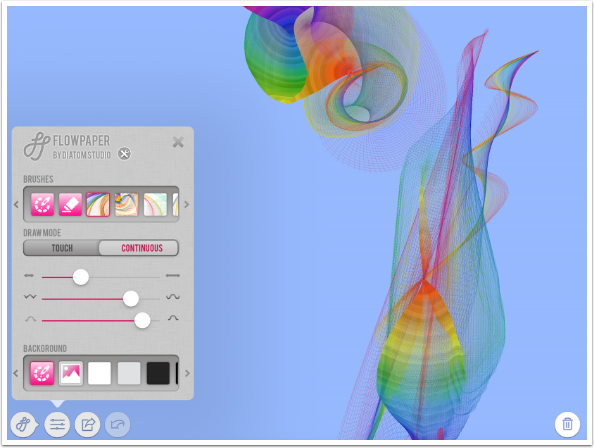
The Settings button brings up a panel that divides controls into Brushes, Draw Mode and Background. In addition, further settings can be accessed by tapping the wrench and pencil icon next to the logo.
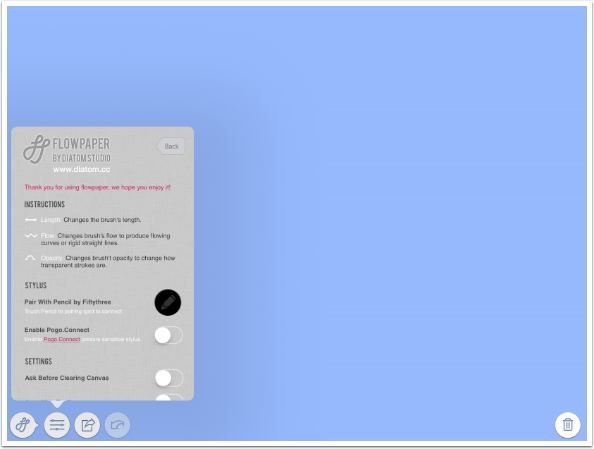
The additional setting screen contains some basic instructions as well as the ability to pair the app with the Pencil by FiftyThree stylus or the Pogo Connect stylus.
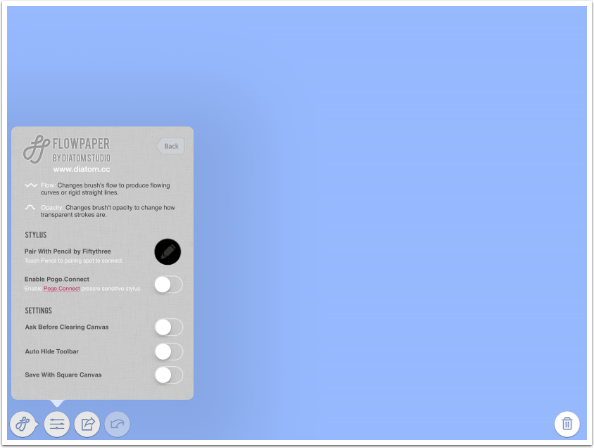
In addition, there are three switches: Ask Before Clearing Canvas, Auto Hide Toolbar, and Save With Square Canvas. Each of those does exactly what it says.
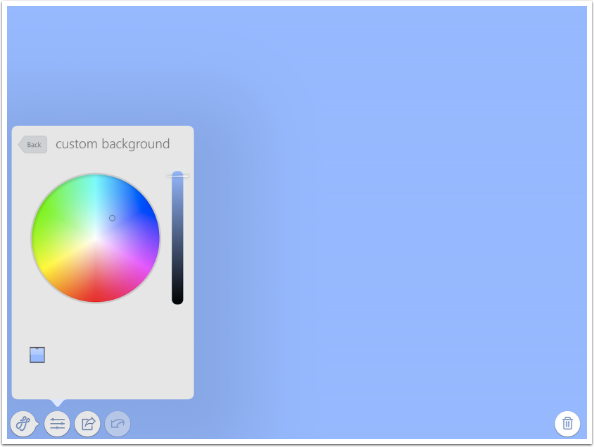
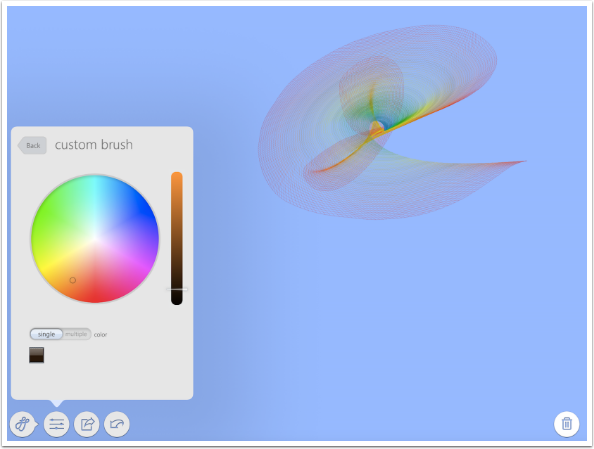
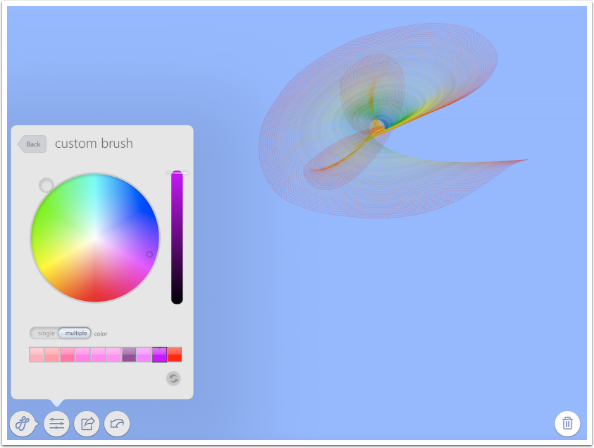
Let’s start with the background. The background section has a number of solid color backgrounds, plus, at the far left, a Custom Color picker. Tapping that icon brings up the dialog box seen below.

Moving your finger around the color wheel is reflected in the screen background.
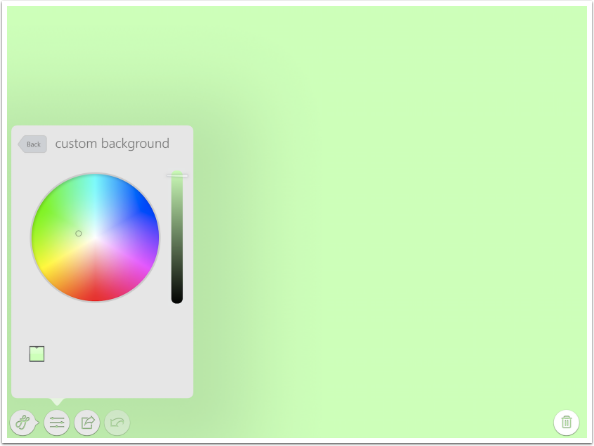
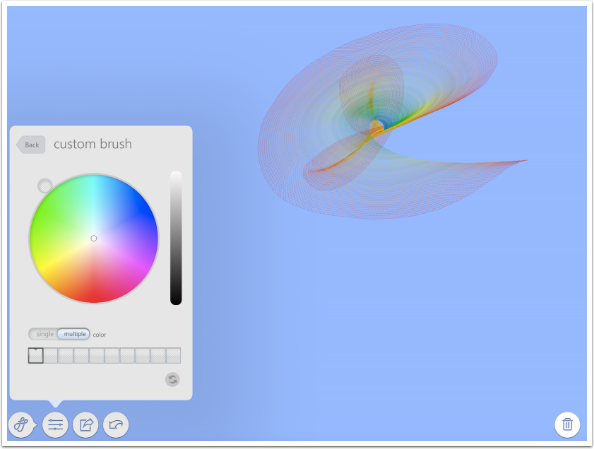
A luminance slider on the right side of the box allows you to create darker backgrounds.
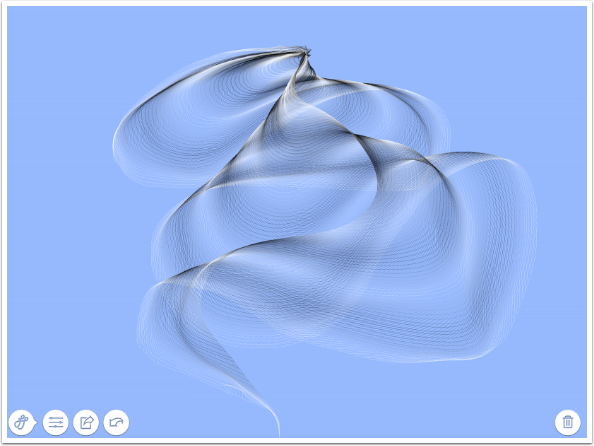
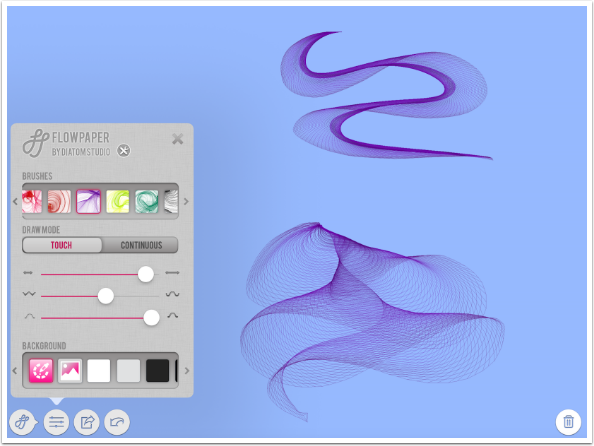
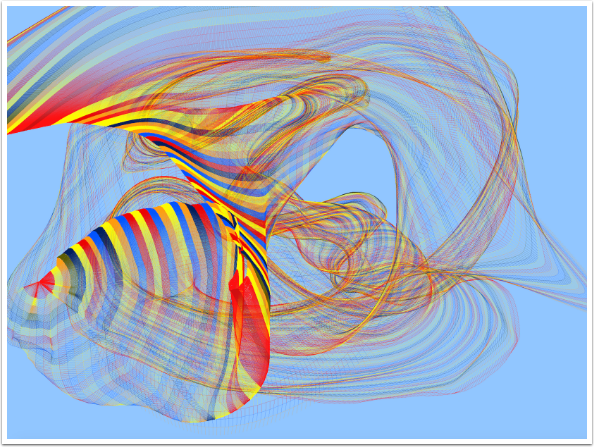
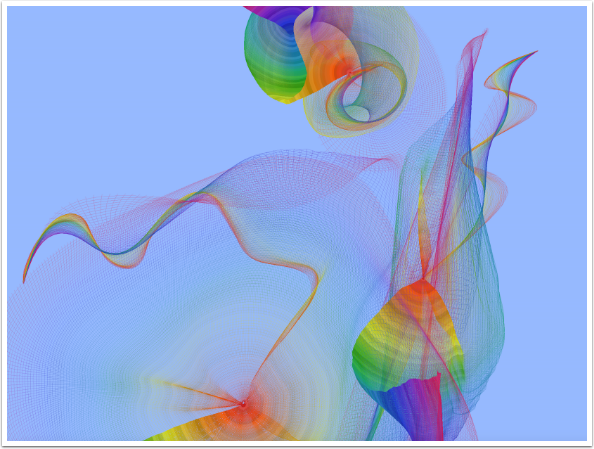
Before we continue with Brushes and Draw Mode, I want to show you an example of the kind of effect Flowpaper does. The image below was a stroke starting at the top center. The stroke returned to that starting point in an ellipse, then meandered back and forth down the screen until it trail off at bottom center.
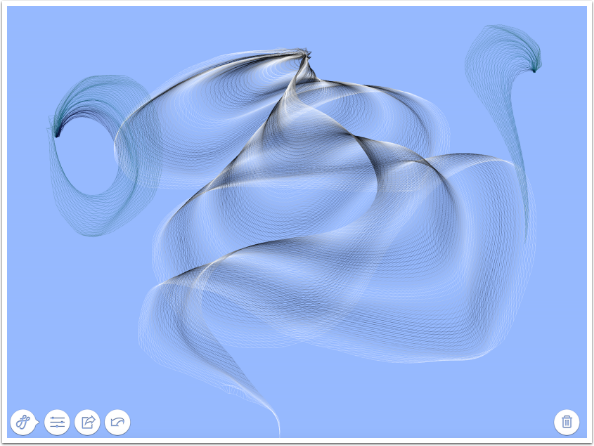
Additional strokes can be made. First I made a circle to the left, then the beginnings of an S-curve on the right.
The Undo button will remove one stroke at a time. The Undo and Trash buttons will not change the background. As a matter of fact, you can change the background under your strokes at any time.
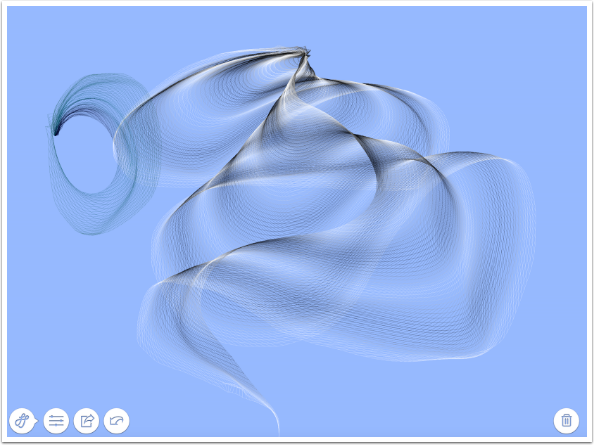
The Trash button will remove all strokes.
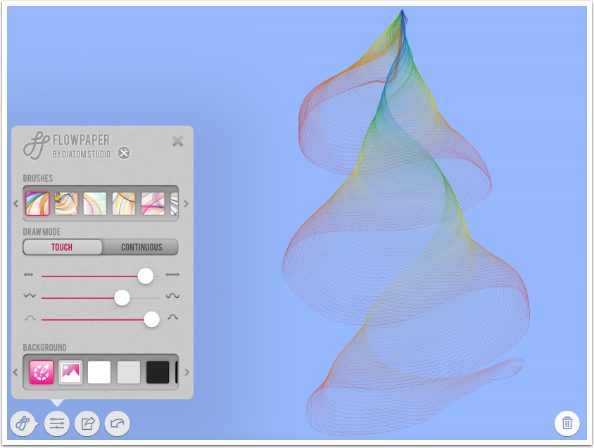
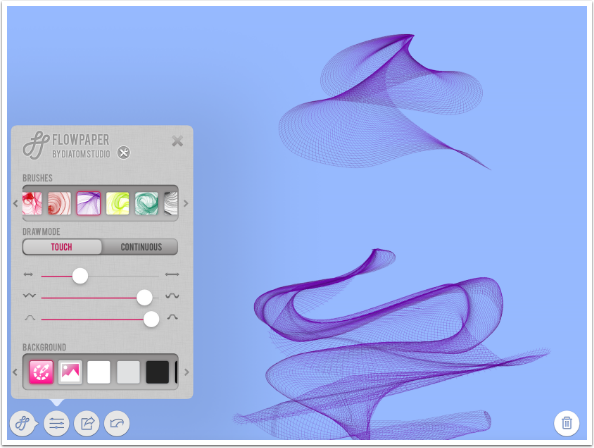
The Brushes option controls the color of the brushes. These brushes can be single colors or multiple colors. This first example uses the fourth multicolor brush from the left.
The next uses the first multicolor brush.
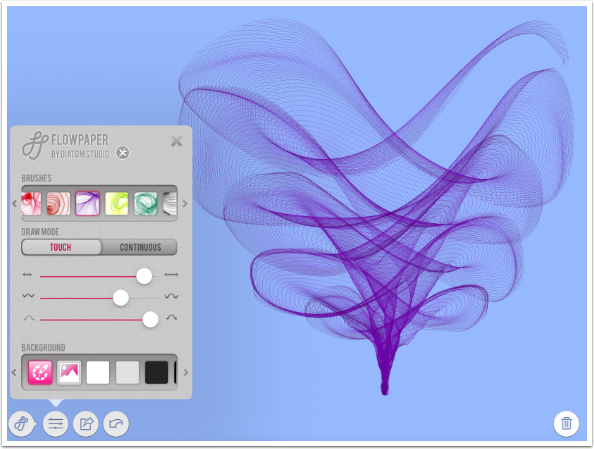
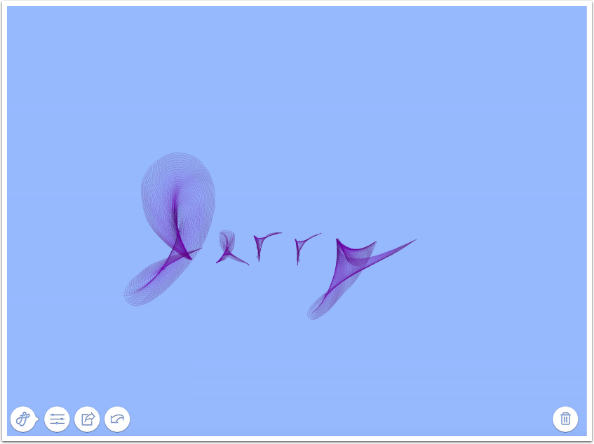
There are a number of single color brushes as well. Below I chose a purple brush. I started the stroke at the bottom, and made figure-eights of increasing size as I moved up the screen.
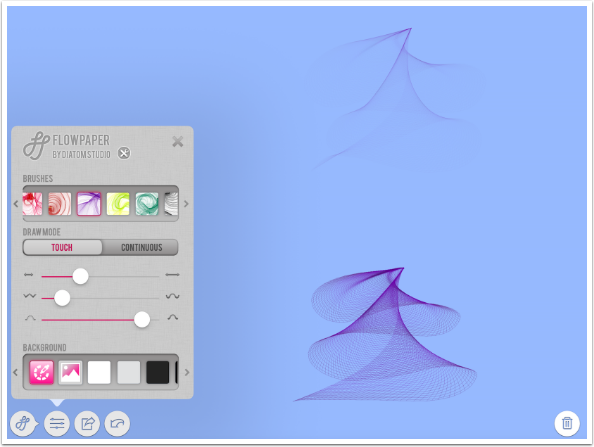
The Draw Mode section has three sliders: Length, Flow and Opacity. In the example strokes to the right, the top one has a low Length setting, and the mesh formed by the stroke is tight. The bottom stroke has a high length setting, and you can see more space in the diamonds of the mesh.
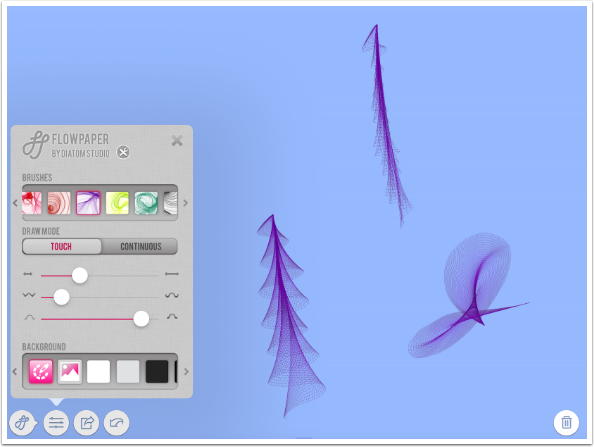
The next slider is Flow. Lower Flow settings keep things very geometrical, while higher Flow settings allow lines to wave and skitter across the page. In the two examples on the right, I made the same stroke with my finger. However, the one with the high Flow setting was much more unpredictable and sent lines in directions I did not anticipate.
The purpose of the Opacity slider is much easier to understand. The top stroke has low Opacity; the bottom is at 100%.
The brush stroke is affected both by the sliders and by the speed and smoothness of the stroke. The top stroke in the screenshot below was done with a quick, jerky zigzag. The bottom left was a slower, smoother stroke. I also experimented with a cursive capital J.
That made me want to see what my name would look like.
At the left end of the Brushes palette are buttons for a custom color brush and an eraser. The eraser is big and clunky, and it would not be used in place of the Undo button in normal use. I will mention a possible use for it later. In the screenshot below, I made a stroke with the first standard multicolor brush, and will tap the red Custom brush option to create my own color brush.
You have the option to create a single color brush or a multicolor brush. Once again, you use the color wheel and the luminance slider to determine the color.
If you choose a multicolor brush, you choose ten different colors for your brush. You can leave “gaps” in your brush by tapping the transparent circle to the top left of the color wheel.
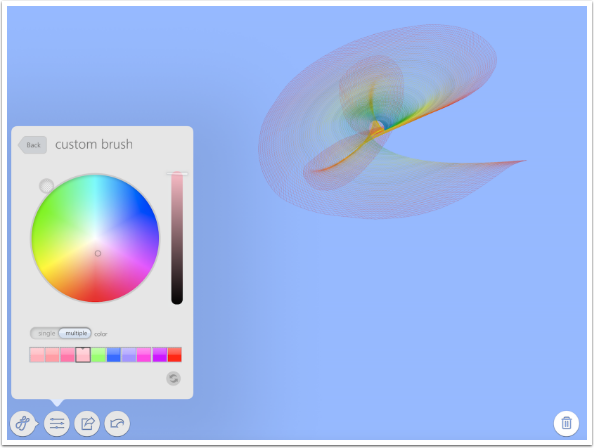
As you tap different points on the color wheel, Flowpaper automatically moves you to the next color thumbnail. You can then go back and tap individual thumbnails and adjust the luminance to get a darker color.
The Reset button at the bottom right will set all thumbnails to Transparent so you can start over again.
Below you can see a stroke I made using my Custom brush.
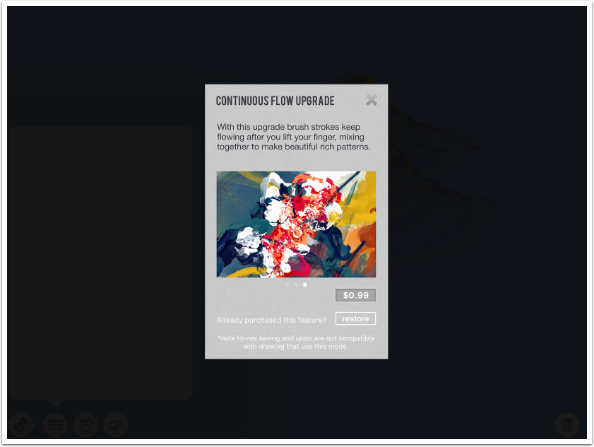
The only Draw mode option I haven’t discussed is the toggle between Touch mode (which I have been using all along) and Continuous Flow mode. Continuous Flow is an in-app purchased upgrade. Note that any image using Continuous Flow cannot use the Undo button (Trash will still clear the image of all strokes) and cannot be saved in the 3072×4096 Hi-res mode.
Below is an example of a Continuous Flow stroke. The app continued drawing long after I had finished the stroke.
When you start to make another strike in Continuous Flow, the previous stroke stops rendering. In that way I could draw the top stroke and the two overlapping bottom strokes without having the strokes cover the entire screen.
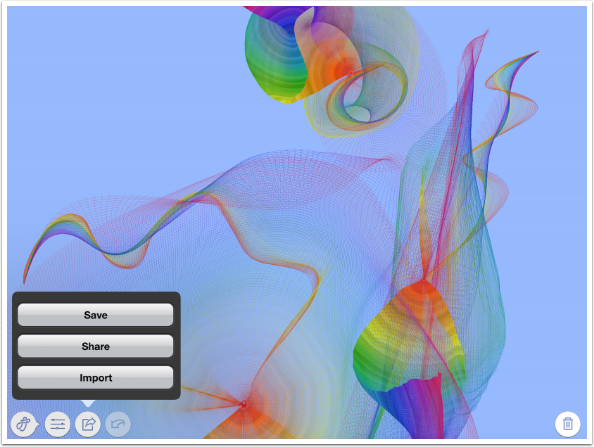
The Save button brings up three options. Share only allows a share to Facebook, Email and Twitter. Import is the same as the Import Background button in the Background palette, and is not a Save/Share option.
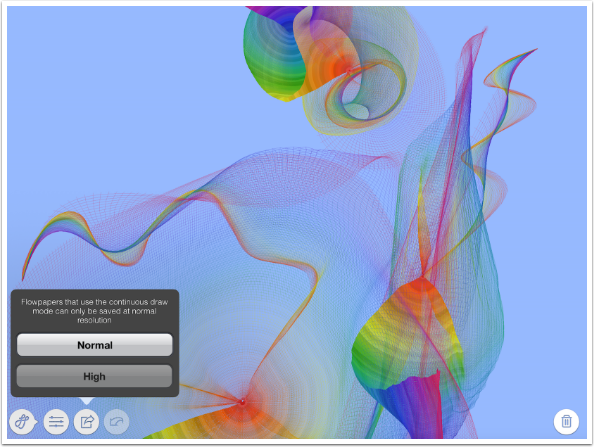
Save gives you the option to save at Normal (1536×2048) or High (3072×4096) resolution, unless Continuous Flow was used.
Here is my saved Continuous Flow image.
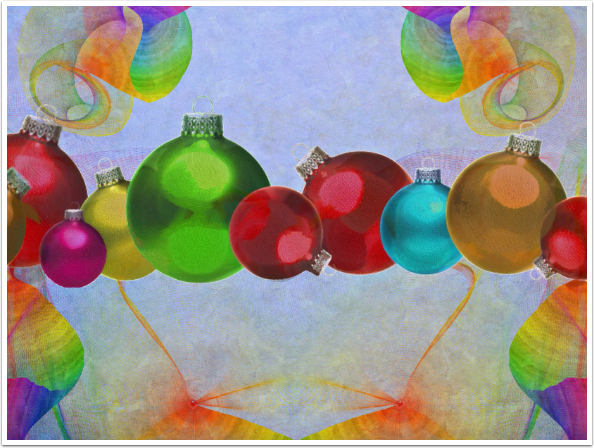
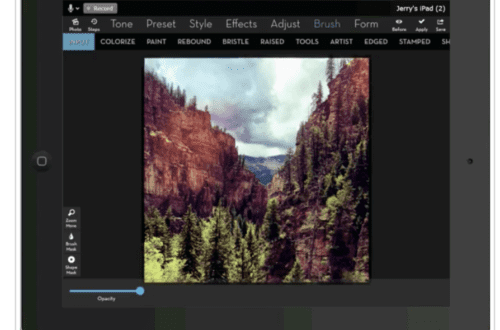
You can do all kinds of things with your Flowpaper images, of course. I took the previous image into iColorama and with Mirror, Blend, Texture and Bristle brush, created this holiday image.
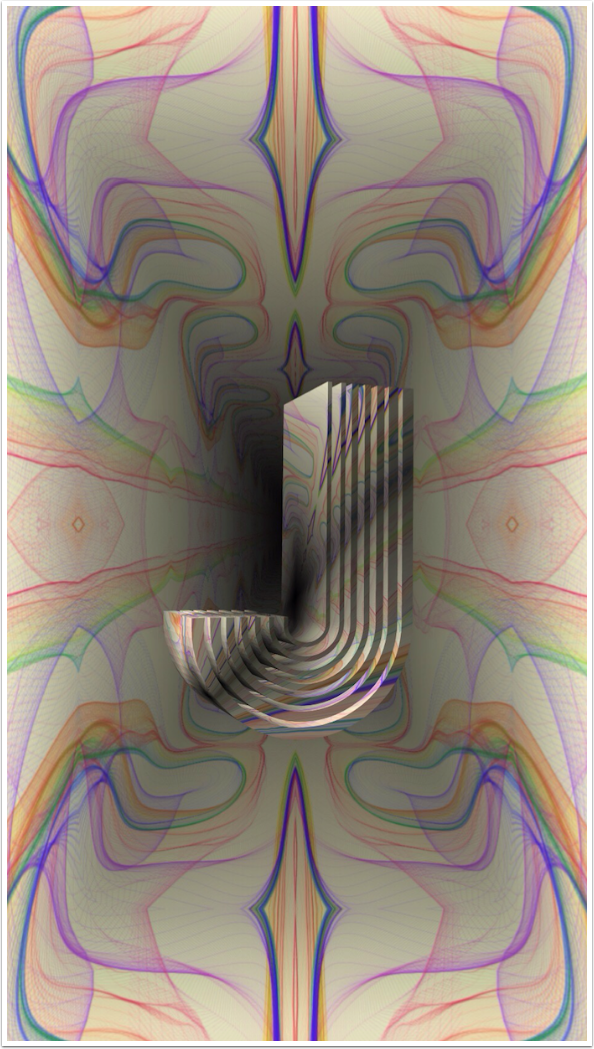
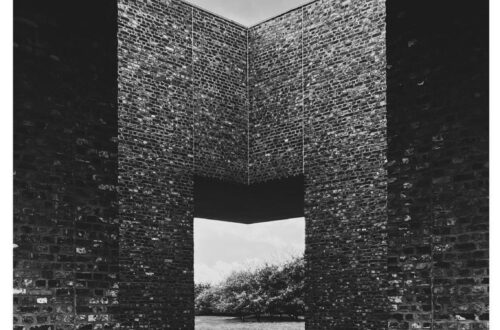
The next example was created on the iPhone, and taken into iColorama and Matter.
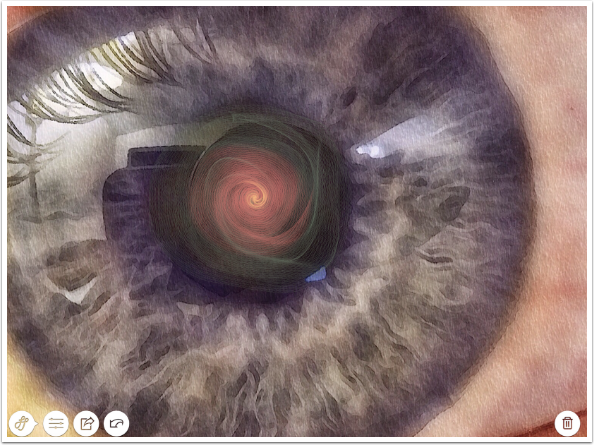
It is possible to import backgrounds, other images which can be drawn on directly. This is the instance when the Eraser may come in handy, so that you can keep the Flowpaper stroke from obscuring a foreground object. The image below was a painterly treatment of my eye. I drew into the pupil directly in Flowpaper.
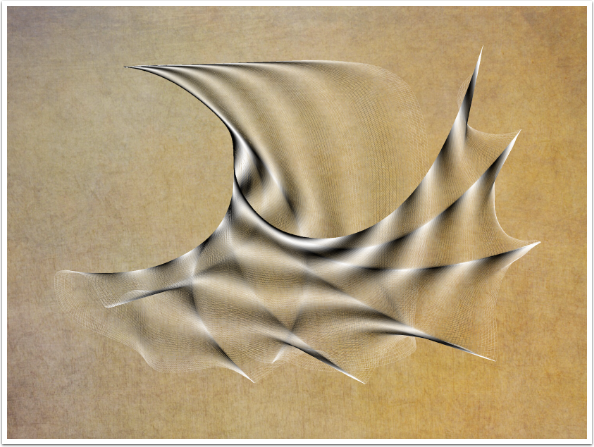
The final example was drawn onto an imported textured background. This effect was achieved by pausing my stroke as I reached the end of each scalloped point along the bottom and right edge. That allows Flowpaper to draw heavier, denser lines.
Flowpaper is fun to experiment with, but very hard to control. I have seen one artist use it to create some beautiful flowing dancing figures, but that requires a level of skill I don’t possess. Nevertheless, if you like the look of the flowing lines, I recommend getting Flowpaper. Until next time, enjoy!
TheAppWhisperer has always had a dual mission: to promote the most talented mobile artists of the day and to support ambitious, inquisitive viewers the world over. As the years passTheAppWhisperer has gained readers and viewers and found new venues for that exchange.
All this work thrives with the support of our community.
Please consider making a donation to TheAppWhisperer as this New Year commences because your support helps protect our independence and it means we can keep delivering the promotion of mobile artists thats open for everyone around the world. Every contribution, however big or small, is so valuable for our future.
Jerry Jobe
Never content with just scratching the surface of what an app can do, Jerry Jobe decided to pass on what he learned about imaging apps to others. He’s constantly trying to figure out just what tools other artists have used, and trying to incorporate them into his own work, in an attempt to find his style. He’s written tutorials on over 145 apps so far, which you can find (along with his Song of the Day entries) at http://enthusiasmnoted.wordpress.com/ He lives near Atlanta, Georgia, where he also finds a creative outlet in acting and directing in community theater.
One Comment
Chris Montcalmo
Wow, this app looks really interesting. I don’t know that I’ve ever seen anything quite like it. I’m definitely going to buy it and check it out. The “Continuous Flow” looks particularly intriguing.