Mobile Photography / Art Tutorial – Pixagram: What Exactly Have We Got Here?
We are delighted to publish Jerry Jobe’s latest mobile photography/art tutorial for our viewing pleasure. This time Jobe takes a look at the app Pixagram. Take it away Jerry…(foreword by Joanne Carter).
“I haven’t really become visible enough, even after writing articles about nearly 150 apps (more than 100 republished on the awesome and highly visible App Whisperer site), to have developers asking me to try out their apps for free. Therefore, I’m constantly on the lookout, like my readers, for free apps that give me value. Today’s app, Pixagram by Pierre Gougelet, has often been offered for free on the App Store.
A little over two years ago, I covered two other Gougelet apps, XnShape and XnRetro. There are a whole suite of “Xn” apps, each competent in their own way. Pixagram seems to be an attempt to step away from the Xn series. As it turns out, it’s not a very big step.
Pixagram is a filtering app, with a couple of nice effects that are somewhat modifiable. Whether that will be of value to you will probably be answered in this column”.
Pixagram is a universal app, working on both the iPhone and iPad, but it only works in portrait orientation. The screenshots today are from the iPad version.
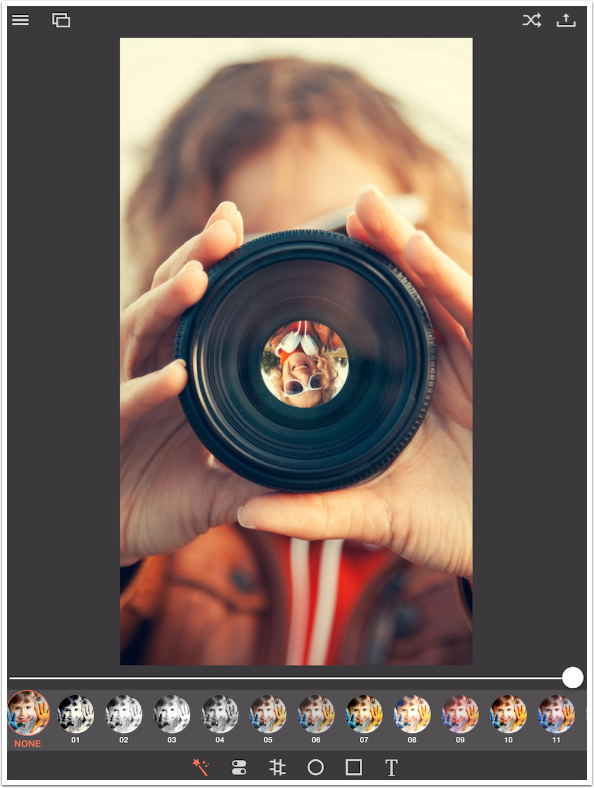
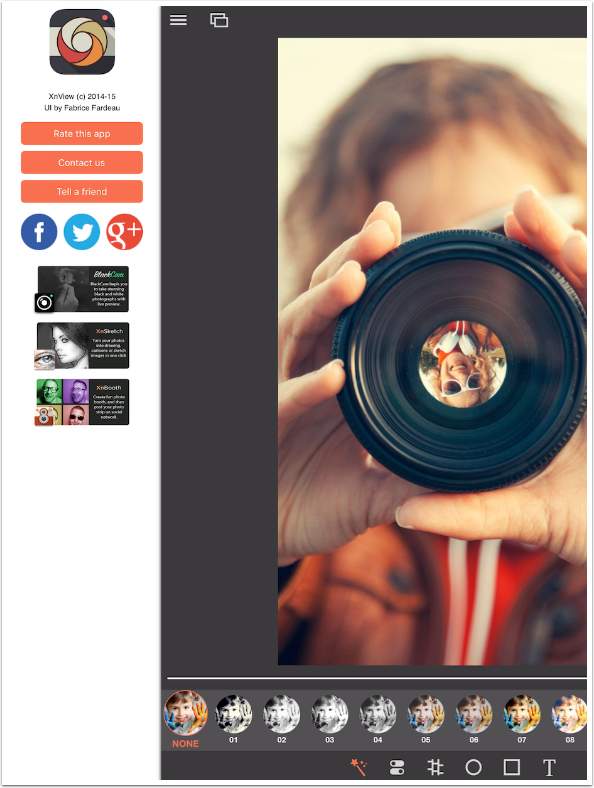
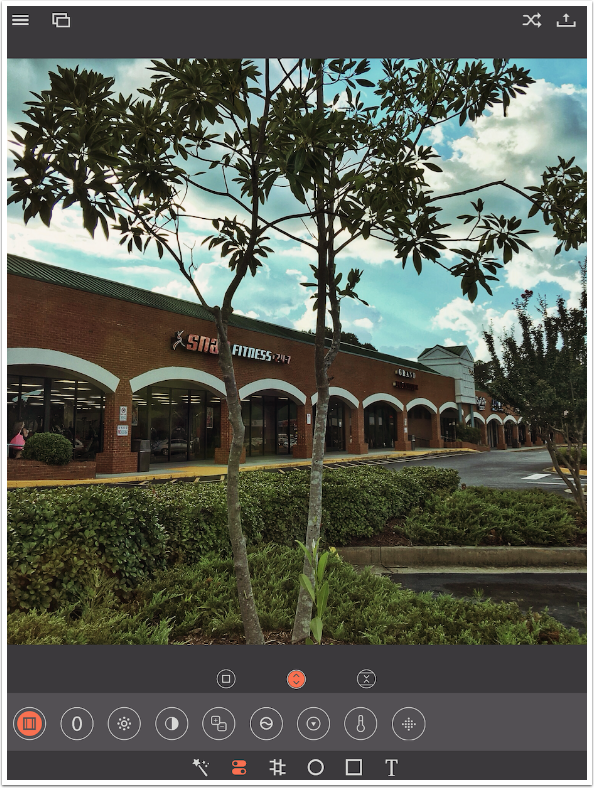
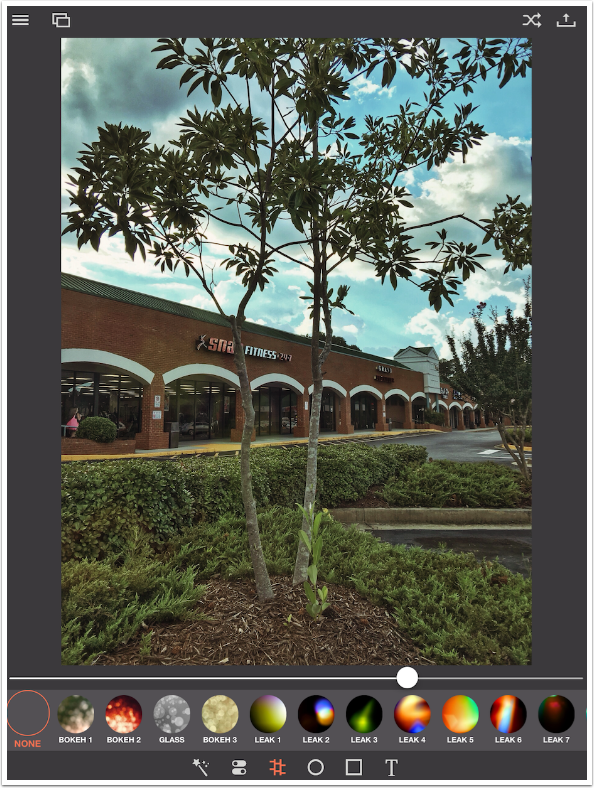
After the splash screen, a sample image is loaded into the workspace, as shown below. At the top are Menu, Load, Random Effect, and Save/Share buttons. At the bottom are six buttons for Filter, Adjustments, Texture, Vignette, Frame, and Text. The currently chosen button (Filters in this case) is highlighted, with various thumbnails and sliders above that.
When you open the menu, the first thing you see is the icon for Pixagram and the name XnView. This is confusing, since Pixagram is NOT XnView. XnView, as an app, has fewer filters but many more effects, and its user interface looks nothing like Pixagram’s. XnView the app is free, while Pixagram normally sells for two dollars.
It turns out that the “suite” of apps is also called XnView. This leads to an understandable confusion, at least in my mind, as to what app we’re dealing with. Is it an alternative to XnView? A next generation?
Tapping the Load button takes you directly to your Photo Library. Pixagram is only an editor, and does not allow you to capture images within the app.
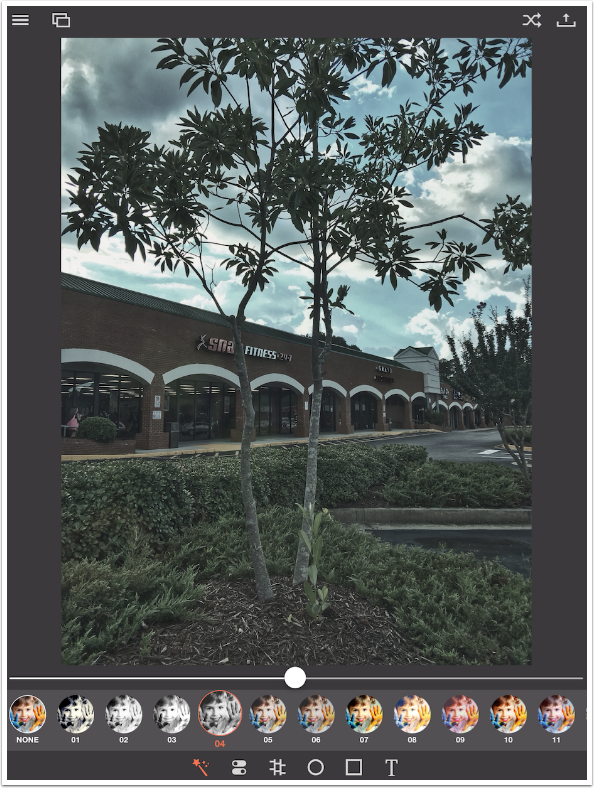
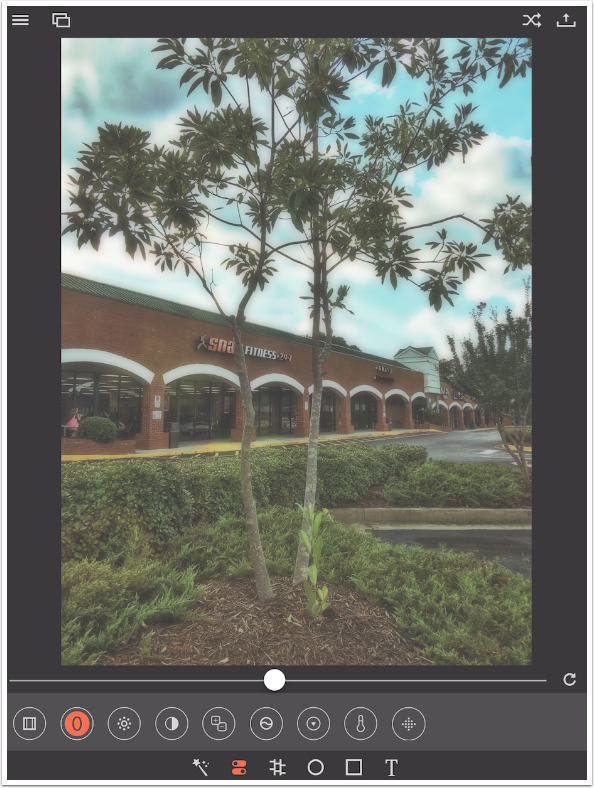
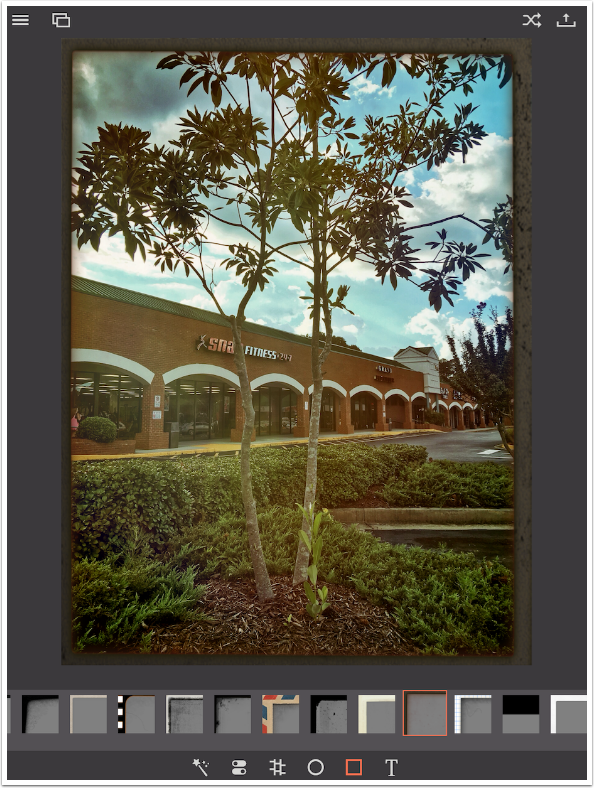
I’ve loaded a simple image from a local parking lot, and chosen a B&W filter, number 04. The filters are numbered within Pixagram, not named. There are 25 different filters.
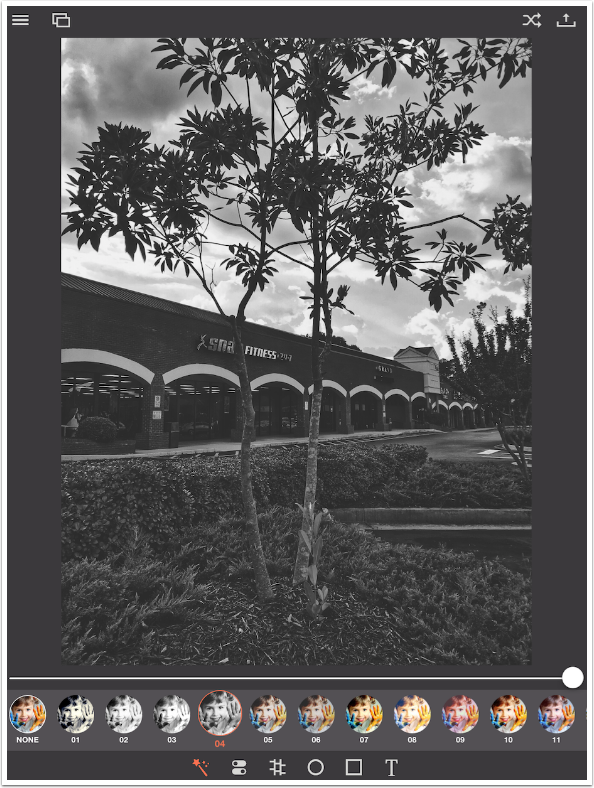
The slider controls the strength of the filter. B&W filters, when reduced, allow colors to be revealed from the original photo, as seen below.
There are the usual controls under the Adjustment menu item: Brightness, Contrast, Exposure, Saturation, Vibrance, Temperature, and Grain. But the first two options are rather curious. The first options is not Crop, but rather Instafit. It harkens back to the time when Instagram photos were required to be square.
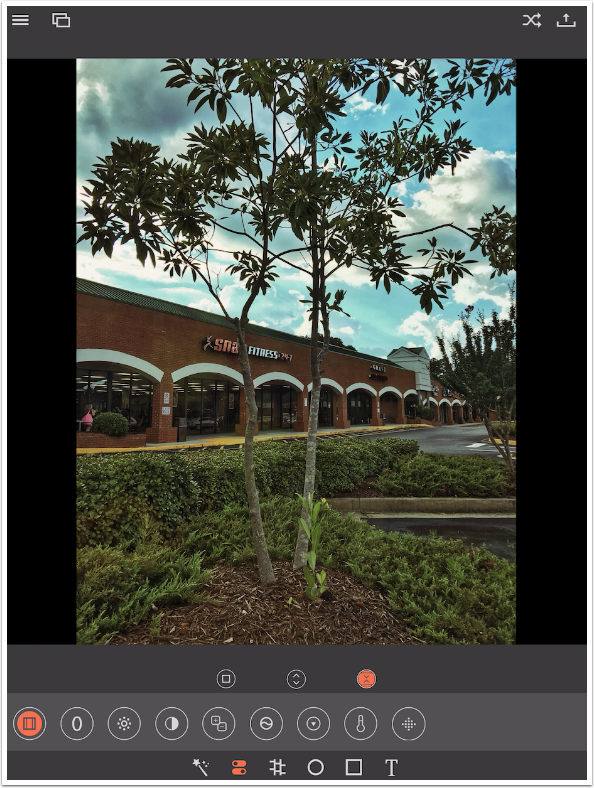
The first of the three buttons will return to the original image; the second (shown below) crops the center of the image to a square. The crop placement is not adjustable – it’s always the center.
The third button will add a black border to the top and bottom or the sides, in order to create a square image.
The second Adjustment option is Orton, which adds a fuzzy glow to the image. Below you’ll see it at a strength of about 50%. Tapping the circle arrow at the right of the slider returns the slider to the original position.
All the other Adjustments work the same. There is a single slider to adjust the strength of the effect with a reset arrow at the right. Below you’ll see the Grain option, which I rarely use in any app.
The Texture option has various light effects, but no grunge effects.
Below I’ve chosen a Bokeh texture. The effect’s strength can be adjusted using the slider, but the texture cannot be resized or rotated. If it doesn’t work with your particular image, that’s just too bad.
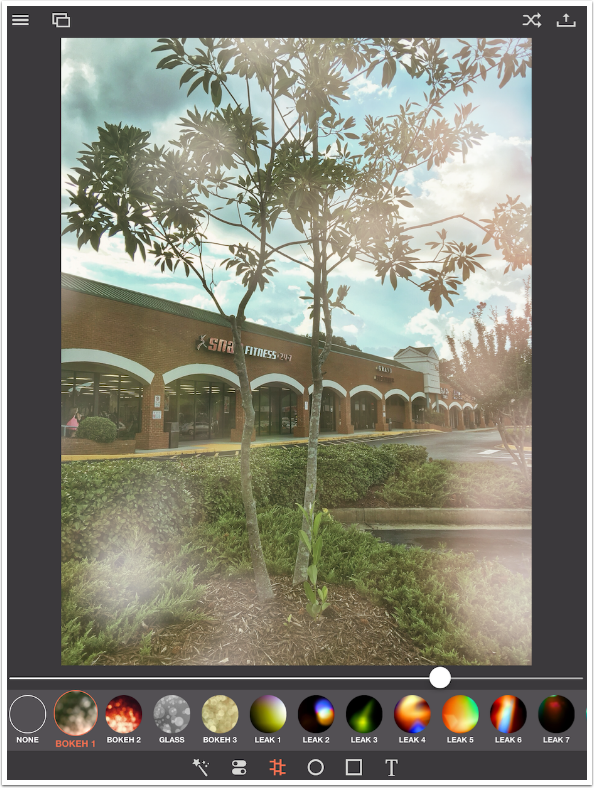
Nevertheless, a subtle effect can be made if you lower the strength enough.

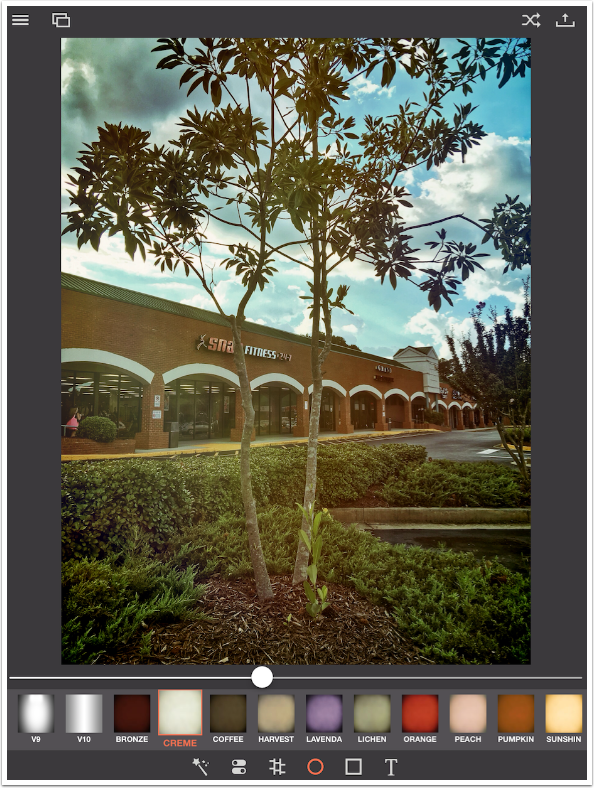
There are twenty different Vignette effects. The opacity of the vignette can be changed with the slider, but the size of the vignette cannot be changed.
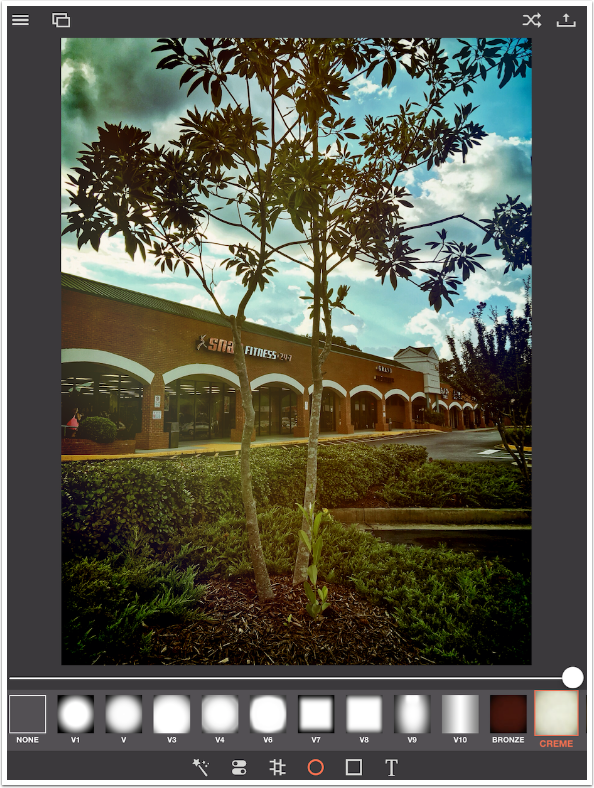
The last ten Vignette effects add color as well as a vignette. The Creme effect shown below warms the image considerably.
There are thirty-two frames available in the Frame option. Some are quite nice.
My personal pet peeve with frames is when they overlay the image, as they do here. As much as possible, the app should resize the image to fit within the frame.
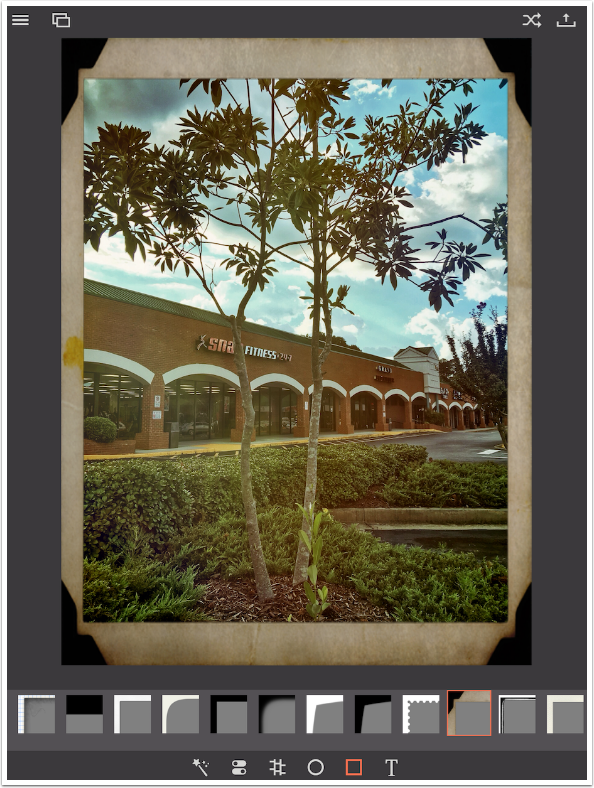
In addition, the width of the frame is not adjustable, so very thick frames overlay a large portion of the image.
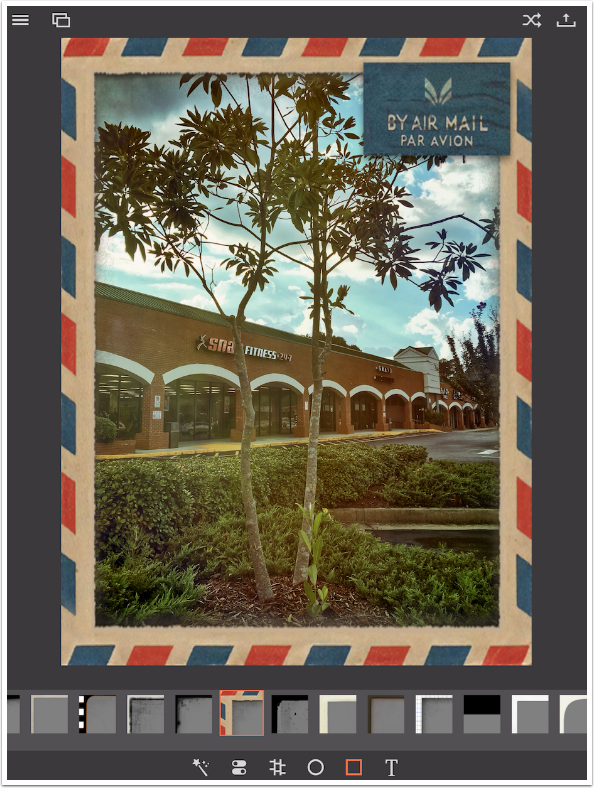
The Text option has a nice array of thirty-two different fonts. The color selection is not all that broad, and you can’t add another color. There are also no Shadow or Stroke capabilities.
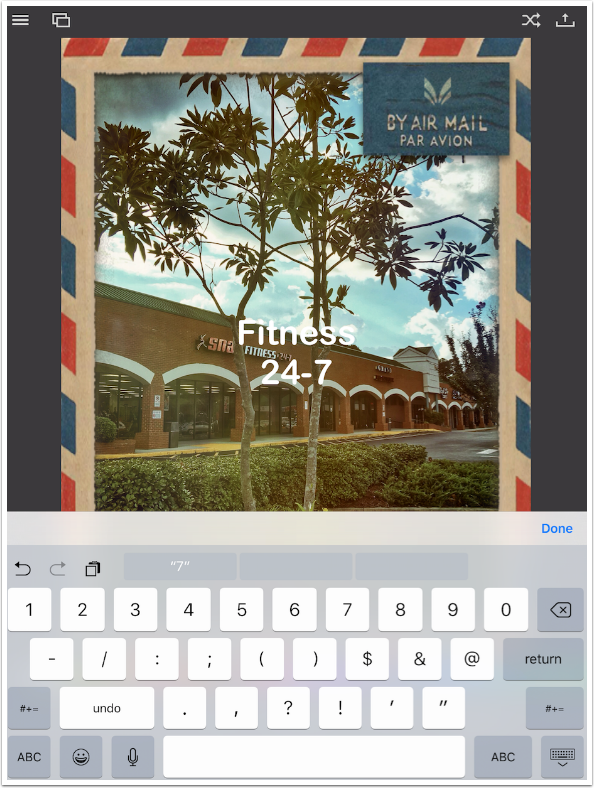
You tap the + at the left end of the color palette to add text, then double-tap the text itself to edit the text.
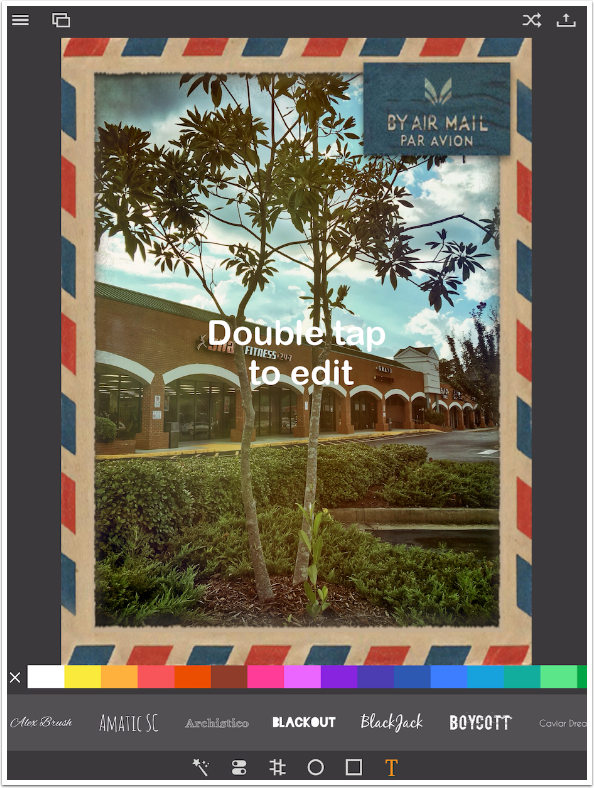
You can add more than one line of text using the keyboard. It will always be centre-justified, and you can’t change the character or line spacing.
Below you’ll see one of the very saturated colors they allow for fonts. It’s hard to get a useful text color that will stand out from the image.
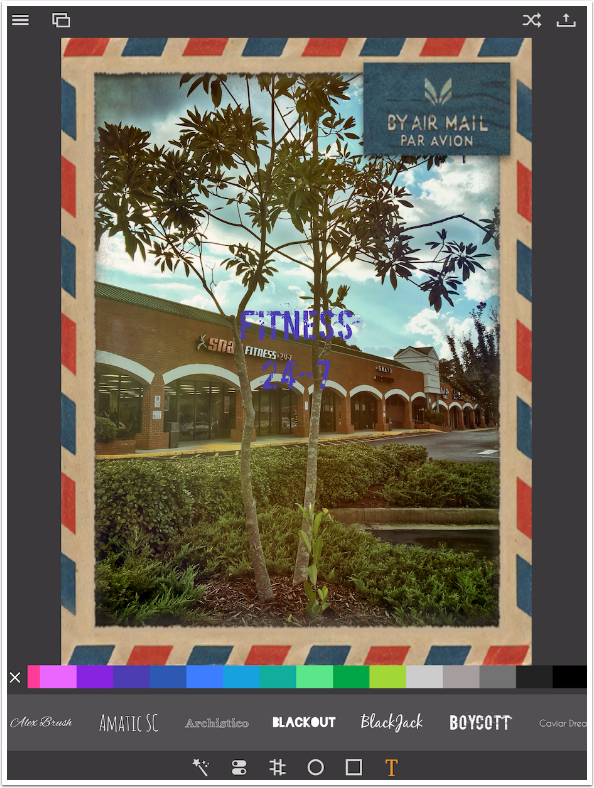
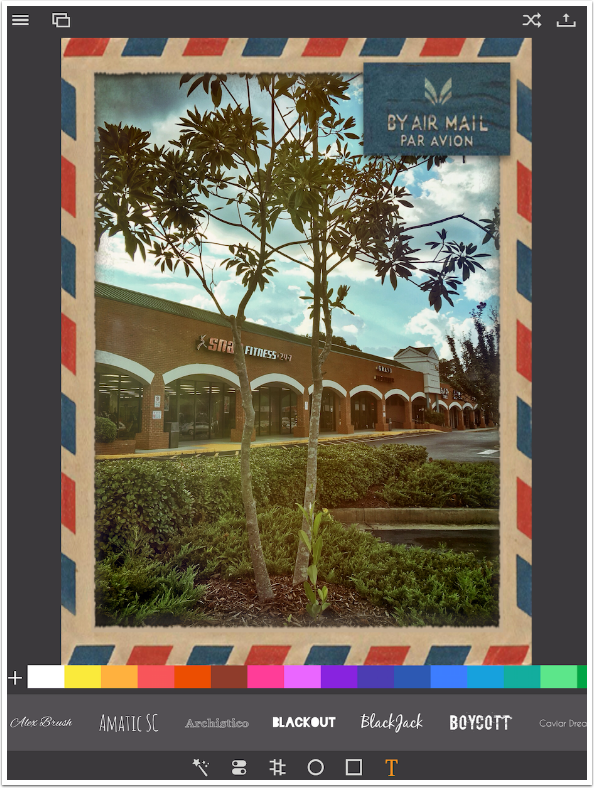
Using a two-fingered pinch, you can move, resize and rotate the text. Text always is on top, overlaying the texture, vignette and frame.
At any time, you can tap the image to show the original. However, the text will always appear. You’d have to tap the X at the left end of the Text color palette to get rid of the text. Only one text object can be added to any image.
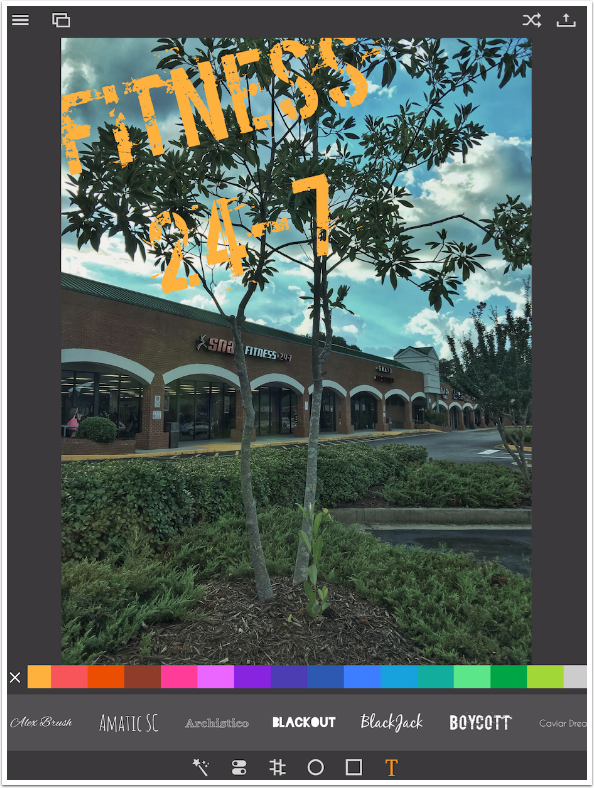
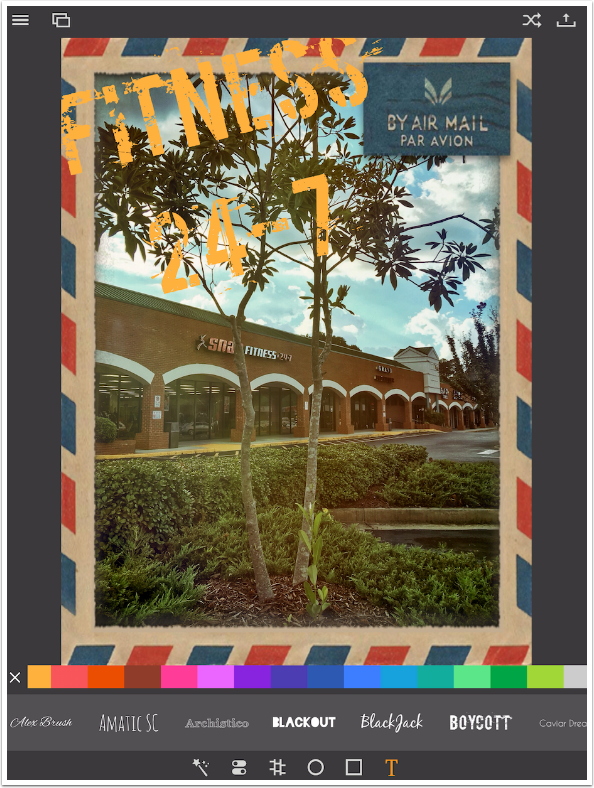
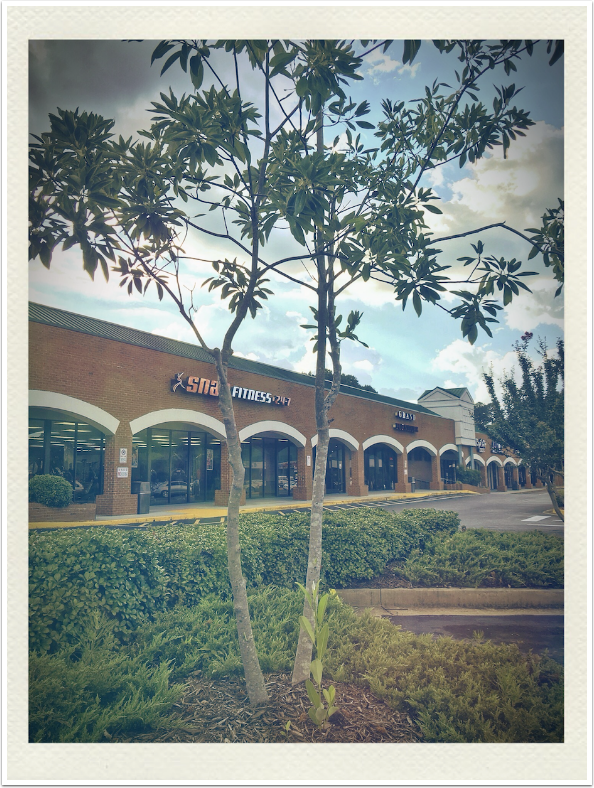
Text will also stay in place when you use the Random Effect button at the upper right. Below I tapped the Random Effect button, and my “Fitness 24-7” text object remained at the same place, with the same color and font choices.
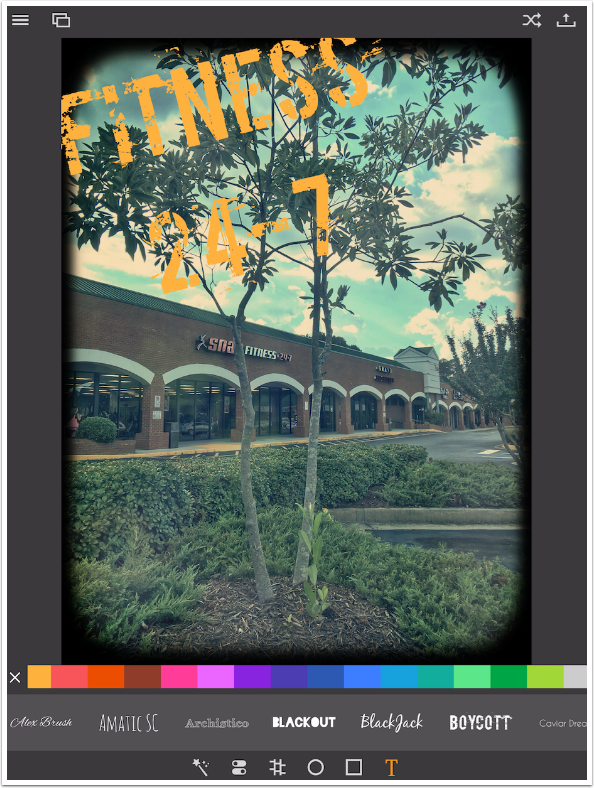
Tapping the Random Effect button repeatedly will give you many different starting points for your image. I will almost always have to lower the strength of some of the effects. If I don’t, the effects overwhelm the image. The image below is post-adjustment.
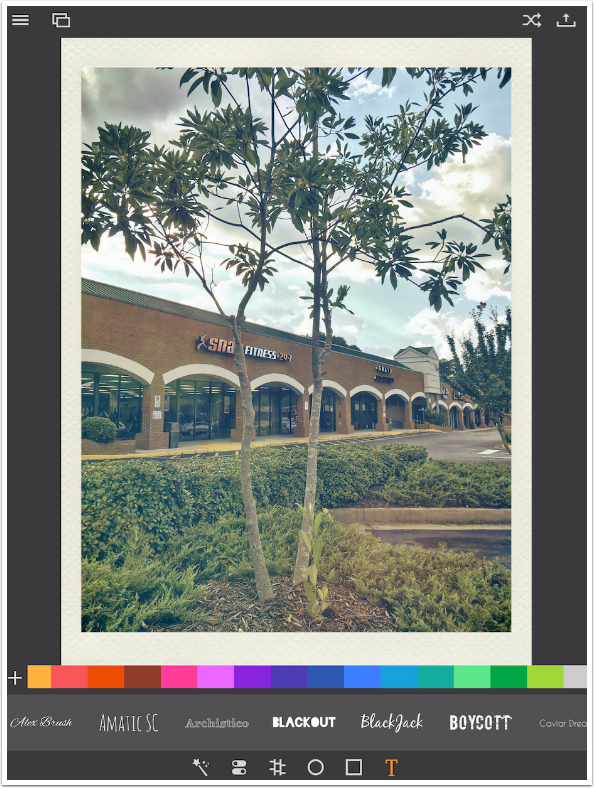
Making adjustments to a Random Effect is accomplished by returning to the options and choosing a different thumbnail or moving a slider. I decided below to reduce the Exposure a bit, which served to emphasise the vignette
The Save/Share options are shown below. Pixagram will work with very large images, and save them at their original size.
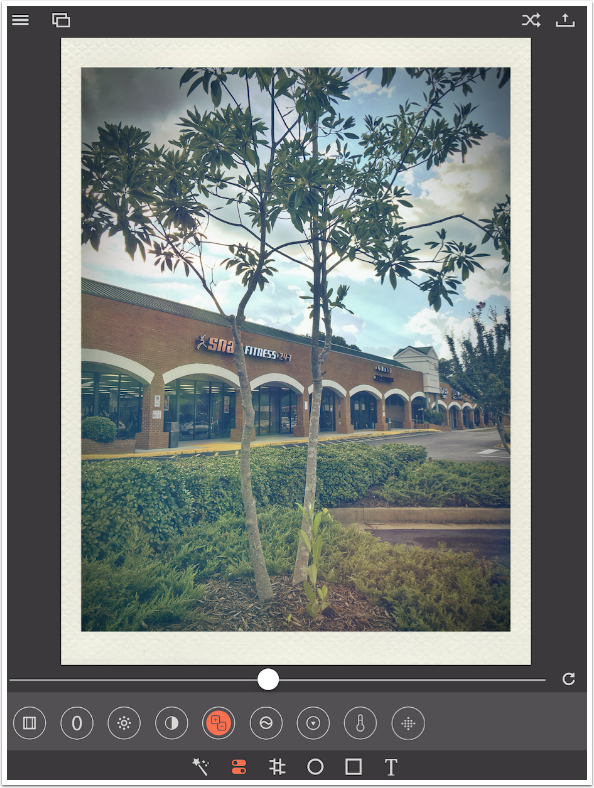
Below is my finished image.
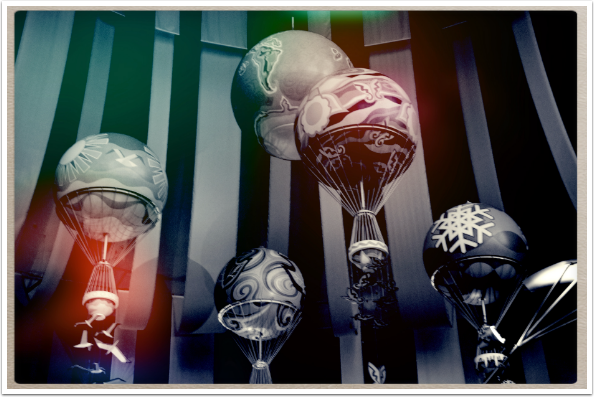
Remember, effects are applied from left to right. Text always overlays everything. Vignettes go below frames. And colourful light leaks will not be affected by a B&W filter, which is beneath it. See below for an image that gets its color from the light leak, even though the original was desaturated by a B&W filter. (The original, and this saved version from Pixagram, is a whopping 4928 x 3264.)
So, what do you think? Could Pixagram help you in editing your images? Only you can answer that. It is not a bad app – it doesn’t reduce your images, and the effects are nice enough. It’s not exciting, though, and the limited ways in which textures, vignettes, frames and text can be changed make it fall well below the top tier of photographic apps. Wait for it to become free, as it regularly does, if you want to try out Pixagram.
Until next time, enjoy!
TheAppWhisperer has always had a dual mission: to promote the most talented mobile artists of the day and to support ambitious, inquisitive viewers the world over. As the years passTheAppWhisperer has gained readers and viewers and found new venues for that exchange.
All this work thrives with the support of our community.
Please consider making a donation to TheAppWhisperer as this New Year commences because your support helps protect our independence and it means we can keep delivering the promotion of mobile artists that’s open for everyone around the world. Every contribution, however big or small, is so valuable for our future.
Jerry Jobe
Never content with just scratching the surface of what an app can do, Jerry Jobe decided to pass on what he learned about imaging apps to others. He’s constantly trying to figure out just what tools other artists have used, and trying to incorporate them into his own work, in an attempt to find his style. He’s written tutorials on over 145 apps so far, which you can find (along with his Song of the Day entries) at http://enthusiasmnoted.wordpress.com/ He lives near Atlanta, Georgia, where he also finds a creative outlet in acting and directing in community theater.