iPhone Photography Tutorial By Alexey Tsyganok
Welcome to our iPhone photography tutorial section, today we talk to Alexey Tsyganok about his incredible image ‘Walking Together’. Alexey talks us through the complete process as you can read below.
We previously interviewed Alexey in our Extension of the I series, if you missed that you can read it here. Alexey is a 40 year old, mathematician by education who graduated at Moscow State University. For the past 19 years Alexey has been working in the investment banking industry. He is married and has three children. In his spare time Alexey enjoys iPhone photography, bridge and poker card games.
Don’t miss this awesome tutorial below…
Final Image
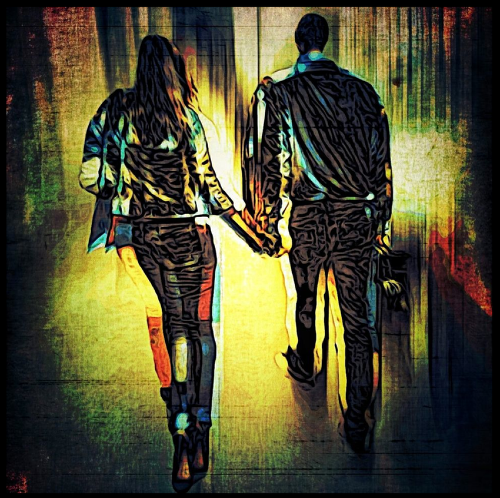
This is the final image, the one we are going to show you how to create.
Original Image
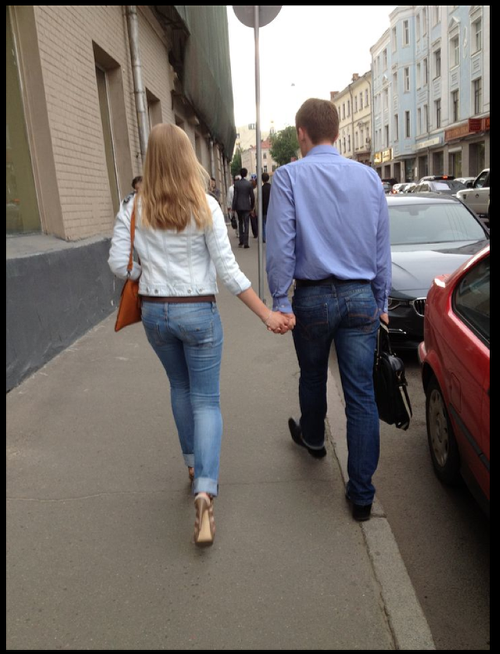
‘Sometimes playing with quite ordinary pictures can create something special. I captured this image while walking from my office to home. I just needed the image of the couple holding hands for one of my projects, but decided to give picture a chance on itself’.
Step 1. Preparing figures.
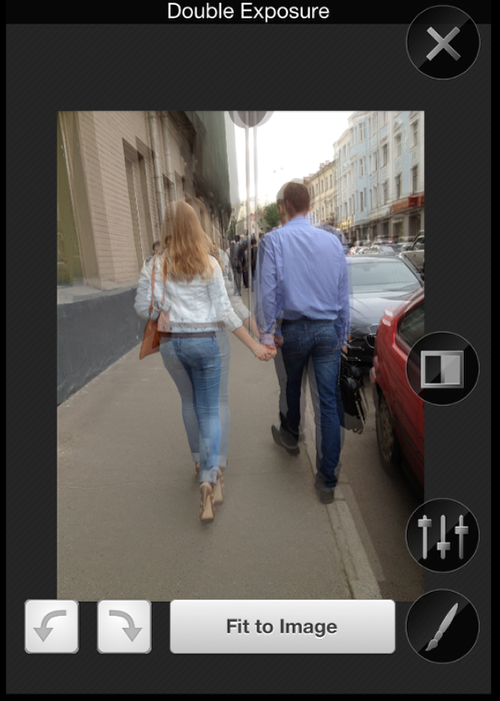
‘Load the image to Filterstorm, go to Layers menu and choose Add Exposure. Then load the same image as the second one. Adjust the second image to be a little bit shifted relative to the first image’.
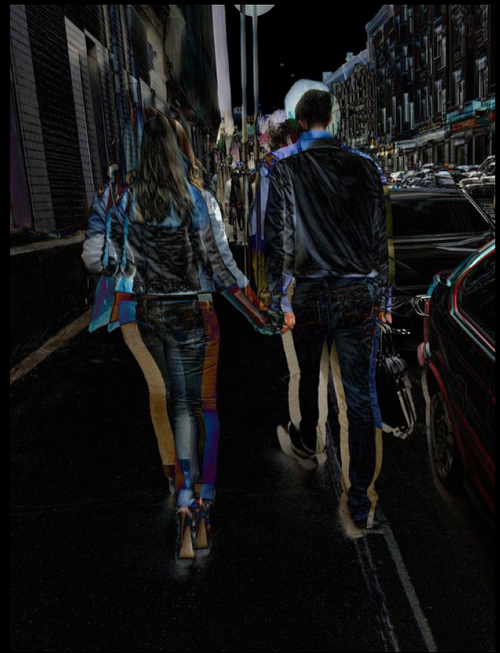
‘Then draw mask all over the image. Open Layers menu again and change the blend mode to Difference. The result should look close to the above’.
Step 2. Enhancing the halo
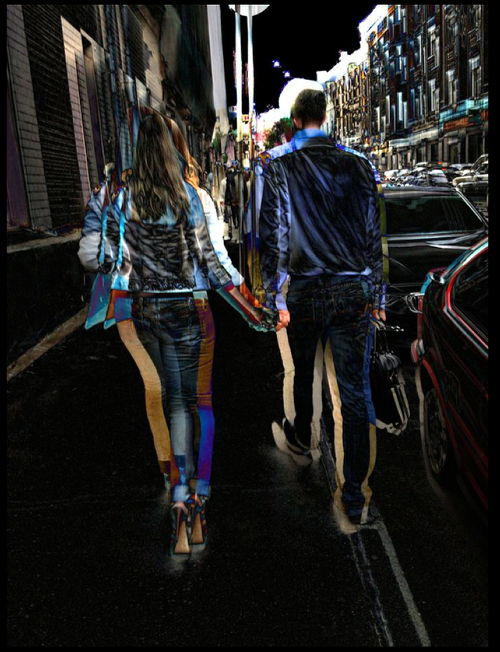
‘Open the picture from previous step in Snapseed and play a bit with Tune Image option (brightness and white balance). Now the halo is brighter and more colorful’.
Step 3. Preparing the background

‘Open the original image in Photostudio and choose effect #52 “Vertical Blur”. Move the amount slider almost to the right end’.
Step 4. Combine figures and the background
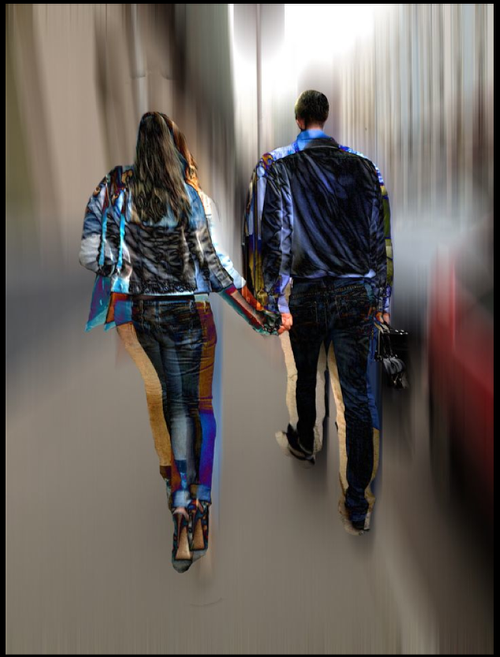
‘Open the image from step 3 in Filterstorm, go to Layers menu and choose Add Exposure. Then load the image from step 2 as the second one. Now it is the most boring part of the work. We have to carefully (preferably using a stylus) mask figures to obtain the following result’.
Step 5. Moku Hanga magic
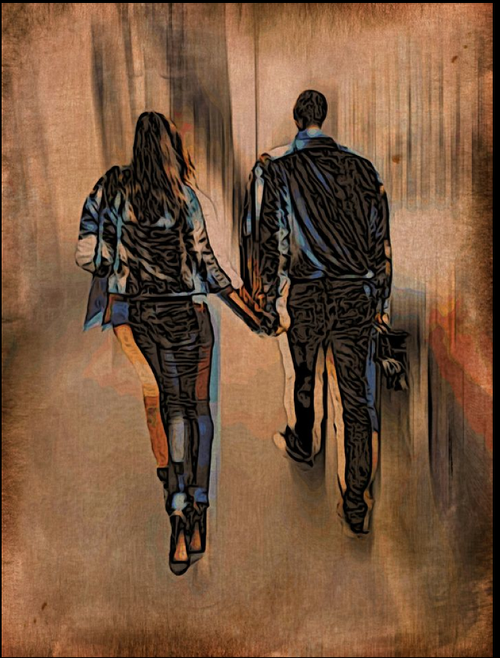
‘Open the picture from step 4 in Moku Hanga. Select Nature effect from Multi-Color tab. The result should look like the above’.
Step 6. Pic FX
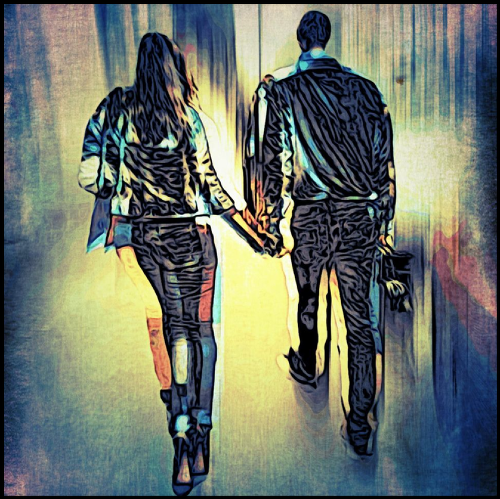
‘Open the picture from previous step in pic FX, crop it to square and apply Blue effect from Classics set’.
Step 7. Finalization. Snapseed.

‘Open the result picture in Snapseed, select Tune Image and play with brightness, ambiance, contrast, saturation and white balance until you get the result as above. Now get to Details section and increase sharpening and structure’.
Final Image
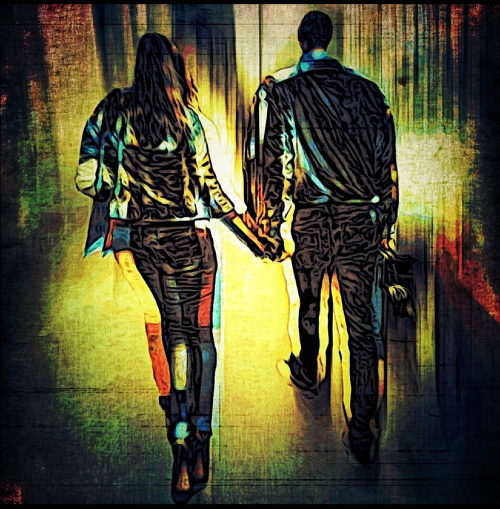
‘Here is the final image again. It looks arty, colorful and unusual. Hope you liked this tutorial. Have fun’!
Screenshow Of The Process


One Comment
Gerry Coe
Good Tut, and a nice range of apps used, well done. Like the image. G