Color Lake – iPhone Photography Tutorial – Adding A New Dimension To A Street Scene
Color Lake is a really excellent iPhone photography effects app. It allows you to add water reflections, snow and rain to image but not only that, you can also adjust the wave sizes and height, rain strength, and snow size. You can take screenshots directly from the main screen and there is full retina display support.
In this tutorial I show you how to create atmosphere and nostalgia in a relatively normal street scene. Without the use of Color Lake this would effect would not of been possible.
If you feel inspired after reading this tutorial and would like to try Color Lake for yourself, just go here. It retails for $1.99/£1.49.
Step 1
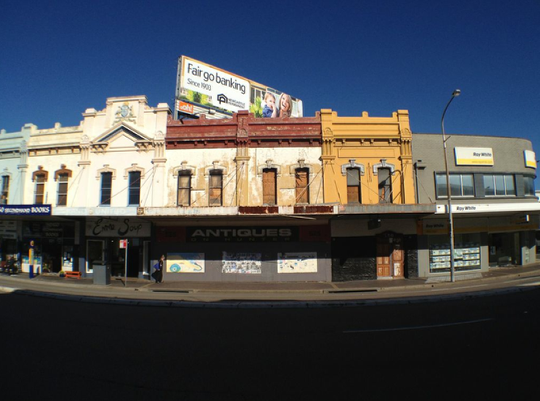
This image was perfect for testing out Color Lake’s brand new rain filter update. Rather fitting that almost five years ago this street did have a major flood caused by a storm and freak downpour.
Step 2
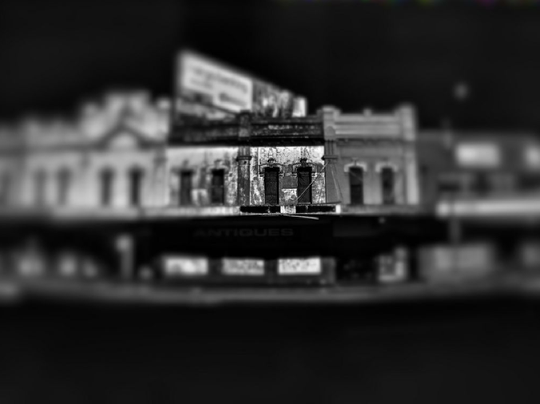
The base image was taken with the native camera and olloclip wide angle lens. It was a busy street so I had to wait quite a while for the traffic to clear. It was taken without the HDR. I did use the grid though to make sure I had the image straight. I converted it to black and white in Snapseed, adjusting the contrast to darken the sky and road. Then added some drama, I used the dark filter at 100%.
Step 3
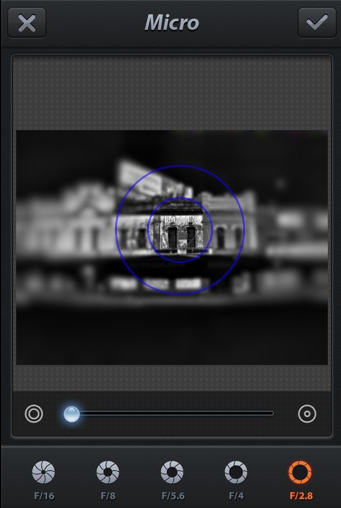
In Fotor I use the big aperture setting in micro to focus on just the one upper level. I used the highest blur setting.
Step 4
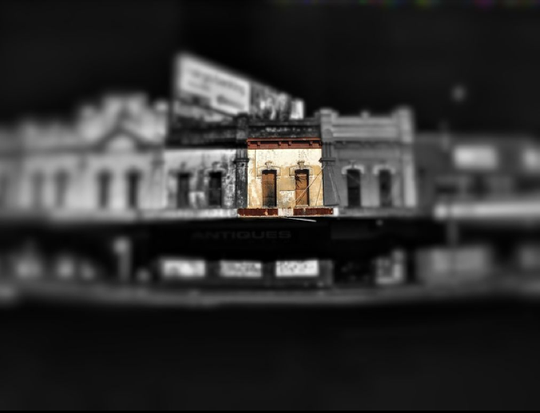
Then in Image Blender I re-coloured the upper level, I used normal blending mode and erased just the section of the upper level so it popped.
Step 5
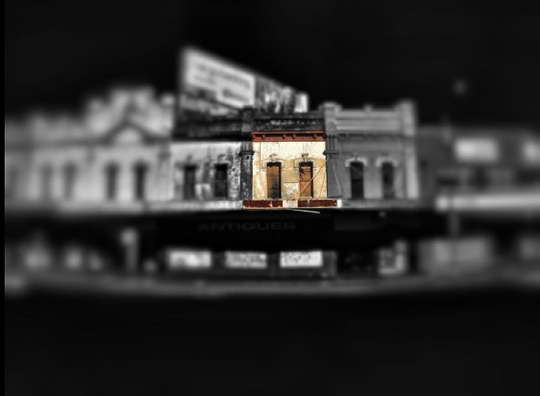
For some reason the top of the image had a rainbow section appear so it had a quick touch up in Paint FX using the paint function, I used the color match tool to get the right shade.
Step 6
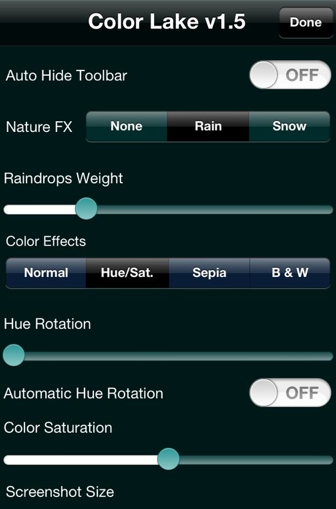
In Color Lake I set the horizon at street level to create a flooded street scene and adjusted the rain intensity till I was happy with the balance.
Step 7
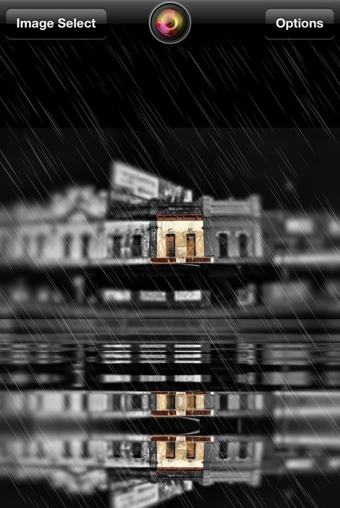
This is the flooded street scene in Color Lake.
Final Image
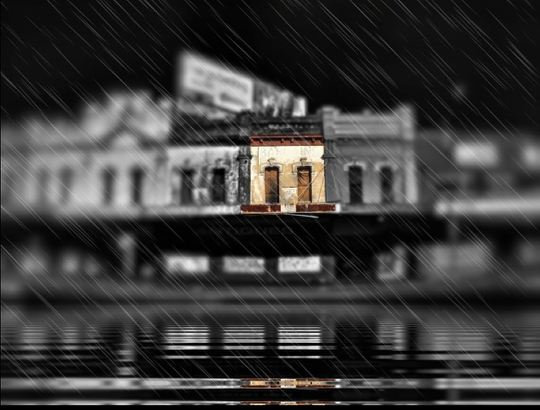
Here is my stunning final image, complete with lashing rain and flooded streets. I hope you have enjoyed this tutorial, please comment below. I was inspired by Color Lake to produce this awesome scene and hope you will try it too.

9 Comments
David
Mel ~ I loved this image when I first saw it…and wondered how you did it. Now I know!! Thanks for sharing this with us! Great tutorial…fantastic image!!
Mel Harrison
Thanks David 😀
Nicky Sanford
wonderful edit and great tutorial
Mel Harrison
Thanks Nicky I appreciate your comment
Mike
Beautifully done!
Mel Harrison
Thank you very much Mike.
Robert Lancaster
Great initial image and an awesome result! 🙂
I have been struggling to find additional uses of Color Lake … and now I have some.
Thanks for the tutorial, especially showing me which settings you adjusted in the various apps.
LynneM
I’m going to reassess my photos and give Color Lake a go. Great tut!
Hetta
Many thanks Mel, your tut is a big help.