Olloclip Tutorial – How To Create A Stunning Wide-Angle Abstract Art Image With An Olloclip
The Olloclip lens system consists of three lenses. A wide-angle, fish-eye and a macro lens. In this tutorial we demonstrate how to create an incredible wide-angle abstract photograph using the Olloclip wide-angle lens. The wide-angle lens allows for approximately double the field of view of the default iPhone. This feature is great for taking landscapes, architecture and interiors but it also lends itself to more creative work too.
In this instance, using the wide-angle lens, it has allowed the flower image from a reasonably close focusing distance to appear very large and striking. The photographer in this instance has used this to great effect and created a very unique image that would only of been possible by using the wide-angle Olloclip lens to capture it initially. Perhaps, demonstrating again the cross over between photography and art.
Read our very inspiring tutorial below…
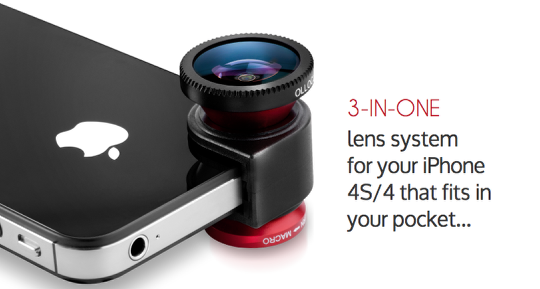
Step 1
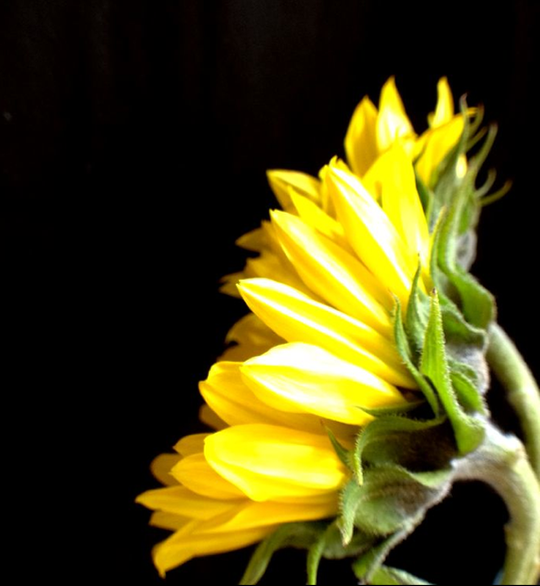
This is my original shot, I put these sunflowers in a tall vase and set them against a black background in natural light. I shot them using 645 Pro on my iPhone 4S with the Olloclip wide-angle lens attached, ensuring that my subject looked very large on the screen. My film choice was FC5 in a 6×6 format.
Step 2
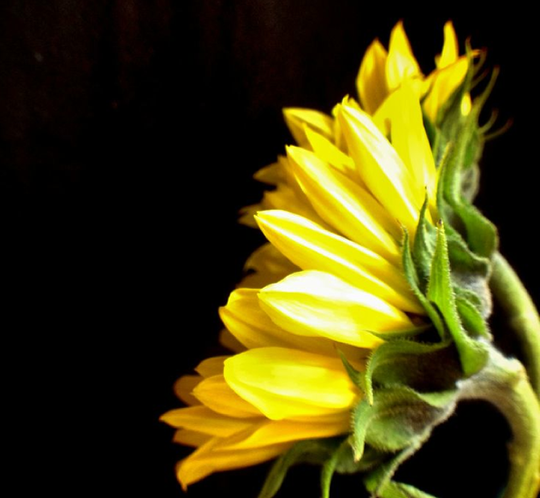
I felt that the original image was a bit “brassy” so I ran it through Dynamic Light to soften it slightly. I used the Dutch Light filter at 50%.
Step 3
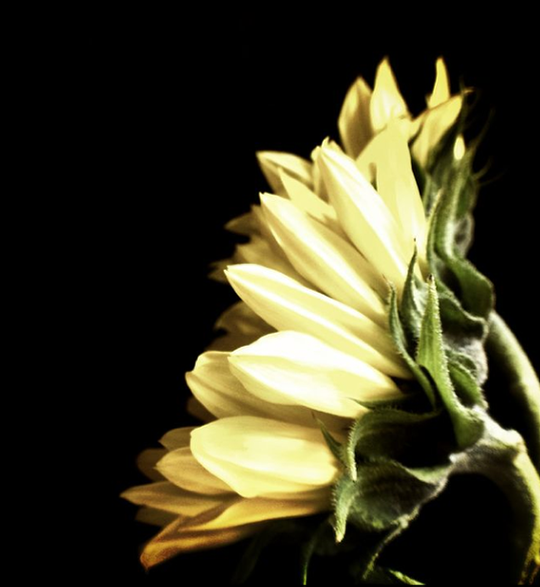
Next I added an aged, but not grungy, feel to the image. I chose the Studio filter in Picture Show to accomplish this edit. I made no other adjustments once I applied the filter.
Step 4
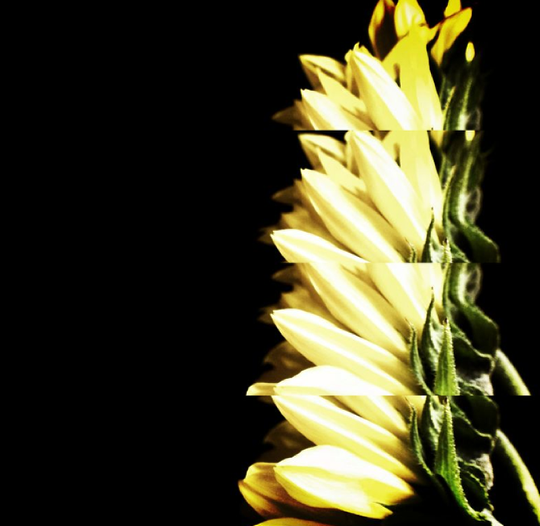
To begin the abstract process I stretched the image. I used the Vertical Quad filter; also in Picture Show. Again, I made no other adjustments once this filter was applied.
Step 5
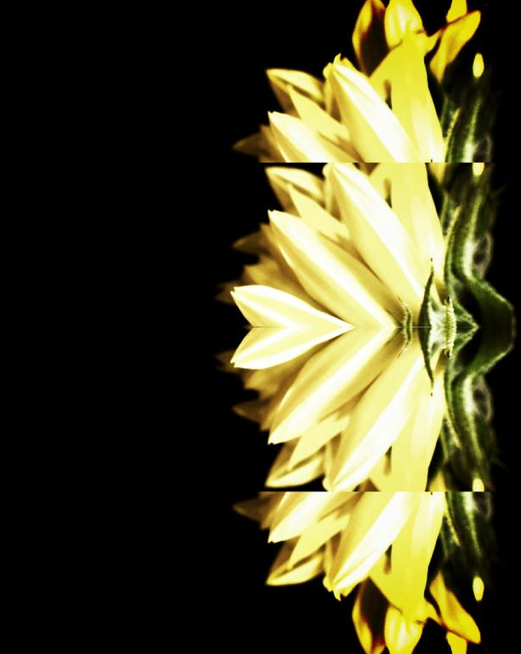
To continue the abstract process I softened and smoothed the sharp angles of the sunflower. I used the Symmetry Horizontal filter in FX Photo Studio. As in the steps above, I made no other adjustments once the filter was applied.
Step 6
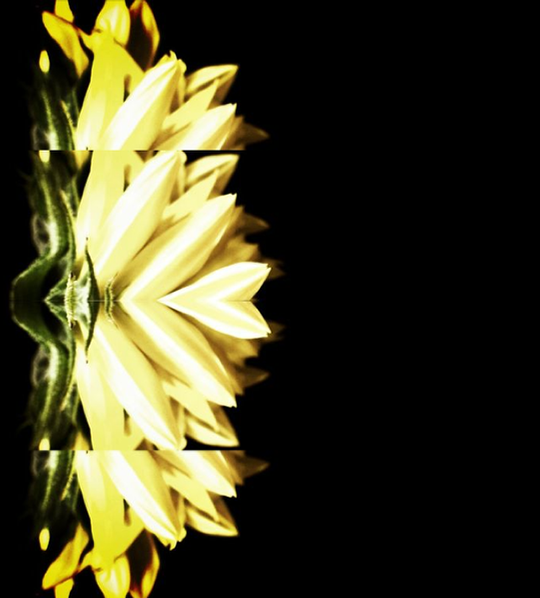
To balance the shot I added a mirror image of the left facing flower. I moved the image into Iris Photo Suite. On the tool bar at the bottom I tapped the second icon from the left then tapped Rotate/ Flip. Another toolbar appeared and I tapped the third icon from the left thus creating a flipped image.
Step 7
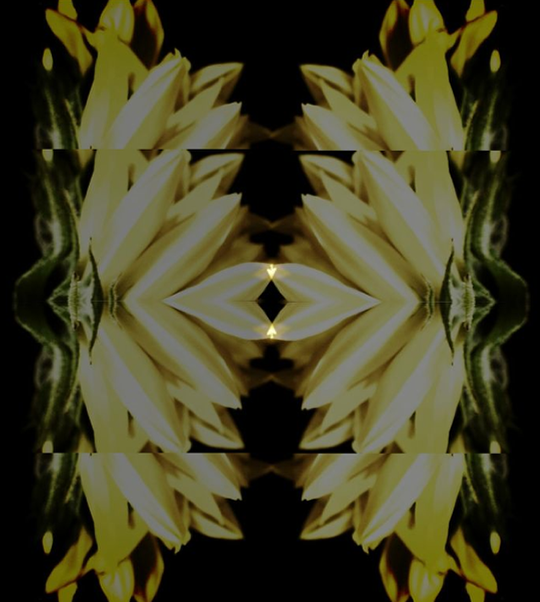
To combine the two images I stayed in Iris Photo Suite. With the flipped image still on the screen I went to the top and tapped Adjustments then Layers. I set the image as the base layer. I then tapped the camera roll in the lower right corner and opened the library from where I chose the left facing flower image. I again tapped Adjustments then Layers. I set this image to blend with the base layer. I used the normal blend mode at 52% then saved the combined image.
Step 8
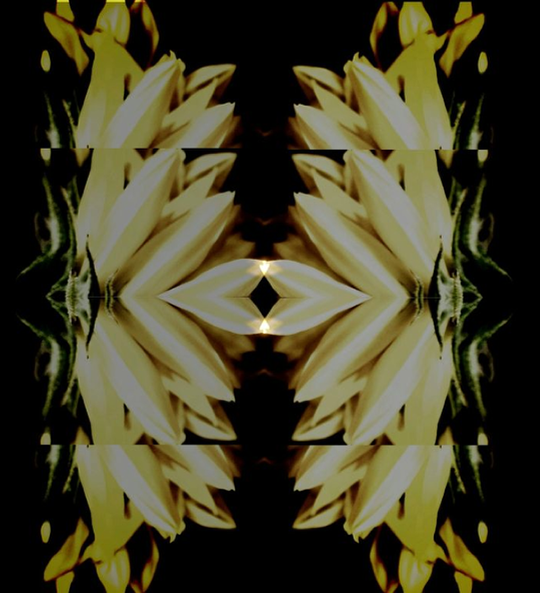
For an additional minor color adjustment I ran the image through iColorama. I tapped Adjust on the top toolbar that swiped through the choices. I applied Saturate at full opacity.
Step 9
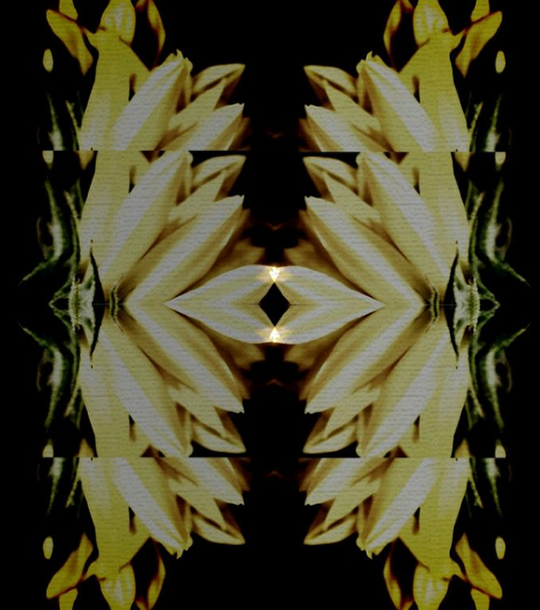
With the abstract process complete I added texture to the image. I moved it back into FX Photo Studio. I applied the Texturize filter with no further adjustments.
Step 10
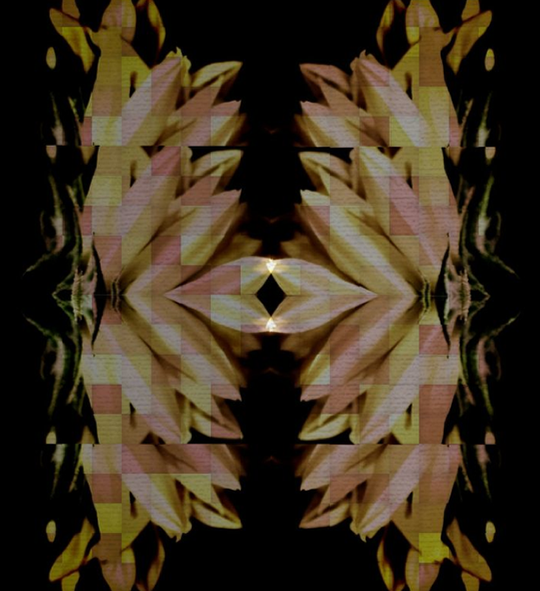
For the second part of the texture phase I moved the image into Kyoobik. I clicked on Style (second icon from the left on the toolbar) then Kyoobik Photo then Kyoobik-08. I made no further adjustments.
Step 11
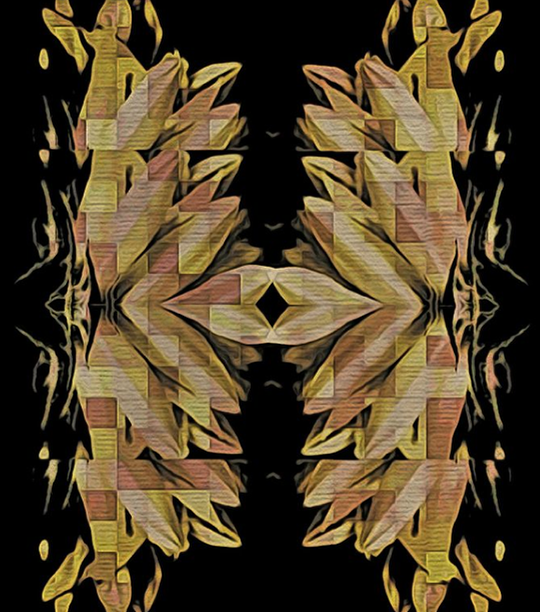
For the final bit of texture I moved the image into Moku Hanga. I tapped Multi-Color then chose the Portrait filter with no further adjustments.
Final Image
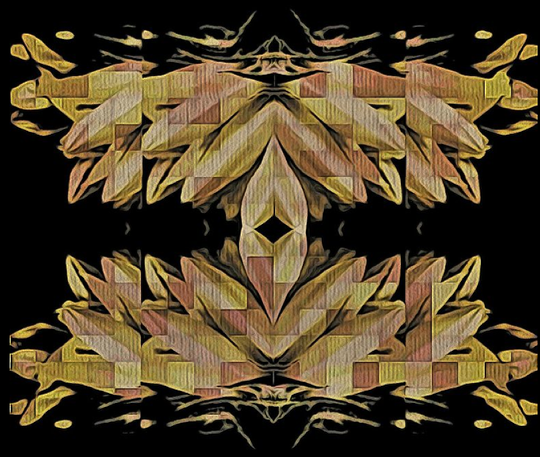
With the abstract and texture phases completed I made two minor adjustments. I returned the image to Iris Photo Suite. Again I tapped the second icon from the left then Rotate/Flip. I tapped the first icon on the left, on the new toolbar, which allowed me to rotate the image 90 degrees. Finally, I tapped Adjustments on the top tool bar then Sharpen/Blur to sharpened the image 100%.
This is my final image, I would not of been able to create this incredible abstract image without using the Olloclip wide-angle lens. I use the lens for a great deal, the combination of macro, fish-eye and wide-angle is perfect, allowing the user to create incredible images, all from one very handy pocketable device.
Purchase

If you are interested in purchasing an Olloclip and we would highly recommend it, Apple sell them in their online stores, you can go here to view or order


12 Comments
Phil
Very cool a real inspiration….
Lisa
Thanks Phil! I appreciate the compliment.
David
Great tutorial, Lisa! Your final image is dynamite!!! I’m certainly going to put this into my “recipe book” for future reference!!
Lisa
Thanks so much David! I always appreciate your encouragement and comments!
Leslee
Well done, Lisa! This tutorial is a keeper! Thanks!
Lisa
Thank you so much Leslee!!
@Bie44
Nice Tutorial,great lens!
Lisa
Thanks! It really is a great lens system!
iColorama
Great Lisa! Thank you so much for mentioning! 🙂
Lisa
You are very welcome!! Thanks for commenting!
Geri
Great tut! I have to give Picture Show another look – it’s an app I downloaded and haven’t really explored.
Lisa
Picture Show is one of my favorite apps. I like the versitility of the various filters. Glad you liked the tutorial and thanks for commenting!