
Tangent – Technical iOS Photography App Tutorial – By Jerry Jobe
We’re delighted to publish the latest mobile photography Technical Tutorial by our fabulous Tutorial Editor Jerry Jobe, this time on the very popular iOS photography app, Tangent. Don’t miss this, over to you Jerry. (Foreword by Joanne Carter).
“Ben Guerrette is one prolific programmer. In addition to Deco Sketch, covered over the last two tutorials (Part 1 and Part 2), he and his new team at Pixite have developed two other apps that I’ll be covering over this next two weeks. Both have their drawbacks and their pluses, yet both are valuable additions to your photo editing toolkit.
The first is Tangent, like Deco Sketch, it’s not an editing suite for your photos, allowing you to change the brightness or saturation. Neither is it a faux-painting or sketching program. What it allows you to do is to layer shapes and patterns over an existing photo or background. Doesn’t sound exciting? That’s because you haven’t seen what it can do yet.
The opening screen is very minimal. You can choose to take a photo, load a photo, get a little information about the photo, or tap the light bulb to see some inspiration – user images manipulated with Tangent.
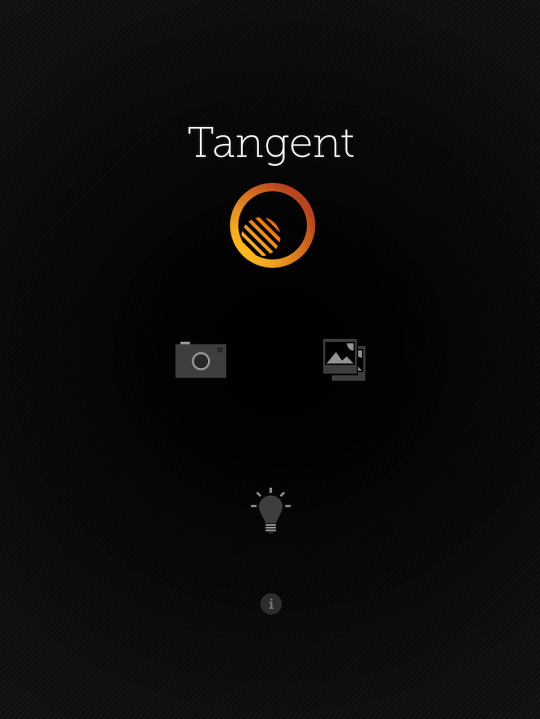
The information is minimal; some of the settings are not described at all, and I will give my best shot at explaining them throughout this tutorial. The info is scrollable, and further down the page than we see here are explanations for a few of the settings.
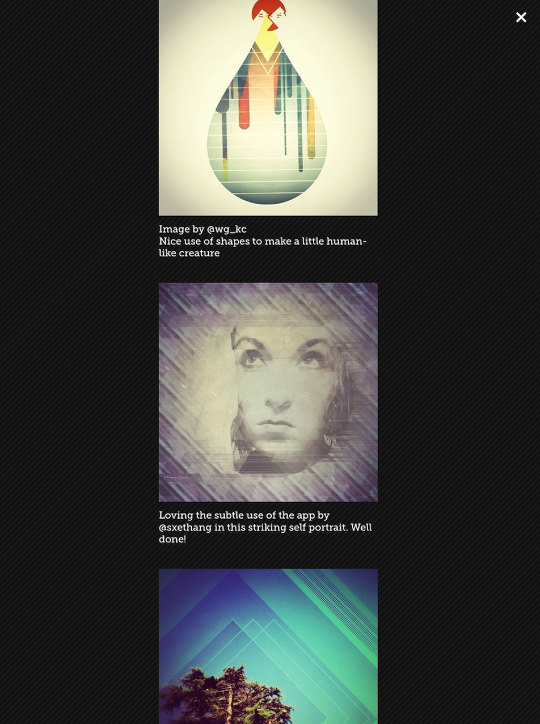
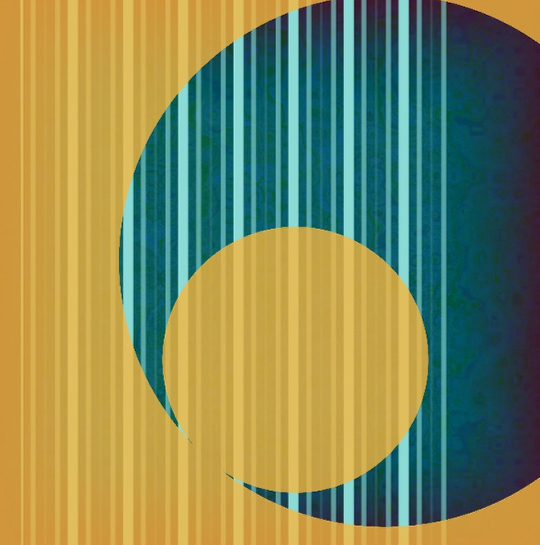
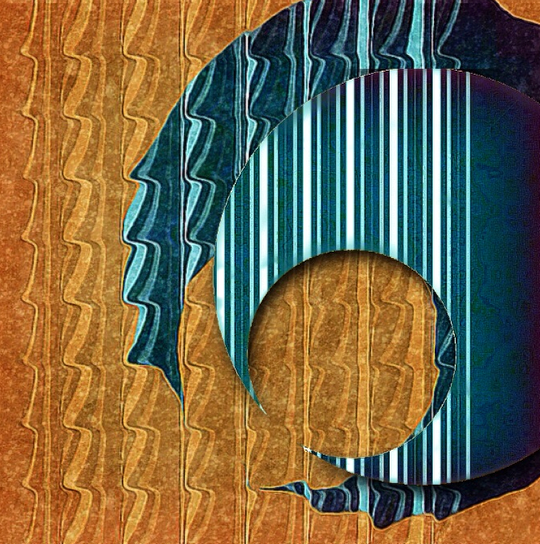
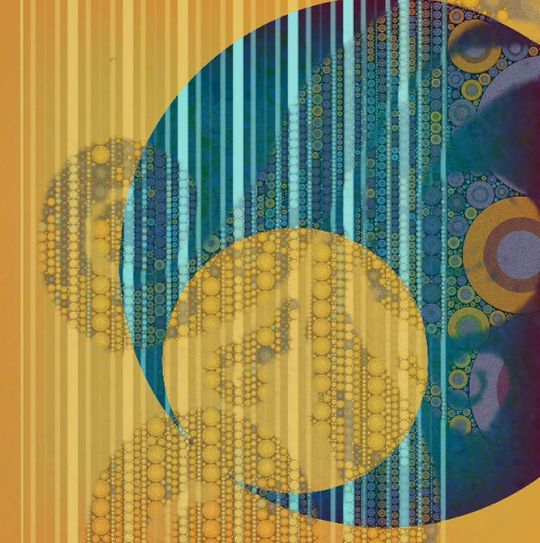
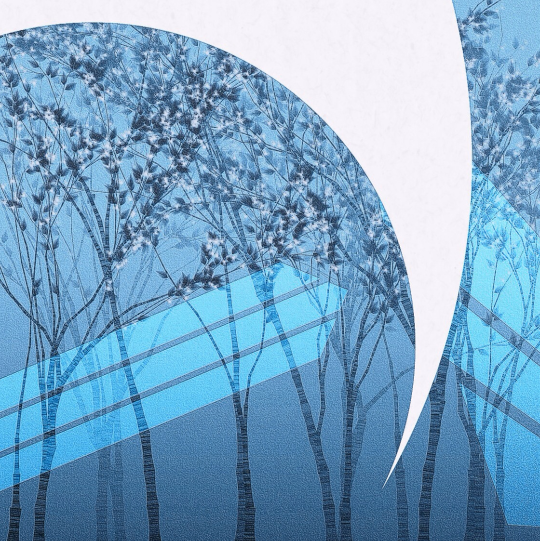
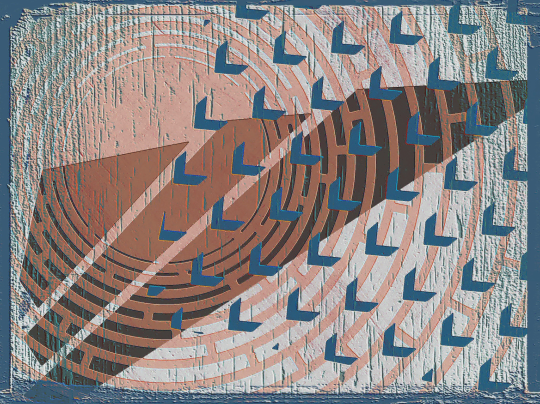
Below you’ll see a page of user images shown in the Inspiration section. Notice the geometric shapes added by Tangent, and be sure to note that many of the images were manipulated post-Tangent to overlay other effects. I’ll show some of this additional layering at the end of the tutorial.
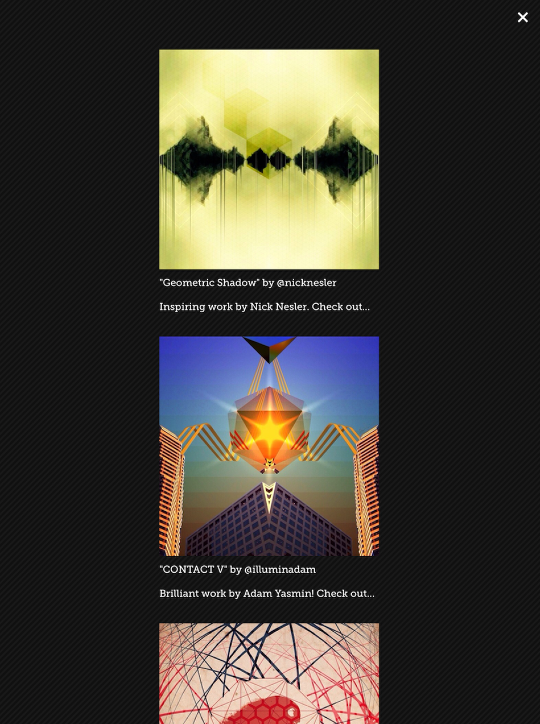
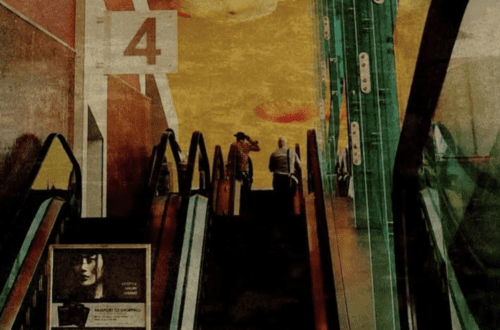
Yet more inspiration. The first shows using the app on a plain background to build an image from shapes, while the other two use those shapes over existing photos.
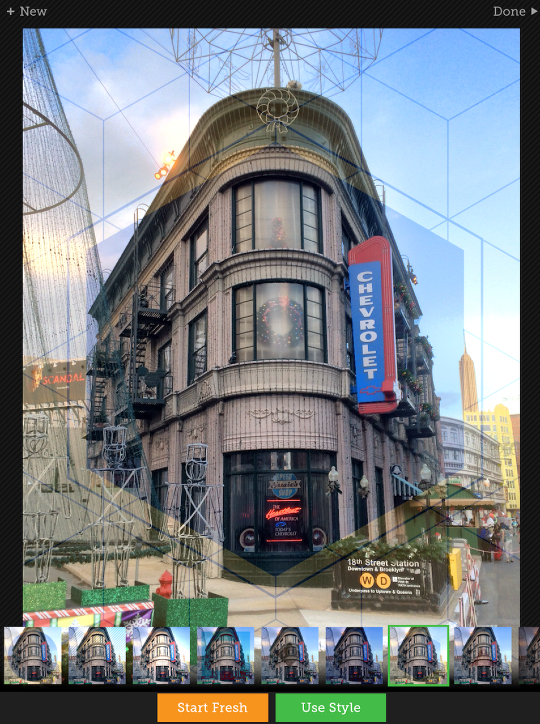
Here I’ve loaded a shot taken with Vivid HDR at Hollywood Studios at Walt Disney World. Once the photo is loaded, you’re presented with two options: Start Fresh, where you will choose the initial shape, pattern and color; or Use Style, where you are able to use one of several prepackaged combinations of shape, pattern and color. You can get additional styles by liking Tangent on Facebook. I’m going to use this style as a starting point. It doesn’t matter whether you use a style or start fresh – you will be allowed to edit all elements regardless.
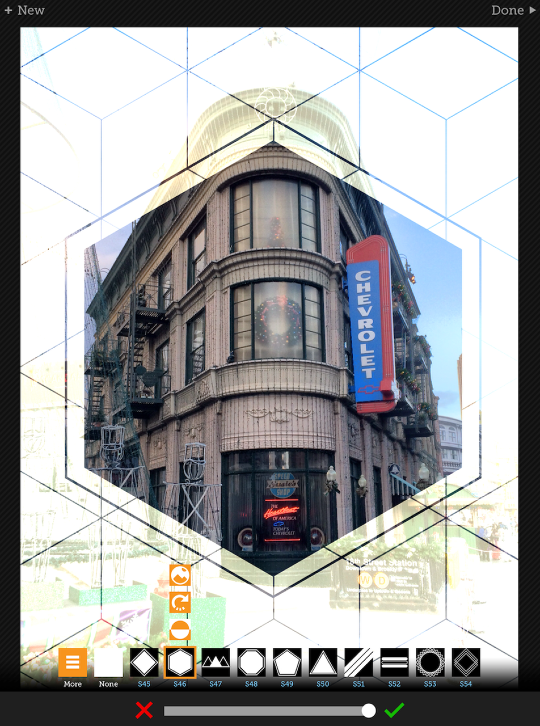
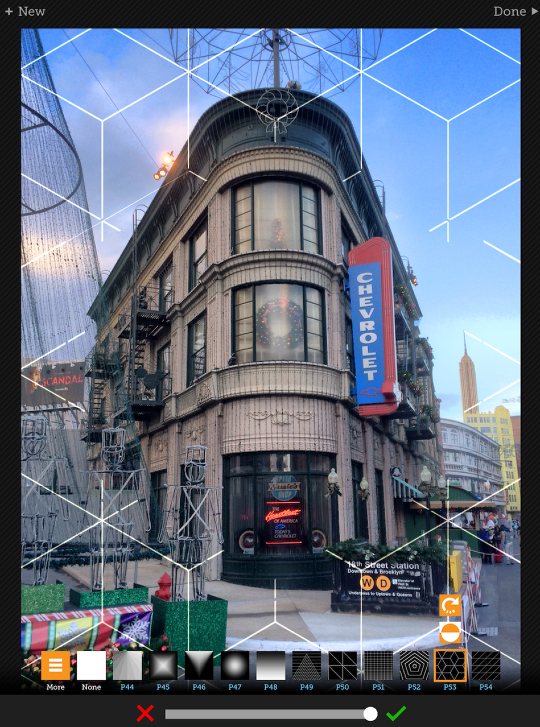
The editing screen is simple. At the top you control input/output, and at the bottom you control shape, pattern and color.
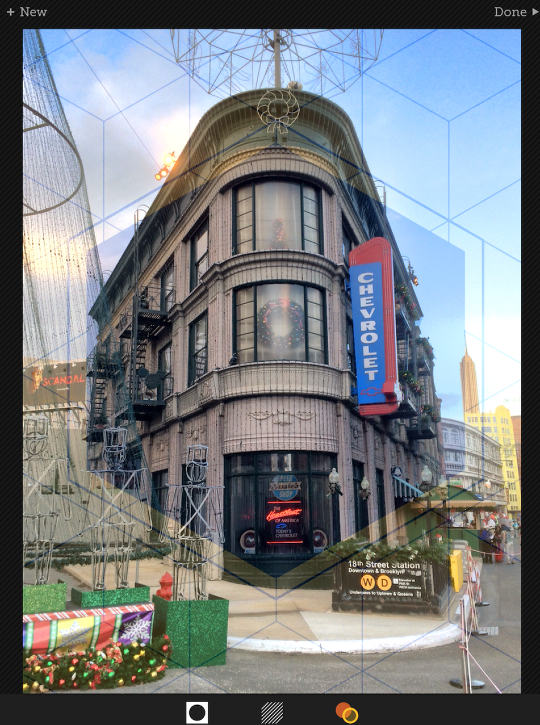
The entire shape/pattern combo is not easy to see in this style, so I’m going to visit the color area first to bump up the opacity. Total opacity can be controlled from either the pattern or the color area. From using this style before I knew that the opacity slider was down in the color section, not the pattern.
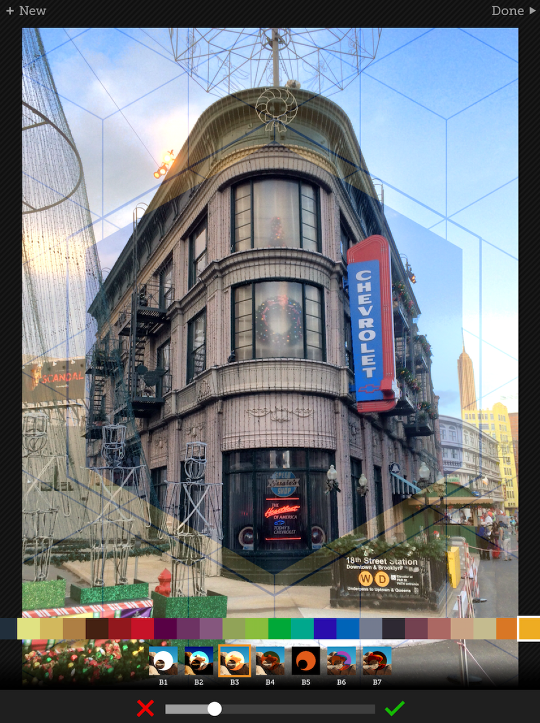
When I bumped up the opacity to 100%, the color was too yellow, so I selected a less-saturated swatch from the scrollable color picker.
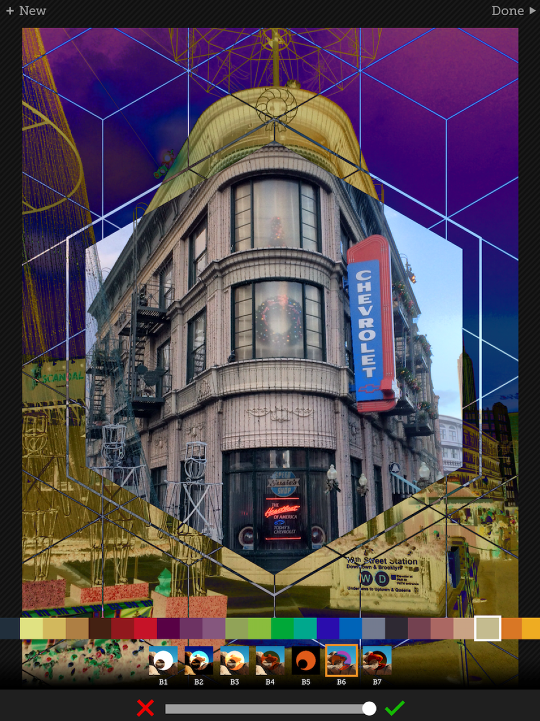
In between the color swatches and the opacity slider are buttons to change the blend mode. These are not documented – so here are my best guesses for what they are:
B1 – Normal
B2 – Color Dodge
B3 – Lighten
B4 – Darken
B5 – Black Background (inside of the shape takes the color; outside takes black)
B6 – Difference
B7 – Color Burn
Pressing the check mark by the opacity slider accepts the change; pressing the red X cancels the change.
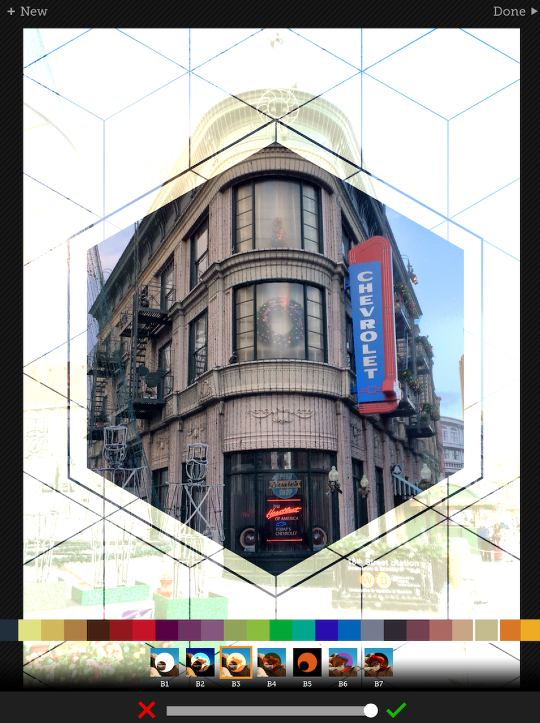
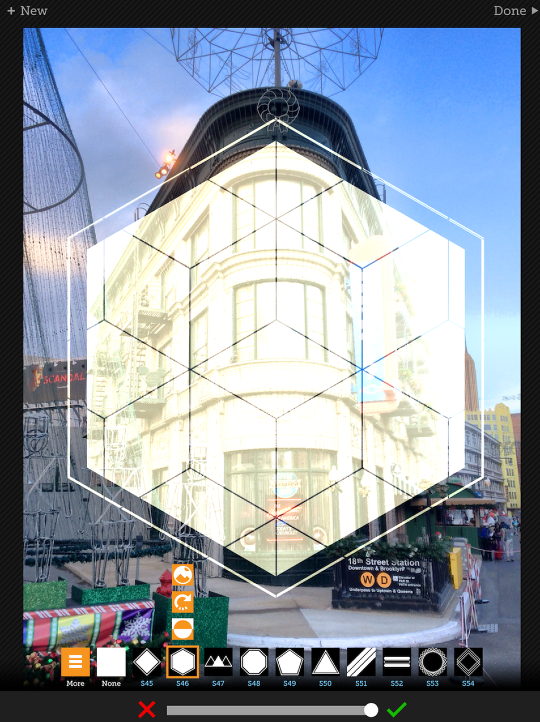
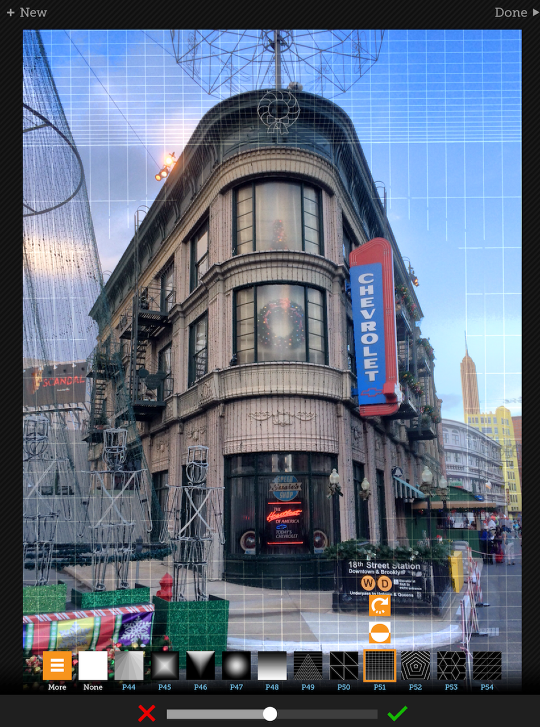
Let’s return to the shape section. Various shapes are listed along the bottom; the one in use is highlighted and has three buttons above it. The middle of those buttons is Rotation, which will rotate the shape in 45° increments. The shape can also be rotated, sized and positioned using the standard pinch and drag gestures.
The bottom button is Invert. It changes whether the shape acts to mask in the color or mask out the color. Below you’ll see I changed it from masking out to masking in.
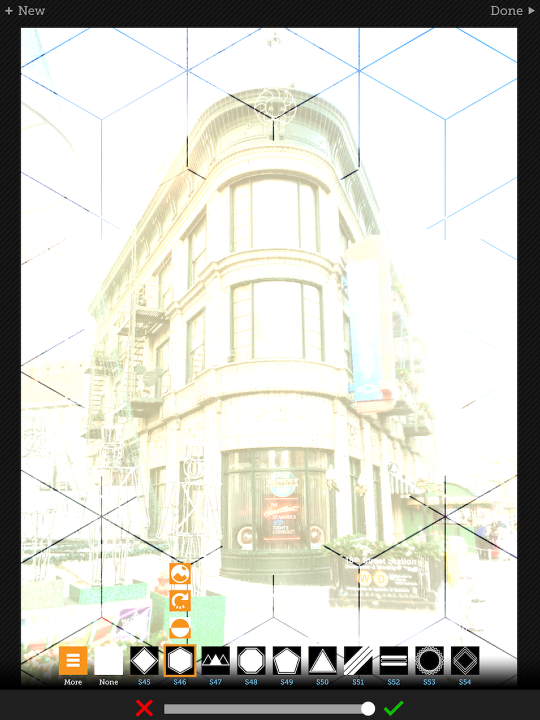
The remaining button, the one that looks like a landscape, is identified in the Information screen as “Toggle Photo Masking”. I have an example below. The shape does not mask out the color over the photo, but it does mask out the pattern. If you’re like me, you won’t find a lot of use for this particular toggle – but it’s handy to have on rare occasions.
The pattern section, shown below, works much like the shape section. You have a list of patterns to select from, and the highlighted one has additional buttons above it. In this case, the two buttons are Rotate and Invert.
Below you’ll see an example of inverting the pattern – the pattern is still applied in the same parts of the image as defined by the shape, but the pattern itself is inverted.
The pattern, which I’ve changed below, can also be rotated, resized and moved with the standard pinch and drag gestures.
Before moving on, I revisited the color section and changed the blend mode to Difference. Nice and colorful.
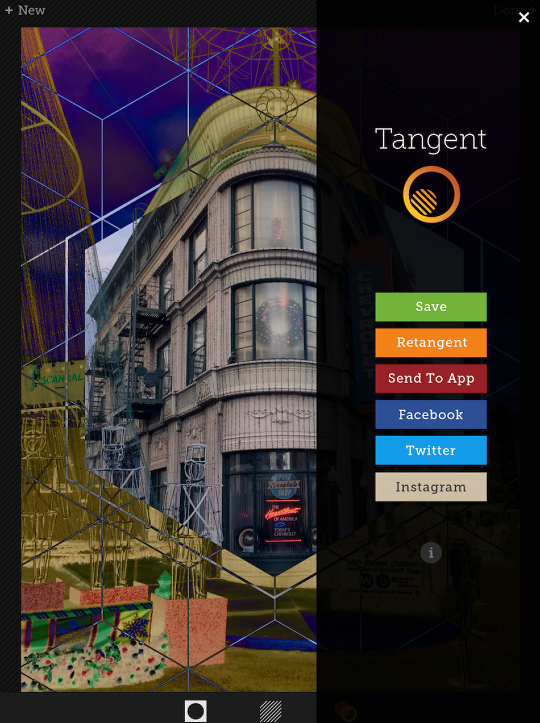
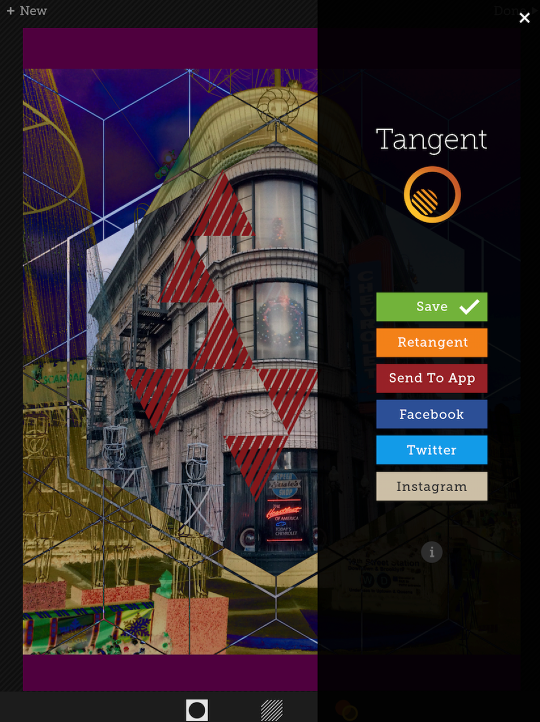
I’m happy with what I have so far. Tapping the Done button opens a menu on the side that allows you to Save the image to your Camera Roll, send it to another app or social media. There is also a button for Retangent – what does that mean? Retangent allows you to layer your changes, adding additional shapes, patterns and colors without having to save and reload the image. However, this commits the changes already made, so be sure you’re ready when you choose to Retangent.
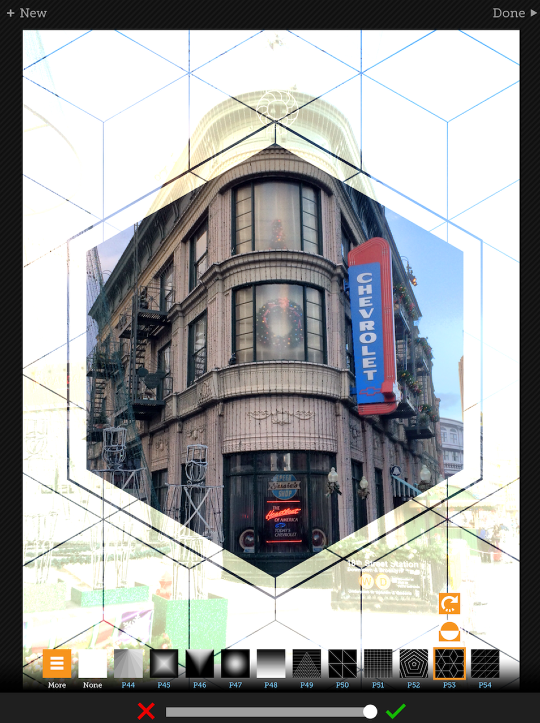
Here I am, back in the shape section after deciding to Retangent. I’ve chosen the More button to let me see other shapes that are available. Some come with the app, but others are purchasable. ND Shapes 02, with the plus sign, has not been purchased yet.
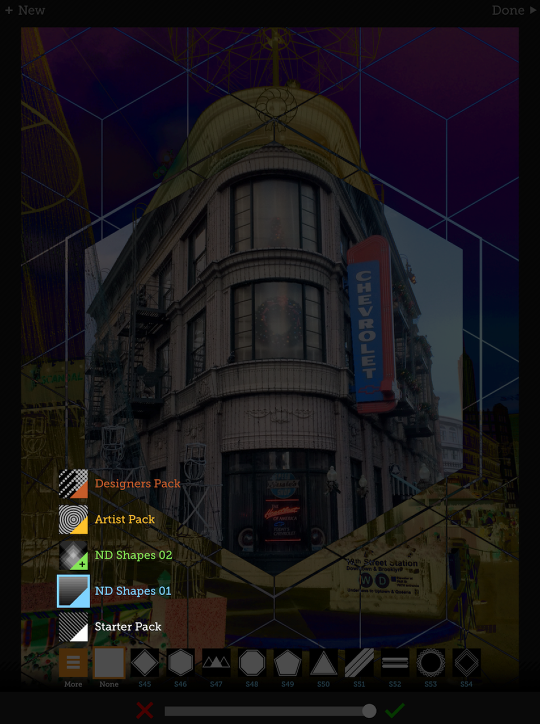
Tapping ND Shapes 02 gives you the opportunity to try the shapes on a limited basis, buy the pack, or restore purchases to sync up devices. I decided to finally go ahead and buy them.
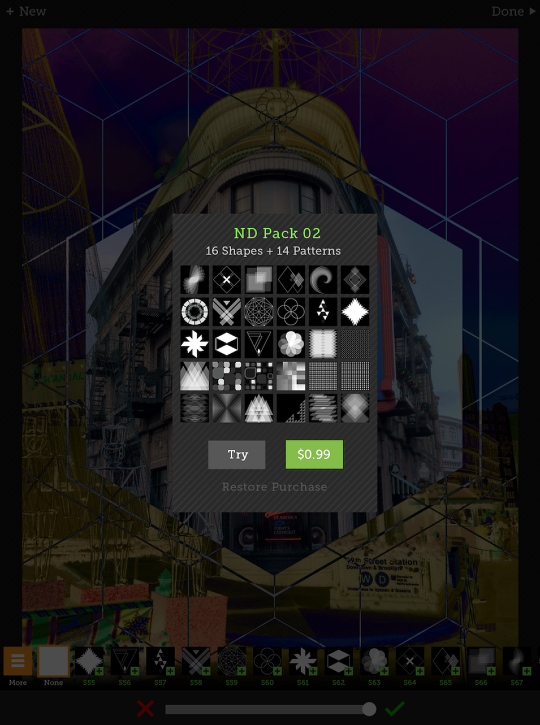
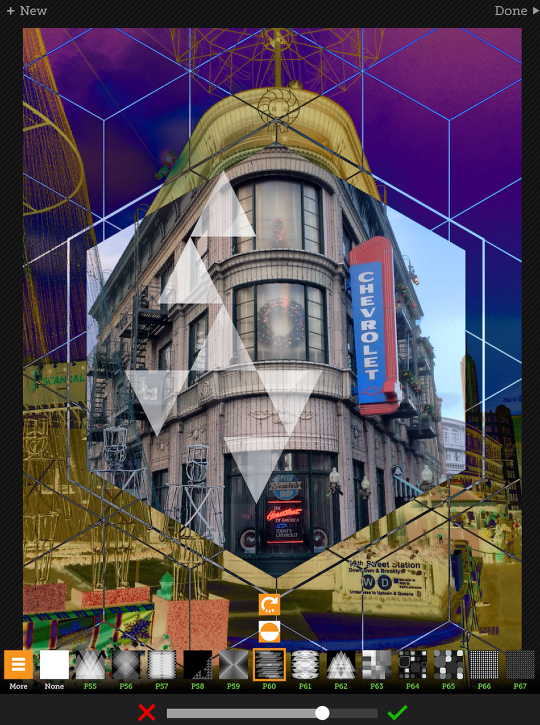
In the next screenshot you’ll see the shapes available in ND Pack 02. I choose S57 and drag it slightly off center.
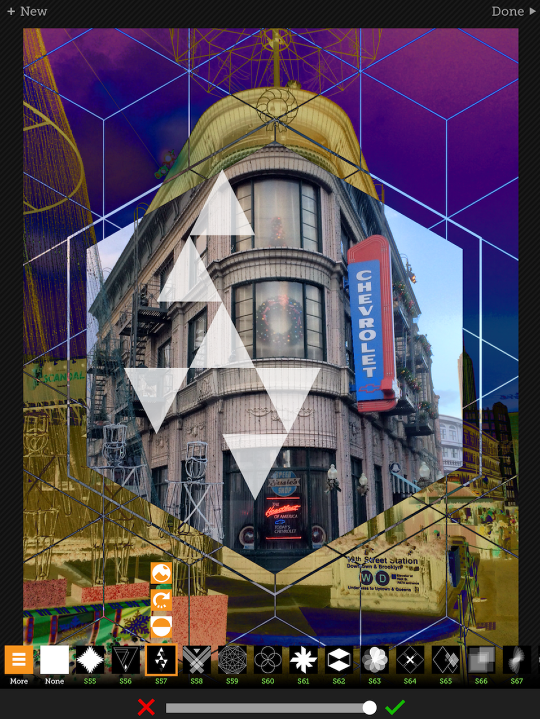
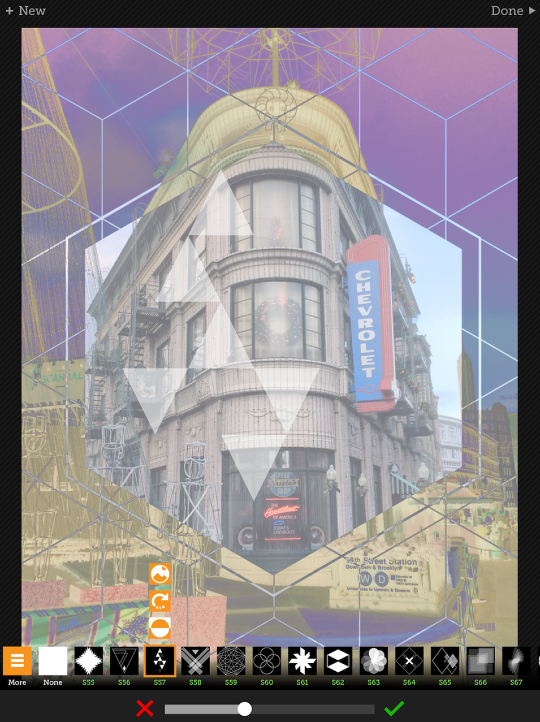
Earlier I told you that the opacity slider in the pattern and the color sections will affect the opacity of the entire effect. The slider in the shape section works differently. It affects the opacity of the masking the shape does of the pattern and color. Below I’ve moved the slider to the left, and the masked-out portion fades out and the color starts to take over.
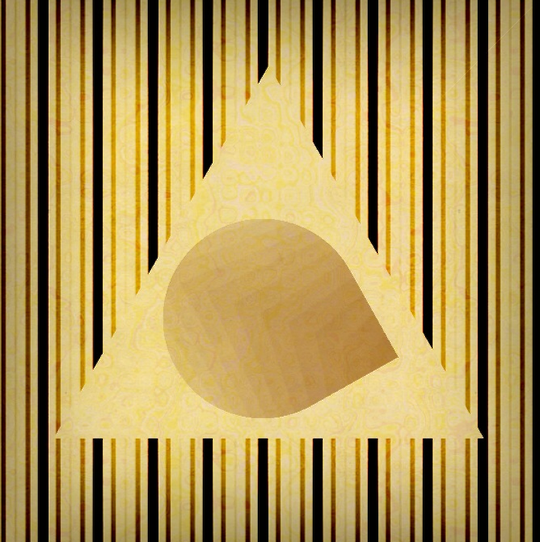
Some patterns are subtle, and may not be obvious without some careful scrutiny. Here you’ll see just such a pattern. If you look closely you will see it affect the shape.
I decide to go with a red color and striped pattern for my triangles. My OCD kicks in, however, because the stripes do not line up with the edges of the triangles.
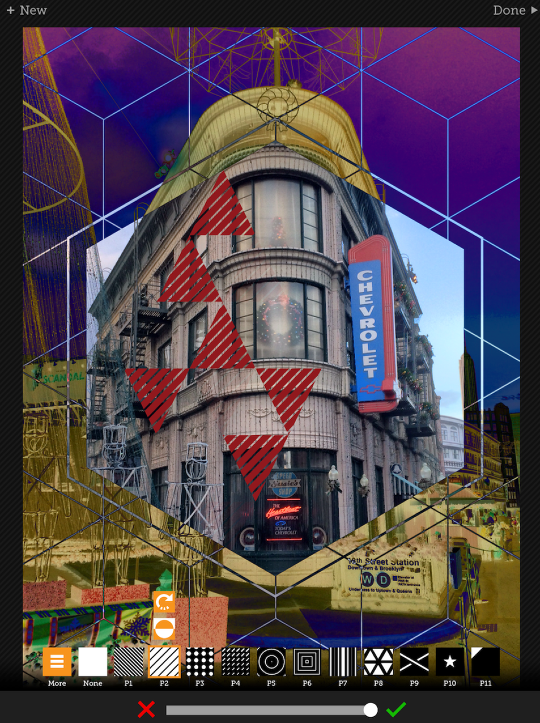
A quick rotating pinch will solve that.

I touch Done and Save to save the result.
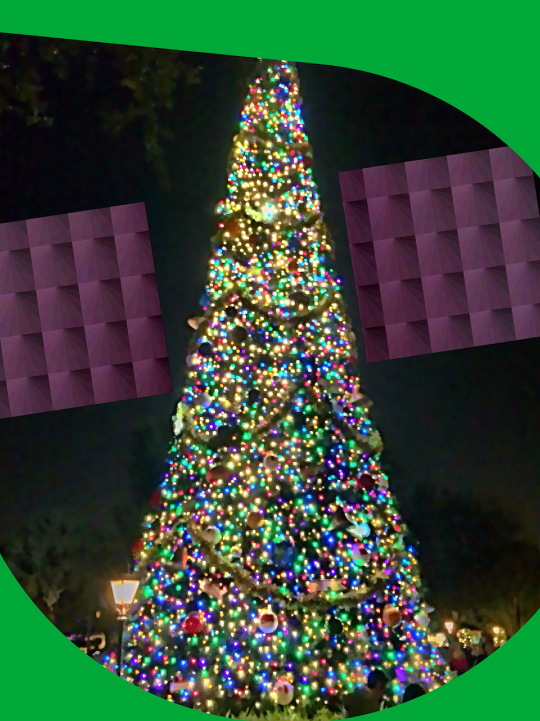
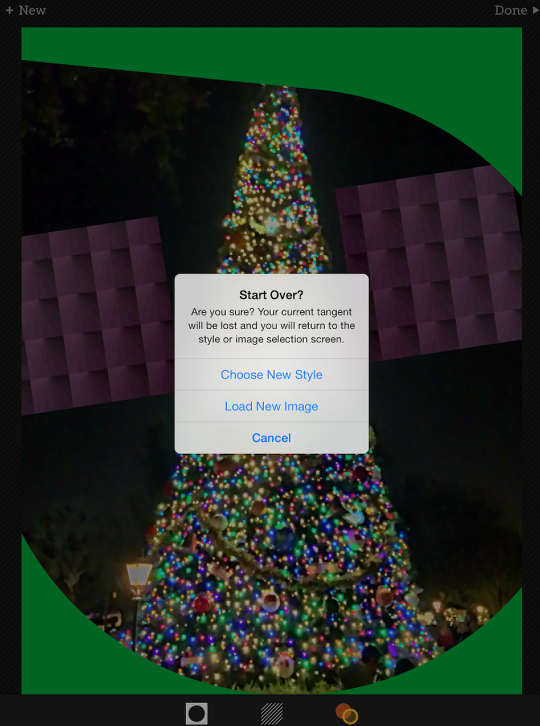
Tangent gives you new framing options for your images. Here I let the shape overlap the edge to give a sweeping look to the green edge. Notice how the green edge overlaps the purple square. Initially, I did not plan ahead, and added the edge first. Retangenting to add the purple committed the green, and therefore the purple overlapped. I had to start over again, adding the purple before the green.
I started over again by tapping the word New. That allows you to choose a new style rather than reloading the image. If you are in Retangent, those steps that have been committed will not go away if you choose a new style. You must reload the initial image.
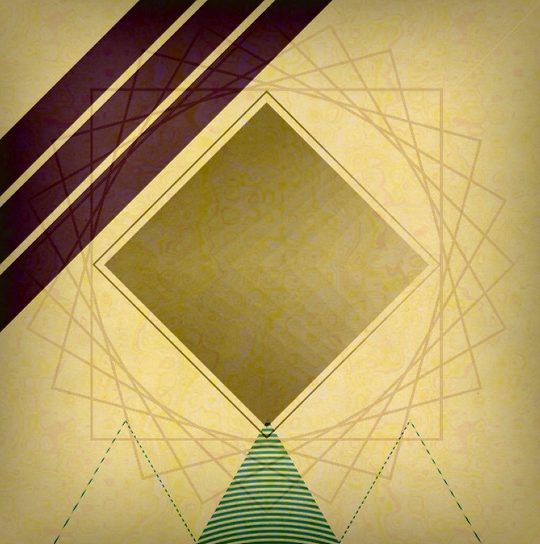
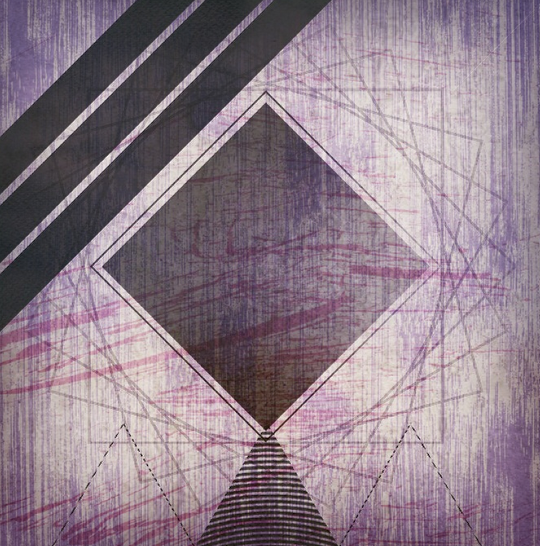
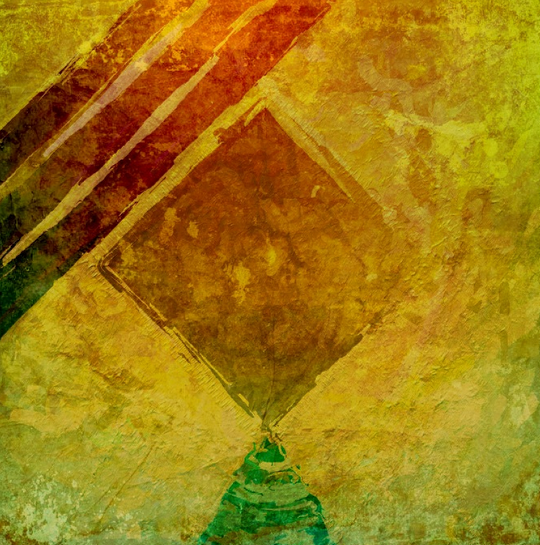
Tangent works great by itself, but it’s also great when used in conjunction with other programs. Here I’ve created a background in iColorama with Gradient, Texture and Border. Then I took it into Tangent, going through Retangent three times to add four shapes with different colors and patterns.
Here’s the same image taken through Grungetastic.
This is using Glaze, followed by Distressed FX.
I used the same background to create this image in Tangent.
Below you’ll see I modified it in iColorama with Glass, Raise and Texture. Then I took it into Leonardo to blend in the original, masking out the yellow background and adding a drop shadow.
The following version was made by masking the original with a Percolated version, using a Doodle brush in iColorama.
Returning to the same background, here’s a third Tangent creation. Pinstripes!
Inspired by seeing the movie “Frozen”, the next image was started in Artree, added to in Tangent, then taken into iColorama for a little Raise.
iColorama’s Raise in conjunction with Tangent and Grungetastic can result in a look that makes it seem as though the art was done on a piece of plywood, as seen below.
Tangent is a fun app to use, even if the help is sketchy and a true layering experience would help immensely (rather than using Retangent, which requires a carefully planned out workflow). I find it a nice addition to photos and absolutely crucial in compositing or creating abstracts. Enjoy!
Jerry Jobe
Never content with just scratching the surface of what an app can do, Jerry Jobe decided to pass on what he learned about imaging apps to others. He’s constantly trying to figure out just what tools other artists have used, and trying to incorporate them into his own work, in an attempt to find his style. He’s written tutorials on over 145 apps so far, which you can find (along with his Song of the Day entries) at http://enthusiasmnoted.wordpress.com/ He lives near Atlanta, Georgia, where he also finds a creative outlet in acting and directing in community theater.
One Comment
trshoe
Been stopping by for a bit now … absolutely love Jerry’s tutorials!