iOS Photography Tutorial – XnShape by Jerry Jobe
We are delighted to publish our latest iOS Photography Tutorial by Jerry Jobe. This week Jerry puts XnShape through it’s paces, with some incredible results. Don’t miss this, (over to you Jerry).
XnShape retails for $0.99/£0.69 and you can download it here
“A few weeks ago I reviewed XnShape. XnShape is part of a whole line of apps that work well, but are missing a “wow” factor. Today I’m covering XnRetro by Pierre Gougelet. It, like XnShape, is a well-built app, with many options and the ability to save at the original resolution. However, unlike XnShape, I am quite fond of some of the results.
XnRetro, through the use of filters, light leaks, frames, grain and vignettes, gives your images the look of old photos. There are the usual suspects of washed-out B&W, cross-processing and Polaroid frames – but there are also some nicely-realized looks that aren’t quite the same-old, same-old”.
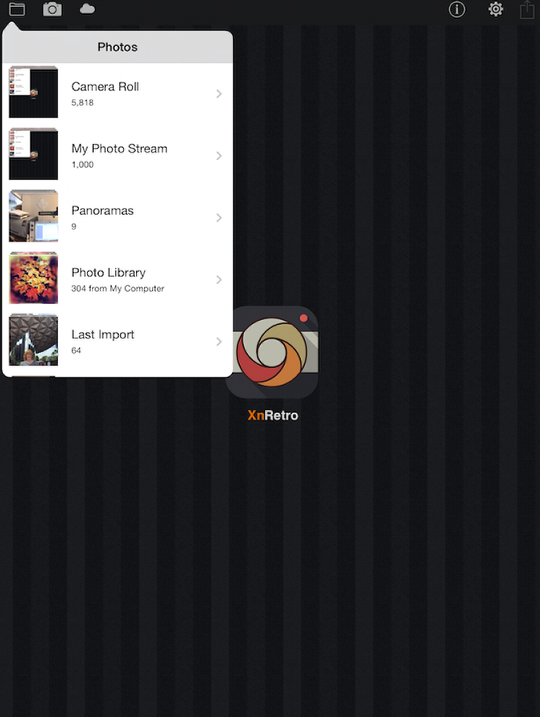
As usual, you can either load an image from your library or take a photo using the device’s camera. You can also load from “the cloud”, meaning your shots on Facebook, Flickr or Picasa. Since the camera does not allow for real-time effects, there is no advantage to taking the photo in this app. Stick to dedicated camera apps.
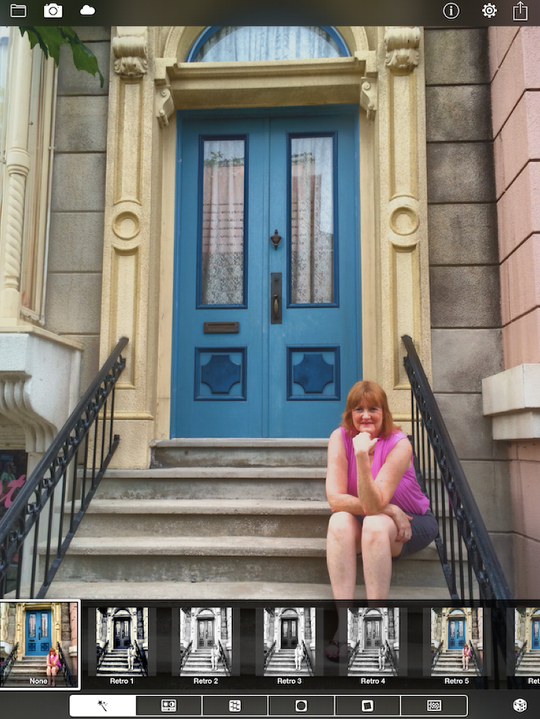
The image (of my lovely wife at Disney’s Hollywood Studios) is initially loaded with no changes. At the top right are buttons for Information, Settings and Save; along the bottom are buttons for Filters, Adjustments, Leaks, Vignettes, Frames and Grain.
Below you’ll see that the Information button is chock-full of ways to promote this and other apps, but is a little light on actual information about this product.
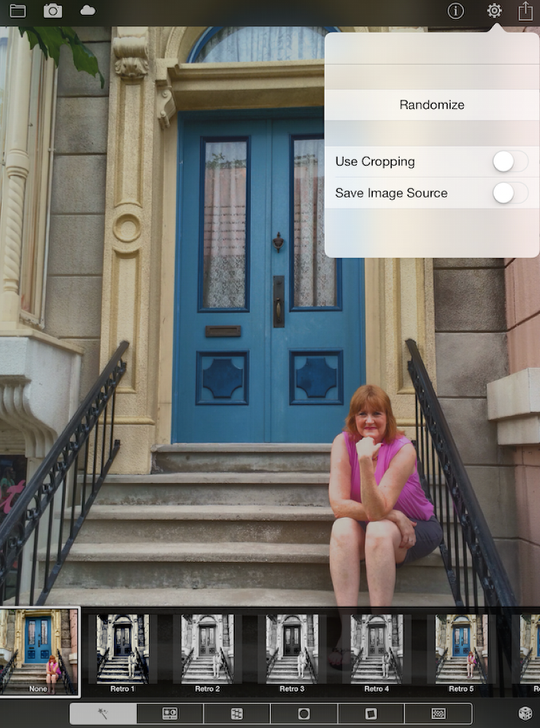
The settings are few in number as well. The Randomize button under settings performs the same function as the “die” button at the lower right. We’ll cover that in a moment. You then have Use Cropping, which allows you to use the “Move and Scale” function to crop your photo. Unfortunately, that means it comes out in some weird, not-quite-square ratio. So I would recommend against cropping in XnRetro.
The Save Image Source allows you to save the original image locally if you either take it with the camera or download it from the cloud. I see no reason to have it on.
The first button is filters, and the first filter is a winner in my book. It’s a high-contrast duotone of blue and cream.
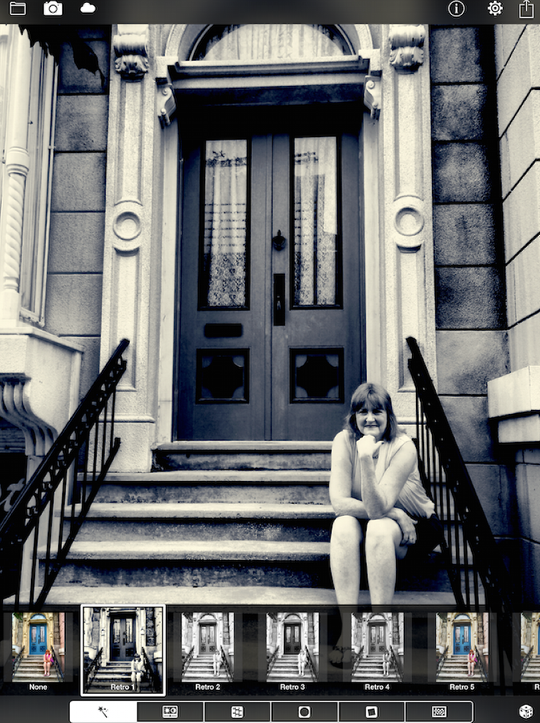
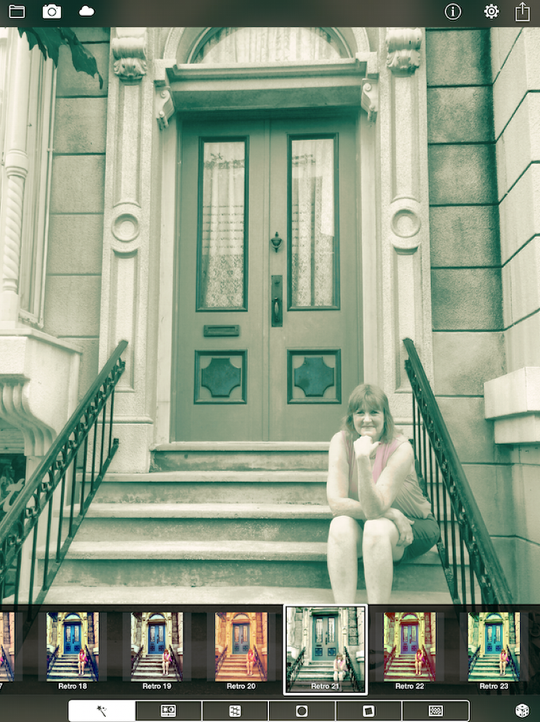
As you can see, the different filters will give different looks, such as #21, a low-contrast, low-saturation look.
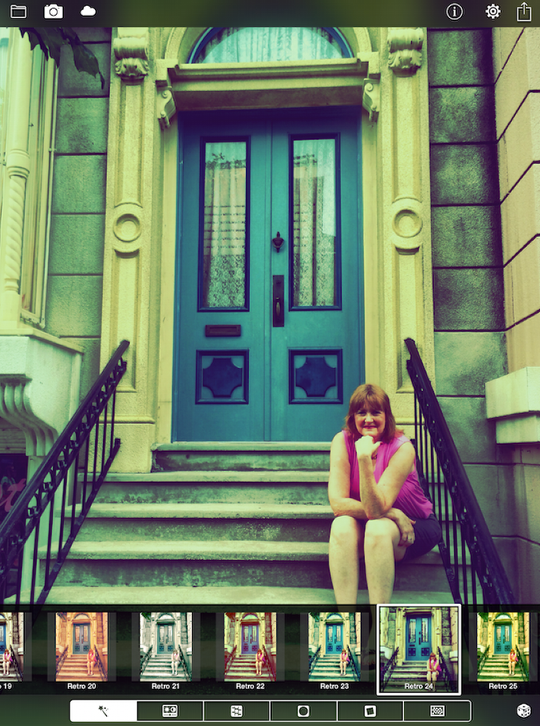
There are 25 different filters in all. #24 is a cross-processed look.
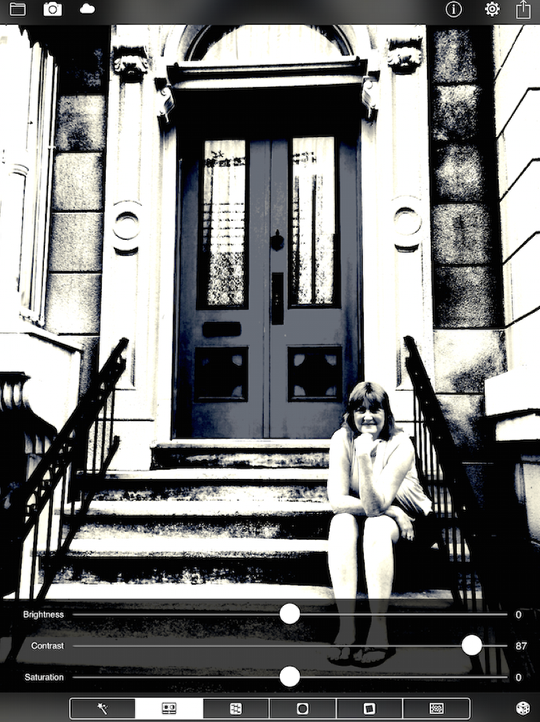
I return to filter #1 and move on to the Adjustment category. This affects the Brightness, Contrast, and Saturation of the underlying photo, not the applied filter. In our example, increasing saturation will not make the cream yellow.
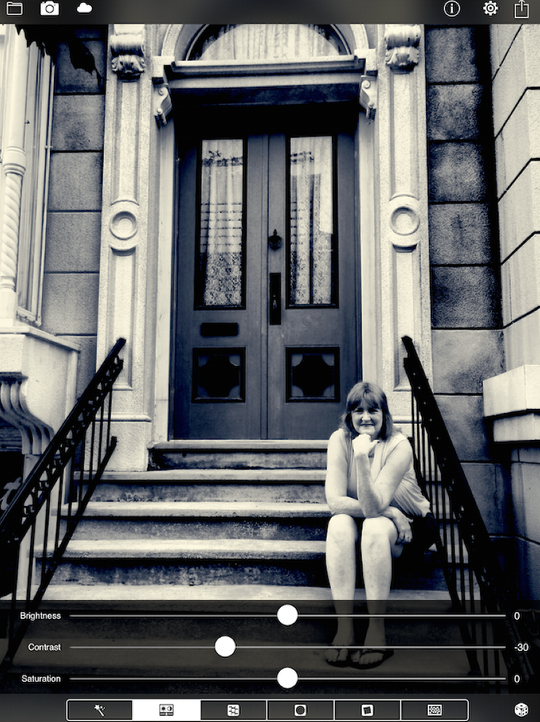
The sliders are not real-time. You have to move them and release, move and release to see the changes applied. There is no reset button to return them to the original settings, so make note of the original.
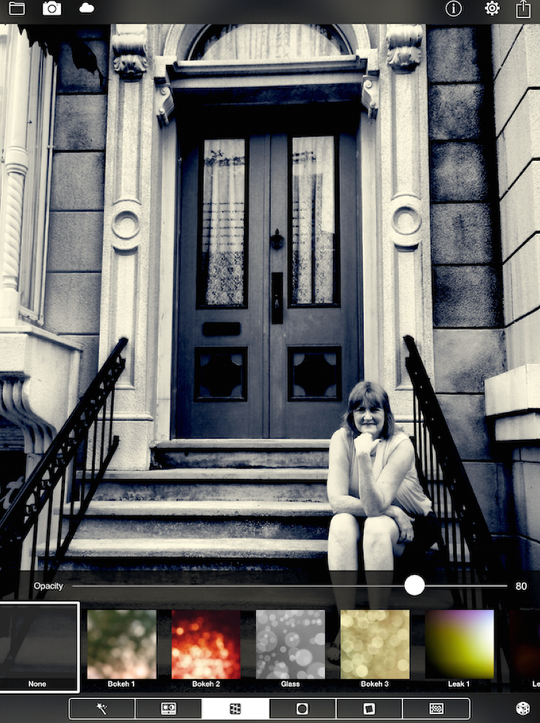
The next category of changes is Bokeh and Light Leaks. Not a real fan, so I’ll skip over them for this photo. Suffice it to say there are 15 different presets. There is no way to rotate or resize them, but there is a strength slider.
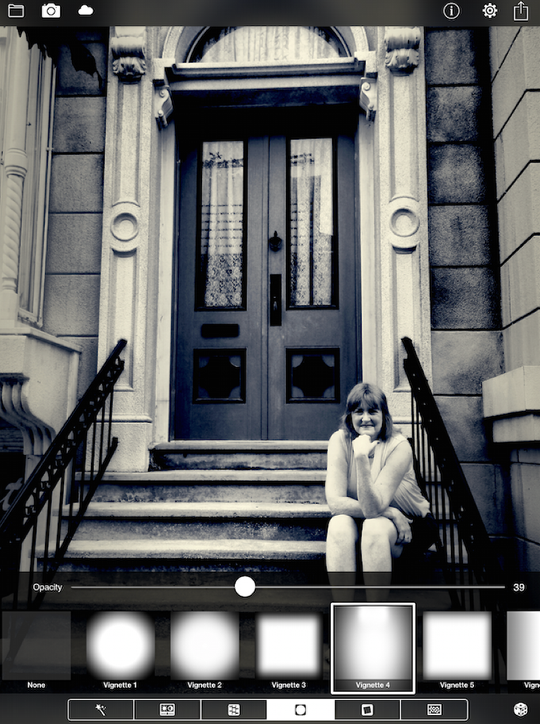
There are six different vignettes with a strength slider. All the vignettes are black. Vignette 4 is a little out of the ordinary, and I’ll add it to this image with the strength slider at 39.
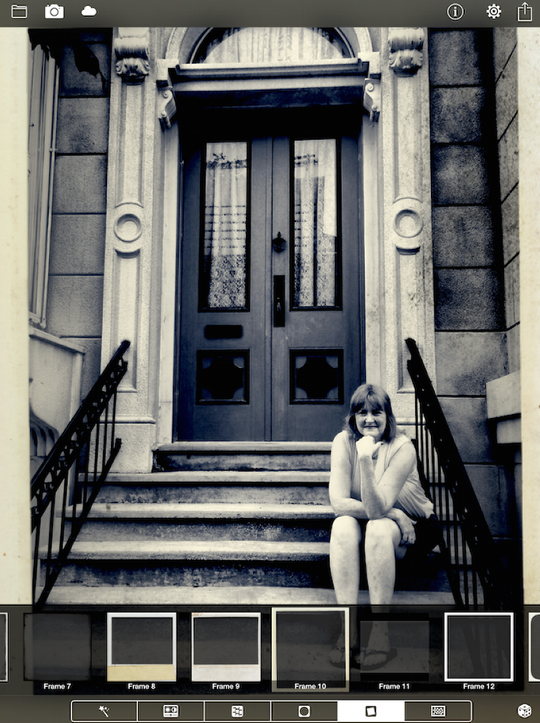
Next is the Frame category. At any time, you can tap the photo and the controls will be hidden, allowing you to see the entire image as I’ve done below. Keep an eye on the color of the frame; there is some yellowing here that looks unnatural because it doesn’t carry into the photo.
Tapping the image again brings back the controls.
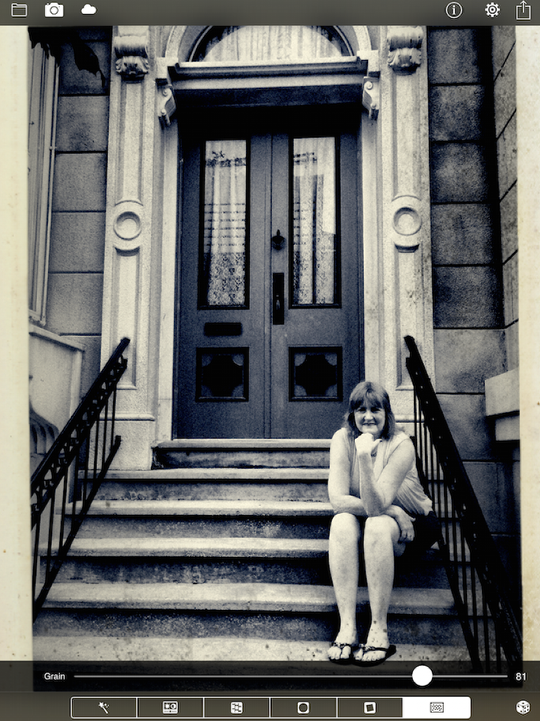
The final control is Grain. It’s all a matter of taste, but I don’t want any grain in this photo. I’ve turned it up to 81 in the image below to confirm I don’t want it.
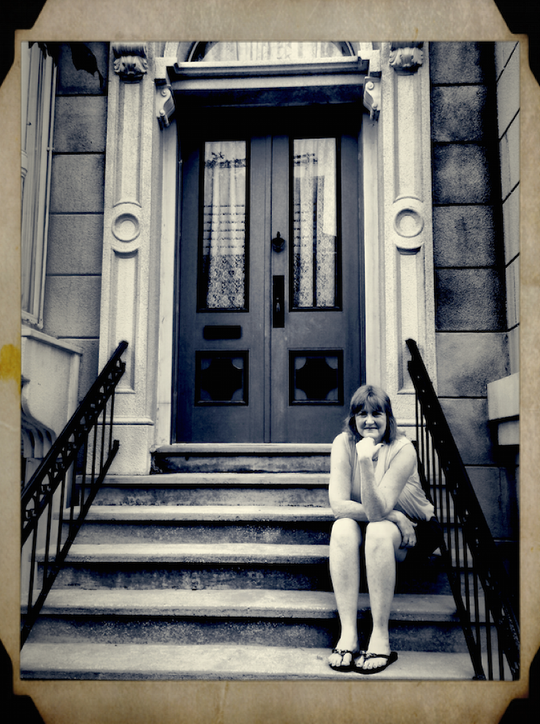
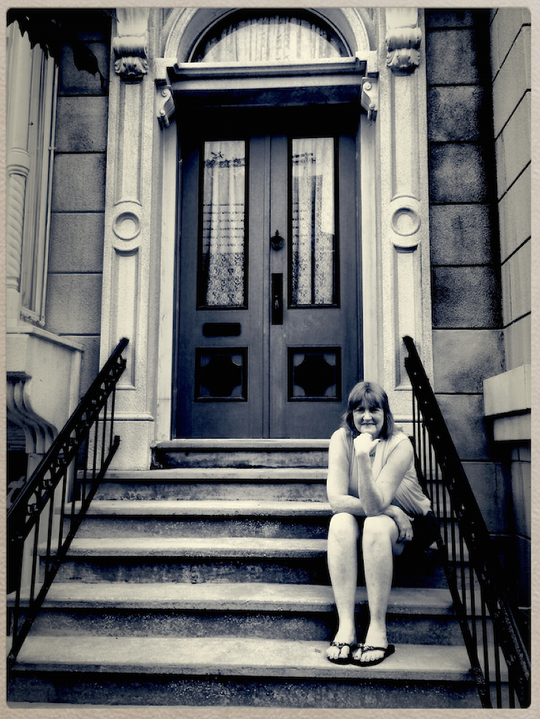
As I said, there are some frames that are just not appropriate for all images. The frame below is even browner.
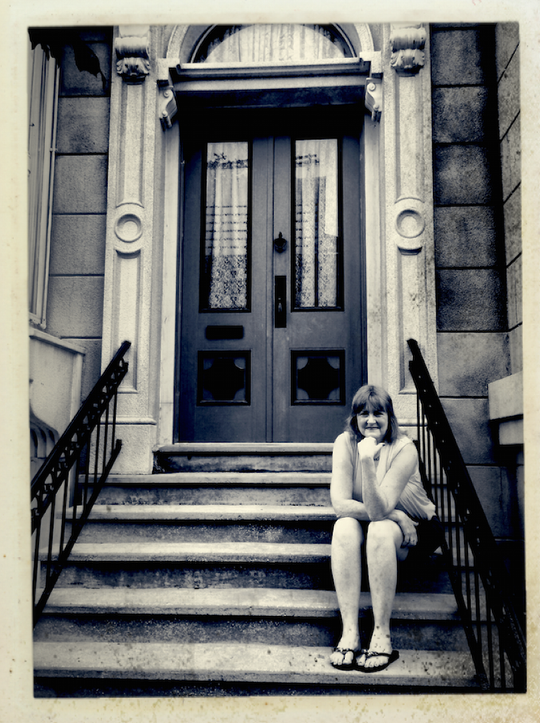
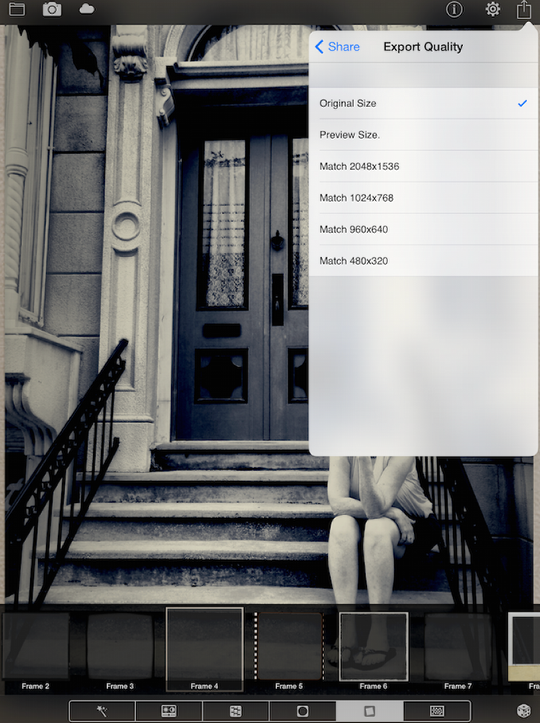
I settle on a smaller frame and decide to save my output by tapping the box-with-arrow icon in the upper right. There are many potential outputs to choose from, but first let’s check Export Size.
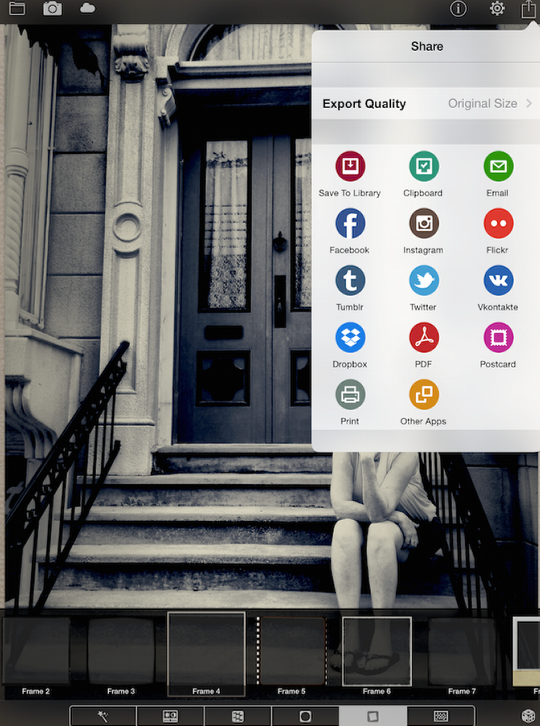
As usual, I recommend that you save your output at original size, so the app does no compression.
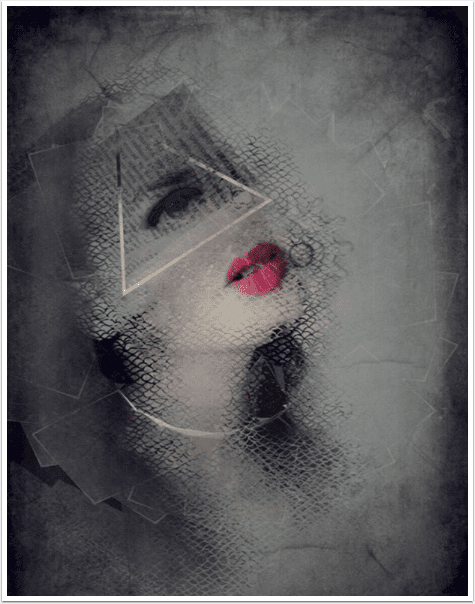
And here’s the finished photo.
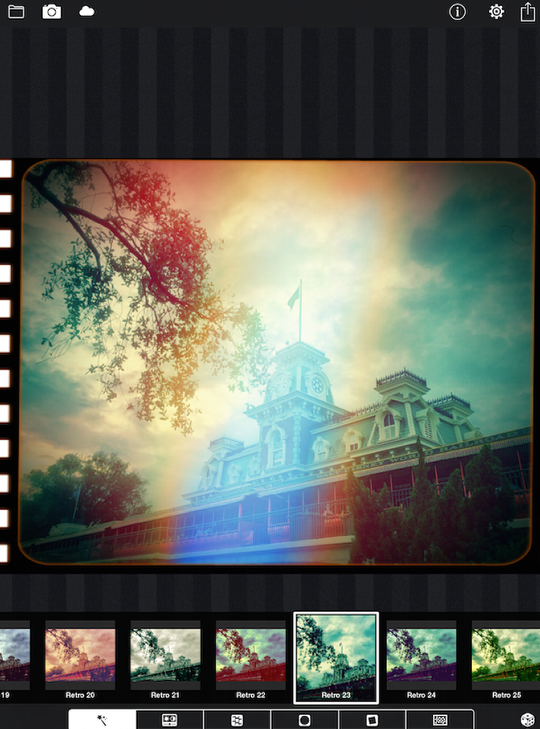
The Randomize button (the single die at the lower right) is useful to jump-start your use of XnRetro. It produces random combinations of all the different adjustment categories, which you can then change individually. Here was the first random result for an image from the Magic Kingdom.
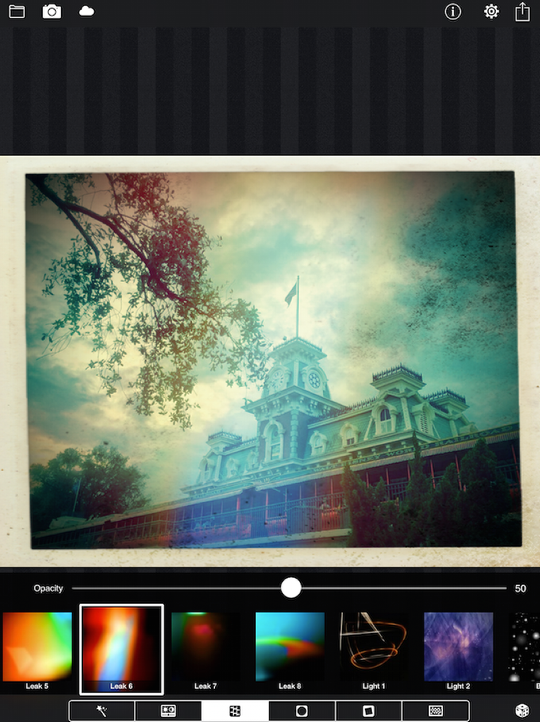
I don’t like film sprocket borders, so the frame is the first thing I change. The light leak is too pronounced as well, so I go to the Leak category and see it is using at about 80. I lower the slider to 50.
I hit the Randomise button again and get another look entirely (one that doesn’t do much for me).
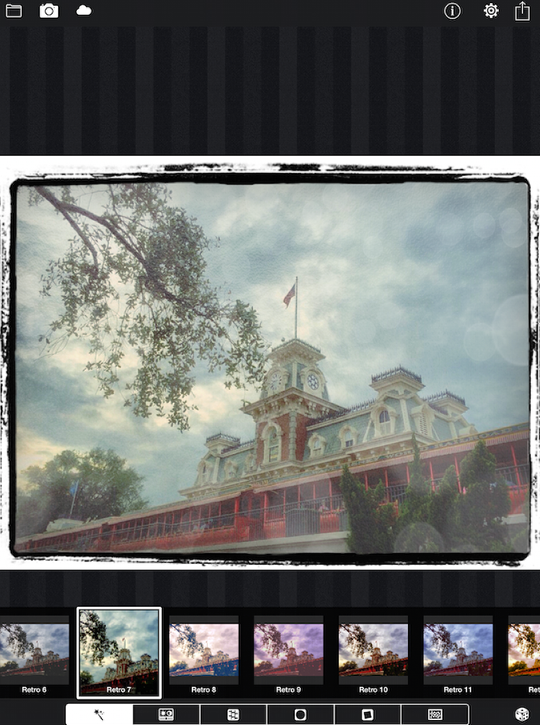
Here’s what I ended up with on the Magic Kingdom photo. Notice how some of the frames bring along some grunge that overlays the actual image, as in the upper right in the sky in the image below.

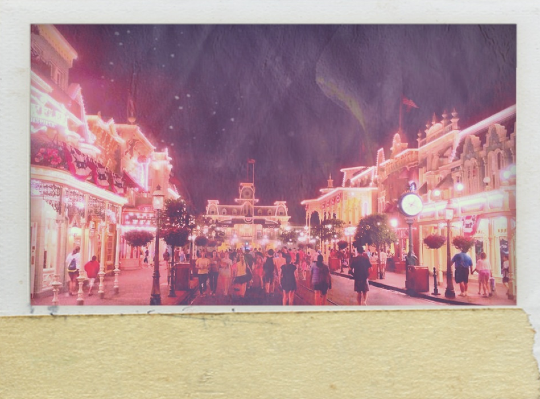
Although the frames and the light leaks can be quite intense, on some occasions I like that approach. My final image uses a taped Polaroid-type border, and a light leak that makes it look as though the aurora is over Main Street USA.
XnRetro is a decent, but not spectacular, app. It could be improved with real-time sliders and yet more presets. A texture category would be useful for bringing elements together, like a bluish filter and a brownish frame. But like all of the Xn series of apps, it’s a solid product that’s easy to use, and saves images at their original resolution. And, it’s periodically offered for free! Enjoy!
Jerry Jobe
Never content with just scratching the surface of what an app can do, Jerry Jobe decided to pass on what he learned about imaging apps to others. He’s constantly trying to figure out just what tools other artists have used, and trying to incorporate them into his own work, in an attempt to find his style. He’s written tutorials on over 145 apps so far, which you can find (along with his Song of the Day entries) at http://enthusiasmnoted.wordpress.com/ He lives near Atlanta, Georgia, where he also finds a creative outlet in acting and directing in community theater.