Olloclip Wide-Angle Panoramic iPhone Photography Tutorial
We’re delighted to publish this fabulous tutorial by Paul Brown using the wide-angle lens of the 4-in-1 Olloclip in a very creative way. We have published several of Paul Brown’s workflows recently. Please take a look at our Paul Brown archive here. Over to you Paul (foreword by Joanne Carter)…
“This iPhoneography workflow resulted from a visit to a local multi-story car park. Primarily I wanted to take my Olloclip for a spin.
On this occasion I wanted to use the Olloclip for a bit of a wide angle panoramic work from high up. Whilst at the top of the car park this puddle presented itself and as I had one of my assistants with me it seemed a shame to let it go to waste. The image was actually captured with the Olloclip attached”.
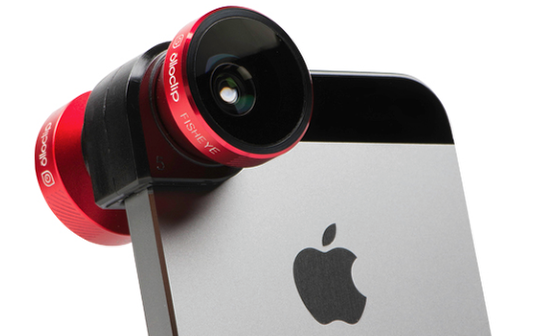
Olloclip 4 in 1 – This workflow uses the Olloclip wide angle lens
Links to all apps and accessories can be found at the end of this article
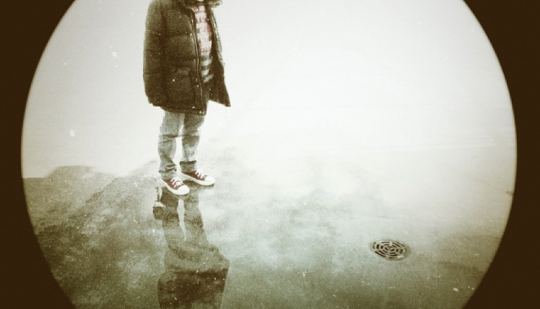
iPhone photography full length portrait tutorial showing reflection, texture, layers, masking, blending and framing processes
ProCamera7 with Olloclip attached ~ initial capture – Note the barreling of the image
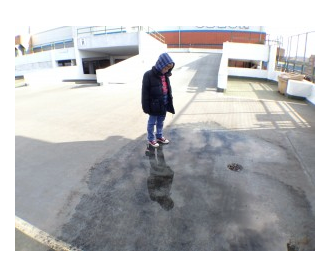
Barreling can be corrected in post processing but for my taste on many occasions I like the dynamic impact it can add.
The top horizon especially shows the curve and as with a barrel laid on its side, the curve viewed in 2 dimensions increases the higher or lower up or down the image you go.
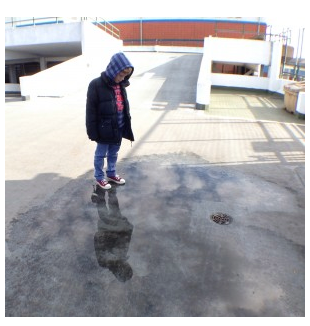
Filterstorm ~ very slight crop in height but also change the aspect ratio to 1:1. It’s very rare that I actually crop other than to alter ratio but on this occasion I want to clip the letters at the top away. I also take the opportunity to sharpen the image slightly.
Filterstorm Sharpening
There has been a reasonably significant migration to Filterstorm Neue. It’s got a great interface but it does still lack some of the functionality of the original Filterstorm. When used on iPad Filterstorm sharpening has controls for both amount and threshold levels . A very effective tool.
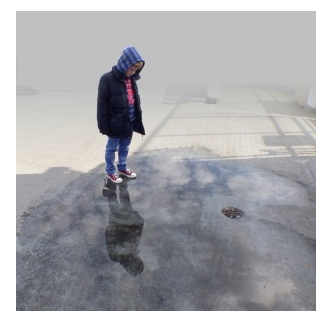
Superimpose ~ the cropped and sharpened image is imported into Superimpose as both the foreground and background image. My trademark (patent pending) fog process is applied. In this case I simply want to simplify the background and add mystery / atmosphere. I am not necessarily looking to achieve a foggy look.
The following process is adopted:
Apply a linear gradient mask. Select ‘filters’ tab and reduce the contrast of the foreground all the way to the left. As always save the mask for future use and then merge the layers under ‘normal’ by selecting the ‘transform’ tab. Load the saved mask, maximize it (scale to fit) repeat the reduced contrast process and merge the two layers together under ‘screen’ method
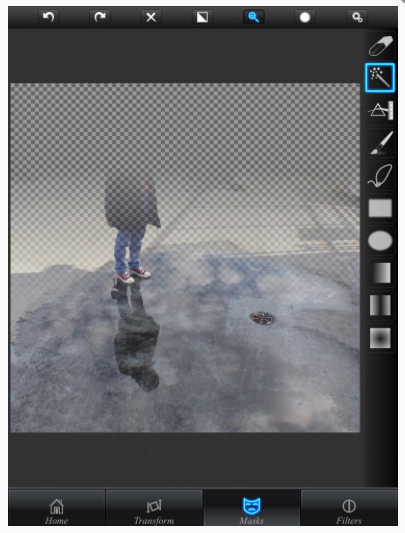
The figure is now obscured so reload the saved mask and in the ‘masks’ tab select the ‘invert’ option and add the figure to the mask using a combination of appropriate tools (magic wand and brush in this case).
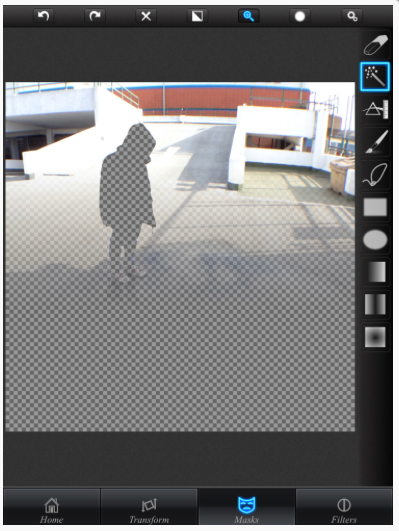
Now it is just a case of inverting the mask again, saving it and merging the layers using an appropriate blend method.
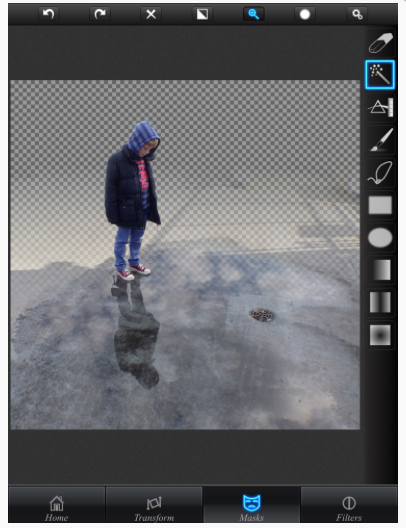
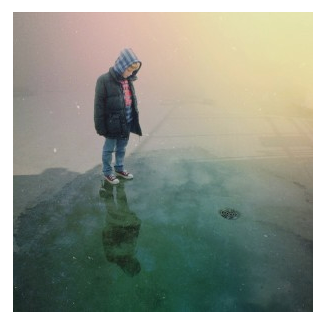
Mextures ~ my current go to iPhone photography app for texture, light and film effect overlays. Primarily I want to lighten the top of the image and add grain. To achieve this I select preset ‘Formula 2′ and edit a couple of the included layers to achieve the effect:
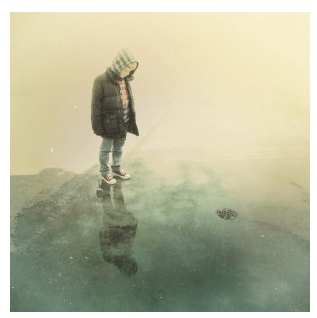
Oggl ~ the image is imported in to Oggl by Hipstamatic and the Jimmy Lens and Blanko C16 film combination applied:
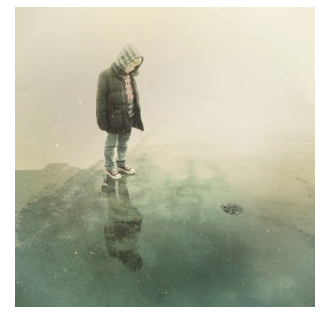
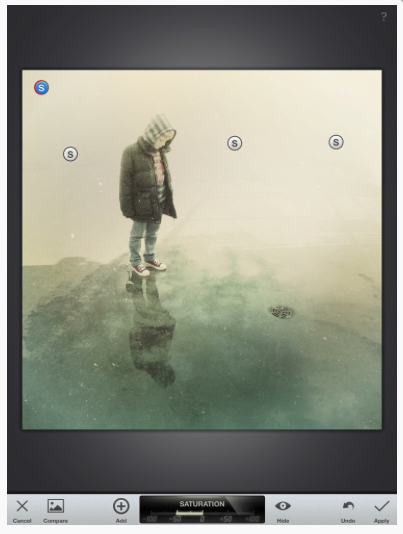
Snapseed ~ never an edit without Snapseed! Some areas of the image feel a little highly saturated and so using the ‘selective adjust’ tool I desaturate the mysterious top half of the image by around 50pct (excluding the figure):
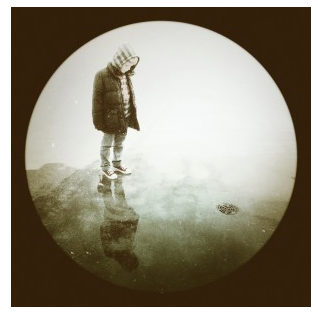
CameraBag 2 ~ I very rarely use a circular frame but this image really seems to suit it. I select the ‘Seventiescope’ filter from CameraBag 2:
The original shot I went for
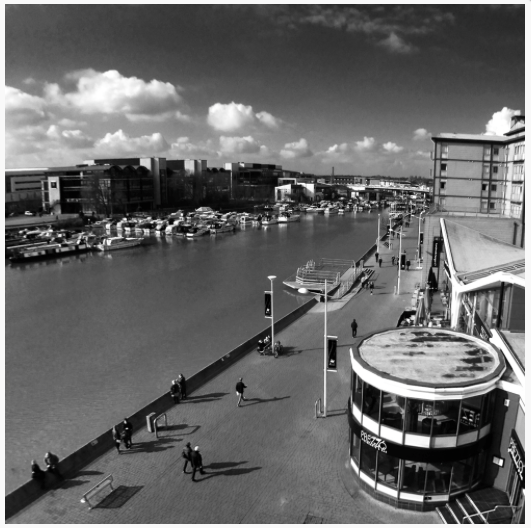
I thought I should share the image I original climbed to the top of the car park to capture. This is with ProCamera 7, sharpened a little in Filterstorm and converted to black and white in Snapseed. Note the barrel curve of the horizon caused by the Olloclip wide angle lens. I decided not to correct this as I really enjoy the dynamic element it adds:
The top of the car park is surrounded by wire mesh fence. The size of the iPhone lens even with the Olloclip attached allows freedom to find a gap without any concerns that the fence will obscure the image.
Get the iPhoneography apps / accessories mentioned in this article
• CameraBag 2 – iPhone or HD iPad version. One of my 10 must have apps
• Filterstorm – recommended at the time of writing rather than Filterstorm Neue
• Mextures one of the best, I personally believe the best specialist texturing apps
• Oggl – recommended with its parent app Hipstamatic
• Polamatic – the official app from Polaroid
• Snapseed created by Nik now owned by Google. The best free iPhone photography app (tell me I’m wrong!)
• Superimpose my personal go to app for layers masking and blending processes
• Olloclip 4 in 1
Alternative finishing edit
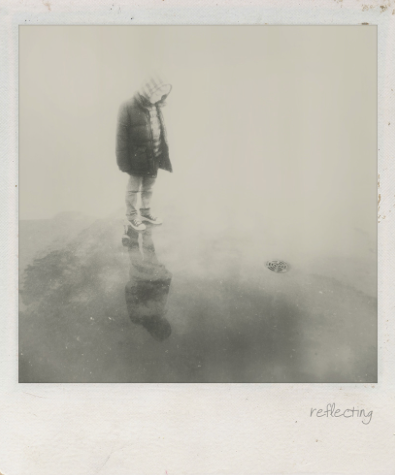
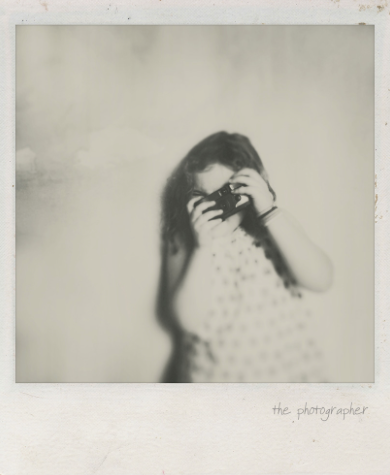
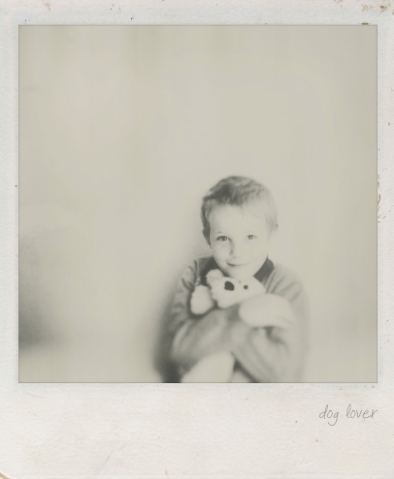
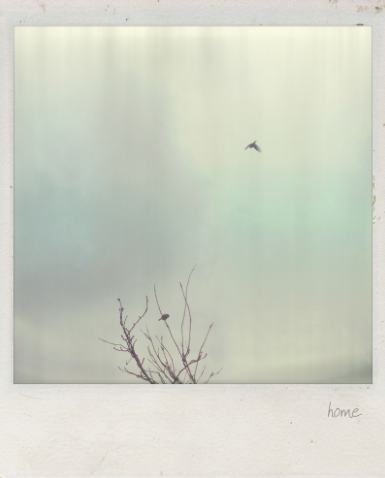
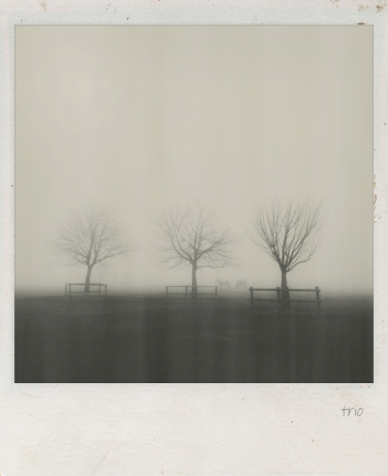
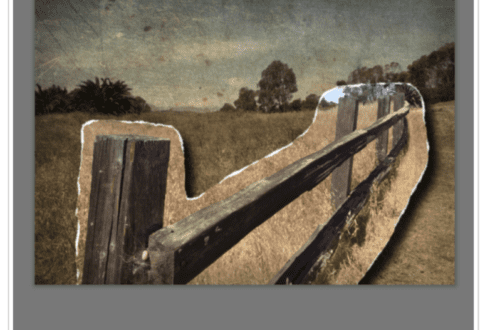
I recently came across the official polaroid mobile photography app Polamatic (available on both iPhone and Android). I also processed a version of this image in that app. It’s great fun. Here are a small collection of images edited in polamatic using similar filters for consistency.


4 Comments
Carolyn Hall Young
Well done! This inspired, reminded, and gave me some useful information. Thank you Both, Joanne and Paul, for the time and intelligence you invested in sharing these processes.
Skip
Thank you Carolyn. It’s always my pleasure.
Tracy Mitchell Griggs
Will revisit these tutorials when I can afford an iPad or mini – am going quite blind trying to see tools on Superimpose and other multi functional apps – quite nice finished effects on all. Great gallery.
Skip
Thank you Tracy. You are right, the iPad makes life much more comfortable. I was iPhone only for a long time but now I have my iPad I almost always edit on it.