
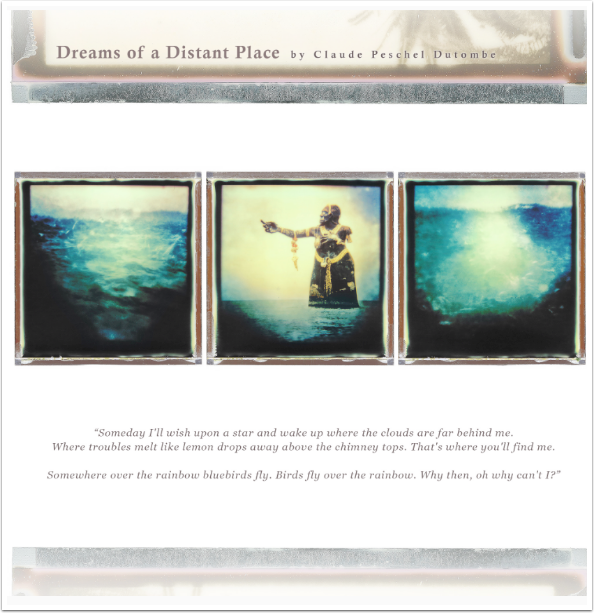
Impossible Lab Review by MaryJane Sarvis
We are delighted to publish this fabulous review of the Impossible Lab by our fabulous Columnist, MaryJane Sarvis. We organised a lab to be sent out to her to test and test she did! In this review MaryJane strips it back to the first moment upon receipt, to the joy of experimenting with different techniques and film.
We have an ‘Alternative Mobile Photography & Processing section’ here at theappwhisperer.com, within this we publish lots of Interviews with Impossible developers and photographers. We also publish details of using your mobile photo to create cyanotypes and more. If you have not see this section yet, please go here and browse through, it’s very exciting. A real mix of retro meets digital love. Please enjoy this wonderful review by MaryJane Sarvis below (foreword by Joanne Carter)…
“Receiving the Impossible Lab is a very exciting moment. I love when great packaging design and attention to detail is clearly important to the manufacturer. Everything, the box, the instructions booklet and the lovely samples are all very considered and beautifully done.
It is smart, and I’ve decided I’m already in love with the product before I even plug it in. I love beautiful paper and print.
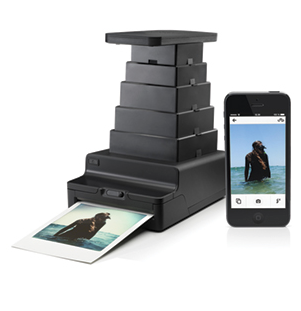
The lab is beautifully designed as well. It’s made of black metal with a bellows style extender made of plastic. It extends and then packs up easily. The controls are very simple and clearly marked. There’s a latch on the film drawer and a button to eject once the exposure has been made. It comes with a black fabric pouch for storage. Very nicely made, again.
There’s an important point at the start. You must charge the lab before you can use it. While I prefer to just scan the directions and get going, I’m glad I read carefully at first for once. It says it’s important to use a USB Apple charging unit to plug into, any other brand USB charger isn’t advised. (I sometimes use a non Apple brand charger for my external batteries) The USB charging cord is supplied.
The process is fairly simple at first. They advise you that you’ll need 2 prints to get the process down. True, however I found exposure time is a more complicated variable, but that comes a bit later.
You need to download the free Impossible Project App first (see here). There’s more to this app than appears at first glance. I used the scanner setting to shoot some of the prints I made you see here.
There’s also a setting which links to the gallery and Instagram, plus an account sign up, and a link to purchase film.
On to printing-you’ll need to take your case off first. Placing the iPhone in the cradle is easy enough, but do double check it’s facing the right direction. I found I had to place the lab in a way that works easily for me-I’m right handed. Part of making the exposure is sliding the shutter slide at the back, or right, of the unit just as the flash light goes on. Simple enough but good to be prepared.
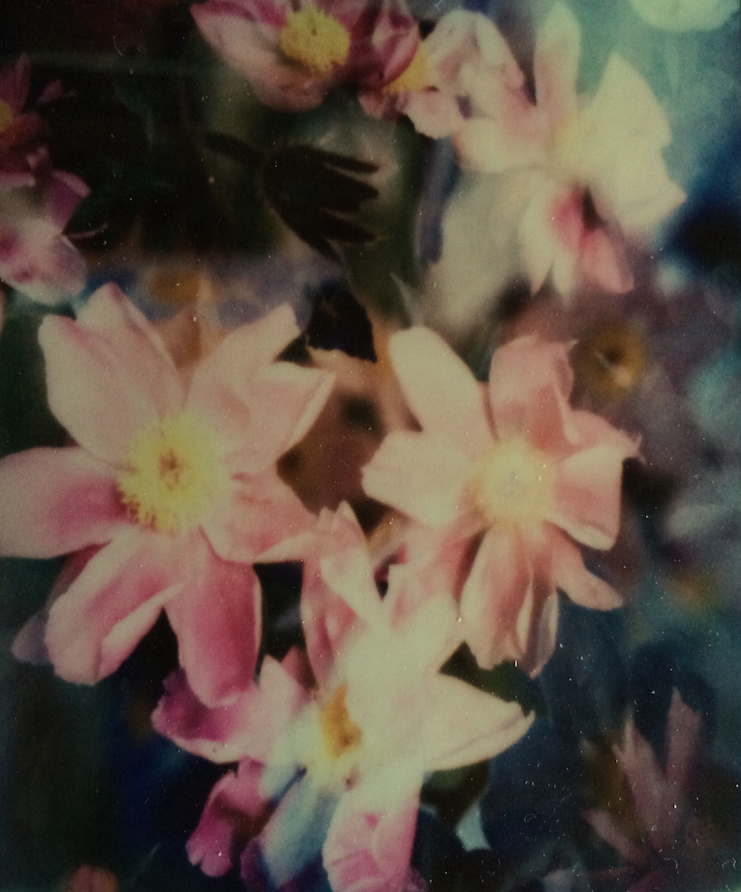
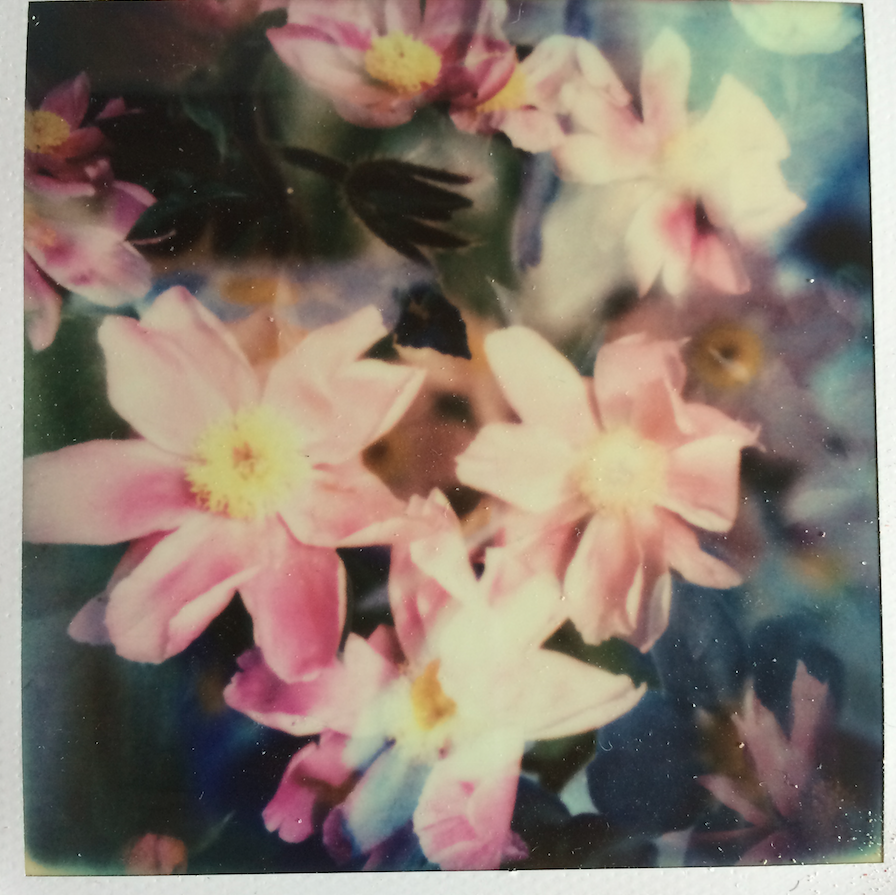
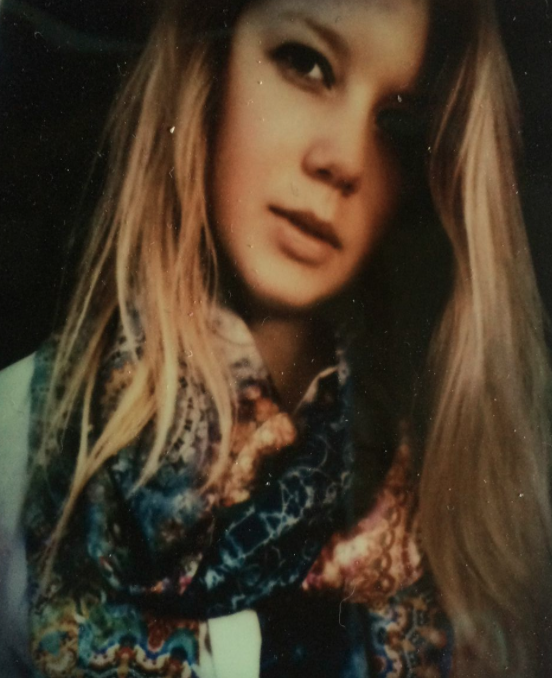
Take or choose an image from your camera roll then follow prompts from the app. Notice that after you hit the crop tab the exposure setting box appears. Hitting that reveals the film choice suggestions. Notice the custom setting. It remembers you most recent setting, which is very helpful. Then you hit the eject button, preparing to protect the exposure from the light, and quickly placing it face down. It says it takes approximately 30 minutes to develop but I found it’s closer to 40, 45 for the Impossible color film. The black and white film takes 10 minutes.
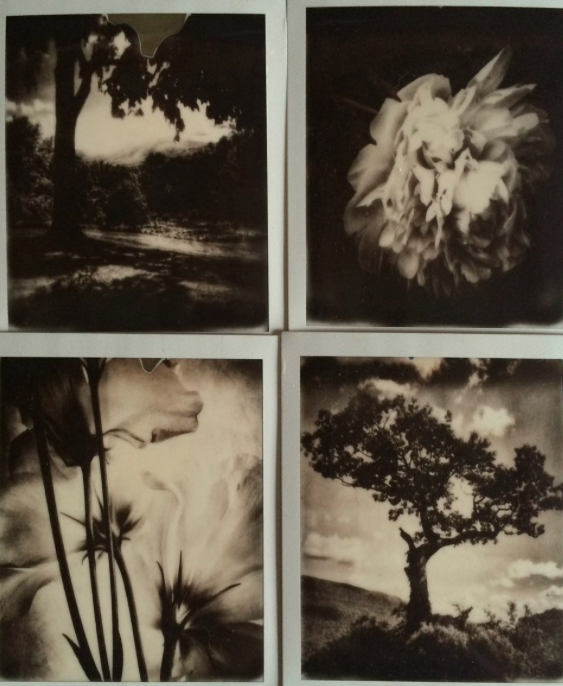
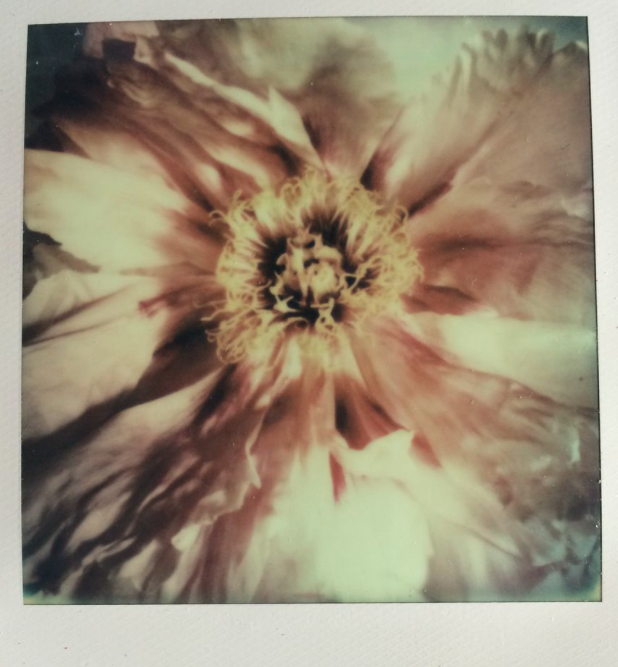
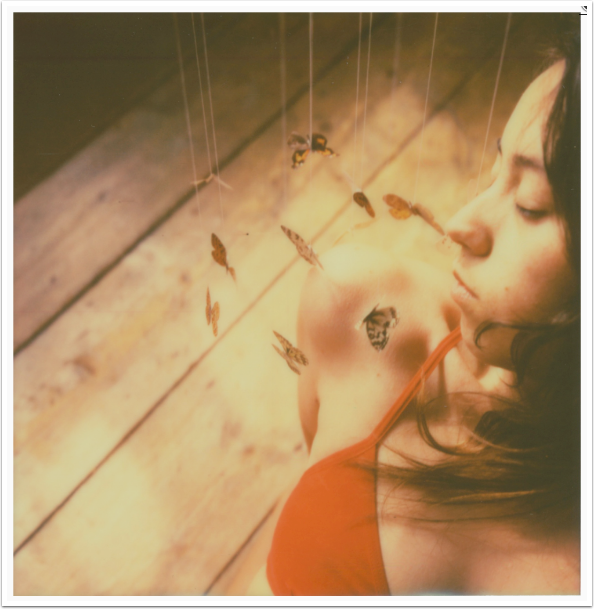
To achieve a print which maximizes the Polaroid look potential is a bit tricky. I found the black and white film much easier to predict than the color. The color film came out either over or underexposed at first. I tried various types of imagery and a few double exposures. I played with the exposure setting in the app. That’s the real key control, unfortunately with very little guidance on how much difference tweaking the exposure number would make, I lost quite a few prints. A variable between 20-60 ms made a real difference in the final image quality. If you’re interested in real control I think you may need to sacrifice a whole 8exp. film pack to learning the color exposures. The BW setting I preferred was 370ms as opposed to the 380ms auto setting.
If you’re using the lab for fun prints, and it is certainly great for that, you can be happy pretty quickly. For prints you’d want to show in a series that extra sacrifice is necessary.
My nephew told me that they had Impossible Project Labs on the tables at a recent wedding he attended. We all remember the polaroids from weddings, then the disposable cameras. Now it’s cool to have immediate iPhone prints from the event. Lots of great possibilities for playful documentation here, if not a bit pricey. My plan is to look at trying some transfer prints from my results as a winter project. A mixed media approach, as I adore fine papers. I’ve loved that look and process for many years. I’m very happy with my final prints and I’m certainly interested in seeing other’s results from the lab. All in all it’s a very enjoyable tool and toy!
MaryJane Sarvis
MaryJane graduated from Bennington College majoring in painting, printmaking and ceramics. Growing up with a passion for Matisse and the many other colorists who involved textiles in their paintings, she chose to continue her evolution as an artist by developing methods of applying paint and dye to silks and velvets. Along with designing for a few major labels beginning in 1986, she grew her own fine art couture business. Her work is in many collections in the USA and the UK. She’s been featured in several publications including Ornament Magazine and has been involved in numerous shows and exhibits over a 25 year career. She’s best known for her knowledge and command of color.Always enjoying photography for both business and pleasure, MaryJane discovered the IOS system of editing and shooting with an iPhone in 2010. Thus began a whole new investigation into color imagery. Documenting the beauty of nature and Vermont, then editing to achieve the look of old oil paintings and textural color studies became a whole new fascination. She has also done a series taking 19th century wood engravings of women and collaged them with photos of her own fabrics. MaryJane feels that although this new realm of expression is in its infancy both personally and in the Art world, there is an excitement and depth that’s palpable. She plans to continue to develop new series including more abstracts and mixed media works on paper.MaryJane lives with her daughter, an up and coming artist/photographer, and cat on top of a high hill in Vermont, USA. They have a beautiful studio on their land.
10 Comments
Martin Duerr
Phantastic review! Thanks for that!
Martin
Tracy Mitchell Griggs
Is this a market ready device or beta?
Joanne Carter
It’s been available for a while Tracy – here’s a link to the page – https://www.the-impossible-project.com/instantlab/
maryjane428
Thank you Martin!
slp
Nice to have this option…thanks for providing a heads up on the results.
Perhaps some day it will not be so pricey.
Needless to say- ur vision compliments the tool.
Diana Jeon
Oh my God! I wish I was Mary Jane Sarvis! I love the transfer process. 🙂 Great article.
Elaine Taylor
Loved finding out about this. Think I have the start of my Xmas Gift List!
maryjane428
Thanks all! Glad you enjoyed. Special thanks to Joanne Carter for entrusting me with this project. I’m excited to continue with more film and transfers.
Joanne Carter
Of course MaryJane! It was a complete pleasure, thank you x
Janine Graf
Oh what a totally fun thing! I’d never heard of this before, but then again, I’ve been out of the loop for a while. 😉 I want one! 😀 Great review MJ!