iPad Photography Tutorial – Pixelmator Wrap-up Part 5 – Retouch and Effects by Jerry Jobe
We are delighted to publish Part 5 (of 5) of a wonderful series of tutorials covering the brand new Pixelmator app for iPad. If you have missed Part 1, please go here, for Part 2, go here for Part 3, go here and for Part 4, go here. This time Jerry discusses Retouch and Effects in this extensive tutorial. We’re quite sure you will find this tutorial invaluable (foreword by Joanne Carter).
Pixelmator for iPad retails for $4.99/£2.99 and you can download it here
“We’ve come a long way in our discussion of Pixelmator, covering layers, brushes, selections, text, shapes, painting, erasing, layer styles, blend modes, and many other things. But we aren’t done yet: even after this final entry, there will be a few minor features left for you to discover on your own. This time around two large areas of Pixelmator will be covered: Retouch and Apply Effects.
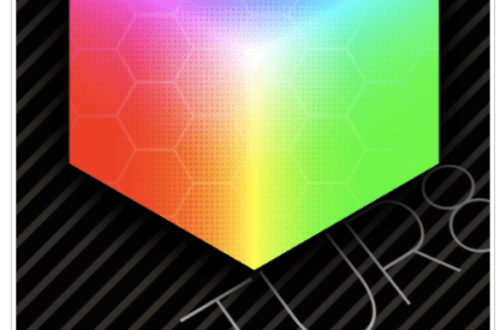
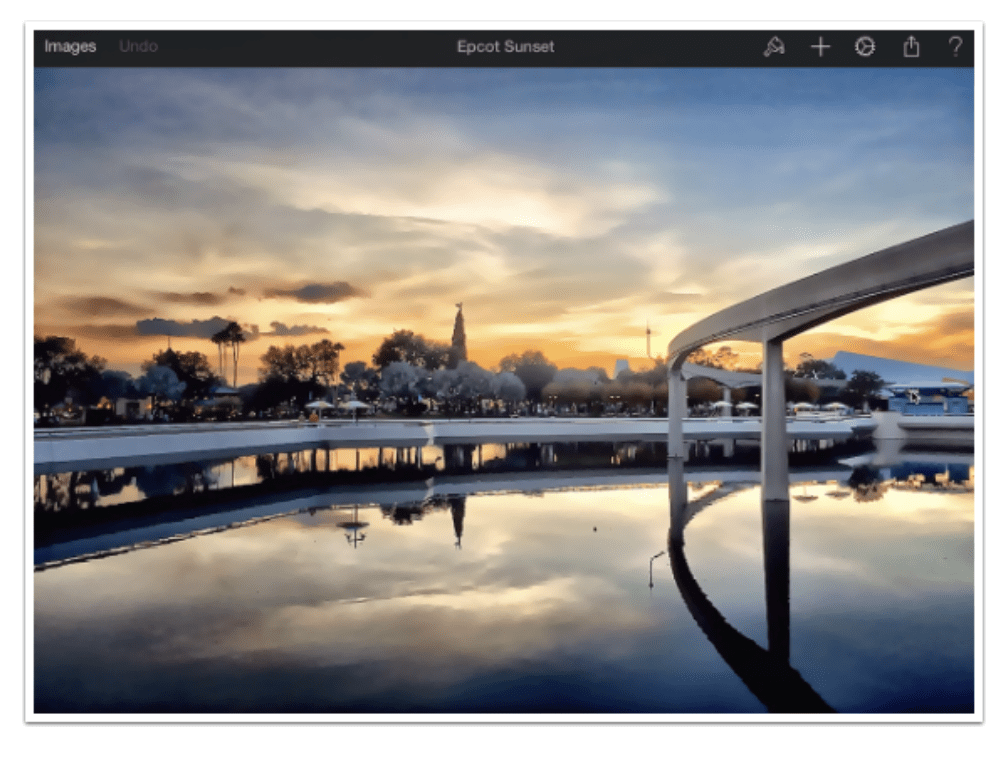
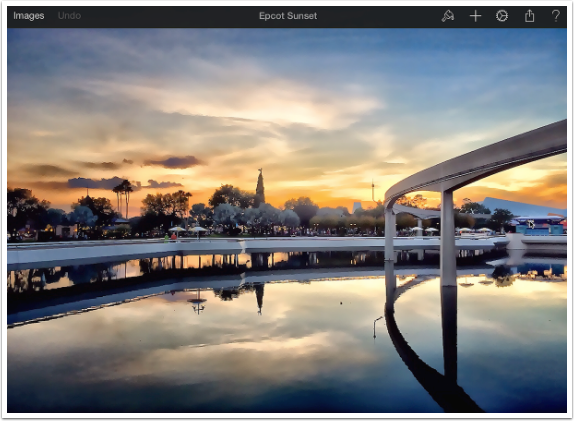
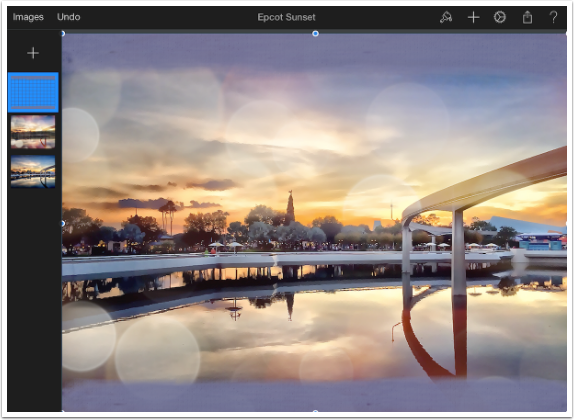
I won’t be starting with a blank canvas, as I did in the last discussion on brushes. Instead, I have a sunset image I took at Epcot last week. I captured it using vividHDR, which does a terrific job of capturing the shadows and highlights and giving your images pop”.
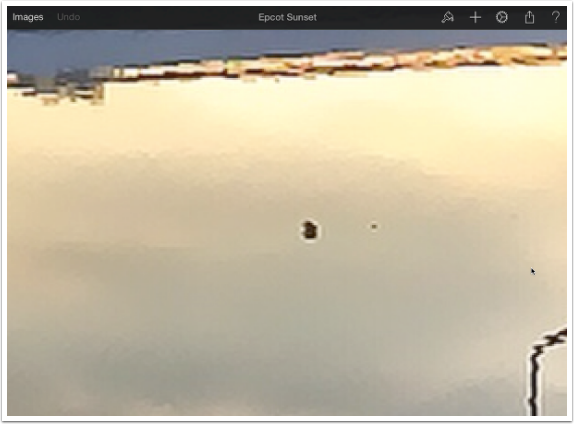
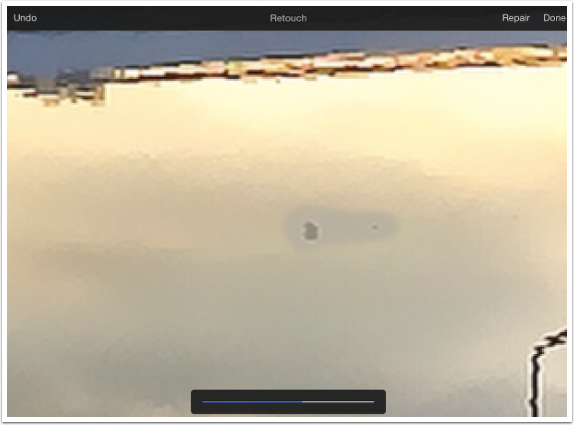
As I look closer, I notice that there is something floating in the still water, just right of center. Well, that just won’t do! Especially at a Disney park! But getting rid of the debris will be easier with Pixelmator than it was at the park, and there’s no rowing involved. I zoom in on the offending debris with a two-fingered pinch.
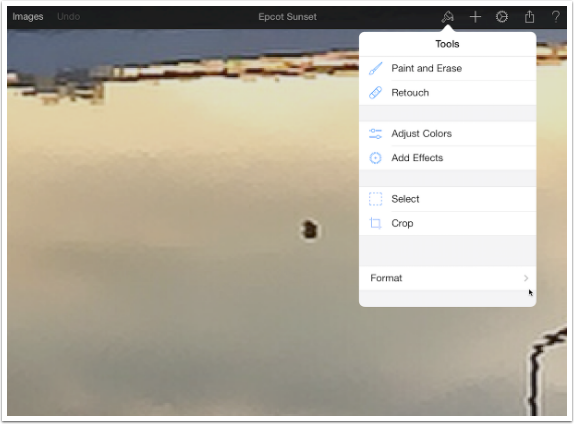
The Retouch tools are the second item in the Brush menu.
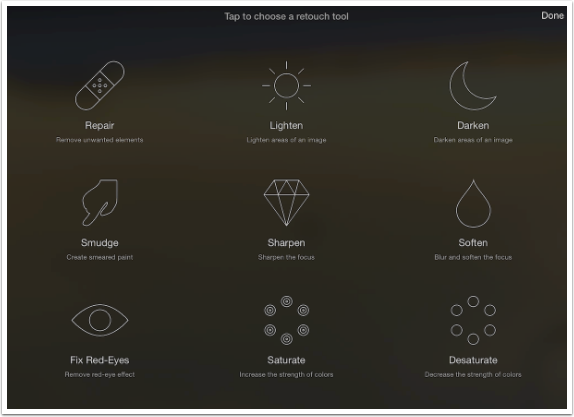
Selecting Retouch puts you into the Retouch workspace, with a display of the available tools. These include Repair, Lighten, Darken, Smudge, Sharpen, Soften, Fix Red-eyes, Saturate and De-Saturate. These tasks are all accomplished with soft brushes, to allow targeted changes. (Smudge, it should be noted, is only a soft-edged brush. It doesn’t have all the brush tips found in the Smudge category of brushes.) For now, I select Repair.
While I’m in Repair mode (top center says Retouch, tool selector at top right says Repair), I brush over the objects I wish to remove. As soon as I lift my finger or stylus, a progress bar appears at the bottom and the repairing is done. If the result is not to your satisfaction, tap Undo at the top left, then brush again.
The next Retouch tool I will use is Darken, at the top and bottom edges, just to help steer focus to the center. I tap the Tool Selector and change the tool to Darken. Next to the Tool Selector is the Strength indicator. (Use of the Strength indicator for brushes was covered in Part 4.) I leave the strength at about 50%.
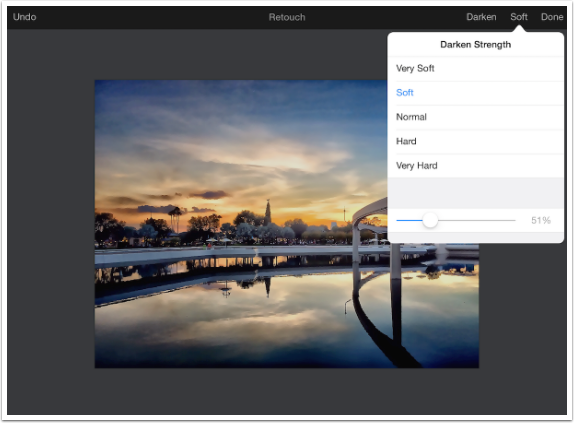
Use of any Darken or Burn tool can be hard to accomplish subtly. I brushed very quickly across the top and bottom of the image, and it’s too harsh for me, especially at the center top. Nevertheless, I will soldier on.
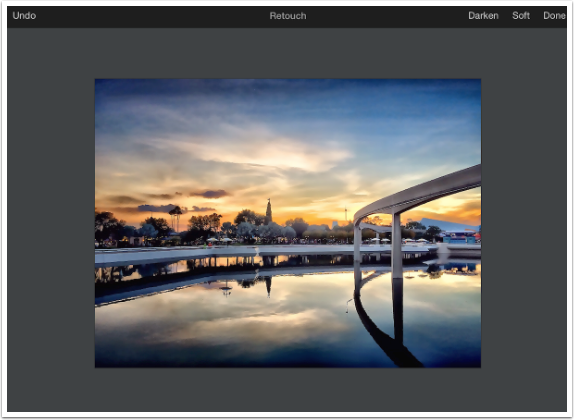
The Lighten tool works better for me, with a quick swipe across the center.

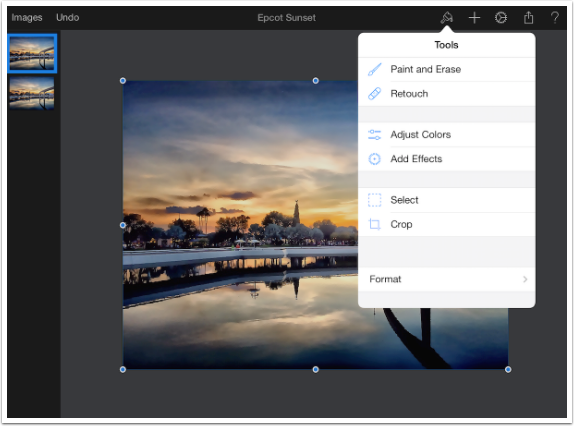
There are a boatload of effects in Pixelmator. (Water scene – boatload – forget it.) Since Pixelmator does not allow for masking, so that I can paint effects in or out, I prefer to apply effects to a duplicate layer. I double tap the image in the Layers palette and select Duplicate from the drop-down toolbar.
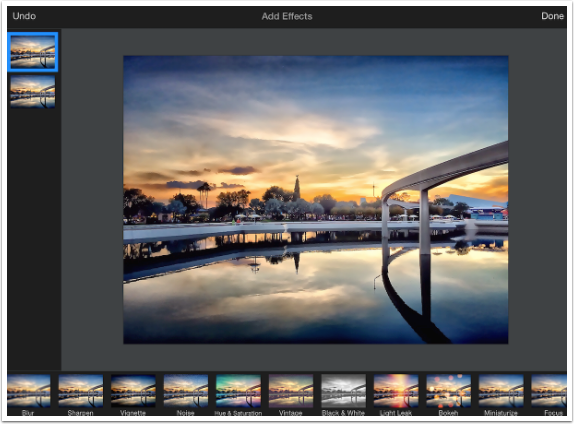
Add Effects is half-way down on the Brush menu. Selecting it will take you to the Effects workspace.
You will see all the available effects along the bottom of the screen. In addition to the ones seen below, the choices Bump, Pinch and Kaleidoscope can be seen by scrolling horizontally.
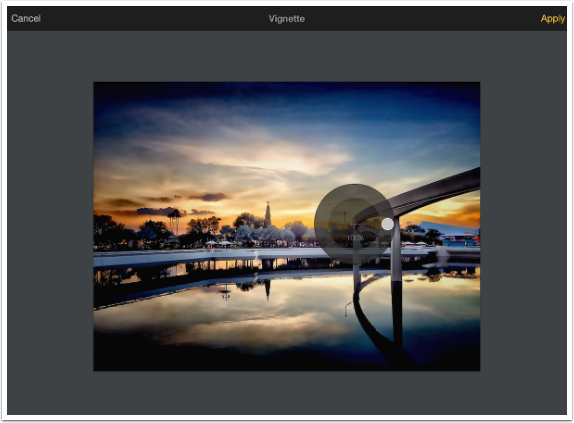
Some of the Effects, like Vignette (seen below) have no options. Vignette has a strength dial which defaults to 100%. Moving the dial around the screen does not change the location of the center of the vignette; that remains in the center of the image.
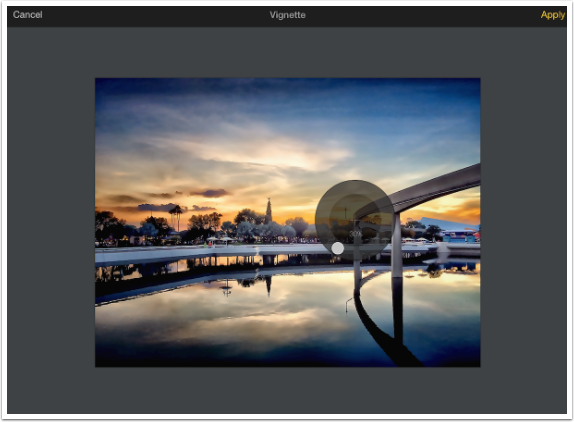
You can move the dial clockwise to increase the Vignette to 200%, or counter-clockwise to lessen the effect, as seen below.
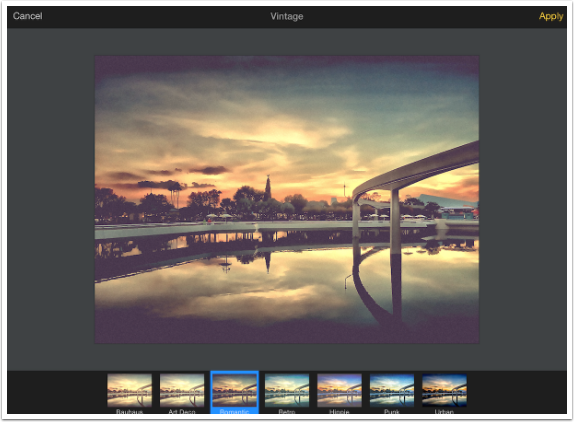
Some Effects, like Vintage, have no strength dial, but do have several options. If you apply the Vintage effect to a duplicate layer, you can change the strength by lowering the opacity of the layer in the Layers palette.
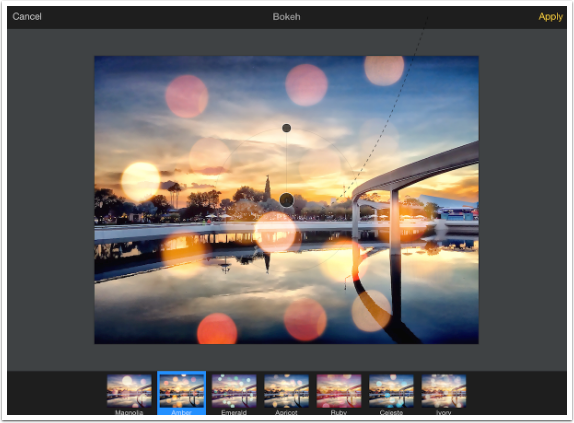
Some effects have options as well as controls, such as the Bokeh effect. Moving the larger dot will move the effect around the image. Changing the angle of the smaller dot in relationship with the larger dot will rotate the effect. Moving the smaller dot away from or toward the larger dot will make the effect larger or smaller. (The parabolic dotted line does not seem to do anything, since you can’t manipulate it directly. It just looks kinda cool.)
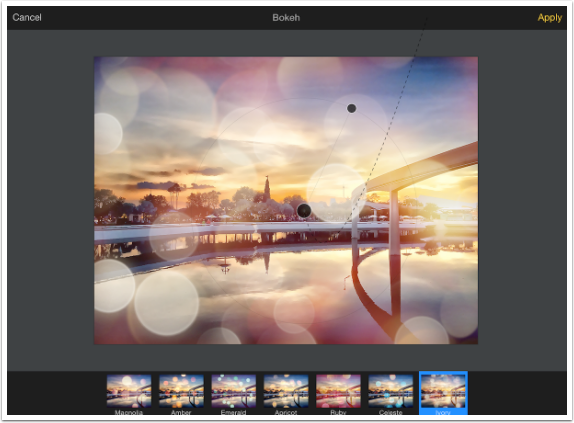
Below I’ve chosen the Ivory Bokeh effect, made it larger, and rotated it. Just as I thought it might, it obscures the important center of the image.
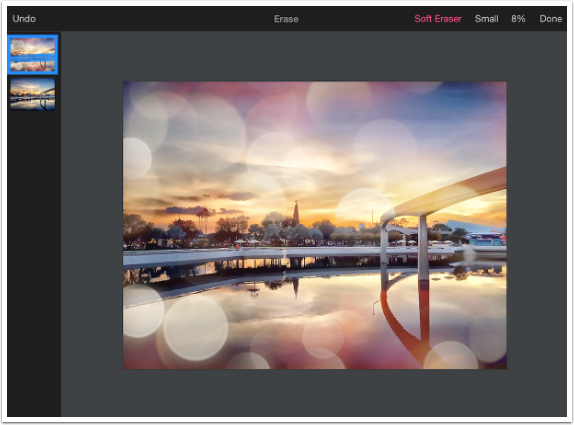
So I back out of the Add Effects workspace and pick out an eraser. Then I erase the center of the duplicate layer. If you look into the Layers palette, you will see the blue-and-black grid showing through the top layer, denoting transparency.
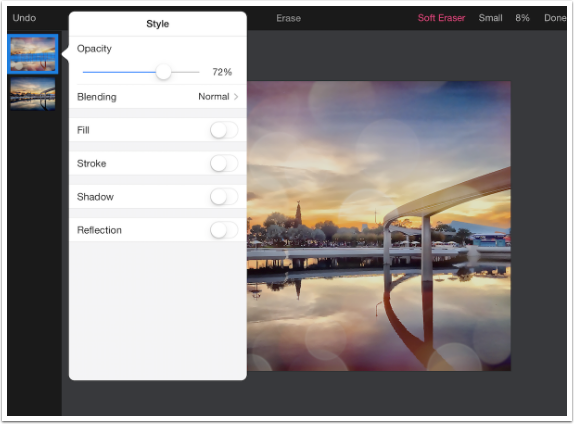
Then I adjust the opacity to lessen the effect, as seen below.
Effects can be added to any type of layer. Below I added a blank layer, and I will paint onto it, then add the effect to the painted strokes. If you look below, I’ve chosen a large Oil Pastel brush, and I’m using the eyedropper to select a color from the image.
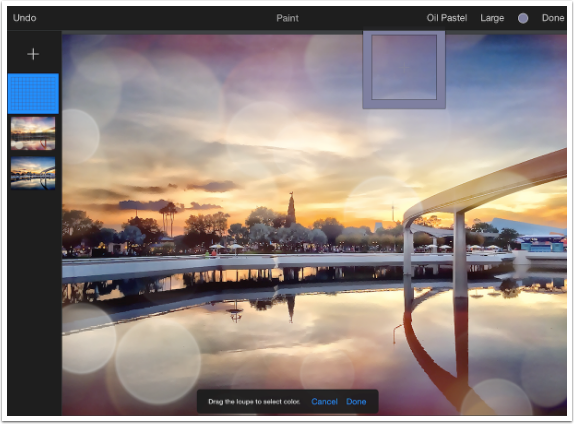
I paint strokes along the top and bottom of the image. You can see them clearly on the transparent layer in the Layers palette below.
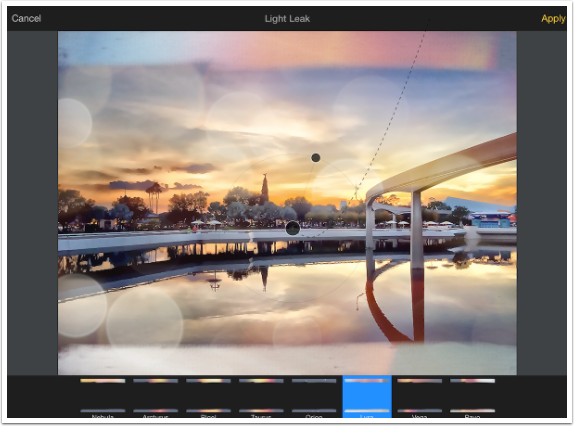
Below I show the addition of the Light Leaks effect to the painted strokes. This is not what I want in my completed image, but I know it will give someone an idea of how to use Effects creatively.
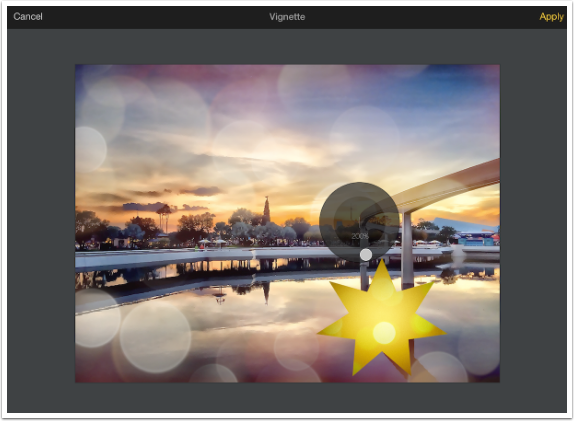
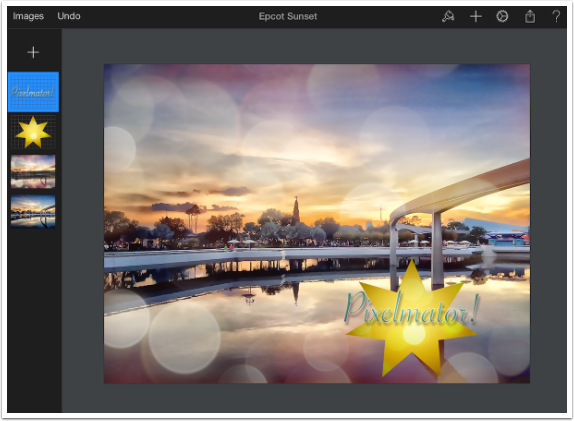
You can add Effects to Shape layers. I added a Bokeh to a seven-pointed star shape, and below I’m adding a 200% Vignette. Since the star is the only item on the layer, the center of the vignette is the center of the star, even though the star is placed at the lower right.
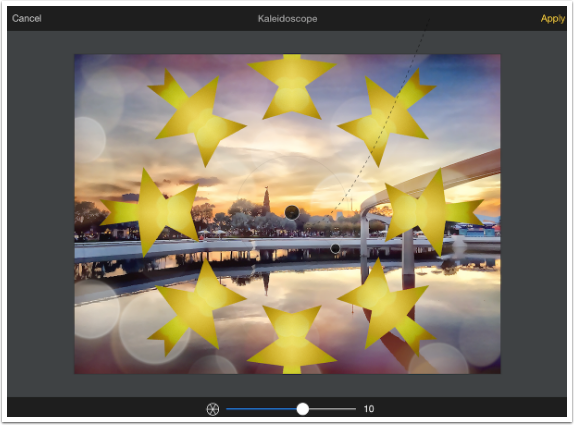
The Kaleidoscope effect works differently. Instead of using the center of the object as the center of the effect, it uses the center of the entire image. You can see what I mean below.
Effects work on Text layers as well. I added the stroke and the shadow to the text from the Format/Style menu, but then added a Vintage and a Vignette effect that may not be obvious due to the thinness of the font.
And below you’ll see my “finished” image!

That wraps up my look at Pixelmator. It’s now time for my final verdict. Let me just say that it’s a noble effort to combine two different kinds of apps: photographic layering apps such as Leonardo or Photoshop Touch with layered painting apps like Sketchbook or Procreate. As so often happens when you take on established apps, you find yourself deficient on several fronts. Pixelmator does not have the brush capabilities of Procreate or the multitude of effects or selection tools of Leonardo. For that reason, I do not see myself using Pixelmator to any great extent in the future. Also, erasing part of a duplicate layer has always seemed to be a counter-intuitive method of masking to me, coming from a Photoshop on the desktop background.
But Pixelmator only suffers, in my eyes, in comparison to other apps. It’s certainly a good, stable app with features galore. This should be enough for Pixelmator to carve out its own niche among those users new to the wondrous capabilities of digital image manipulation on the iPad. Enjoy!
Please support us
TheAppWhisperer has always had a dual mission: to promote the most talented mobile artists of the day and to support ambitious, inquisitive viewers the world over. As the years passTheAppWhisperer has gained readers and viewers and found new venues for that exchange.
All this work thrives with the support of our community.
Please consider making a donation to TheAppWhisperer as this New Year commences because your support helps protect our independence and it means we can keep delivering the promotion of mobile artists thats open for everyone around the world. Every contribution, however big or small, is so valuable for our future.
Jerry Jobe
Never content with just scratching the surface of what an app can do, Jerry Jobe decided to pass on what he learned about imaging apps to others. He’s constantly trying to figure out just what tools other artists have used, and trying to incorporate them into his own work, in an attempt to find his style. He’s written tutorials on over 145 apps so far, which you can find (along with his Song of the Day entries) at http://enthusiasmnoted.wordpress.com/ He lives near Atlanta, Georgia, where he also finds a creative outlet in acting and directing in community theater.