
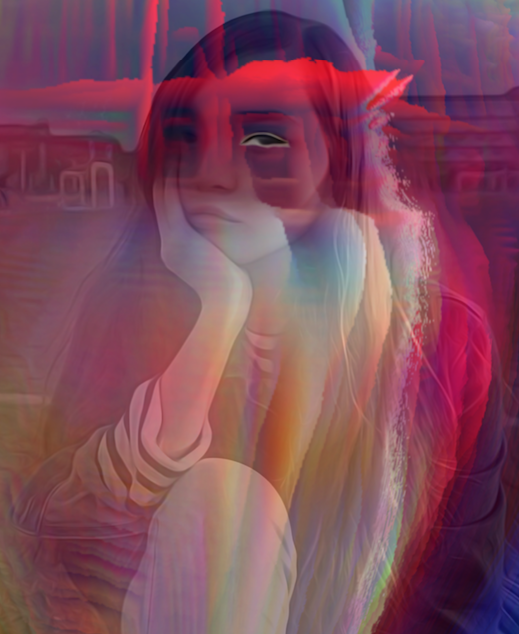
Mobile Art – Creative Tutorial – ‘A Friend Feels What You Feel’
We are hugely delighted to publish this absolutely fantastic creative mobile photography tutorial by Carol Wiebe a highly talented mobile artist. We are sure you will love this! Over to you (foreword by Joanne Carter).
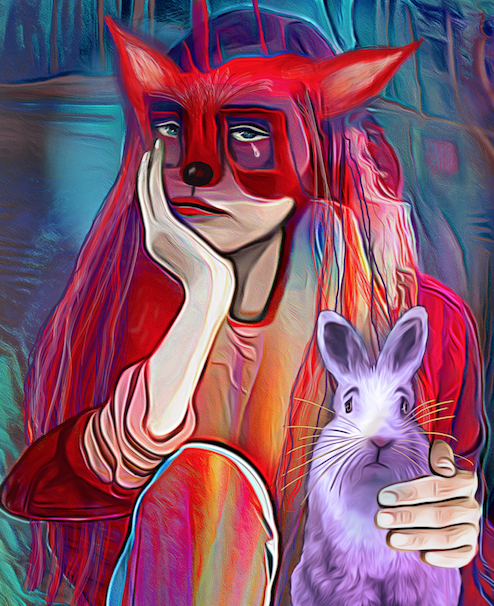
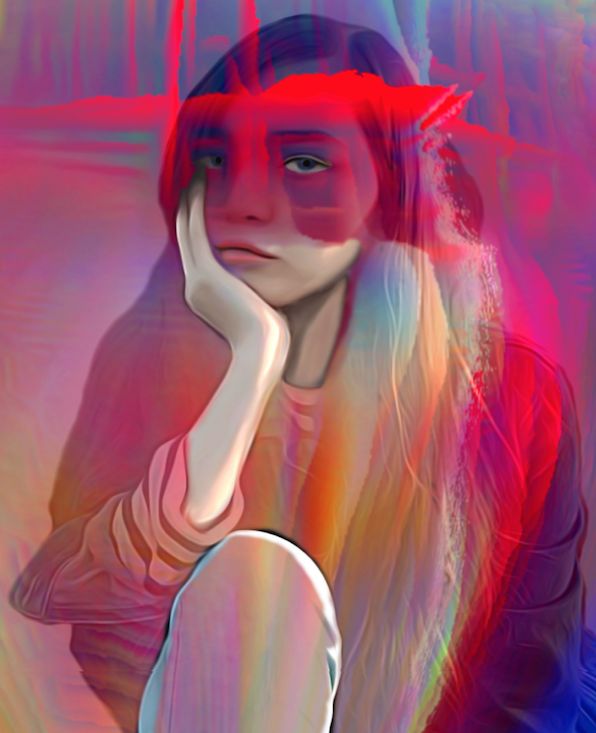
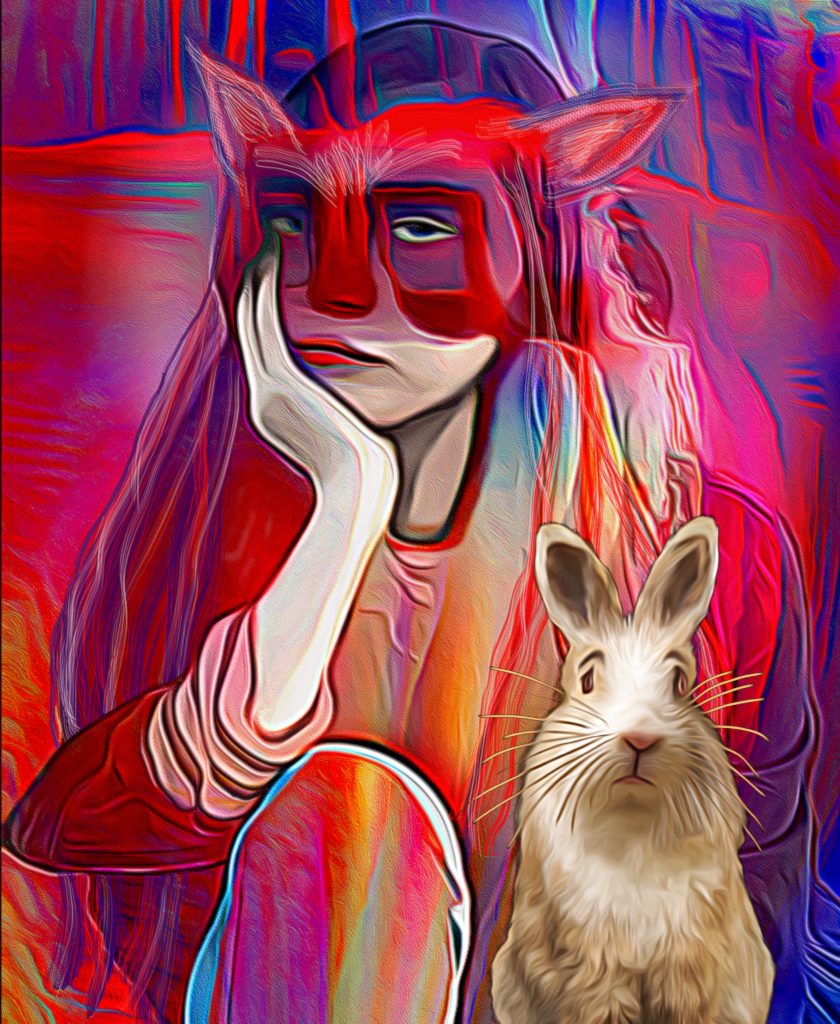
‘A Friend Feels What You Feel’ ©Carol Wiebe
Looking for Images
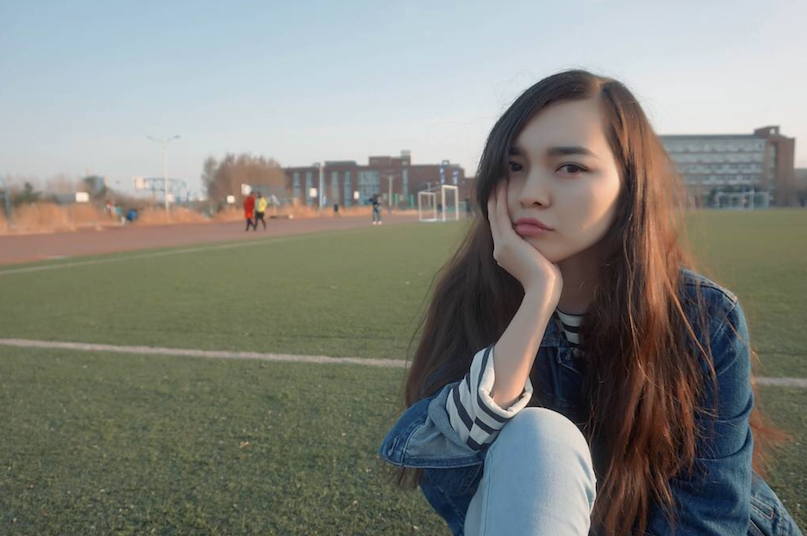
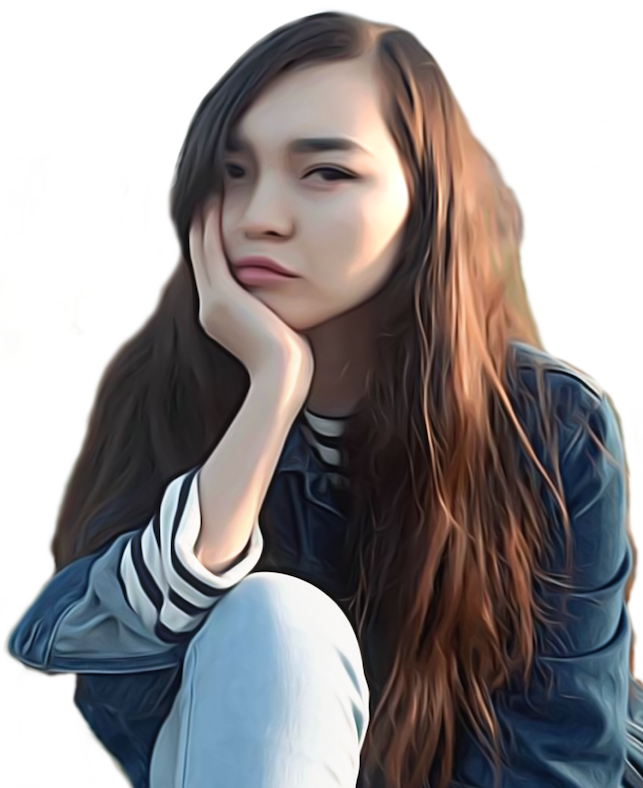
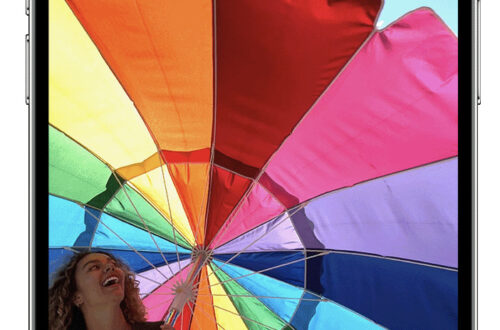
I usually use my own images, but I also look for images of people with a compelling face and stance. Something has to grab me about it. I found this pic in Pixabay.
Playing with the Image
I take the image into iColorama.
FORM. Crop. Apply. Save.
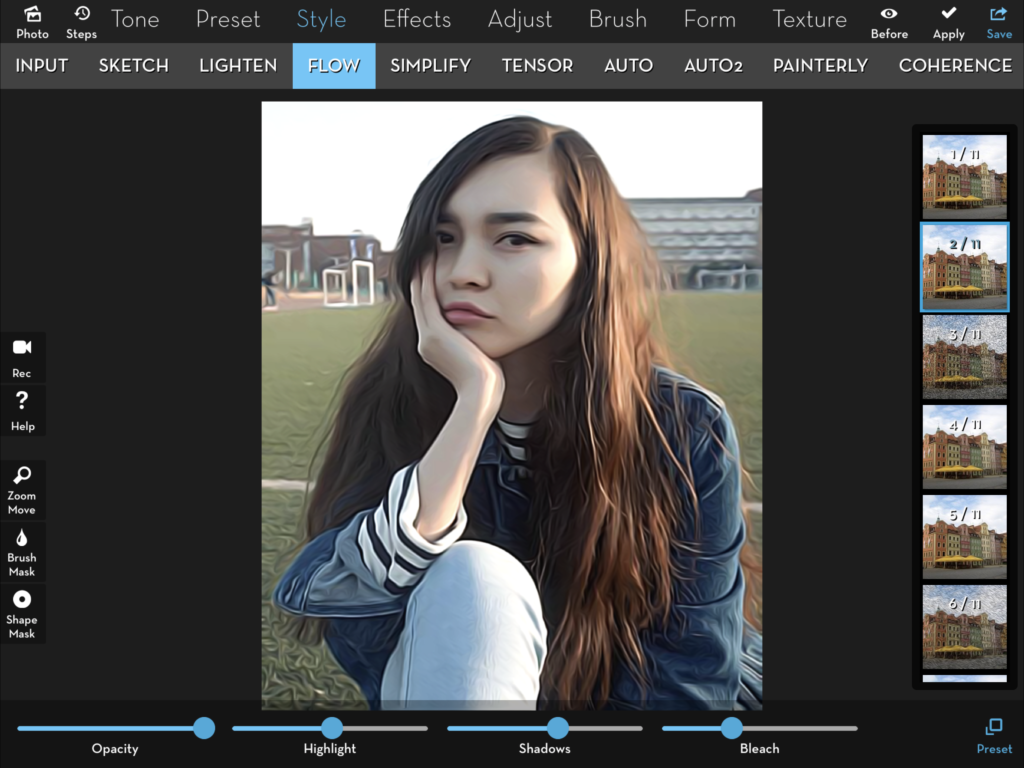
STYLE. Flow 2. Apply. Save.
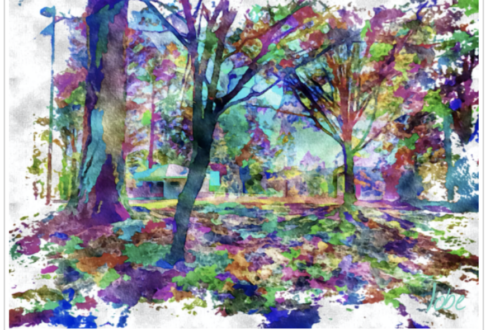
I love to blend faces and figures with my abstract art, which can be either the photo of an abstract painting, or a digital abstract I have created.
I have chosen this image as having possibilities.
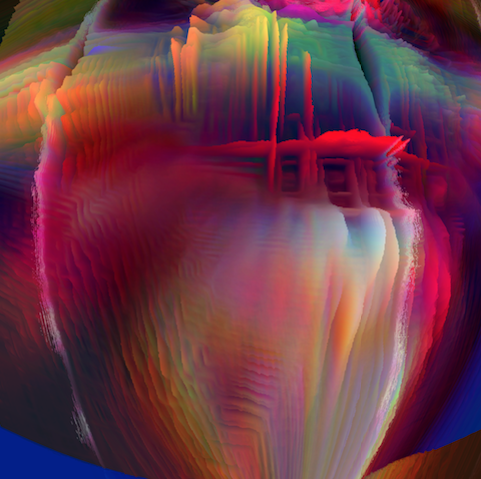
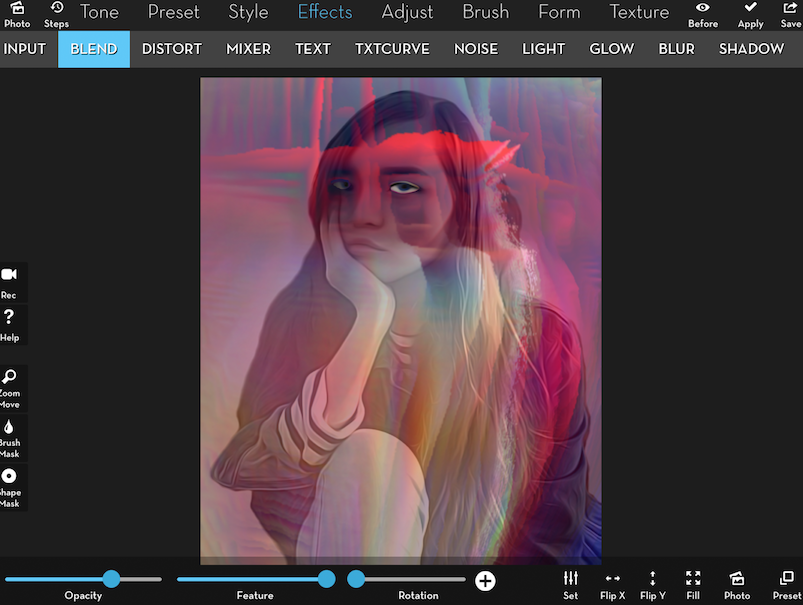
I use EFFECTS. Blend. Photo, and add it to the photo at a reduced opacity.
Here I have masked the eye only. I really like how this “background” looks with the figure. However, I do not want the buildings and other details behind the young woman.
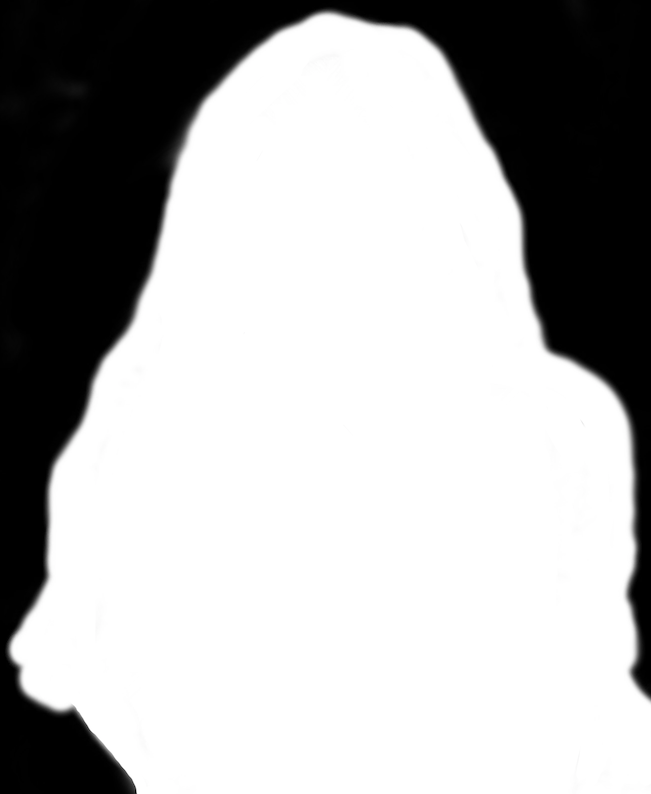
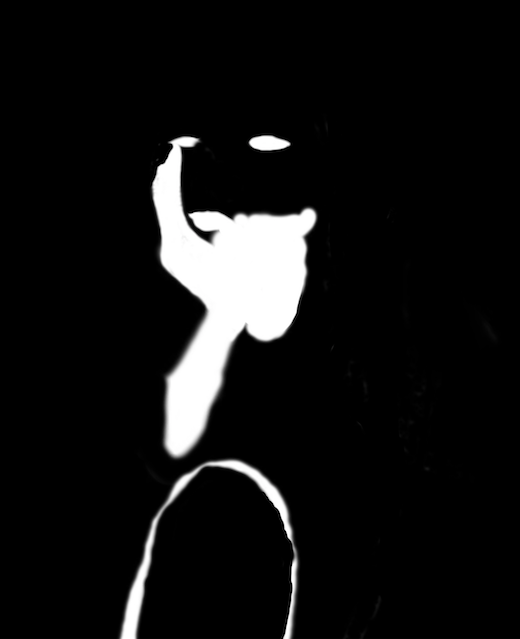
I make a proper mask now, not just for the eye, but the entire figure. That way I have better control over the background (which I actually want to get rid of) and the figure.
My favorite iColorama setting to make masks in is PRESET Gradient. You reduce the capacity of the mask layer so that you can see the details underneath. The Zoom tool really helps you deal with small details.
The mask I made covers the figure. I export it so that it
goes into Photos and I can access it anytime I need it.
To get rid of the background, I adjust the mask so that I am working in the background, not the figure.
I use BRUSH. Paint: white. Basic 5/25 (brush). Apply. Save. The background is now white.
Here is the result.
When I add the abstract background I had already chosen to the figure at this point it looks quite different.
EFFECTS. Blend. I select Fill and adjust the opacity level, to see where the blend will look the best. I want to be able to see both. I adjust the mask as needed to achieve this.
This is my adjusted mask.
I blend the figure on the white background back with the background.
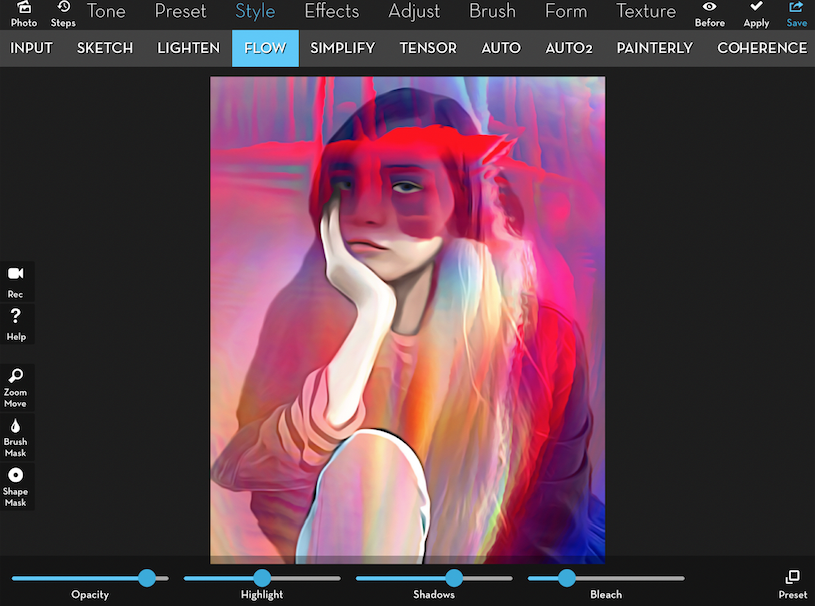
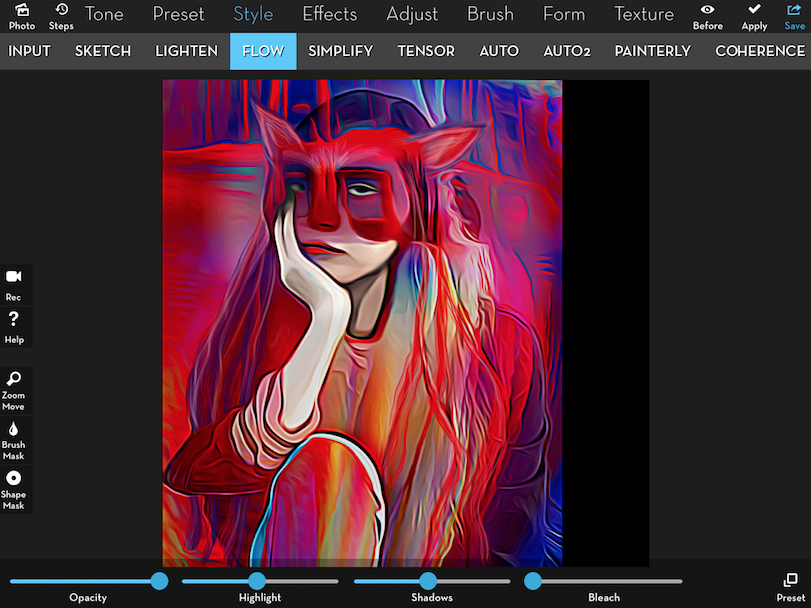
STYLE. Flow.
I play with Opacity, Highlight, Shadows and Bleach to achieve the look I want.
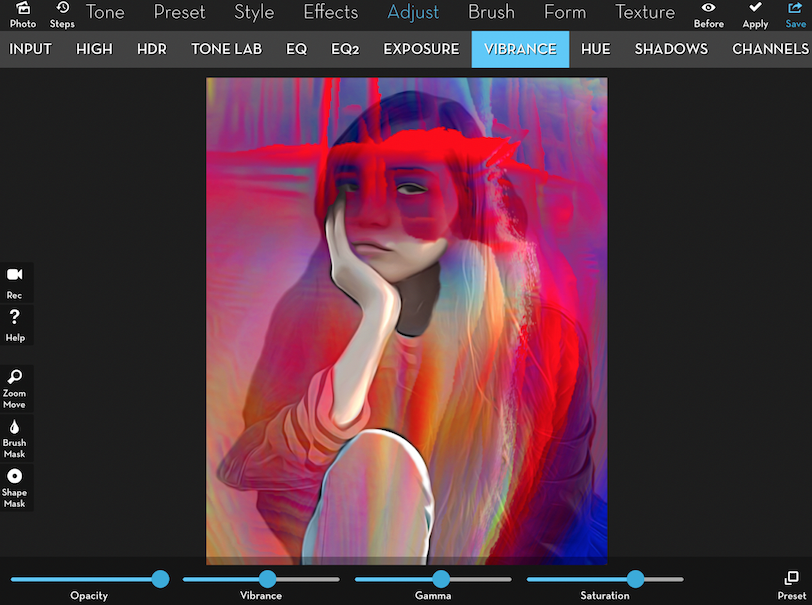
I decide the image needs more vibrance.
ADJUST. Vibrance.
I play with different levels of Opacity, Vibrance, Gamma and Saturation.
This is followed by:
EFFECTS. Sharpen .17 1/8
EFFECTS. Raise. Opacity .84 Size .30
I take the image into Procreate to make adjustments, especially to the neck, which looks too dark.
SKWRT helps me refine the cropping. I like the negative spaces achieved by putting the edge of the cuff right against the edge of the entire image.
In iColorama once again, I apply:
STYLE. Flow 1/11
Opacity .90. Highlight -0.01 Shadows 0.28. Bleach .22
EFFECTS. Sharpen—Opacity .57
EFFECTS. Raise—Opacity .52
I add the brush mask of full figure, then increase vibrance.
ADJUST. Vibrance.
Opacity: 1.00
Vibrance: .32
Gamma: -0.35
Saturation: .12
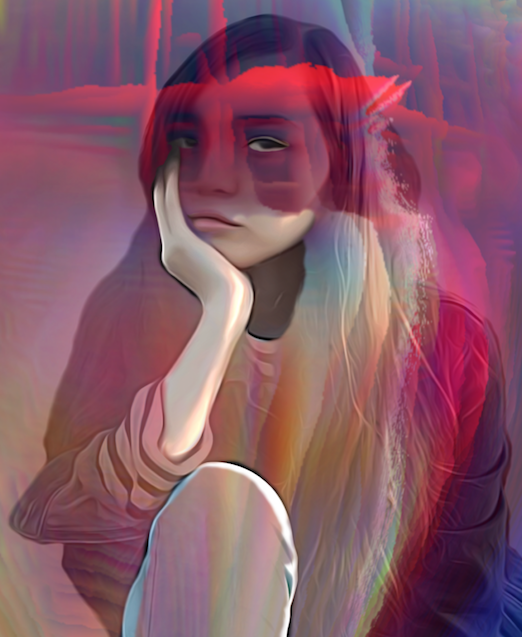
I like the look of the image, but see that on the left side, the definition of her hair has disappeared.
I also decide the red mass on her head looked like a fox ear on the right, and why not refine that one, then add a fox ear on the left?
I do this in Procreate. I simply paint them in.
![]()
In iColorama, I now add definition to the changes I had made so that they are closer in style to the rest of the image.
STYLE: Flow 1/11
Opacity .90. Highlight -0.01. Bleach .22
EFFECTS. Sharpen—Opacity .57
EFFECTS Raise—Opacity .52
I add a brush mask of the full figure, then increase the vibrance once again.
Last Minute Changes
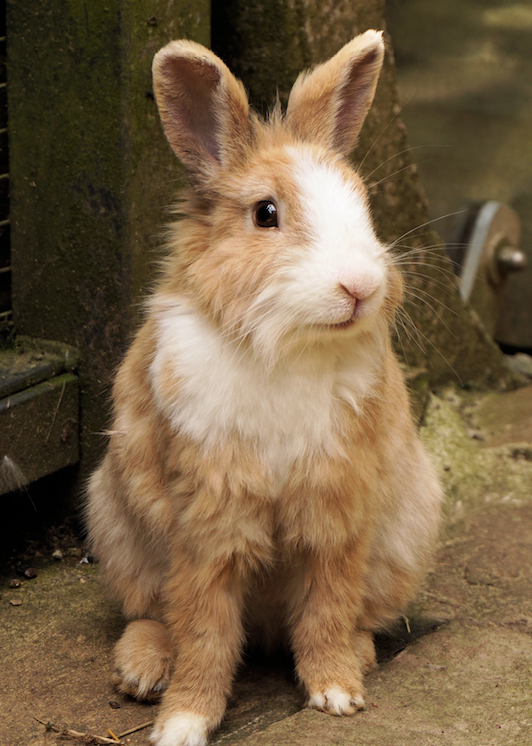
I decide, on a whim, to add a rabbit.
https://pixabay.com/en/rabbit-hare-pet-cute-animal-sweet-1440432/
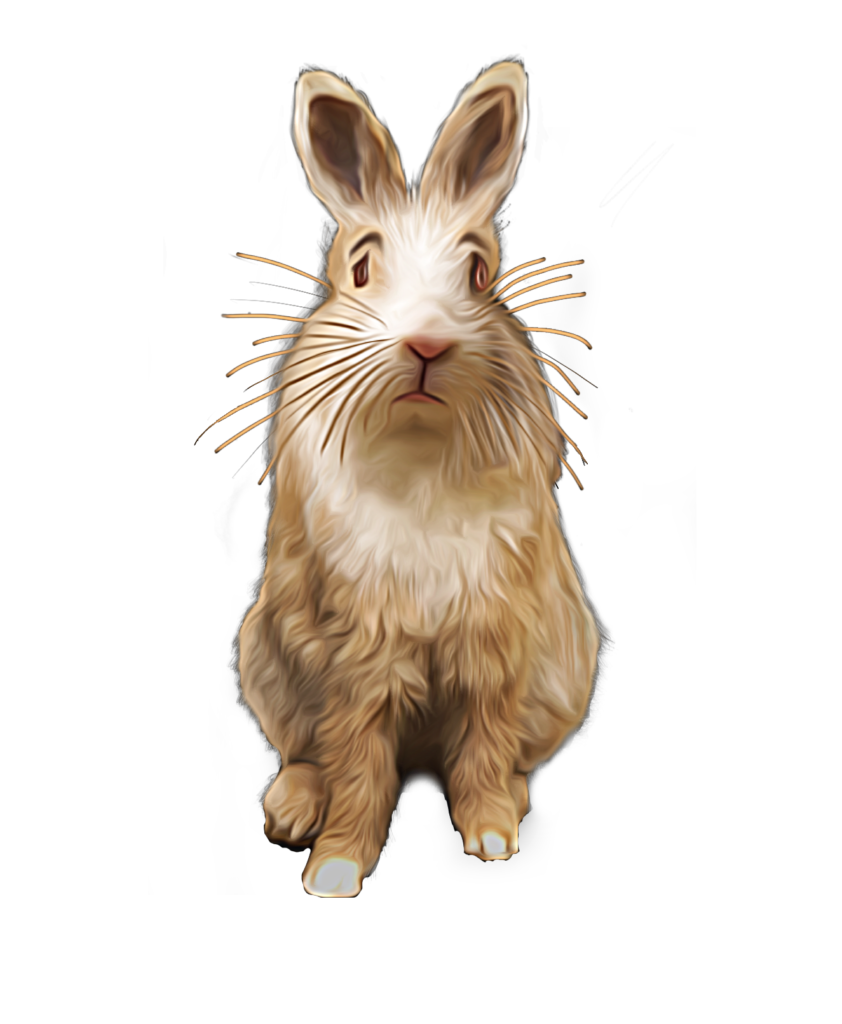
I play with the rabbit in Procreate, and give it a human expression.
I bring the rabbit into iColorama. Playing around with the controls in STYLE. Flow. Makes quite a difference to the image.
I place the rabbit into my abstract/figure page, using Effects. Blend.
I create a mask for the rabbit, in PRESET. Gradient.
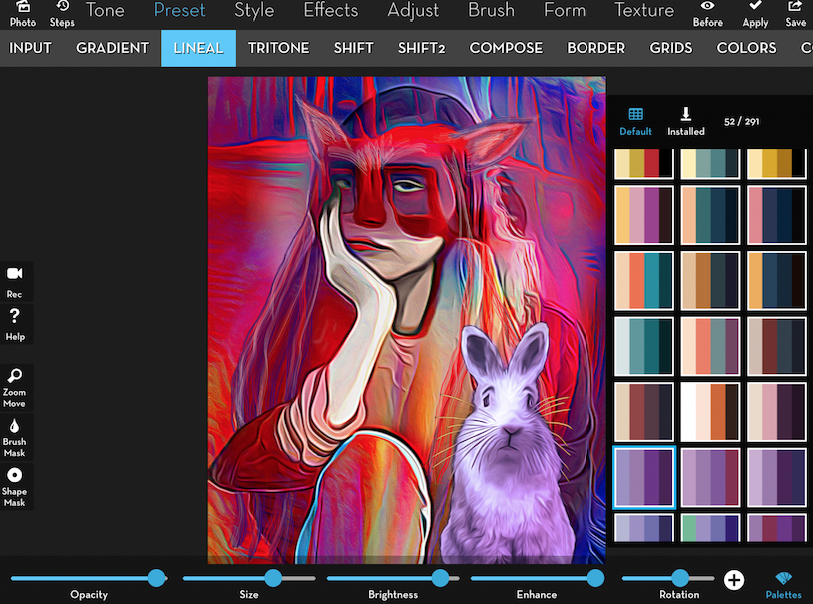
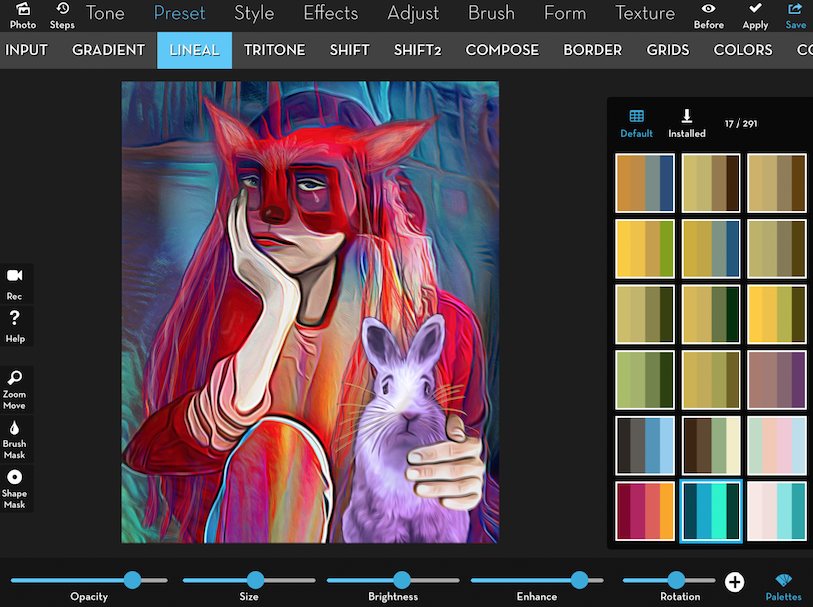
PRESET. Lineal.
I apply various Palettes to find a new look for the rabbit’s fur.
My favorite is # 52.
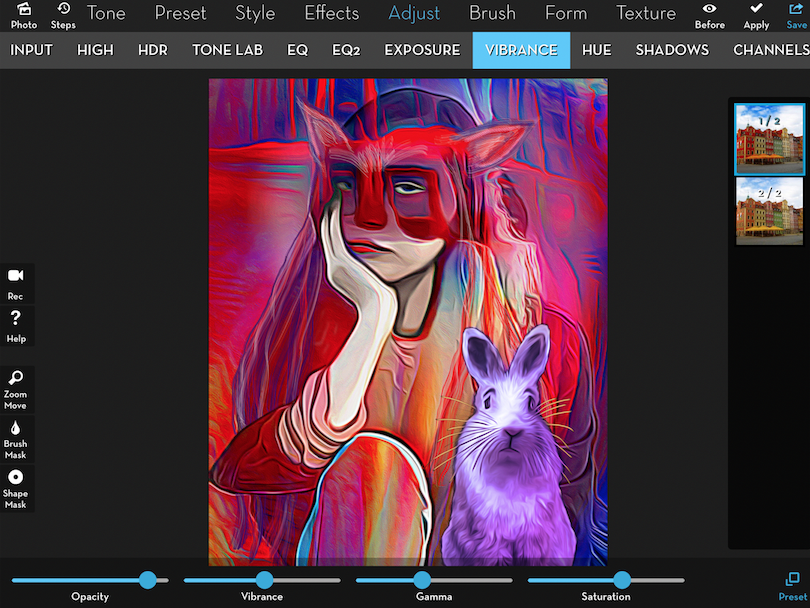
I give the rabbit fur a little more oomph in ADJUST. Vibrance.
EFFECTS. Shadow.
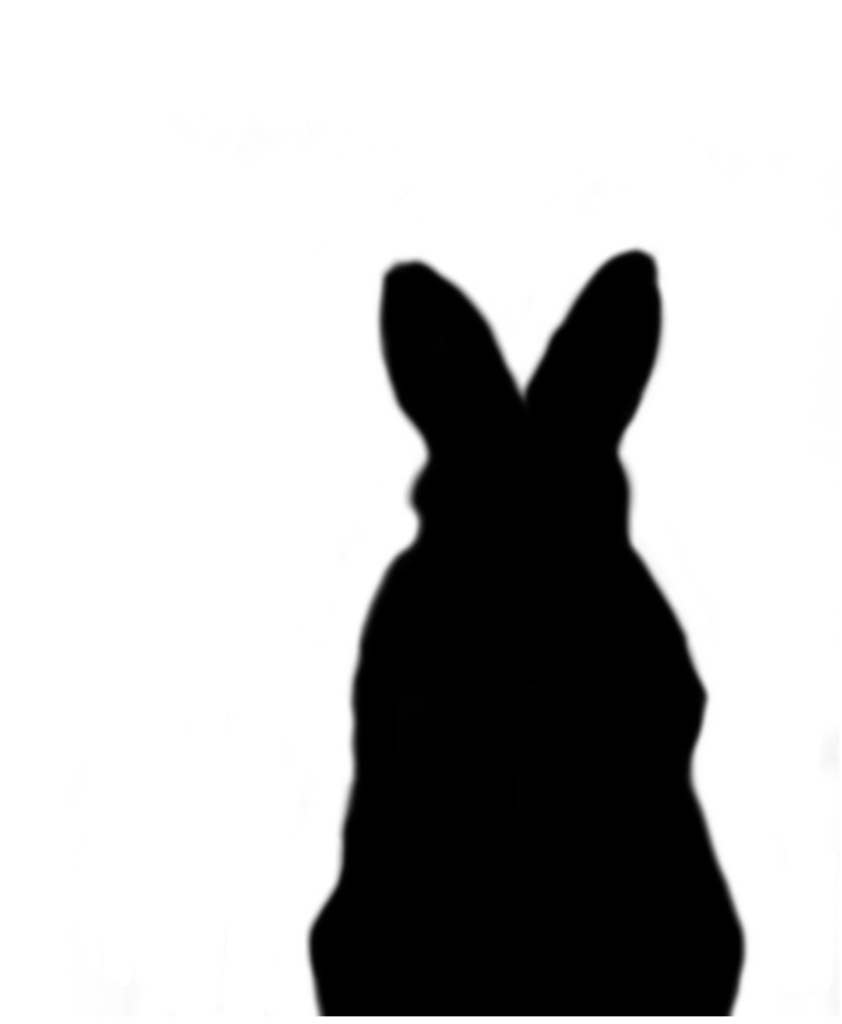
Keeping the rabbit mask in place, I use the photo of the rabbit mask to create a shadow.

Even More Last Minute Changes
I thought I was done, but I realize I need a connection between the “girl” and the rabbit, so I bring the image back into Procreate to do more drawing/painting. I make the eyes on both the girl and the rabbit more expressive. They both look a little sad or wistful, so a tear seems appropriate. I add detail to the girl’s ears. And I put her hand over the rabbit. I also play with color here and there.
One more trip to iColorama is now called for.
First. I use PRESET. Lineal and pick
17/129
STYLE. Flow. Just a bit.
This adds some definition to the painted parts I added, so they blend better into the whole painting.
ADJUST. Vibrance.
This kicks the vibrancy up a tad.
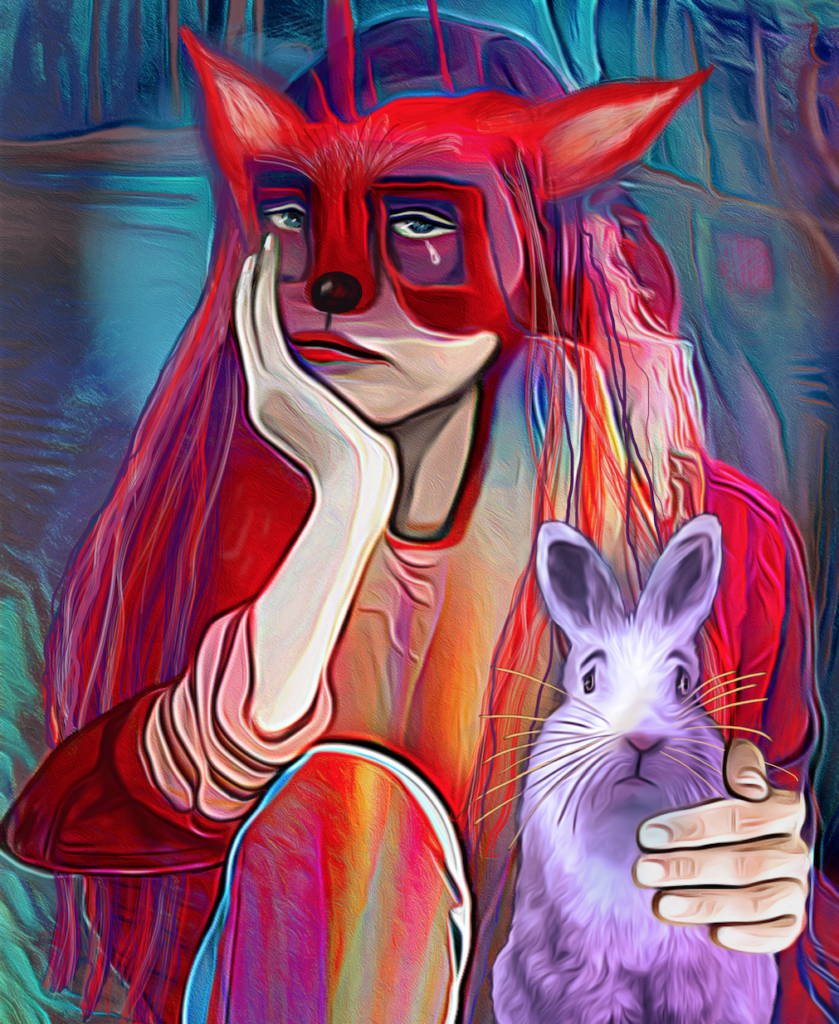
Final Image
‘A Friend Feels What You Feel’ ©Carol Wiebe
Please help us…
TheAppWhisperer has always had a dual mission: to promote the most talented mobile artists of the day and to support ambitious, inquisitive viewers the world over.
As the years pass TheAppWhisperer has gained readers and viewers and found new venues for that exchange. All this work thrives with the support of our community.
Please consider making a donation to TheAppWhisperer as this New Year commences because your support helps protect our independence and it means we can keep delivering the promotion of mobile artists that’s open for everyone around the world.
Every contribution, however big or small, is so valuable for our future.

One Comment
Carlos Bernal
To Carol Wiebe & Joanne: Thanks a lot for your fantastic tutorial, very much appreciated