iOS – Video Tutorial – Colorizing B&W images with iColorama
We’re delighted to publish Jerry Jobe’s latest technical tutorial and this time he has created a video version using the very popular app iColorama. We are quite sure you will all enjoy and learn much from this. Over to you Jerry, foreword by Joanne Carter.
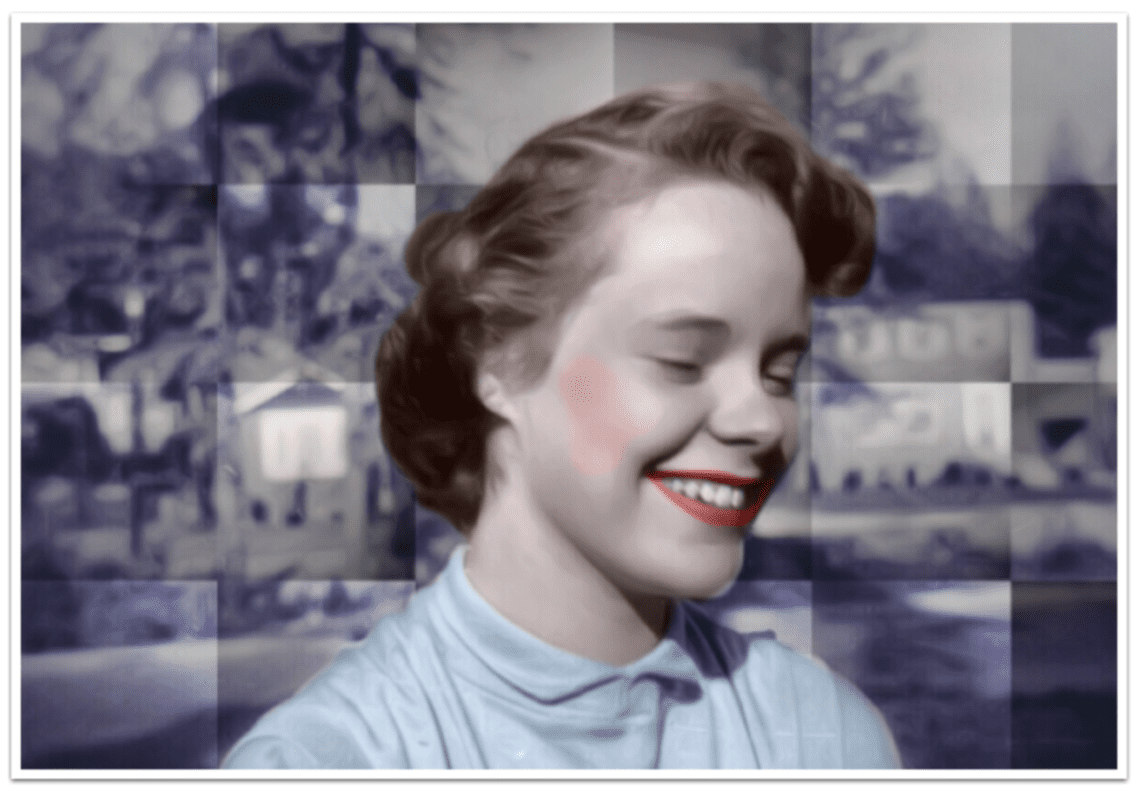
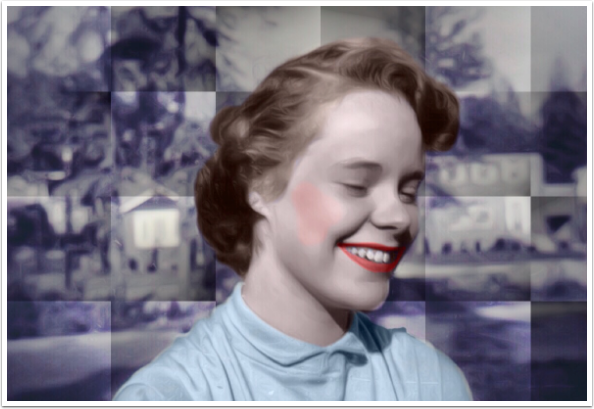
“I recently responded to an art challenge by colorizing a black and white photo in iColorama, and was asked several times how I went about it. The video tutorial this week goes through the process of creating a different image, the one seen below..”.

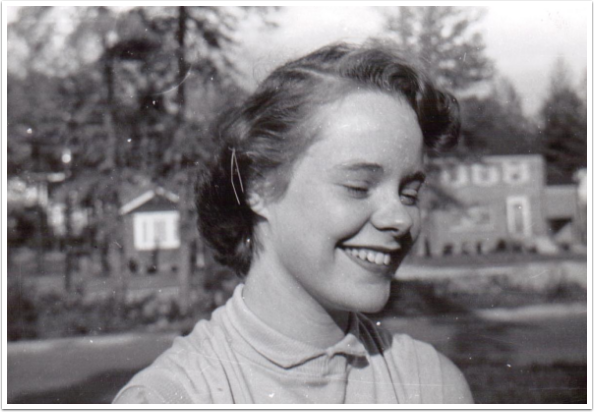
It’s an image of my late mother, taken sometime around 1950. Before colorizing, I retouched the photo using Touch/Retouch and a bit of Simplify and Coherence within iColorama. Below is the original image, before both retouching and colorizing.

Video Tutorial
As I say in the video, I use iColorama for this process – but you can use any app that allows you to mask a layer and apply a flat color in Color blend mode.


One Comment
Diana Jeon
This was useful and for those who haven’t considered that they themselves could do this type of work, easily doable right away.
I’m going to suggest another way to think about doing this as well, though it would not be using iColorama for it doing it, as I tend to do work like this as “non-destructive edits”, meaning that the adjustments made can be changed, deleted, enhanced, or edited forever, as long as I kept the layered file and had a program that will still open it. You could do this as individual steps painting in a low opacity in iColorama, too, but the edits would be permanent once you have finished the editing session.
Using a layered program, like Photoshop Touch, Pixelmator, or Procreate, put the image on one layer. Make a new, empty layer for every area you are going to color (say, one for the hair, two for the eyes (the whites vs. the pupils), one for the lips, etc. Choose a VERY soft, feathered edged brush, bring the flow/opacity of the brush WAY down, to less than 20%, and choose a brush size suitable for the area you want to color. Zoom in very close, then paint in on the *blank layer* in the color you want, say a red for the lips. Adjust the layer blend mode and opacity to make it look as natural (or unnatural!) as you want.
When you have finished each area, you can go in and with a very soft edged eraser clean up the edges. When you have finished the entire coloring job, you can go in and clean up areas if/where there is a strange color overlap, and clean up those edges using a very soft edged eraser as well.
I save the file twice, once with layers (my master image, which is forever editable,) and a flattened one for the web, etc.
If you were doing this on the desktop in Photoshop CC, you would choose a blend mode for the brush, as well. Most people use color burn, multiply or darken in that instance.