Mobile Photography App Tutorial – ToonCamera – TheAppWhisperer
We are delighted to publish this interesting tutorial by Jerry Jobe demonstrating the app ToonCamera. It retails for $1.99/£1.49 and you can download it here. Over to you Jerry (foreword by Joanne Carter).
“In the past several months, I’ve dedicated some time to some heavy hitters in the app world: Pixelmator, Stackables, Enlight, Union, iColorama. I’ve also dealt with some serious apps like Imaengine, Aerograph and Monokrom. It’s time for a little bit of fun with ToonCamera, by Code Organa.
I covered two similar apps exactly a year ago: Paper Camera and Pencil Camera. All three can take stills or video from the front or rear cameras, or can be used to modify an existing image from your Camera Roll. (Pencil Camera, though, always seems to crash for me when taking a video selfie.) It all comes down to your appreciation of the various included effects”.
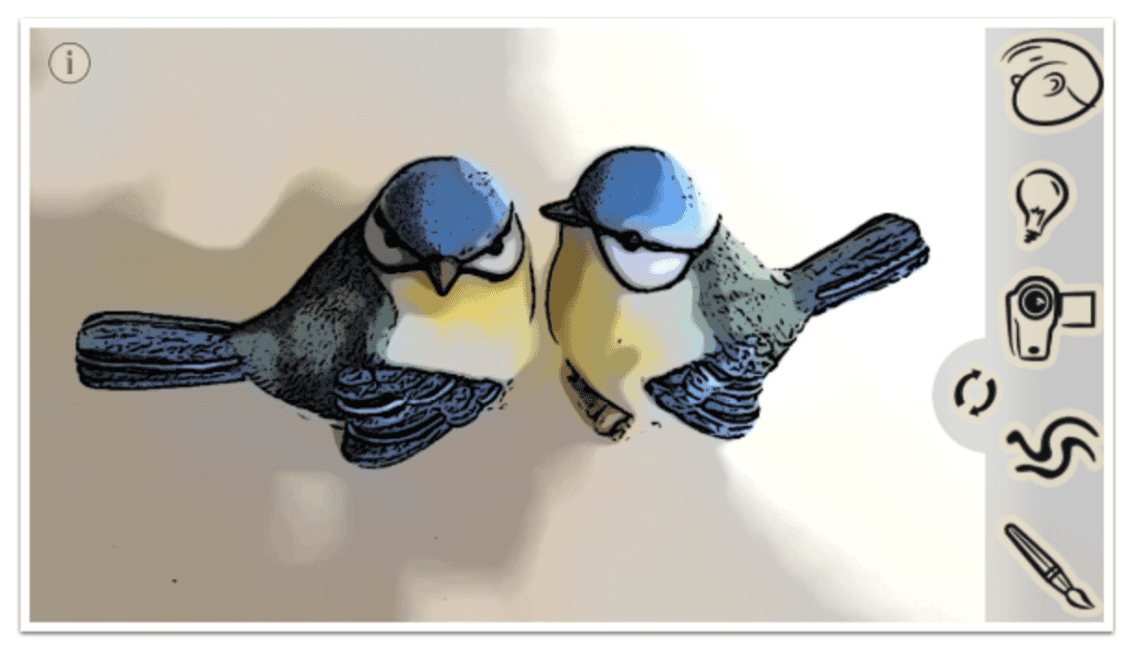
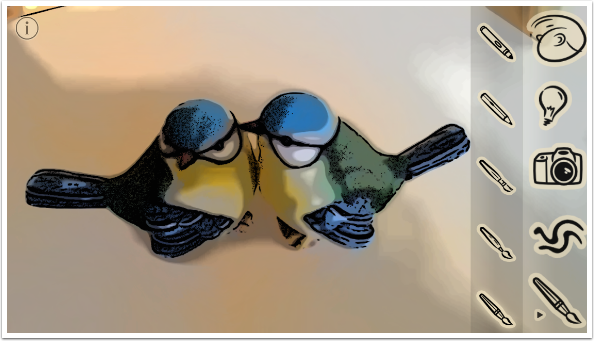
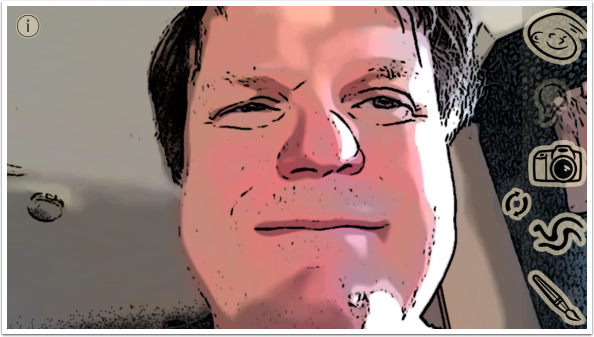
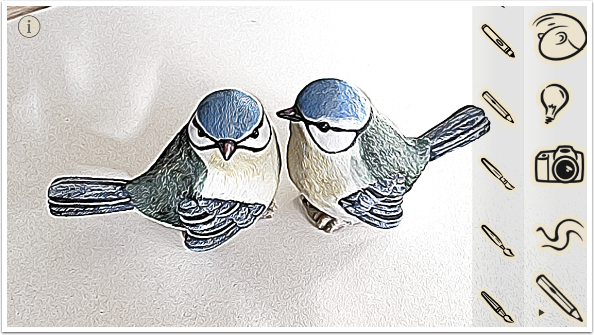
The interface is fairly self-explanatory. You can capture images in portrait or landscape modes. The controls are on the right in landscape mode, as shown below; they are at the bottom when you turn the iPhone upright for portrait mode.
Help, which is accessed through the “i” button, is only readable in the portrait mode. (Unless you’re used to reading sideways text, running from bottom to top.)
ToonCamera starts out in still mode, as seen above. By tapping the icon that is two arrows in a circle, you change shooting mode to video, as below.
Tapping the double arrow again gives you access to your albums, so that you can modify an existing image.

Tapping the head icon changes from the front-facing camera to the rear-facing camera (or from looking out to looking back towards yourself).
The lightbulb icon turns on and off the flash. Turning it on means using a constant light, rather than a standard flash.
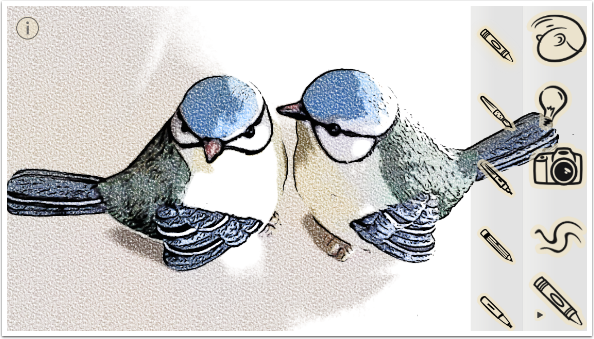
The “double wavy lines” controls the width of the strokes of the current look. In all the images above it was at the widest setting of three (small, medium large). Tapping it cycles through the choices; below, I’ve tapped it once to return to the small setting.
The final control is the “look” of the digital drawing you are capturing. There are fourteen different looks, which are assigned to icons that are different brushes, pencils, pens, markers or chalks. It is not terribly obvious from the icons what kind of effect you are going to get, so just try the various settings until you get a look you like.
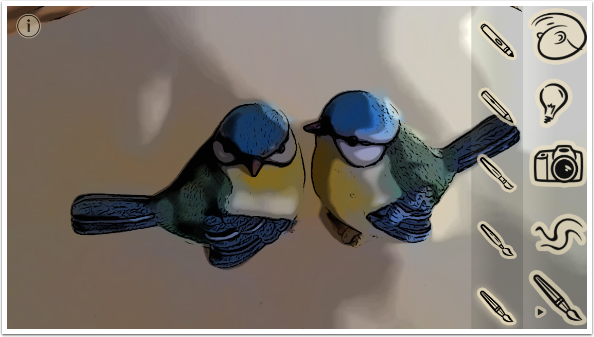
The outline around the chosen icon changes slightly, but you will be more sure of the current setting if you look at the “look” icon, which changes as you make your selection.
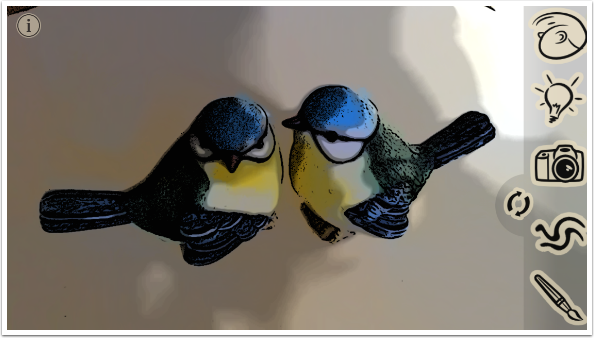
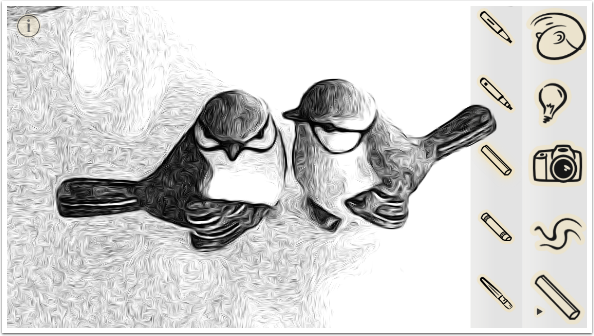
Some of the looks are black-and-white looks, like the one below. I suppose that, since it’s a B&W look, the icon is supposed to represent charcoal instead of chalk.
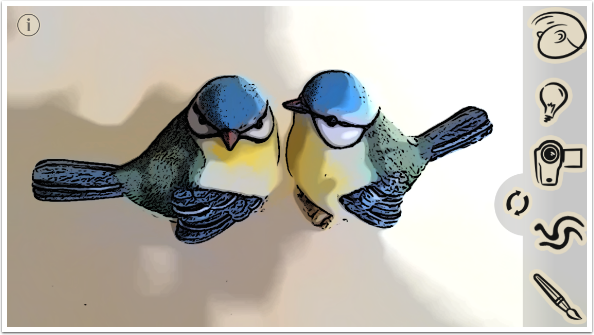
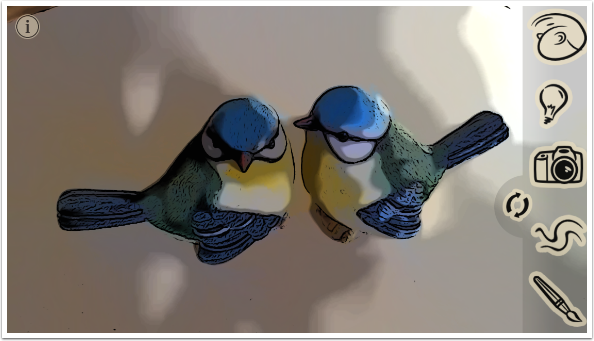
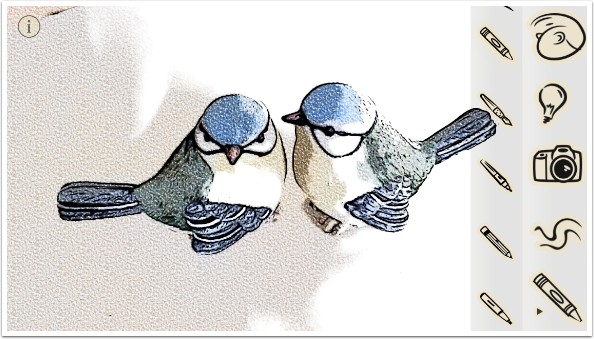
Here’s a nice look. Is it a crayon?
The camera is controlled like the standard camera. A tap on the screen adjusts the exposure and focus for that spot, and a two-fingered pinch will activate the digital zoom. Here’s a hint: using the digital zoom, while not recommended with a normal photo because of the degradation of the image, is fine with apps like ToonCamera that redraw the image. You can’t see the blocky pixilation with most of the “looks”.
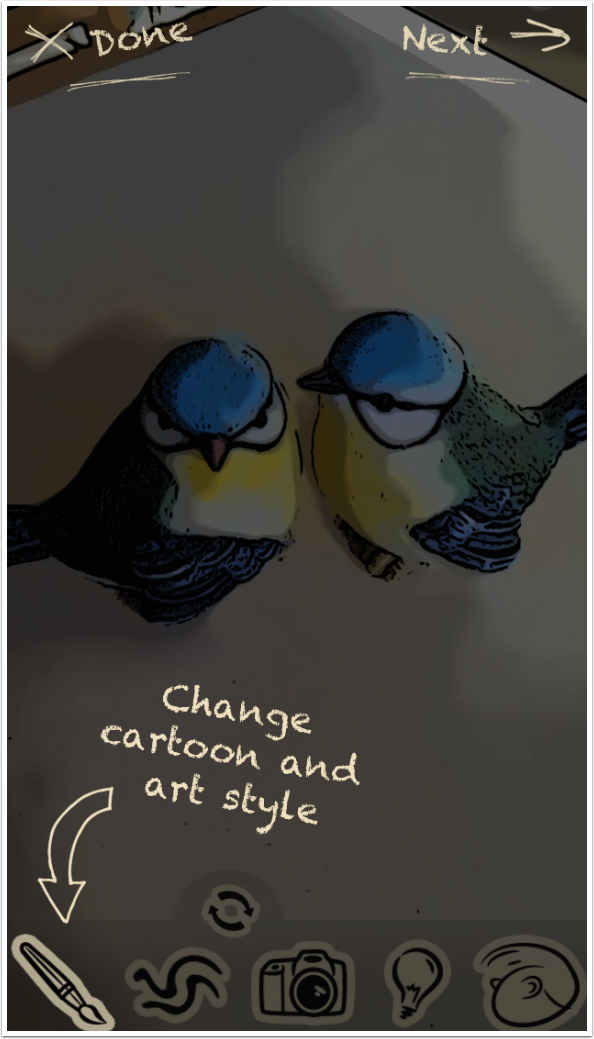
Once you tap the camera icon to snap the picture, you are given the opportunity to change the look and the stroke width before saving. These controls also assume you have your iPhone in the vertical position.
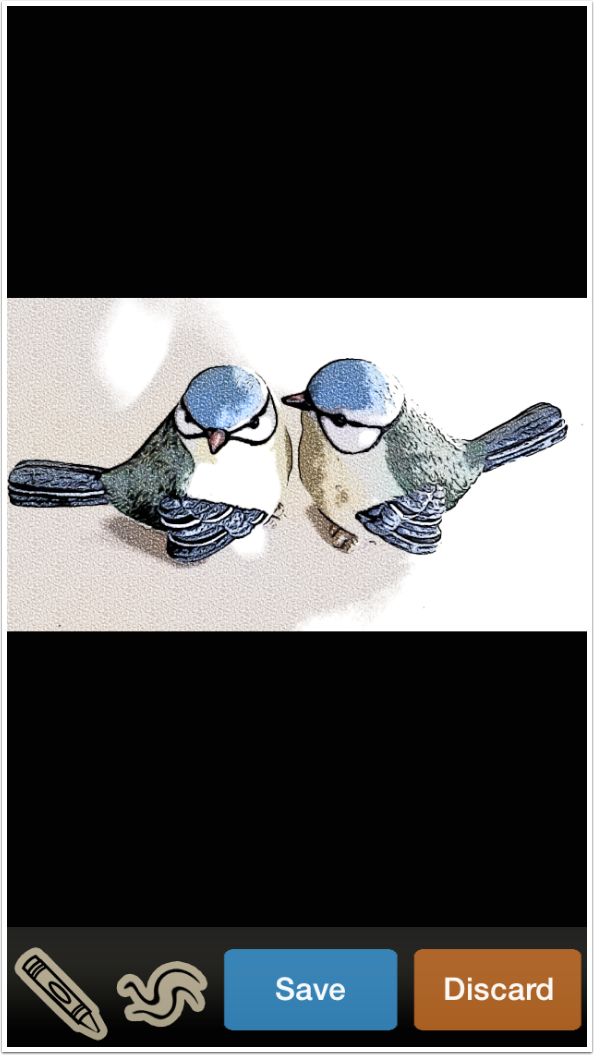
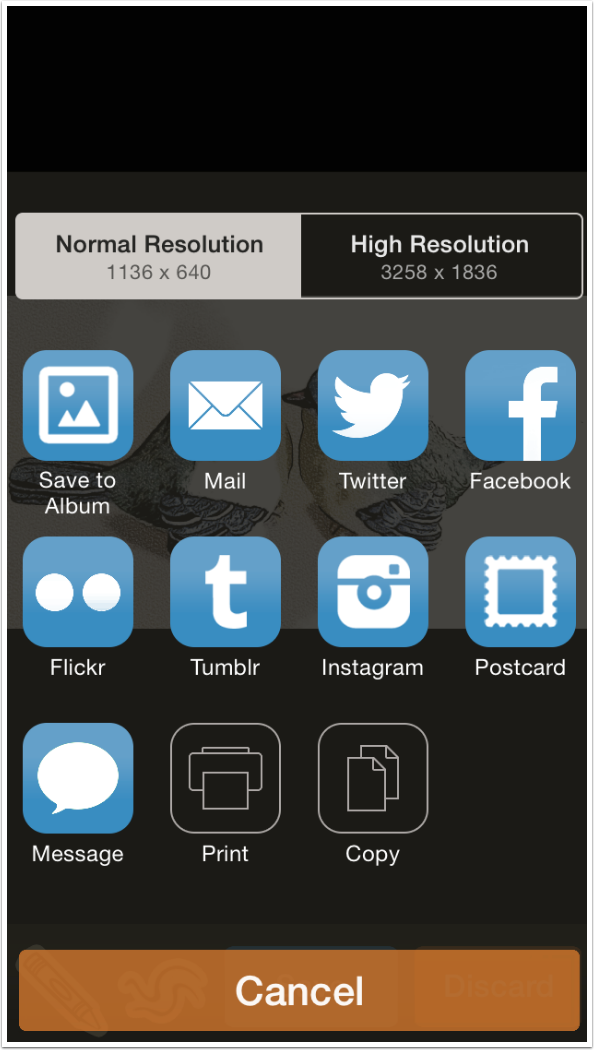
When you save, be sure to pay attention to the resolution choices at the top. Unless you’re desperately low on space, always save at the highest resolution. The highest resolution will never be higher than the incoming image, in the case of images imported from the Camera Roll.
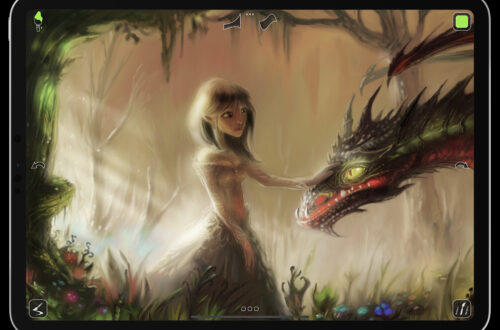
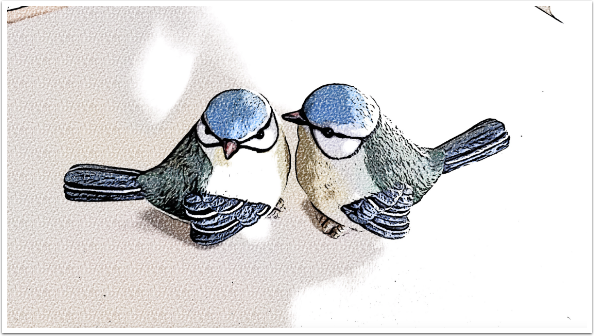
Below is my captured image. It’s pretty good, all by itself. But I’m sure many of you look at it as a beginning for a composite or some other work.
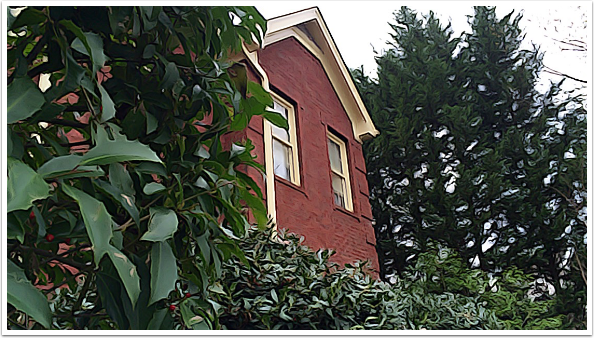
Another shot, taken outside. ToonCamera has the same issues as any other camera. The sky is washed out to white because the camera exposure was set on the leaves in shadow.
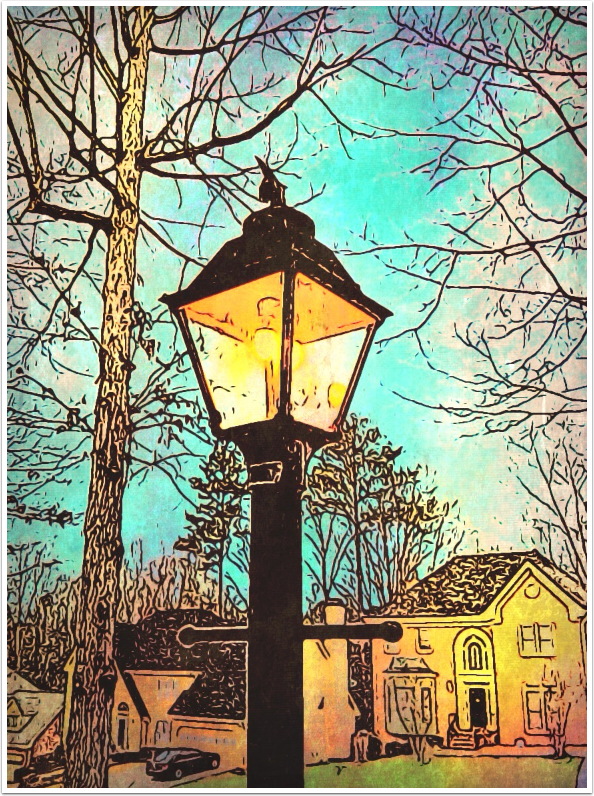
You may remember that I wrote a few weeks ago about colorizing black and white photos. In the same way, you can colorize a sketch. Here I took an image from my library through ToonCamera to create a sketch, then used Color blend mode in iColorama to blend the original image’s color back in. Then I colored the grass green (it was a winter shot) before taking it into Stackables for a little grunge.
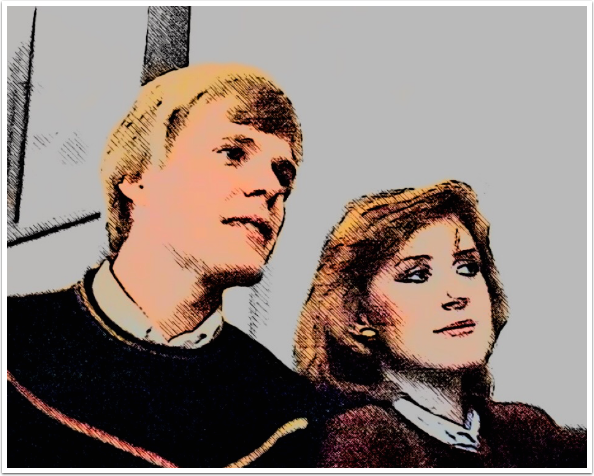
One of my favorite settings in ToonCamera is the Pen look. Below I took an old image of me and my wife and created a Pen image in ToonCamera. Before blending the original color back in over us (and not the wall), I darkened the Pen image slightly. Color does not “stick” to the pure white that was the result of the Pen look.
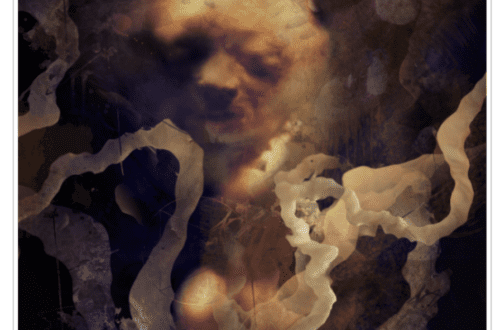
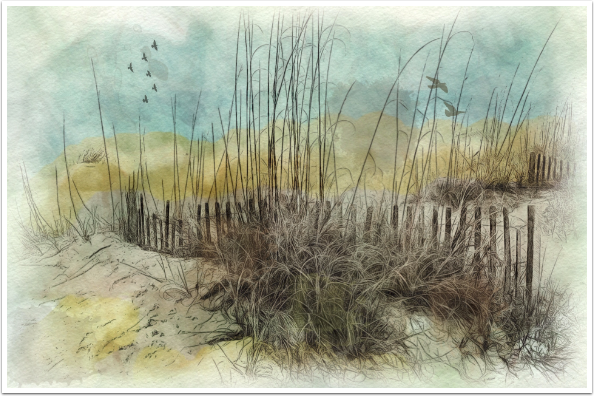
Of course, you are not restricted to blending back the original color. You can go “outside the lines” and create something totally new, as I did below. The black lines are from the Pen look in ToonCamera; the rest was achieved through multiple steps in iColorama.
So, is ToonCamera a “must-have” app? Certainly not. It’s an app that’s a little bit of fun, and can be useful in more advanced images. It’s got some nice looks, different from the other apps in its class, and it’s easy to use. In my opinion, it’s well worth a buck or two. Until next time, enjoy yourself, and enjoy taking pictures!
Jerry Jobe
Never content with just scratching the surface of what an app can do, Jerry Jobe decided to pass on what he learned about imaging apps to others. He’s constantly trying to figure out just what tools other artists have used, and trying to incorporate them into his own work, in an attempt to find his style. He’s written tutorials on over 145 apps so far, which you can find (along with his Song of the Day entries) at http://enthusiasmnoted.wordpress.com/ He lives near Atlanta, Georgia, where he also finds a creative outlet in acting and directing in community theater.