Mobile Photography / Art Tutorial – Ultralight / Photo Editor: Quick and Easy Filter Creation
We are delighted to publish Jerry Jobe’s latest mobile photography/art tutorial for our reading and viewing pleasure. This time Jobe takes a look at the app Ultralight / Photo Editor by Timi Koponen. Read Jobe’s thoughts about this app as he puts it through its paces (foreword by Joanne Carter). Take it away Jerry…
Ultralight / Photo Editor is free and you can download it here
“A few months ago I covered a couple of apps that allow you to create filters or presets: MaxCurve and Preset. Both offered many controls; MaxCurve allowed for fine adjustments while Preset sometimes did not. Those multiple controls meant that neither were easy apps to master. Perhaps there is an app that has a few easily adjustable controls to create filters, and that allows for adjusting of the filter to fit a particular image. I think Ultralight is such an app.
Ultralight by Timi Koponen is a universal app, with minor differences between the iPhone and iPad versions. It’s free, with a single in-app purchase (Texture Tool) for $1.99. It’s still useful without the additional textures in the pack, but I think you’ll find it’s worth spending a couple of bucks. Today I will have screenshots from the iPhone app, with the iPad app shown at the end”.
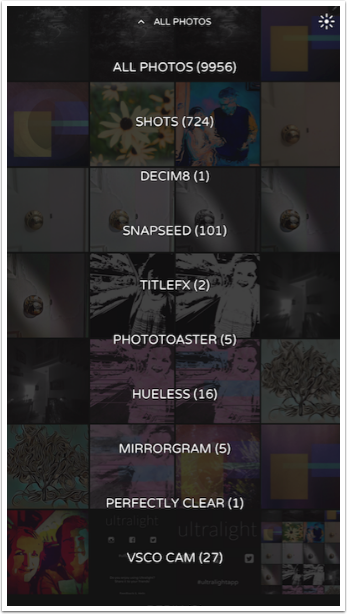
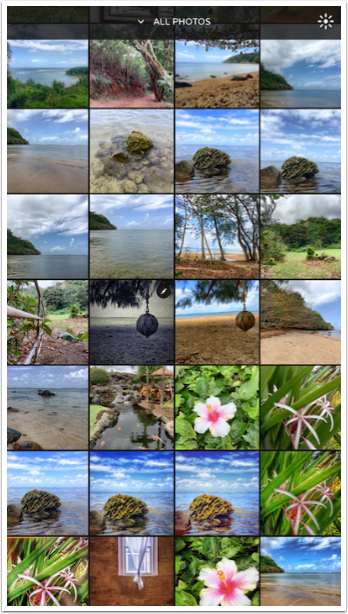
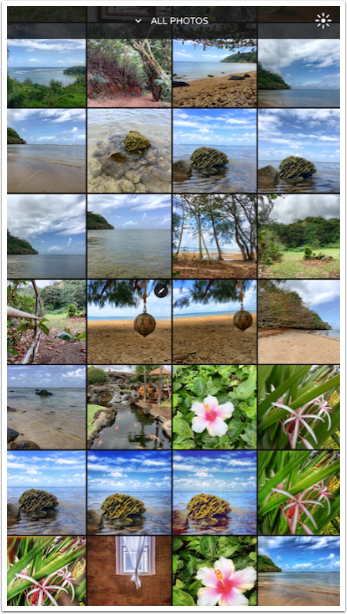
Ultralight is purely for editing images, not for capturing them. Therefore, it starts by having you choose an image from the library. At the top you will see “ALL PHOTOS” – you can change that to a particular album. An interesting touch is the Sun icon at the top right. Tapping that icon automatically increases the brightness on your screen to its maximum value. Unfortunately, there is no way to change it back from within the app. You need to swipe up from the bottom or go to your Settings app to change the Brightness back to a less-blinding level.

Unlike most apps, Ultralight does not show a thumbnail representing each album in your library. Instead, it gives a count of the images in each album.
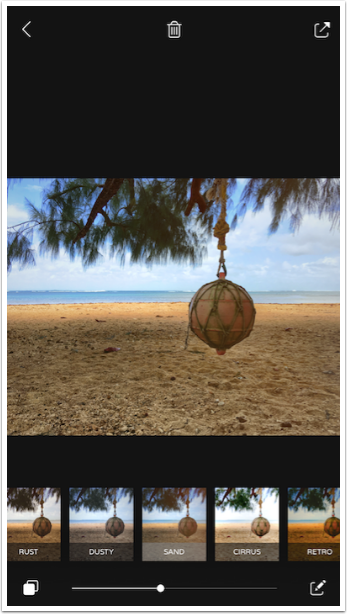
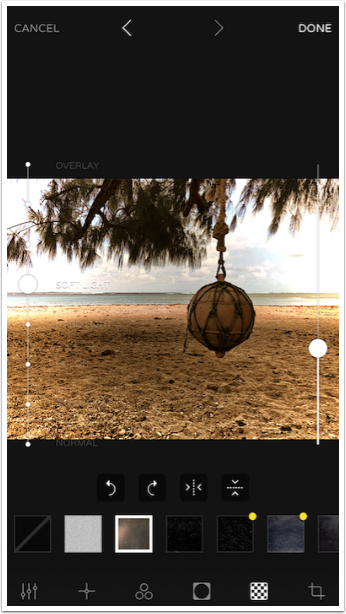
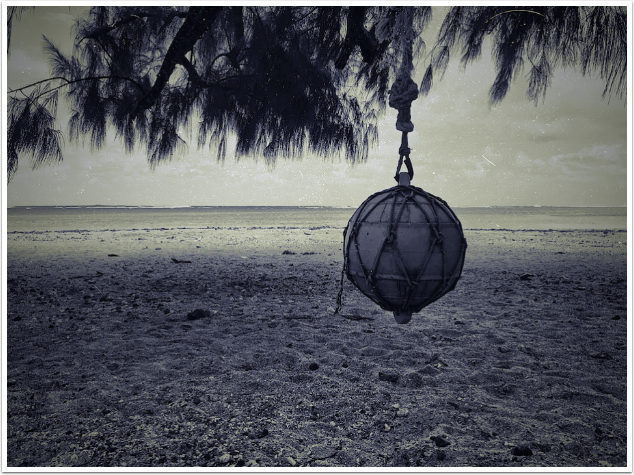
I chose an image from the beach in Kauai. (I imagine Tom Hanks screaming “Wilson” every time I see this shot.) Along the top of the workspace are three icons: a Back arrow to choose another image; a Trash Can to delete the image (and it will delete from your Camera Roll, so be careful); and a Save/Share button. At the bottom are thumbnails of the filters and three more controls. The first, the double box, is used to see the original image. The slider controls the strength of the entire filter at once. The Pencil takes you into the editing functions.
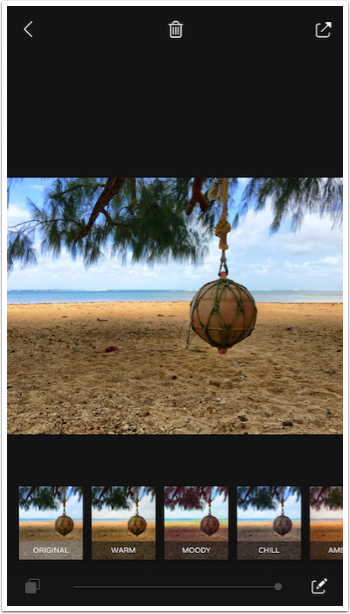
Choosing any of the filter thumbnails applies the filter to the image. I’ve chosen Sand below. The Original button and Strength slider are no longer greyed out, and can be used. Any filter can be used as is, or can be edited to fine-tune the filter to the current image.
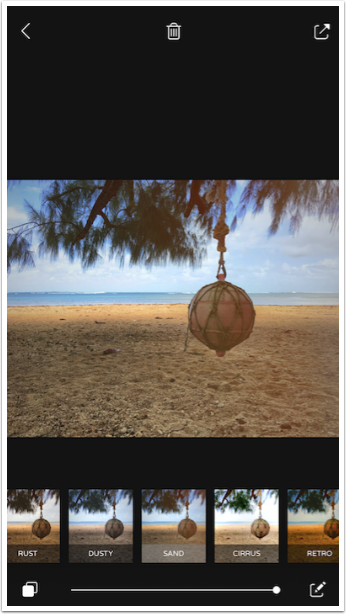
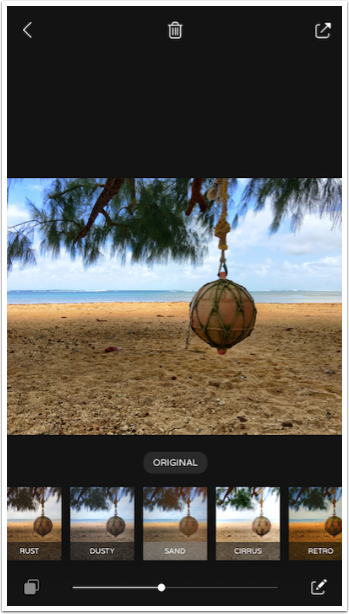
Below I lowered the Strength slider to show you that the entire filter can be adjusted at once.
When I hold down the Original button, the word Original appears to remind you that you are no longer seeing the filtered image.
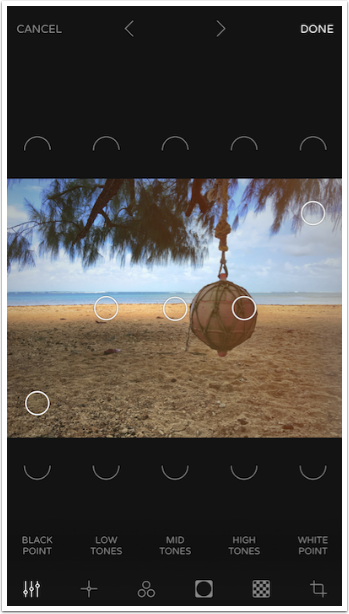
Tapping the Pencil brings up the editing controls. The first is the Tone, indicated by the Sliders icon at the bottom left. Overlaying the images are five vertical sliders: Black Point; Low, Mid and High Tones; and the White Point. These sliders work like a curves control. They allow you to change the brightness of the five different tone levels. As set here, there is very little contrast in the middle of the curve – the Low, Mid and High Tones.
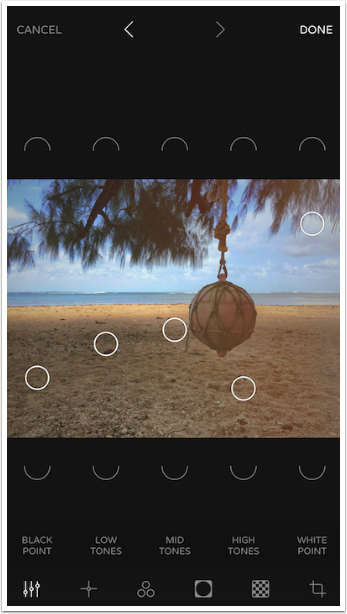
Moving the sliders as shown below darkens all areas of the image except the Black Point.
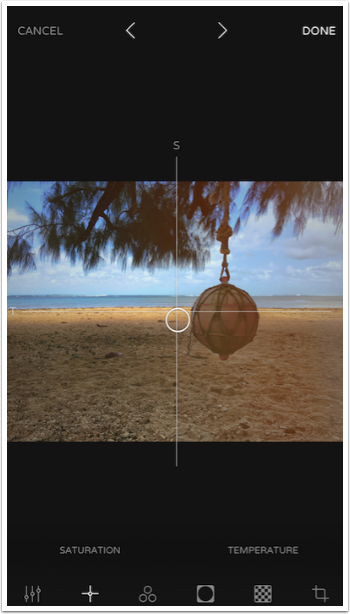
The next button, which looks like a Crosshair in a telescopic sight, controls the Saturation and Temperature. Moving the center puck up and down controls the Saturation, while moving it left and right controls the Temperature.
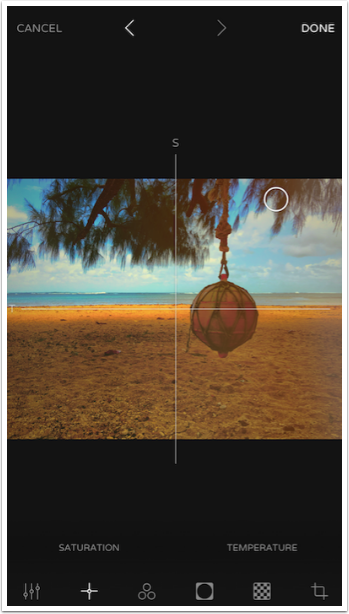
Moving the puck up and to the right warms the image and increases the saturation. Yuck!
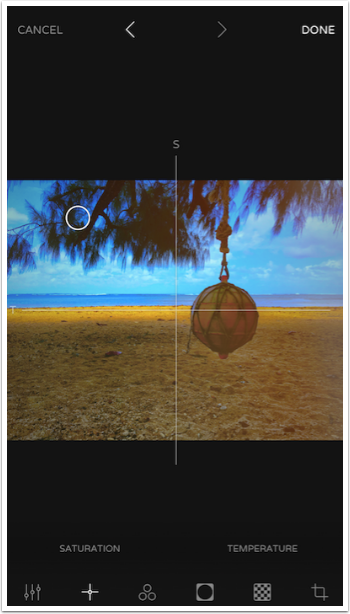
The next image is just as saturated, but is much cooler since the puck is on the left.
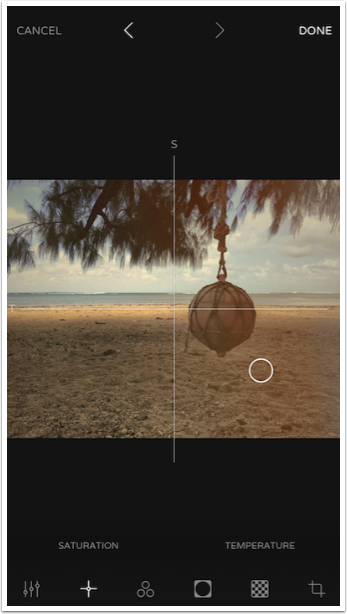
Next I show the image warm but desaturated, and the color is starting to disappear altogether.
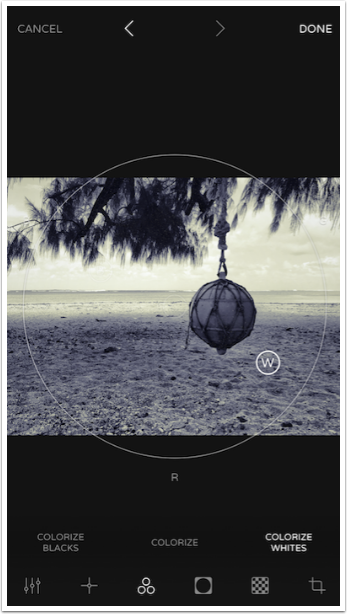
The Three Circles icon is Colorize, which allows you to tint your image in various ways. When you choose one of the three selections, a puck is highlighted that allows you to Colorize the entire image, or Colorize the shadows (Blacks) or highlights (White).
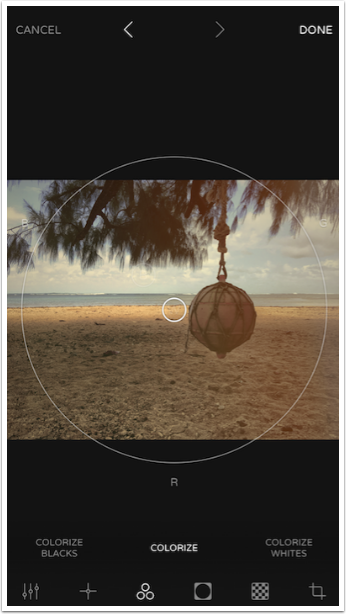
I have “Colorize the entire image” shown below. As the puck is moved around the color wheel, two values appear at the top. +0.7 is the indicator of how intense the colouring is, and measures the distance from the center of the color wheel. Zero is at the center, and no color is applied; 1 is at the edge and the maximum color is applied.
356 degrees indicates the color in the circle. Since 360 is the maximum, 356 means it is slightly to the orange side of Red. You can see the indicators for Green (240 degrees) and Blue (120 degrees).

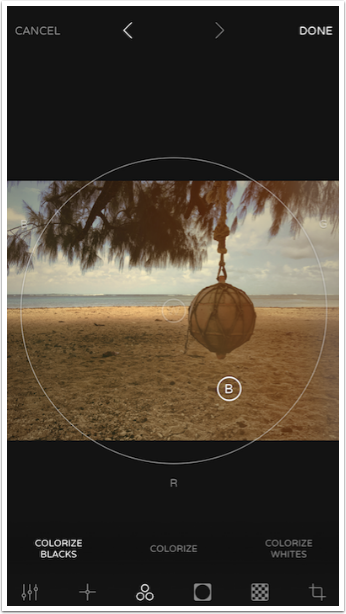
Colorize Blacks allows you to tint the shadows. The puck is marked with a B for Blacks. I moved the puck to between the Red and Green colors (Orange) to warm up the shadows.
Colorize Whites is used on the brightest half of the image. In this case it’s the sky, and I wanted to add more blue to the highlights, cooling them down.

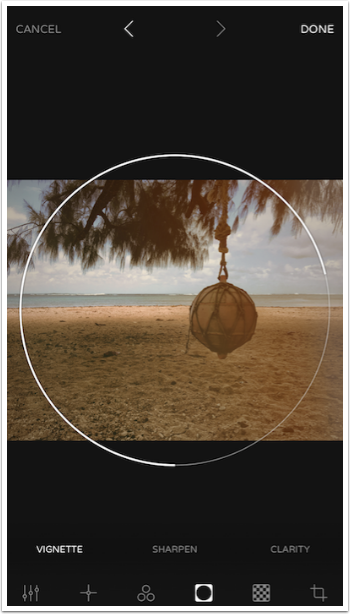
The next button, the black circle in a white square, controls Vignette, Sharpness and Clarity. Choosing any of those controls brings up a circle over the image. Increasing the amount of the thick white line in the circle intensifies the control. By moving my finger clockwise, I add a dark Vignette to the image.
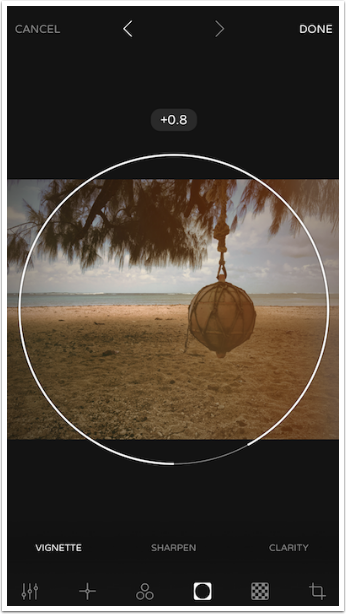
Below I’ve gone all the way to 0.8 and you can really tell the difference. The intensity of the vignette can be changed, but not the position or the “softness” of the vignette.
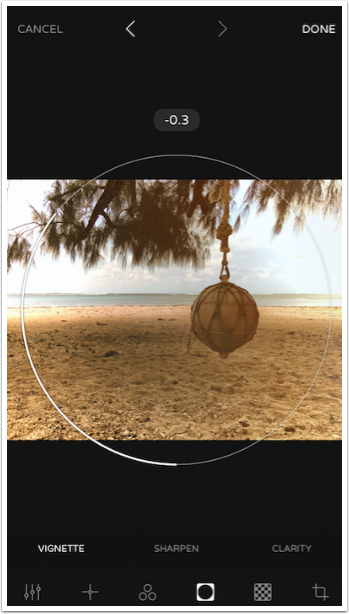
By moving my finger counter- (or anti-) clockwise, I get a white vignette instead. In the image below, the negative value of -0.3 means a light vignette.
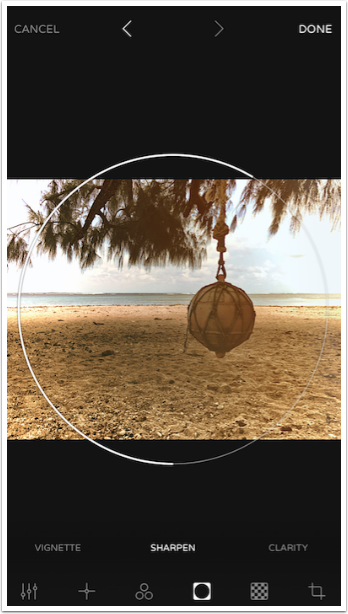
Sharpness can also be either increased or decreased, depending on the distance the thick line goes around the circle. The relatively minor increase in sharpness shown below made a big difference, so use Sharpen sparingly.
Clarity works the same way, with the circular swipe that adds or subtracts Clarity.
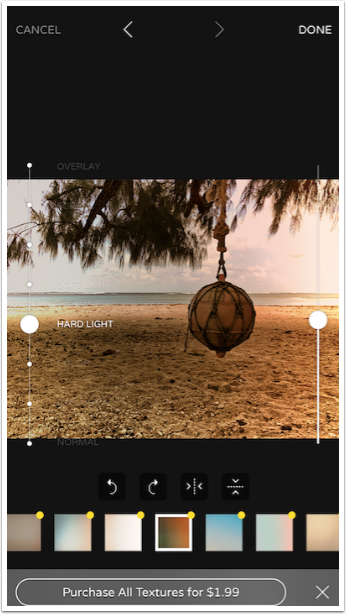
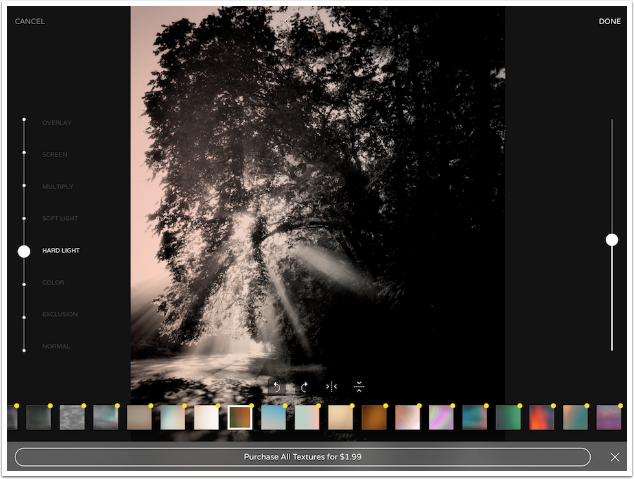
The Checkerboard icon is Textures. There are three textures that come with Ultralight at no extra charge. I chose the second one below. Immediately above the thumbnails are buttons to allow you to rotate the chosen texture to the left or right, and to flip the texture horizontally or vertically. Two sliders also appear. The one on the left controls the Blend Mode of the texture, and the right slider controls the Strength.
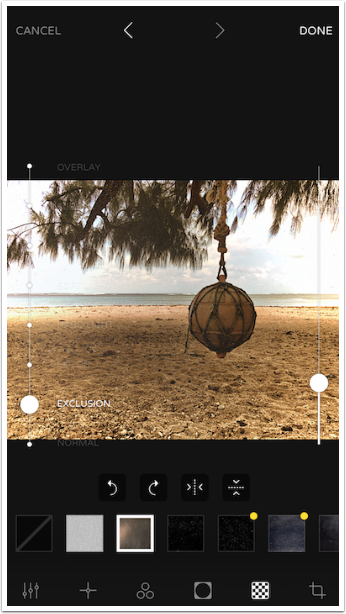
The default Blend Mode is Exclusion, but I changed it to Multiply below. My only problem with the Blend Mode slider is that it’s hard to read. The unchosen values are hard to read no matter the background, light or dark.
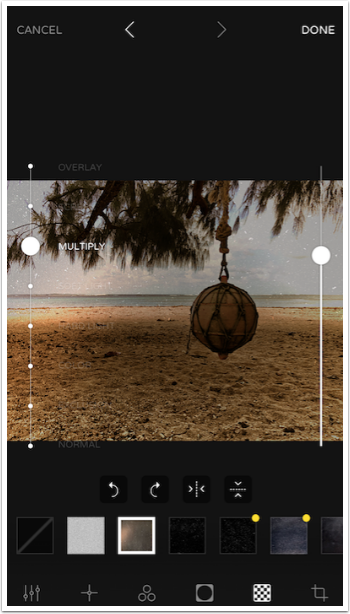
Multiply certainly made the texture easy to see, but I decide to change the blend mode to Soft Light and decrease the intensity.
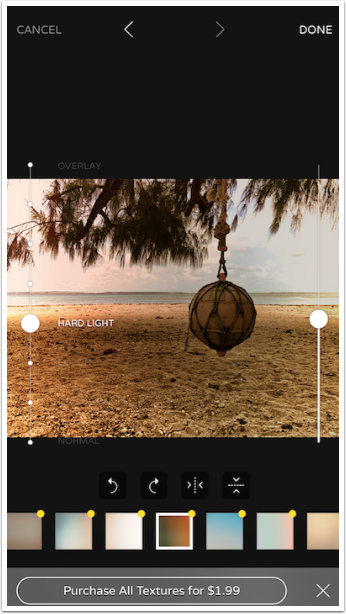
The purchasable textures are marked with a yellow dot. If you choose any of these textures, the texture is shown on your image and the bottom row of the workspace shows the “Purchase all textures for $1.99” button. If you do not buy the texture, then it will be removed when you try to apply all the editing changes.
These unbought textures can still be modified. Below I used the horizontal flip button so that the blue side of the texture moved to the right and the brown to the left.
I did purchase the added textures. There are over 70 of them, and worth the extra money. I bought them on the iPhone, and when I went through the process of adding them on the iPad, I was told I would get them for free only after confirming the purchase. In other words, you only have to buy them once, even though you will be convinced you’re spending the extra money!
The only drawback with the textures is that you are only able to add one in any editing session. To add more than one texture, you have to save the textured image, then import the saved copy back in before adding the next texture.
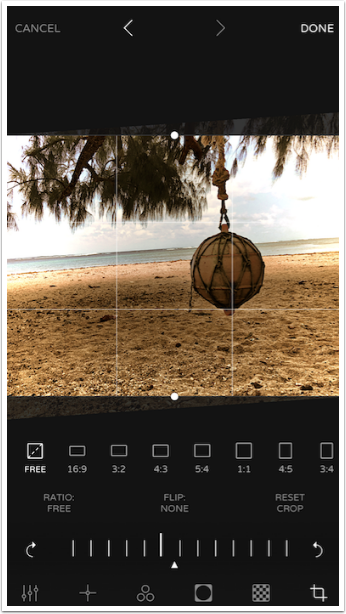
The Crop tool also includes a flip button, a “Rotate 90 degrees” button and a Rotation slider.

Below you’ll see the Rotation slider in action.
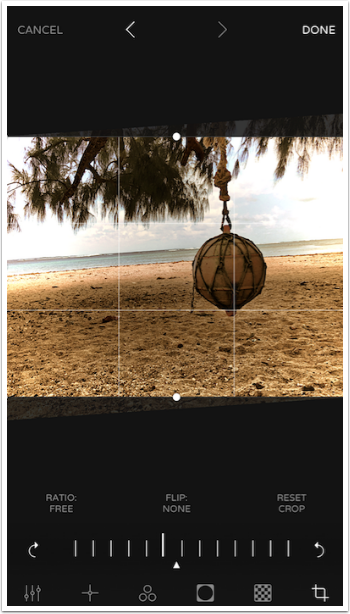
Tapping the Ratio Free button brings up a number of preset ratios for your crop.
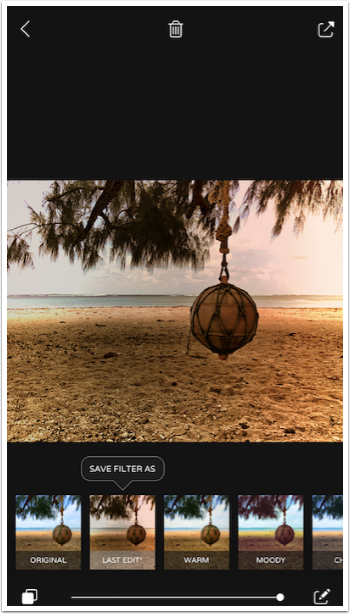
I discarded the crop and rotate by using the Undo button at the top center. At this point, I considered my edits complete, so I tapped “Done” at the upper right. I was taken back to the Filters screen, with my changes highlighted as the “Last Edits”. I am given the opportunity to save these edits as a filter which I can then use on other images.
If you choose to save the filter, a dialog box appears asking you to name the filter.

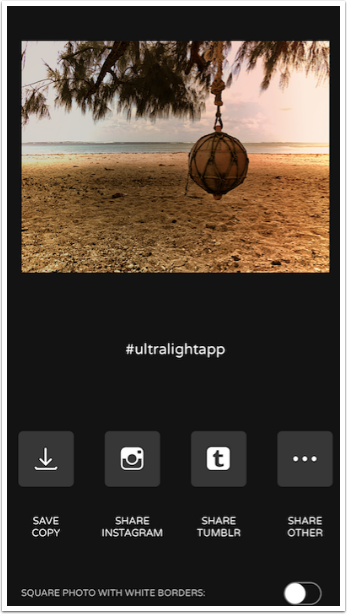
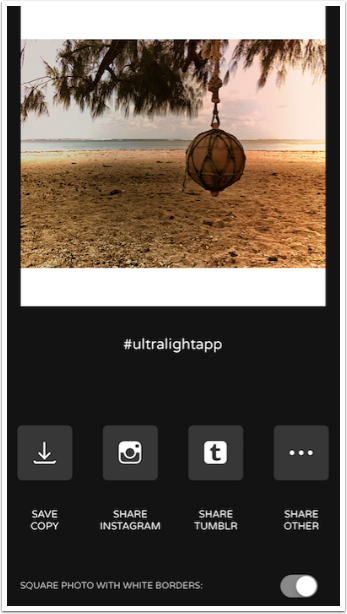
I decide to save the image by tapping the Share button at the upper right and the following screen appears. I am able to save to the camera roll, share to Instagram and Tumblr, and use the “More” dialog to open the image in other apps.
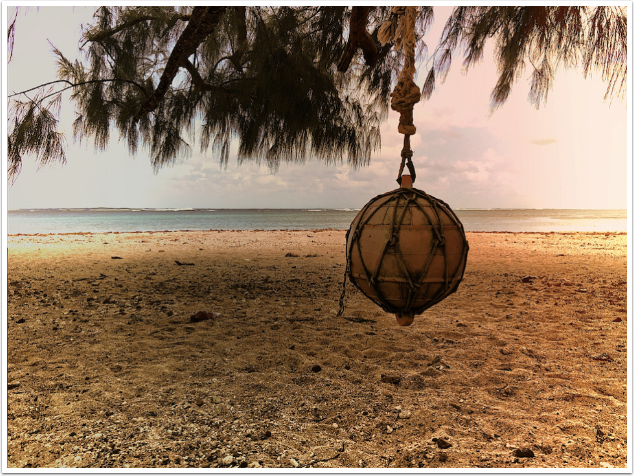
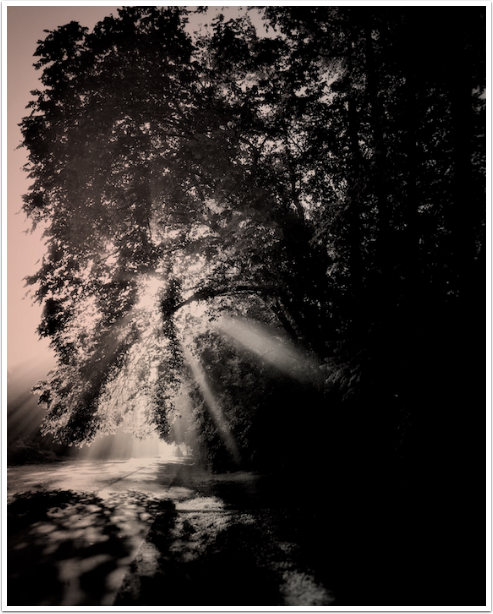
Here is my finished image.
There is a button on the Save screen that will turn your image square by adding white bars on the top and bottom of a landscape image, and on the sides of a portrait image.
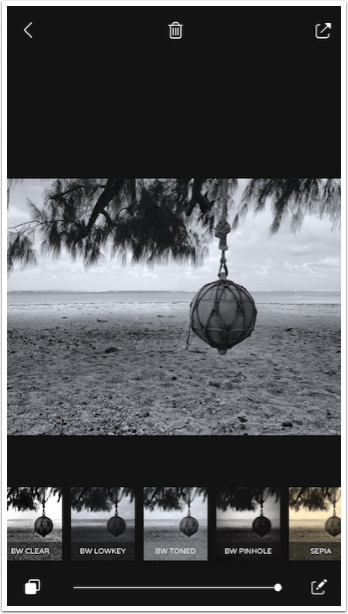
Back when I covered MaxCurve, I showed you how to create a duotone image. It’s a snap in Ultralight. I start with one of the B&W filters.
Then I go to the Colorize function and tint the Blacks blue and the Whites yellow.
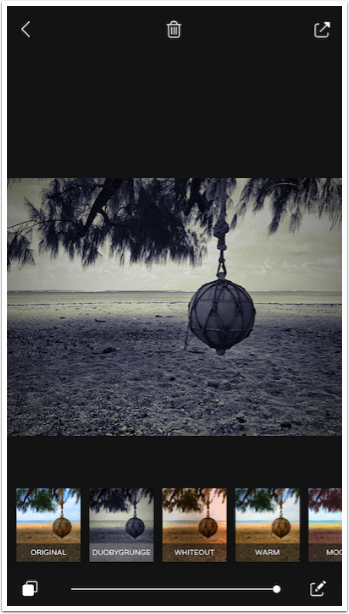
After adding some texture, Clarity and Sharpen, I created a filter I called DuoBYGrunge (Duotone Blue Yellow Grunge).
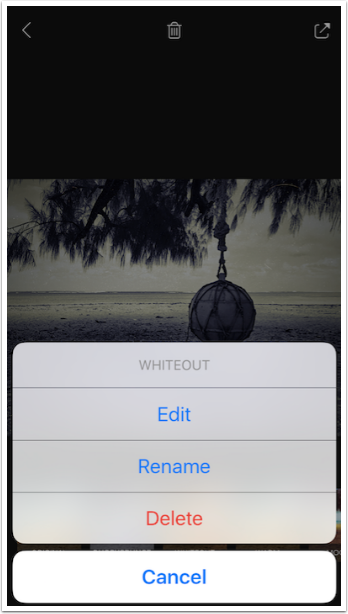
You are able to edit your user-created filters by tapping and holding on the filter thumbnail. This allows you to Edit, Rename or Delete the filter.
Here’s my duotone image.
Ultralight keeps track of the images you edit, and marks them with a pencil when you bring up your library again. The original image is not changed, however. If you use the Photos app to look at the image it will remain in its original state.
By pulling the image into Ultralight and tapping the Original filter, even Ultralight will show you the original image.
Any filter you build can be used on other images. Here’s another image with my duotone filter.
Ultralight on the iPad is nearly identical. The splash screen includes a link to a YouTube video on the app.
The iPad version also allows you to run the app in landscape mode. Those are the only real differences!
Here’s the image I created on the iPad.
Ultralight is fast and easy, and allows you to create some very nice filters. More importantly, it allows you to modify the filters on the fly. When I reviewed the Preset app, I was left with a feeling of “why would I want to create filters like this?” With Ultralight, the question was “why would I NOT want to create filters like this?” Until next time, enjoy!
Please support us…
TheAppWhisperer has always had a dual mission: to promote the most talented mobile artists of the day and to support ambitious, inquisitive viewers the world over. As the years pass TheAppWhisperer has gained readers and viewers and found new venues for that exchange. All this work thrives with the support of our community.
Please consider making a donation to TheAppWhisperer as this New Year commences because your support helps protect our independence and it means we can keep delivering the promotion of mobile artists that’s open for everyone around the world. Every contribution, however big or small, is so valuable for our future.
Jerry Jobe
Never content with just scratching the surface of what an app can do, Jerry Jobe decided to pass on what he learned about imaging apps to others. He’s constantly trying to figure out just what tools other artists have used, and trying to incorporate them into his own work, in an attempt to find his style. He’s written tutorials on over 145 apps so far, which you can find (along with his Song of the Day entries) at http://enthusiasmnoted.wordpress.com/ He lives near Atlanta, Georgia, where he also finds a creative outlet in acting and directing in community theater.