iPhone Photography Tutorial – How To Create A Stunning Vintage Macro Flower Shot
Our new mobile photography tutorial section is in full swing and we’ve received much acclaim from the mobile photography community, thanks to all. If you’ve missed our previous tutorials you can read them here.
This image started life as a macro image of a spent dandelion. I used 6×6 and a macro lens. I was drawn to this particular flower, I loved the baroque aspect of the shape, the gentle decay that outlines the segments and the little wisps curling out the sides almost reaching out. I have titled this image ‘Shadows and memories’
Read this easy to follow tutorial and see if you too can create a similarly wonderful shot. Links to apps used in this tutorial is at the end of this article.
Step 1 – The Original Image

The first thing I did after taking this shot was to load it into Juxtaposer, I used a pre-prepared background, which was just a 6×6 image painted over with vintage gray in paintfx.
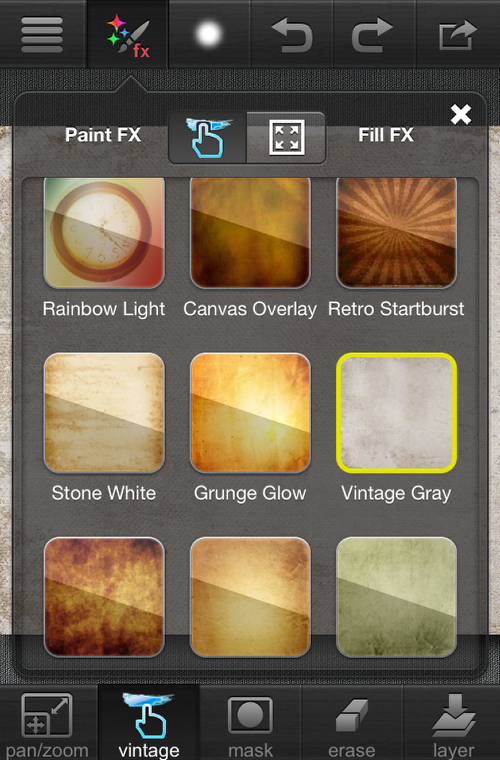
The Vintage Gray icon has been selected, this is what I used for the background to this image.

This is the Vintage Gray background in close-up.
Step 2
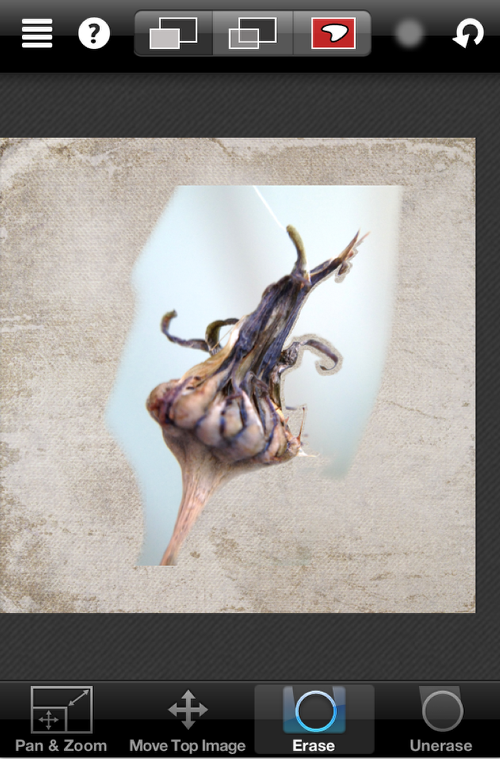
Using the erase function I removed the background around the dandelion and saved the mask image as a stamp. Erasing in Juxtaposer can be a little daunting at first, zooming in as much as you can and erasing carefully around the edges of your subject with the “fuzzy grey” eraser gives you the most control. I then zoom out and remove the rest with the “fuzzy white” eraser.

This is how the image looks at this stage, after removing the background.
Step 3
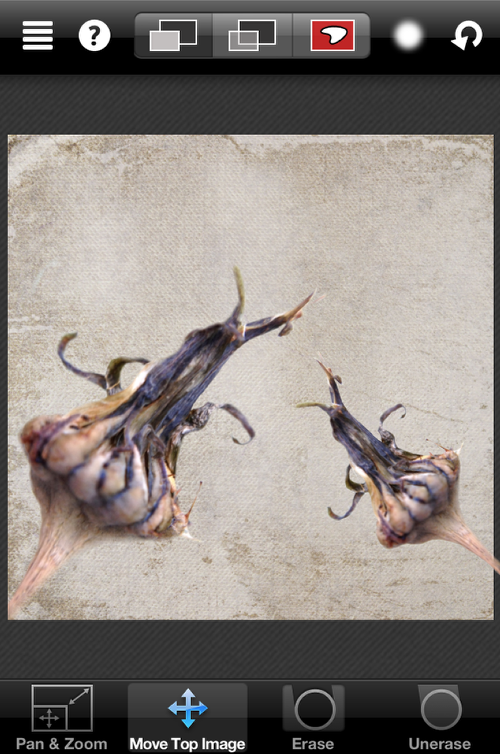
Whilst still in Juxtaposer I positioned the image to one side and added a stamp of the masked image; I used the flip top image function and then positioned and sized it how I wanted. This completed what I needed to do in juxtaposer and image was saved to the camera roll.
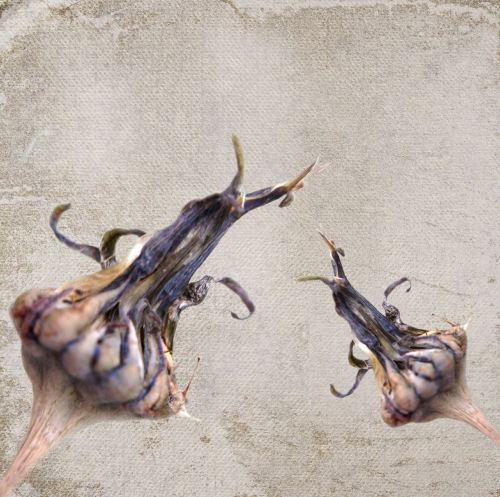
This is the saved image at this stage.
Step 4
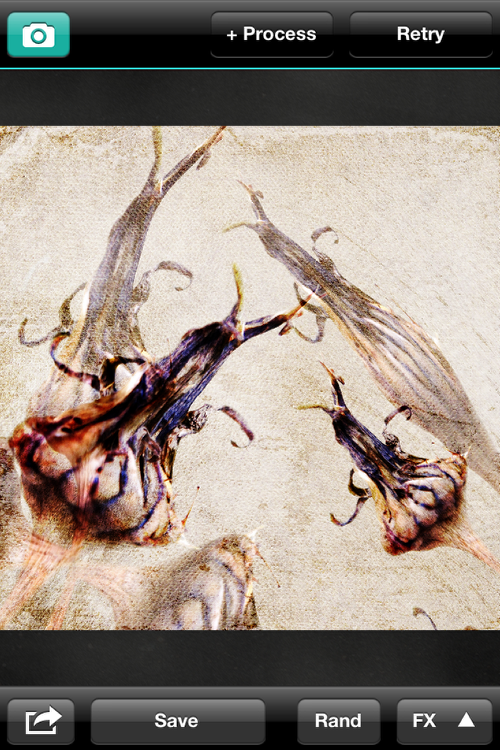
Next, I opened the image in Decim8 and chose the precog1 FX. Decim8 is very hit and miss so I used the retry button to process the image several times until I found what I was looking for and again saved to camera roll.
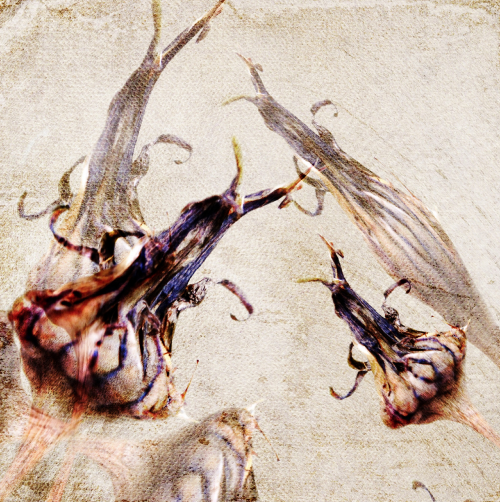
I was happy with how the image looked at this stage following editing in Decim8.
Step 5
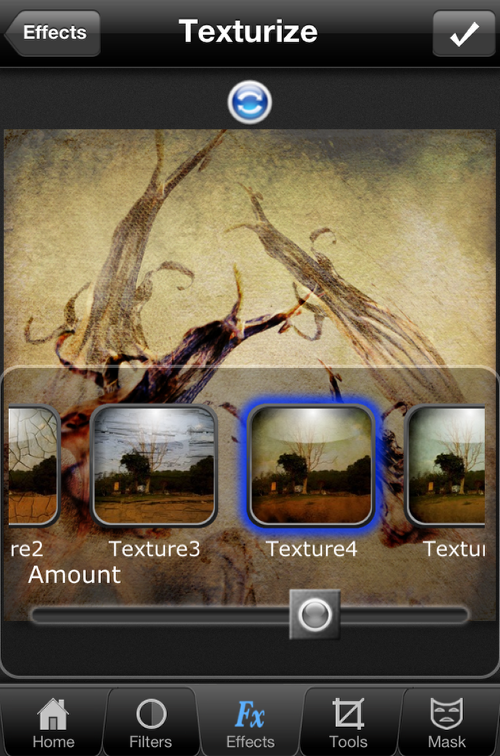
I wanted to add an aged, painted look to the image and this is where PhotoWizard came in. Using the FX tab I selected “Texturize”. I used texture 4 at aprox 75% and texture 5 at aprox 85%.
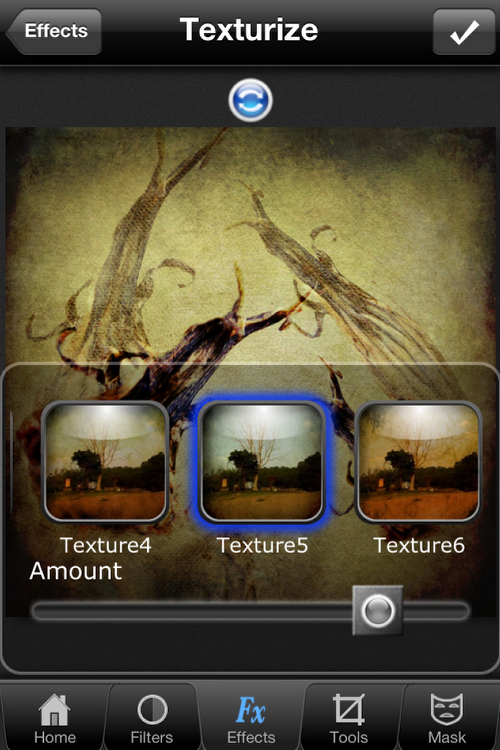
Texture5 was set to around 85%, as shown above.
Step 6
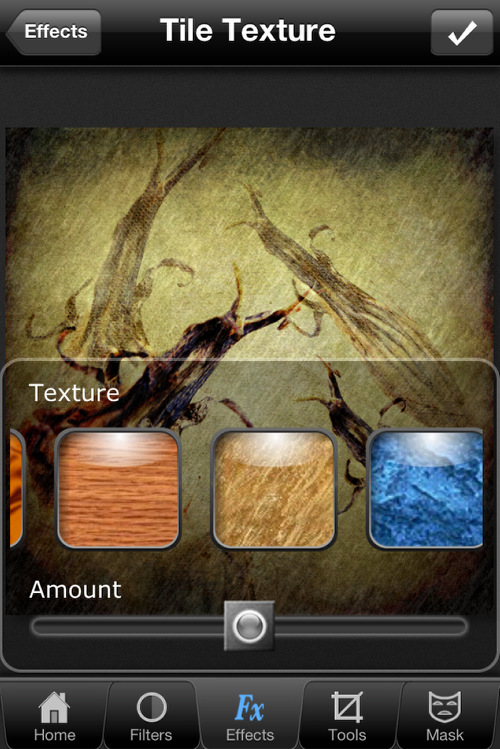
I then selected “Tile Texture” and selected the texture shown in the middle of the selection bar, at aprox 50%.
Step 7
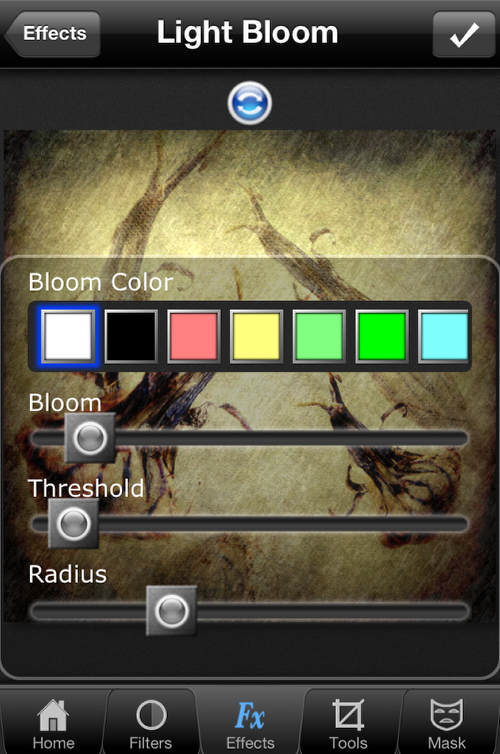
To lift the image I used the light bloom effect, selecting white, and keeping the bloom and threshold on the lower end of the slider. I then saved the image to camera roll.

This is how the image looked at this stage after the adjustments above.
Step 8
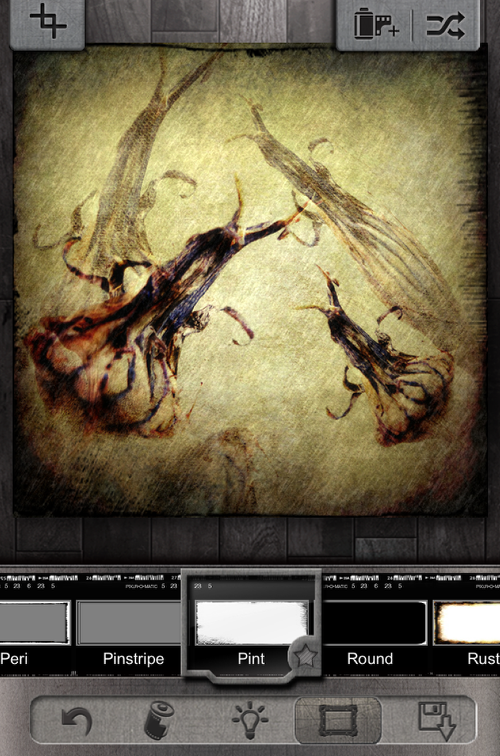
In keeping with the aged feel and to add just an extra touch of texture, I loaded the photo into Pixrolmatic and chose the frame Pint for it’s rustic feel.
Final Image
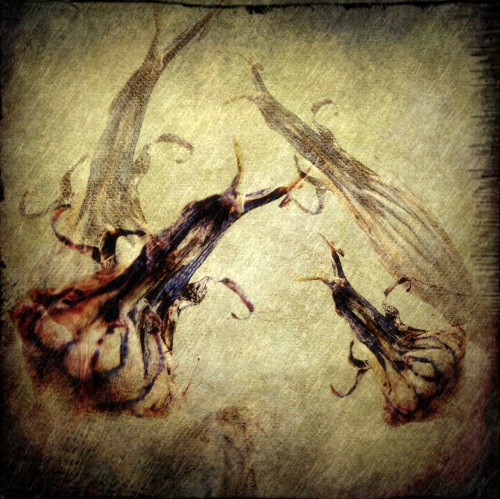
Then I was happy with the final image and here is it above. This image combined all the effects that I wanted to achieve and I was delighted with it.
Links to Apps used in this article



4 Comments
Irene Oleksiuk
Mel, fantastic tutorial! Love all the details you give but now I’m going to have to buy some more apps!
mahoganyturtle
Thank you Irene 😀 have fun with the new apps!!
Reed
Great tutorial Mel!
mahoganyturtle
Thank you Reed xx