iPhone Photography Tutorial – Creating Flower Art With Lisa Waddell
I love taking images of flowers and creating stunning art from them. In this tutorial I demonstrate how from taking quite an ordinary flower image how to transform it into a beautiful piece of art.
Take a look at the steps below and see if you can also create something like this. All the apps I’ve used are available with links at the end of this article.
Final Image
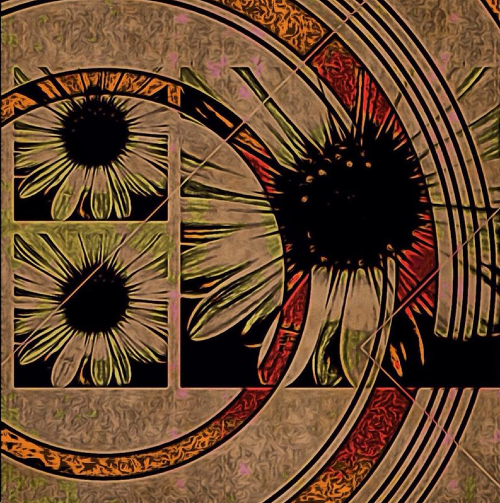
This is the final image, the one I am going to show you how to create.
Step 1
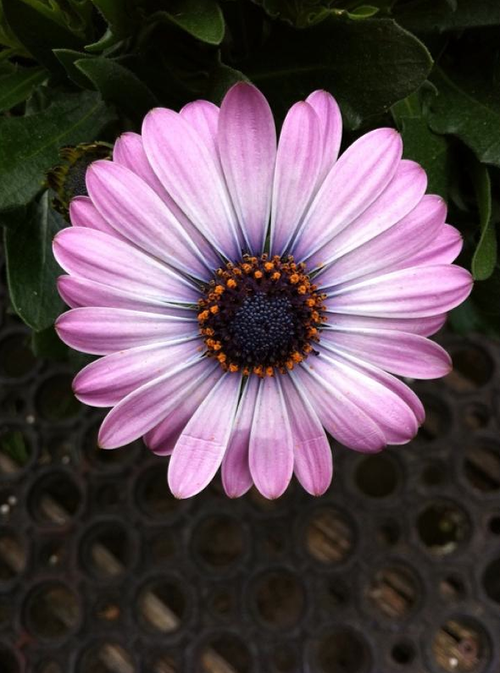
This is the original image, I took this with the default iPhone camera.
Step 2
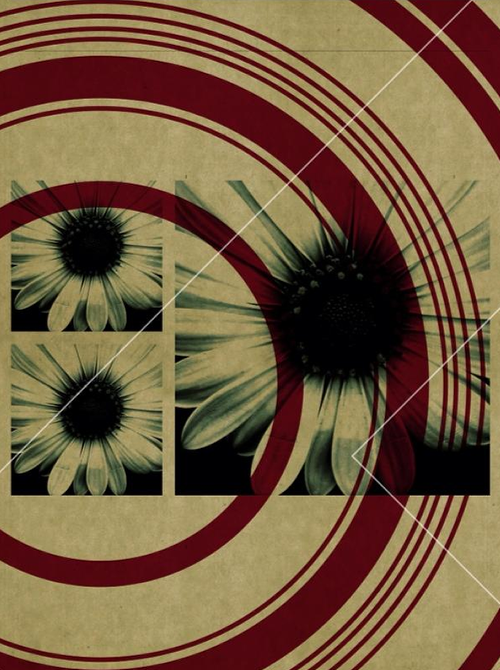
Next, I ran it through the addLib app until I found a compostion that I liked. I knew I wanted to incorporate squares into that composition so, prior to using AddLib, I cropped the original image square using Iris Photo Suite.
Step 3
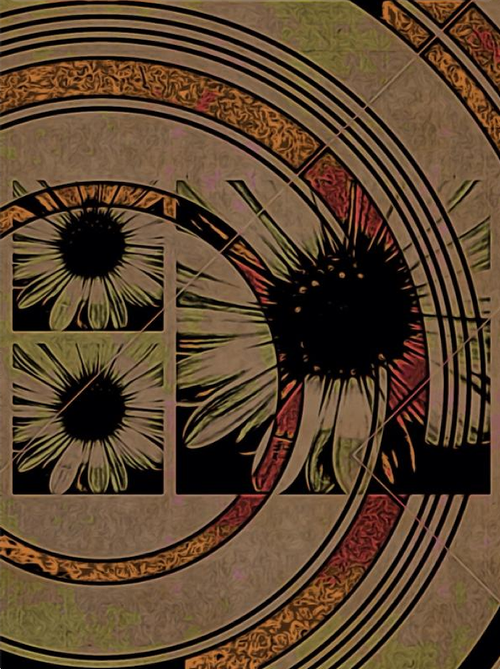
Next I ran the "AddLib’d" image through Moku Hanga randomly to give it some deeper color and texture.
Step 4
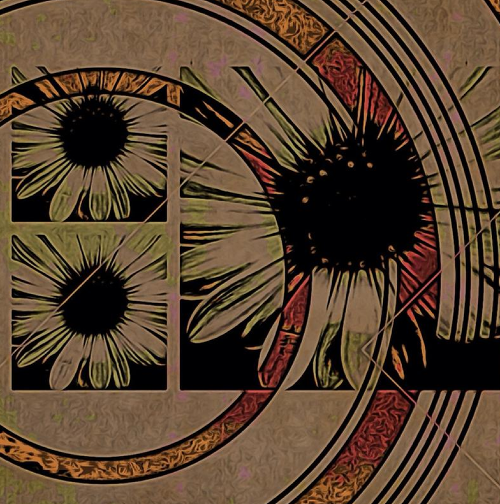
To make the flowers more the focal point, I next ran the image back through Iris Photo Suite to crop it square.
Step 5
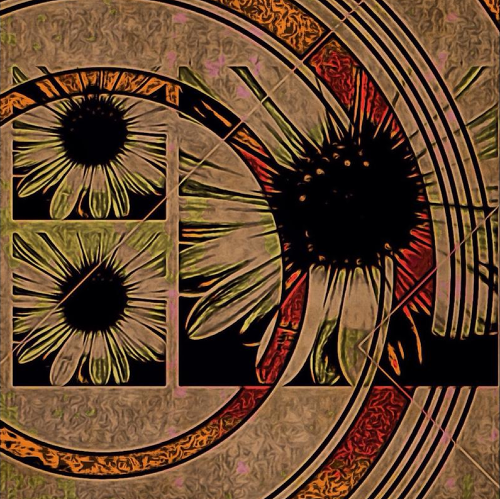
Finally, I used the Overcooked HDR filter in Dynamic Light to make the colors and texture pop just a bit more and this is my stunningily creative image.
Links To All Apps Used In This Tutorial
addLib
Iris Photo Suite
Moku Hanga
Dynamic Light


4 Comments
Jenny
It’s great.
Lisa
Thank you Jenny!
David
Wonderful image, Lisa!! I have addLib…I just need to remember to use it more often…I certainly like what you did with it!! Thanks for sharing your “recipe” for this image!!
Lisa
You are very welcome! It’s one of those apps that you don’t want to use all the time; but when you do it’s very effective.