iPhone Photography Tutorial – Vintage & Aging Photo Effects (for beginners)
We’re really pleased to publish Natali Prosvetova’s latest tutorial with us. In this one she explains how to create vintage looking images in just a few easy steps. This tutorial is aimed at beginner level. This is an inspiring tutorial and one we think you will really enjoy. Over to you Nat…(foreword by Joanne Carter).
If you really love the vintage look for you images, you can create it in a few easy steps, using different ways, fortunately there are many! While the word vintage means old, old and vintage are relative terms. For one person, a vintage portrait could mean one specific era, at the same time for other it means another. Sure, this is a huge and broad topic, so I’ll go back to it again and again, each time when I present the different applications.
Old and vintage photographs always give you that sense of history and all the great memories that come along with them. Sometimes a photo looks soooo boring, but when you run it through the right applications and apply the right filters and adjustments, you can get a great final output.
Today I am going to explain/clarify how to create a vintage effect for your portrait, going in two different ways at once.
Step 1
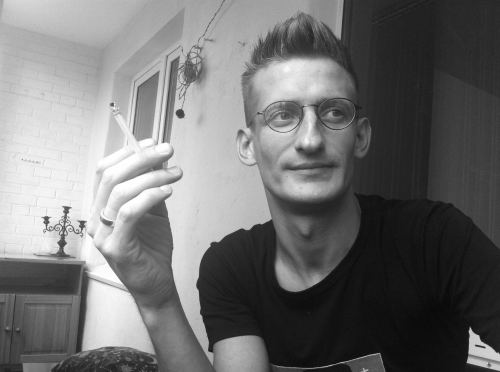
Select the original image. I used a photo that I shot with 645 PRO app. (I selected T3 Color Settings). If you select a color photo, then you can get rid of the color and turn it into a black and white.
To remove some of the (background) details that would go against the vintage photo style and to soften up the photo and give it just a little blur which will add to the old photo effect, I have several different apps, but here I used the BigLens app.
It has a great settings: Basic mode to work with template mask or Advanced mode to manually define your Focus area, define Focus area using Brush, Eraser or Lasso to roughly define your focus area or advanced, using Auto to autofocus the target. Also you can apply effects (Adjust Aperture to increase the background blur, Filter Effects to apply special tones and atmospheres and Special Lenses to change out-of-focus light points into blurred shapes, add instant Focus and Blur to fine-tune your target area.) Note, that you can choose shared Image size using settings! (be sure, selecting Full size;) I created two images, using different settings specially.
Step 2

As well as in the previous step I processed my two images using the Strut Type app that develops the effects of turn-of-the-century Strut folding camera. Renders authentic Edwardian-era portraiture and landscape shots. Recreates images with the look of the first dry-plate photography that emerged from 1875 to 1920. I must say it’s pretty good app… though it has some bugs … while saving your picture with high resolution, it crashes (that certainly is annoying) :/
Step 3
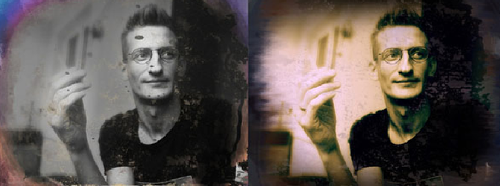
Next, I choose different ways for each of these images: Go into Iris app and play around with it a bit until you get the look you are going for.
Step 4
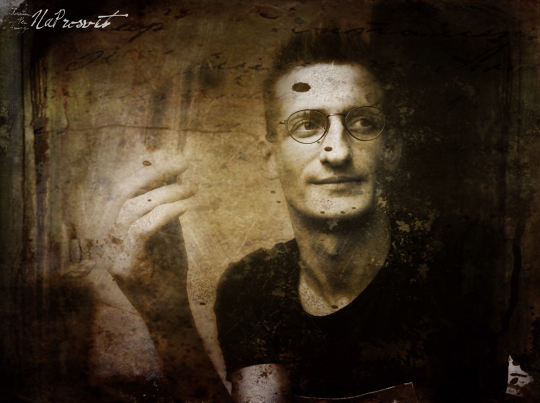
Go to Image Blender and merge with texture, which has a vintage – oldie look, using the application settings.
Step 5
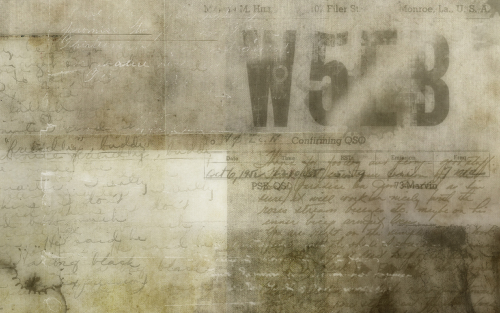
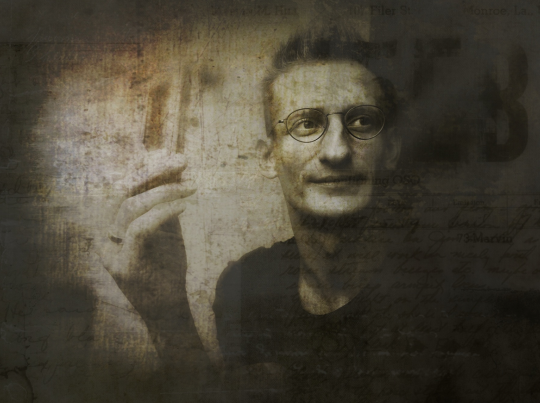
…result of merging
Step 7
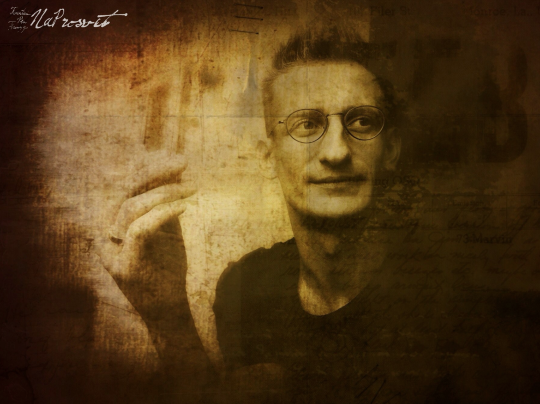
That’s all! Just try making your photo look old and vintage.

2 Comments
Lilian
Thanks for the tutorial!
I did a great edit using it.
Natali
Thank you so much Lilian. Glad to know that it was a useful stuff!