

Mobile Photography / Art Tutorial – ‘Assembly’ – Time To Shape Up
We are delighted to publish Jerry Jobe’s latest mobile photography/art tutorial for our reading and viewing pleasure. This week Jobe takes a look at the new app ‘Assembly’ by Pixite LLC. Read his thoughts as he puts it through its paces (foreword by Joanne Carter).
Assembly currently retails for $1.99/£1.49 and you can download it here.
“Often, in photography and art education, one of the first things emphasized is that we should observe and recognize what we see. In sketching, you are taught to reproduce certain shapes, and then recognize how those shapes are inherent in everything we see. A framework of these shapes is the “bones” of a person, a bowl of fruit, a building.
Assembly is Pixite’s newest app, and it is a vector-based app that allows you to use multiple shapes of whatever size to build a figure or an entire image. It sells for $1.99 in the App Store, and it is a universal app”.

Upon seeing Assembly, I was reminded of Tangram, an old puzzle game that has the player use rectangles and triangles to recreate figures like a rabbit or a face. But another person suggested that it resembled Colorforms, an old toy that used rubberized vinyl shapes that would temporarily stick to glossy cardboard. Based on my memory of that toy from my own childhood, I had to use Assembly to put together the Colorforms logo.
When you enter Assembly, you are taken to the Gallery. Remember, a gallery is required in an app that makes use of vectors or layers, because those types of files are not saved natively within the iOS operating system. The app has to set aside its own area for saving projects.
A new project can be started tapping the plus sign, either within the white New Project box or directly above it. Previous projects can be edited by tapping the thumbnail for the specific project or the word Edit.
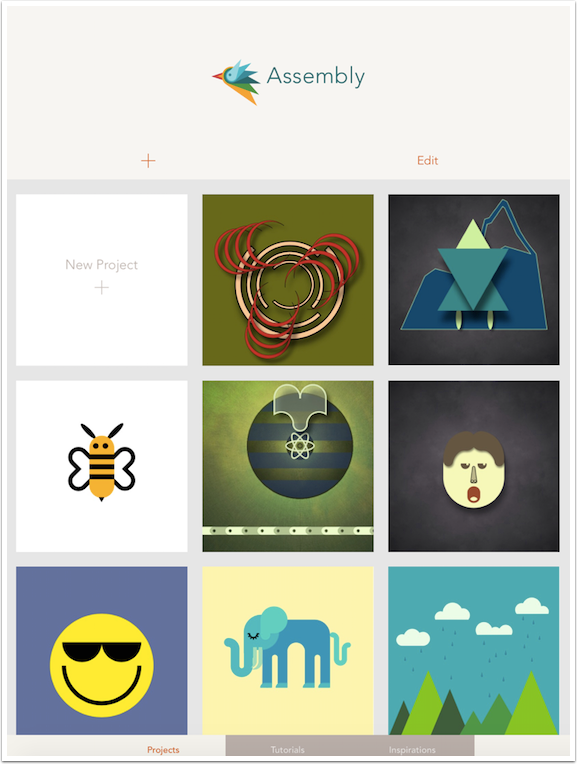
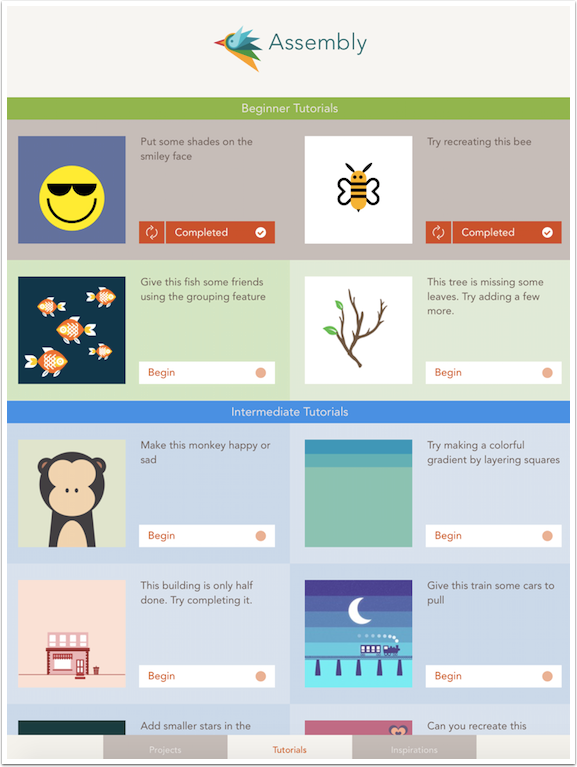
Down at the bottom of the Gallery screen, you can choose between Projects, Tutorials and Inspiration (works by other artists). Below you can see the tutorials, which bring in projects you can work with. Completed tutorials are marked with orange, and can be started over by tapping the double arrow circle at the end of the Completed bar by each tutorial project.
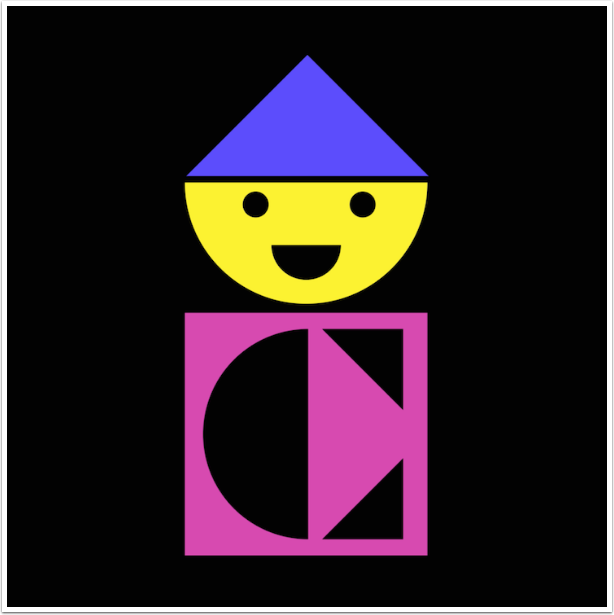
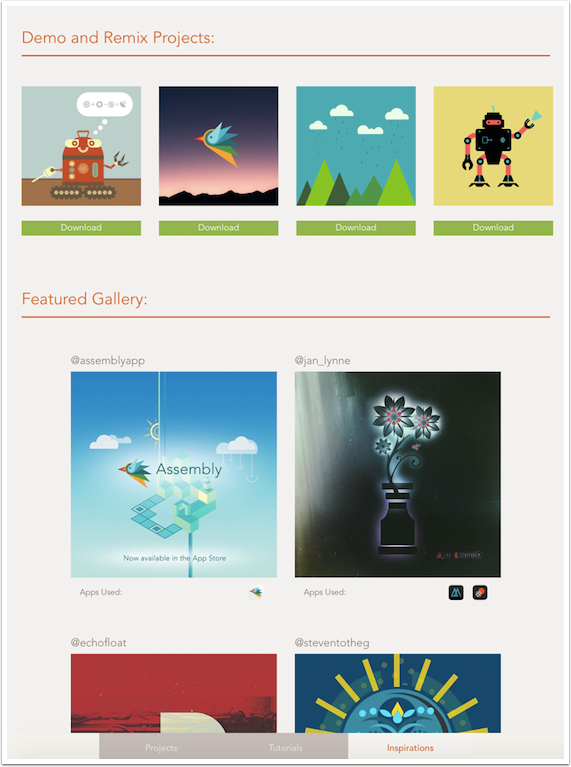
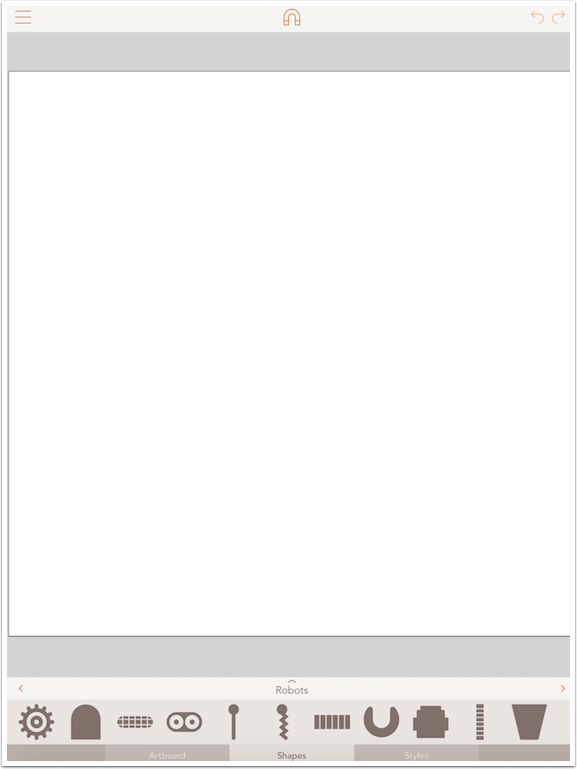
The Inspiration area includes projects you can download and play with, including a couple of robots and the Assembly logo.
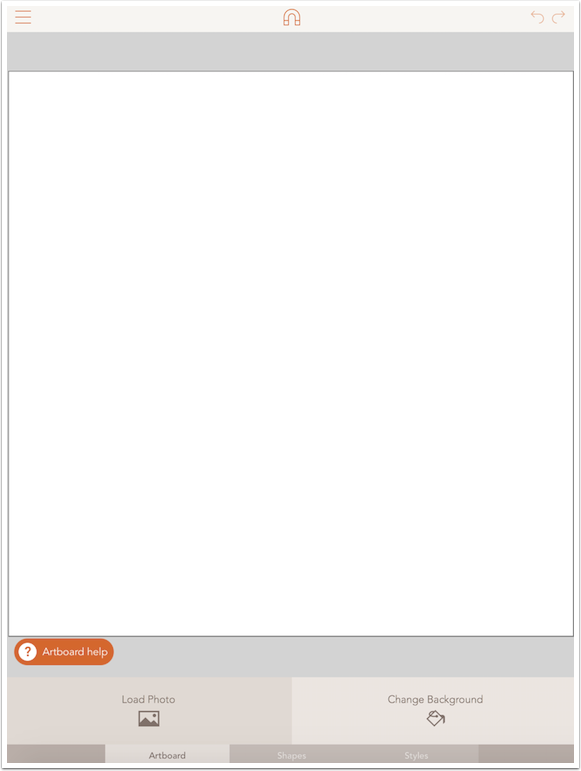
When you tap New Project, you are taken to a blank screen, with a square white background as your canvas. By default, you are taken to the Shapes area to add elements to your image. First, however, you may want to change the canvas. That’s done by tapping the Artboard button at the bottom.
You are given the opportunity to Load a photo as your background or Change the color (and dimensions) of your background. If you load a photo, the background takes on the aspect ratio of your photo; it does not require you to crop the background to a square. If you choose the color using a color picker, you also choose the aspect ratio of the background. Ratios range from square to 16:9, and you can change the aspect from landscape to portrait.
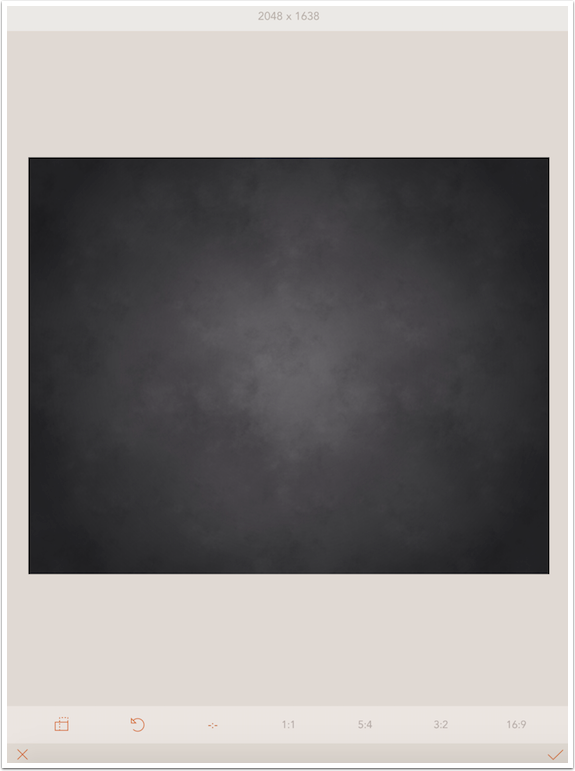
I loaded a photo – a background I built in iColorama. You can crop or rotate the photo using the buttons at the bottom. When you are ready, tap the check mark at the bottom right to accept your Artboard.
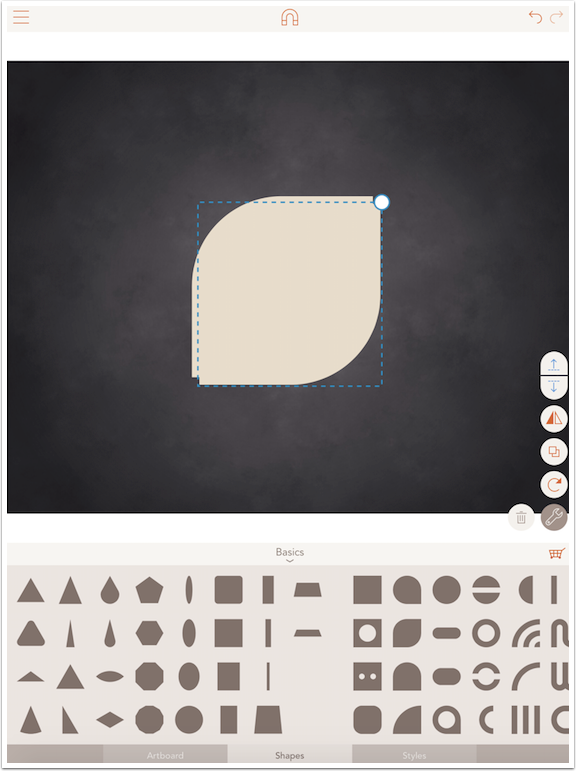
Upon returning to the Shapes area, I expanded the Shapes Palette from a single row to a table by tapping the Group name in the top center of the palette. In the image below, that word is “Basic”; in the image three screenshots back the word is “Robots”. You can scroll left and right within the palette to show all the available shapes.
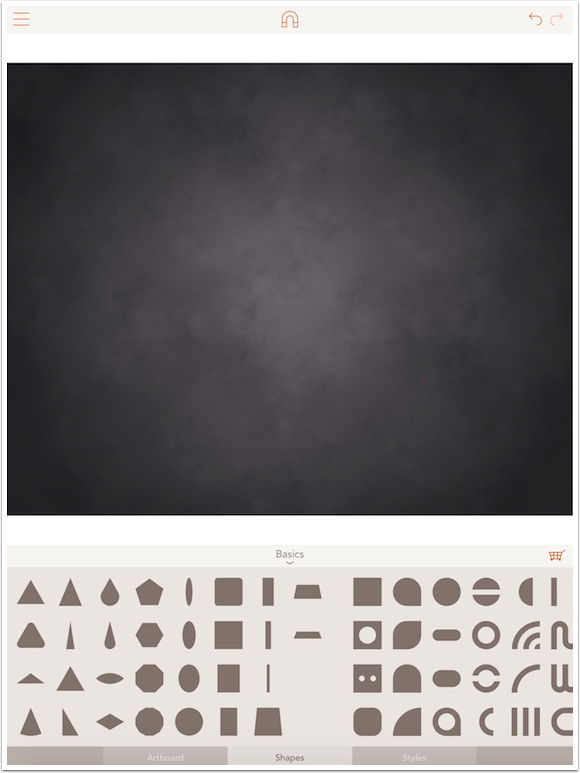
Tapping the shopping cart icon at the top right of the palette will bring up the store, where you can purchase additional shape packs. I would recommend buying the “Forever Unlock” pack, which gives you all packs now and in the future, for $5.99.

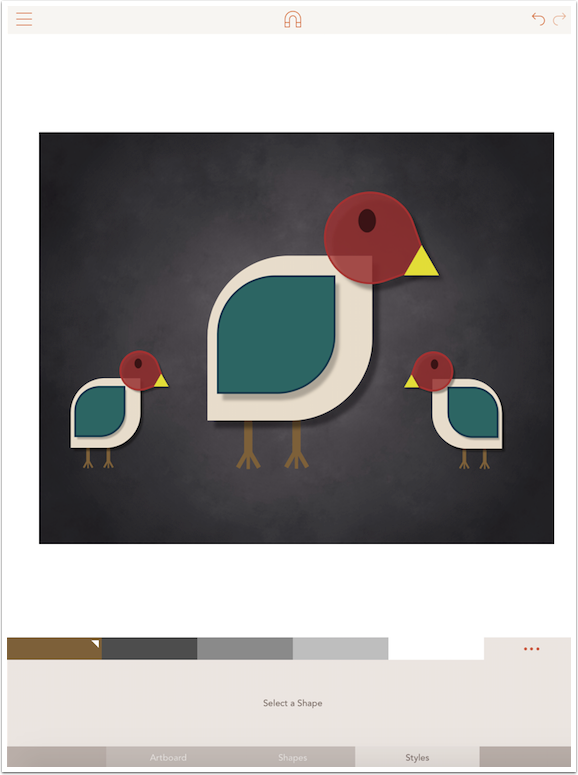
I have decided to create a simple bird with shapes. I chose a “leaf” shape for the body of the bird, and left it the cream color, which was the current default.
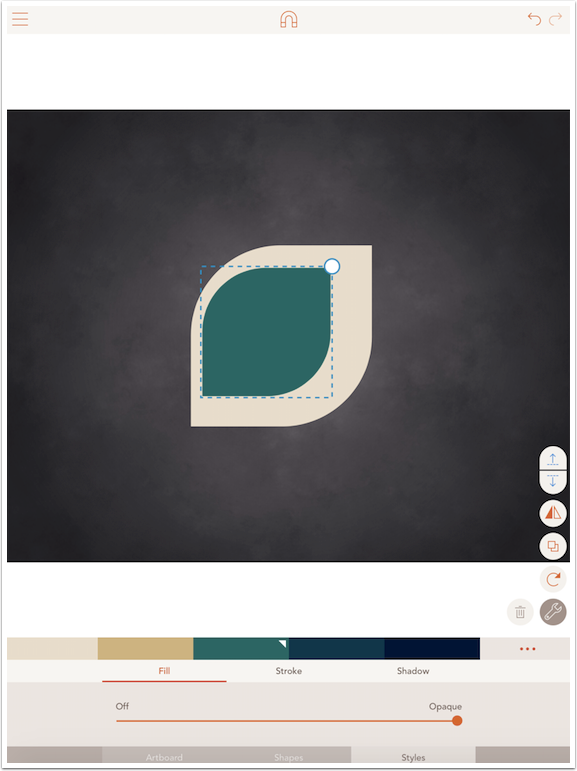
When a shape is selected, a new set of controls appears on the right of the screen. The top two controls sent the shape up and down in the stack of shapes. The dark and light triangles mirror the shape. The double boxes duplicate the shape. The circular arrow rotates the shape 90 degrees. The trashcan deletes the shape, and the wrench temporarily hides the tools.
In the screenshot below, I have duplicated the body shape by tapping the double boxes. I want to use the same shape as the wing of the bird. A bounding box appears that allows me to move, size and rotate the shape. I can move it into place, but I need to change the color to be able to see the wing against the body.
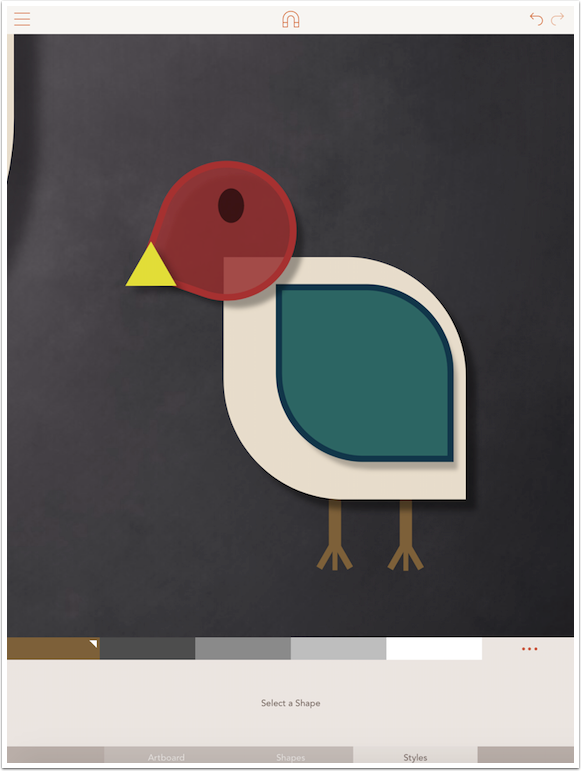
The characteristics of the shape are changed in Styles. Styles is divided into three categories: Fill, Stroke and Shadow. The currently displayed palette has a blue-green color that I like for the wing fill, so I tap the color in the palette.
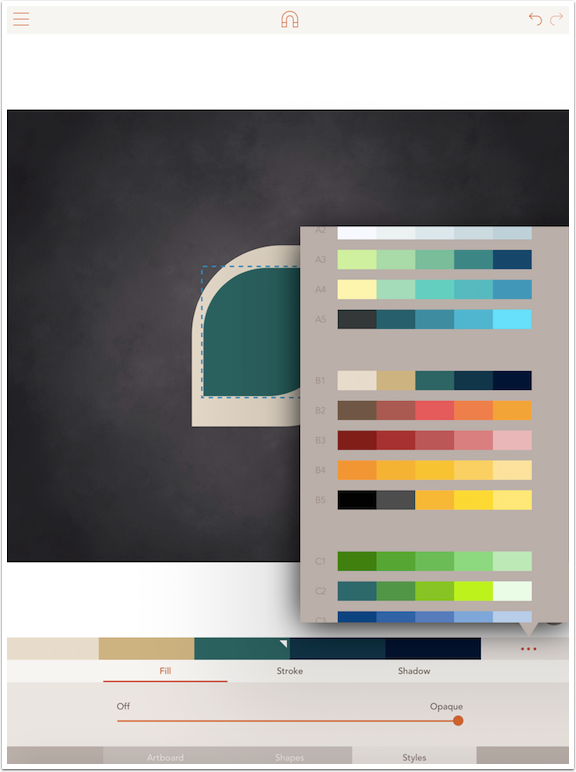
Tapping the three dots at the end of the palette brings up a color picker. The currently selected palette is at the bottom of the circular color picker, and you can construct your own palettes be changing each color individually, then tapping the Save button to save the palette. Saved palettes are at the bottom, and tapping them loads that palette.
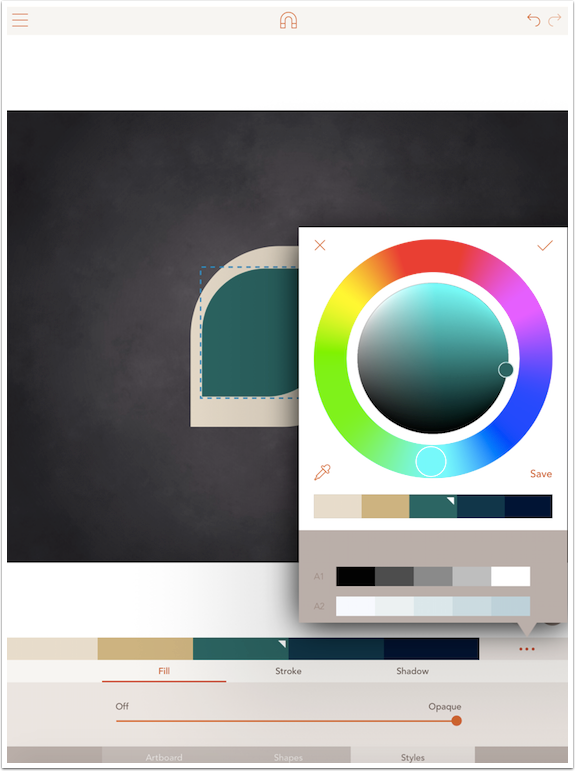
You can scroll down to access more saved palettes. If you want an single color from a palette, just tap that one color.
I could also add a stroke around the edge of the shape. I chose a darker color in the palette for the stroke. By default it’s a solid stroke.

There are circle icons that allow you to make the stroke a dotted or dashed line. Below I chose the third icon.
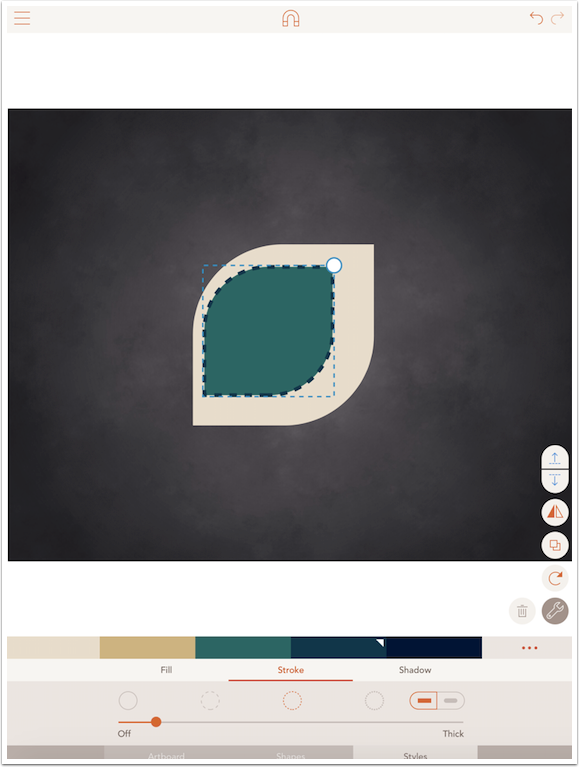
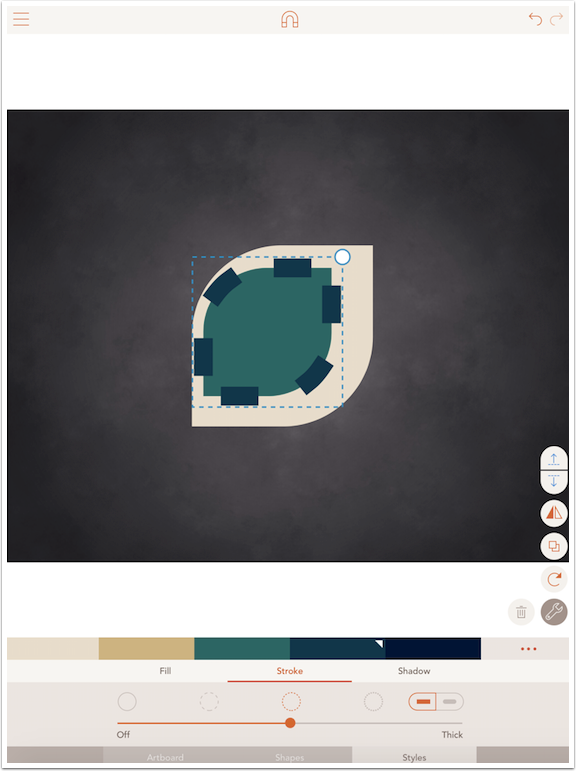
The stroke is centered on the edge, extending both inside and outside the shape. This can easily be seen by increasing the thickness of the dashed stroke.
I returned the stroke to a solid, thin line and moved on to the Shadow. The controls for the shadow are the color palette, the Opacity slider (Off to Dark), the Blur Radius slider (Small to Large) and the Positioning “joystick”.
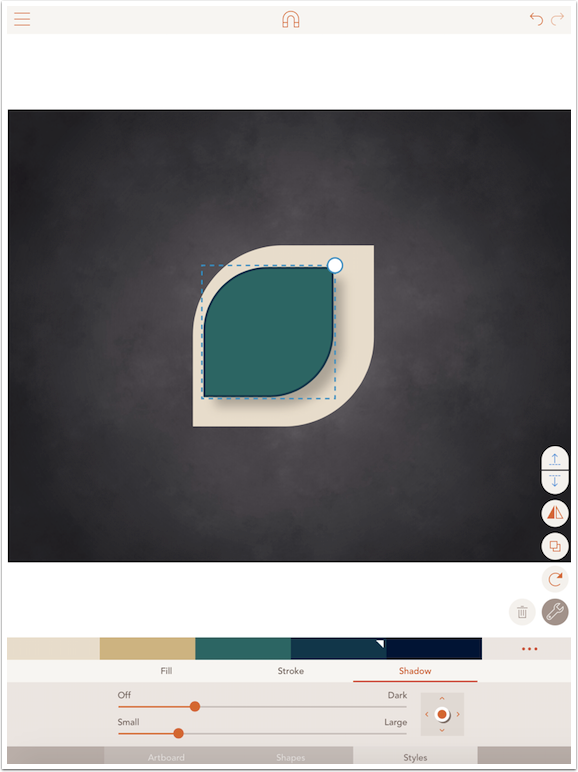
Below I increased the Opacity (made it darker) and made the edge of the shadow harder (Blur Radius was moved toward the Small end of the slider).
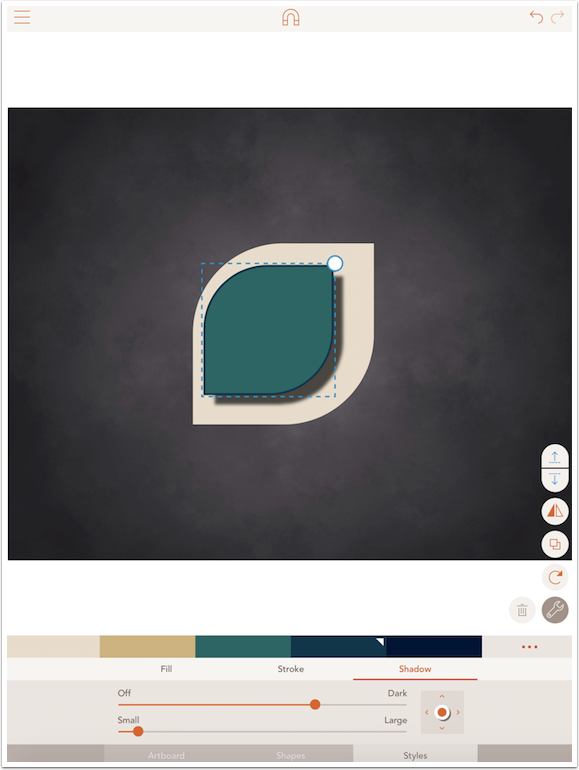
I finally decided on a light, hard-edged shadow that was moved closer to the shape with the “joystick”.

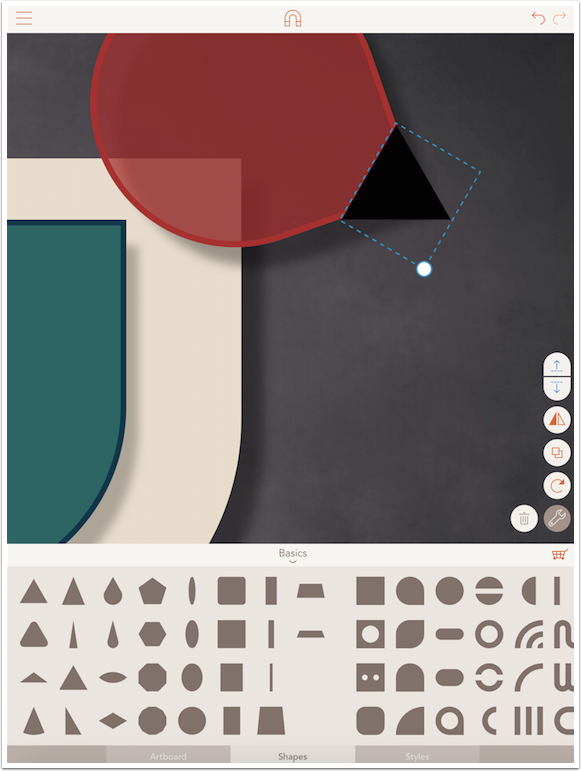
I continued by adding a shadow to the body and adding a red head with a partially transparent fill and a solid stroke. In the process of adding a triangle beak, I wanted to place it exactly. Using a two-fingered pinch zooms in on the image, allowing for exact sizing and placement.
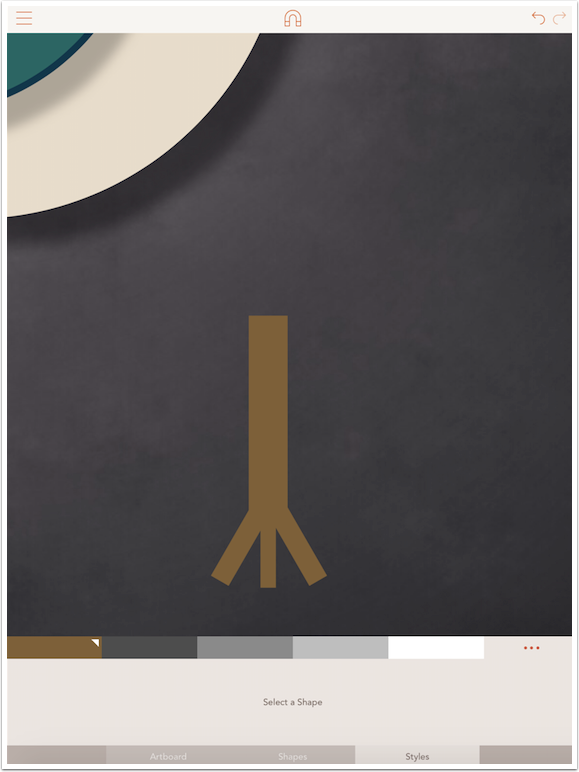
I created a foot by adding a rectangular brown shape, then duplicating it, making it smaller and rotating it for a toe. I duplicated the toe twice, rotating it each time to create the other two toes.
Well, my bird needs two feet, or else it would fall right over. Is there any way to duplicate the entire leg/toes combination, rather than each piece individually? Of course there is.
Actions, including moving shapes or changing the color, can be done by selecting a group of shapes and performing the action. In the image below I have pressed and held outside the shapes. After a second, I can draw a bounding box around a group of shapes and they are all selected. The shapes that are selected are outlined in orange.
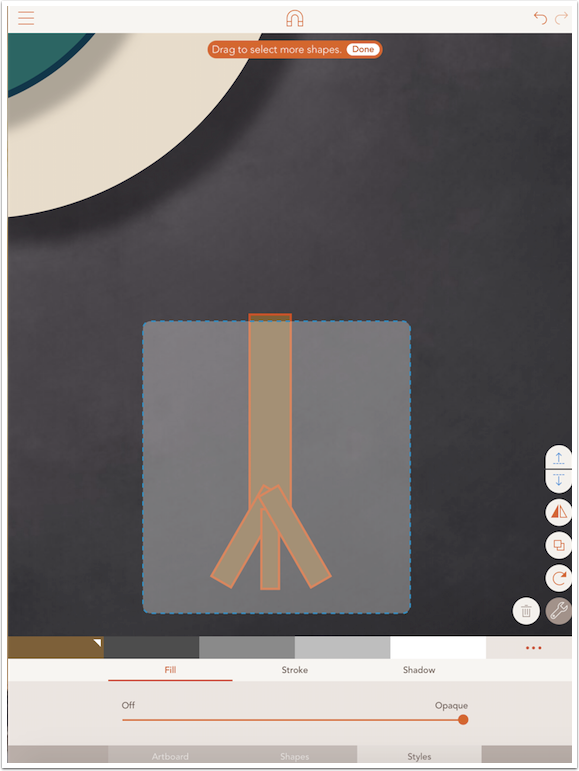
I was able to resize all four of the rectangles as a unit and drag them into place under the bird. Notice that there is an instruction at the top of the screen telling you that you can tap to select more shapes. This is useful in cases where you cannot draw a bounding box around the shapes you want to select. Let’s say you have a series of rectangles in a row like a picket fence, and you want to recolor the alternating ones. You could tap-and-hold on the first until the orange outline appears, then tap the alternating ones before changing the fill color.

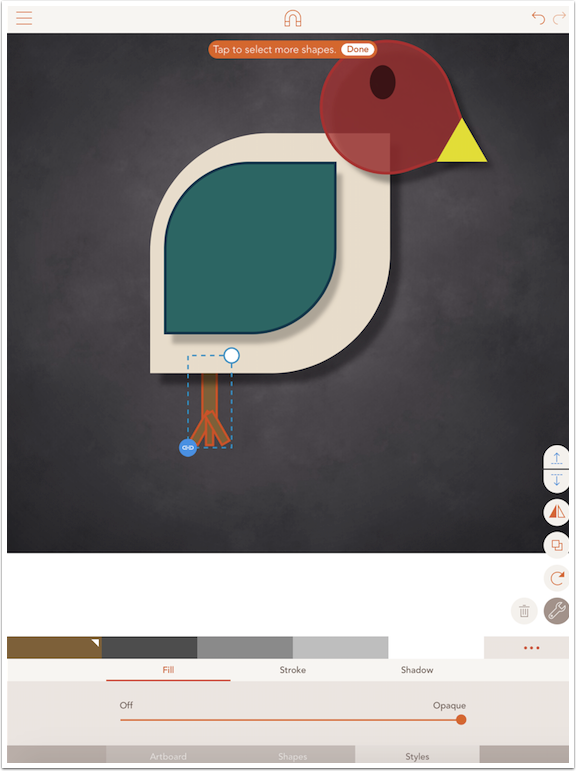
I don’t want the foot to be on top of the bird’s body, so I use the Down button to move the entire foot group down in the stack. I keep moving it down until it is under the body shape.
One thing you should realize is that stroke and shadow apply to individual shapes, not an entire group. The group is not actually “fused” into a single shape, so a stroke, in the case of my bird foot, would apply to each rectangle; the same with the shadow.
But I can use the double boxes to duplicate the foot group and move it into place.

I can select all the shapes that make up the bird and duplicate and resize them, making baby birds in a snap. I use the mirror button on the right-hand baby, making it face toward the mother.
Notice that the shadow is not mirrored on the rightmost bird. It still goes down to the right. If the shadow was mirrored along with the shapes, it would be down to the left.
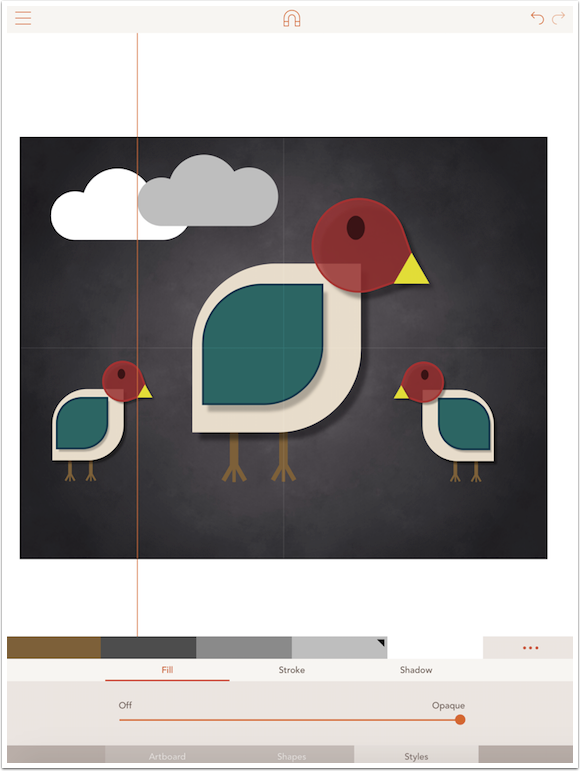
You will notice, as you move shapes around, that vertical and horizontal red lines with appear and disappear. These are snap lines. Shapes will want to be lined up with other shapes, along an edge or the center. Most of the time that will be fine; I want all the birds’ feet to line up in the same surface. If you need a shape or group to be slightly off line, however, you will have to turn snapping off by tapping the magnet at the top center.
It is possible to have a shape fall off the edge of the artboard. The project will be saved in the gallery with the overlap still present, but a JPG saved to the Camera Roll will not.
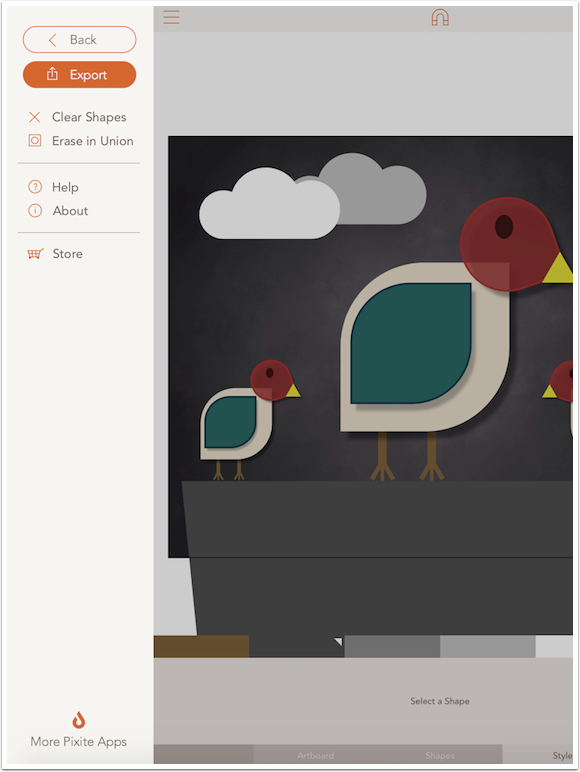
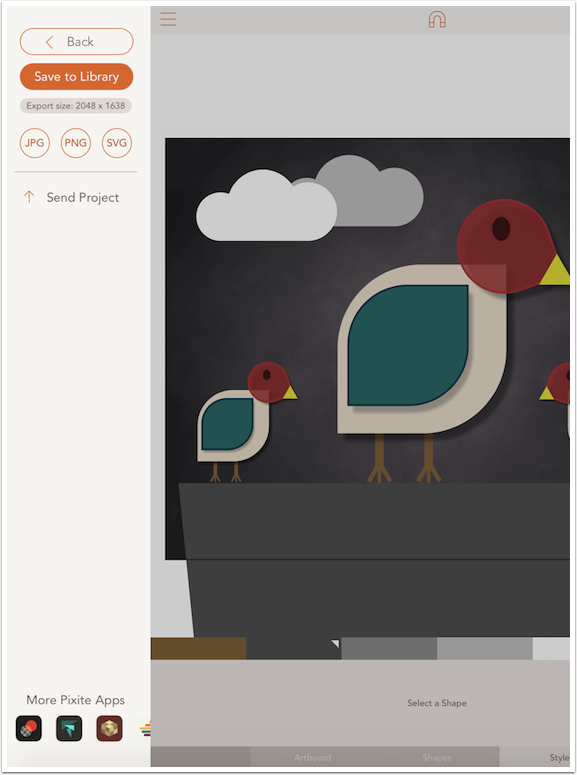
To save your image as a photo in the Camera Roll, you will have to Export it. The Export button is located under the menu icon at the top left. There are also buttons there for clearing all shapes and accessing Help and the Store.
The help is fairly robust for a Pixite app, being grouped into multiple animated GIFs under several categories. Pair this help with the tutorial projects (and this article, of course!) and you’ll be up to speed in no time.
When you Export an image, you get the opportunity to save as a JPG or a PNG. The SVG format is a vector format, and cannot be accessed except by vector programs, like iDraw. If you want to work further on the vectors, I would recommend Sending it to the other app rather than just saving it and having to use iTunes to move it to your desktop.
By the way, the reason that the output size is listed as 2048×1638 here is that the image I imported to serve as the artboard is that size. Assembly can save files that are much larger.
I tapped JPEG and Save to Library, and I get the standard iOS save dialog.
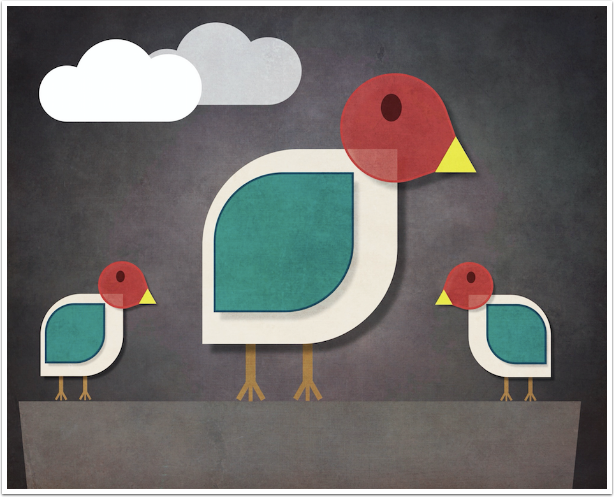
Here’s my bird image, after a run through Stackables for a little texture.
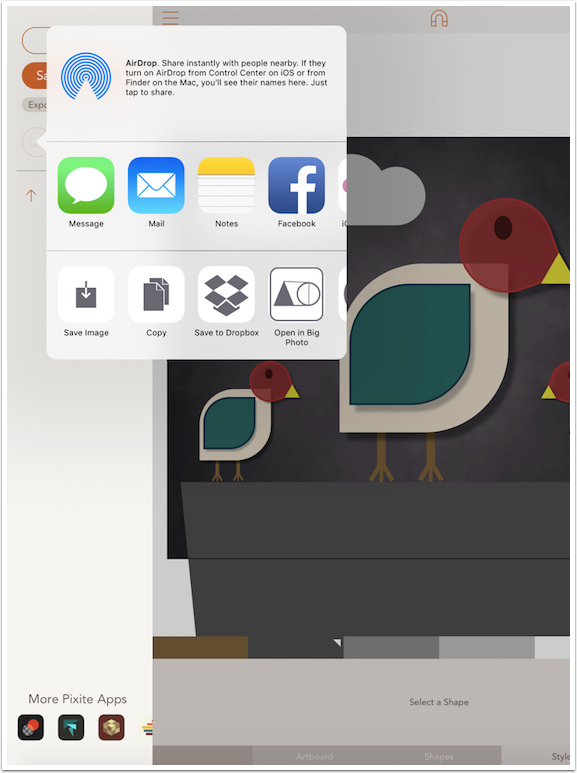
Vector files are also used in another Pixite app, Fragment. In an earlier article I described how you can input vector files into Fragment, and use them to “break up” your image. Assembly now becomes a fine source for those Fragment objects. Below is an image I put together in Assembly.
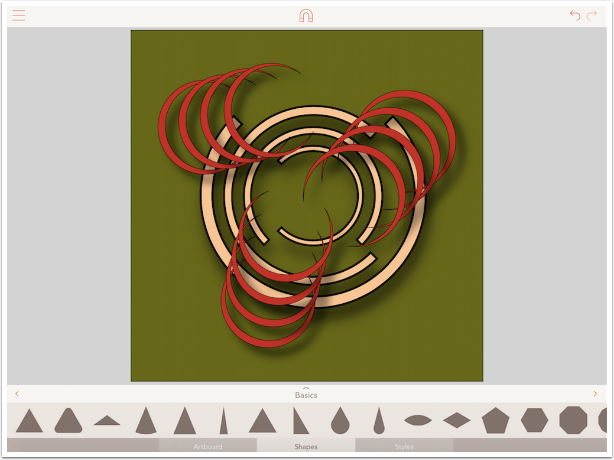
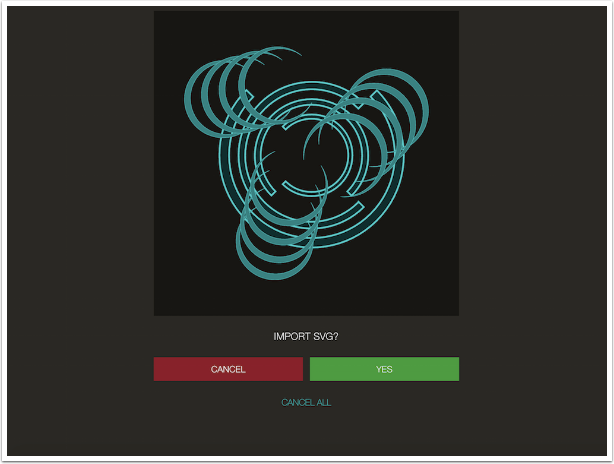
I Export the image, tapping SVG as the output format. A dialog box comes up, and if I scroll the upper row to the left, I will see Fragment as one of the options that I can send an SVG file to.

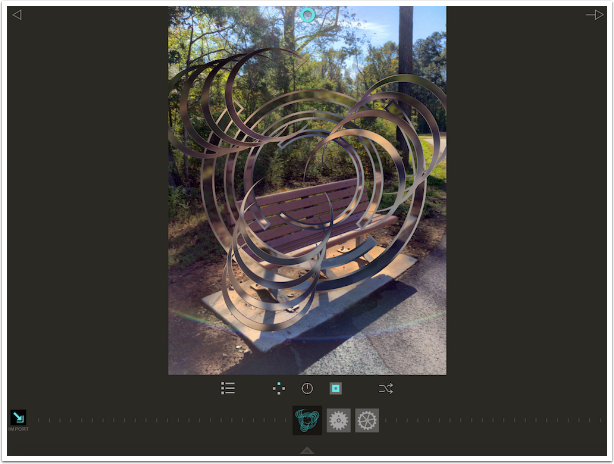
Fragment opens, and asks me if I want to import the SVG as a Fragment object.
Then I can open an image and use the new object, available under User presets.
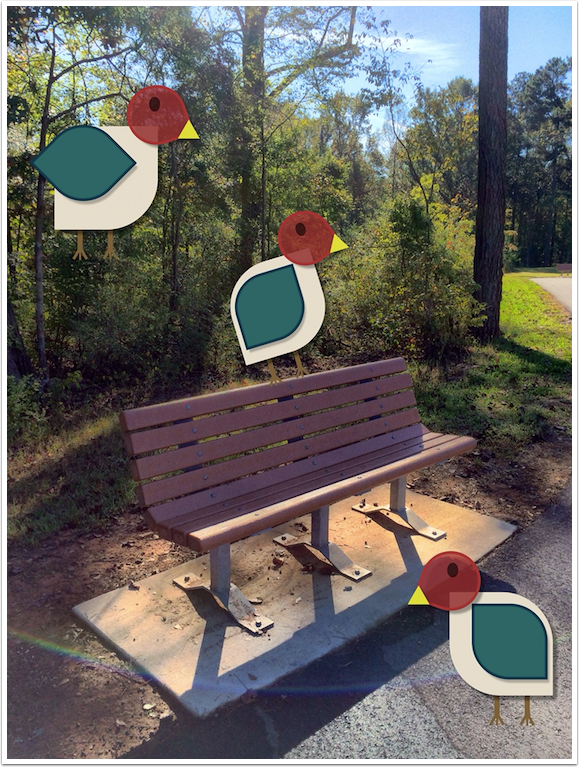
Don’t forget that you can build your framework of shapes on a plain background, then import a photo as your artboard. Below I’ve added my birds to a park bench scene by importing a new artboard. I even modified the wing of the bird to the upper left to give it a sense that it’s flying.
Most of the time I’m satisfied to show you what I’m able to create from an app, knowing that, although it’s not perfect, it’s enough to show you the capabilities of the app. In the case of Assembly, however, I’ve been seeing some great things coming from the artist Jan Lynne, so I asked her for permission to show you one of her Assembly images. It’s a lovely paper-cut style of image, created with shapes from the Outer Space pack. Go find her on Instagram for more terrific images!
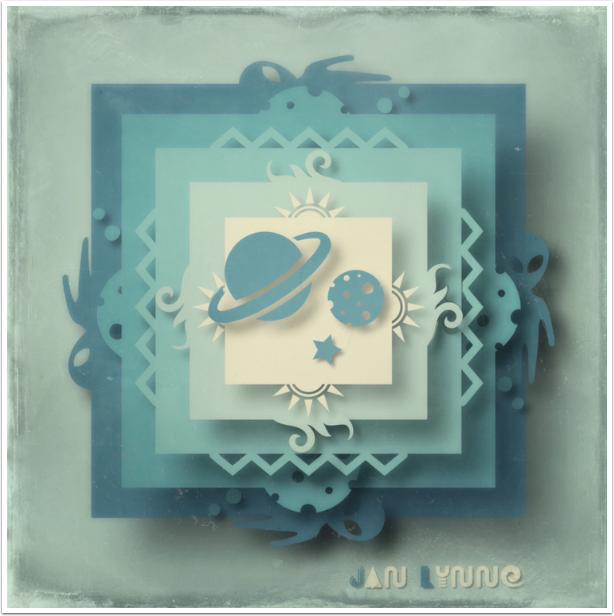
All in all, I enjoy working with Assembly. After seeing Jan’s work above, I can see digital scrapbookers going wild over it. It can be a great tool in the hands of those who create appstracts. It may be a while before I can create something really worthwhile with it, as I’ve never worked with the buildup of shapes to create a whole. I’m glad that Pixite has created an app that is so capable and easy to work with, however. Until next time, enjoy!
Jerry Jobe
Never content with just scratching the surface of what an app can do, Jerry Jobe decided to pass on what he learned about imaging apps to others. He’s constantly trying to figure out just what tools other artists have used, and trying to incorporate them into his own work, in an attempt to find his style. He’s written tutorials on over 145 apps so far, which you can find (along with his Song of the Day entries) at http://enthusiasmnoted.wordpress.com/ He lives near Atlanta, Georgia, where he also finds a creative outlet in acting and directing in community theater.

2 Comments
carlos
Thanks Jerry.
Robert Lancaster
Thanks Jerry.
As always very informative.