iPhone Photography Tutorial – ‘What’s New Pussycats?’ – By Veevs
We’re delighted to publish this great tutorial by Veevs, who has been a long term contributor of theappwhisperer.com and has written some excellent articles for us, if you’ve missed those, please go here and here. We have also published A Day In The LIfe Interview with her here.
In this tutorial Veevs had the opportunity to take some images in London last weekend for the Iconic Exhibition near Brick Lane, and I was so pleased to meet with her there too. Links to the apps are within the document in bold text. We’re sure you’ll love this, over to you Veevs (foreword by Joanne Carter).
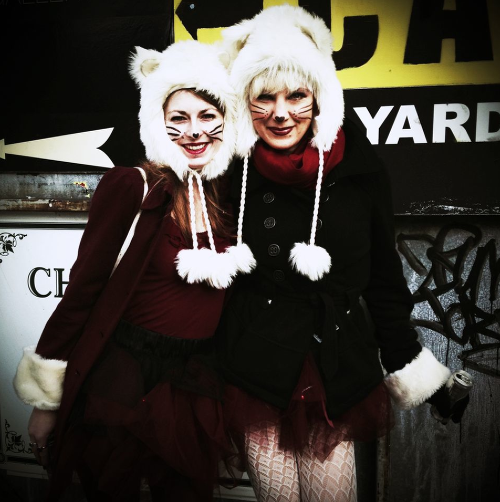
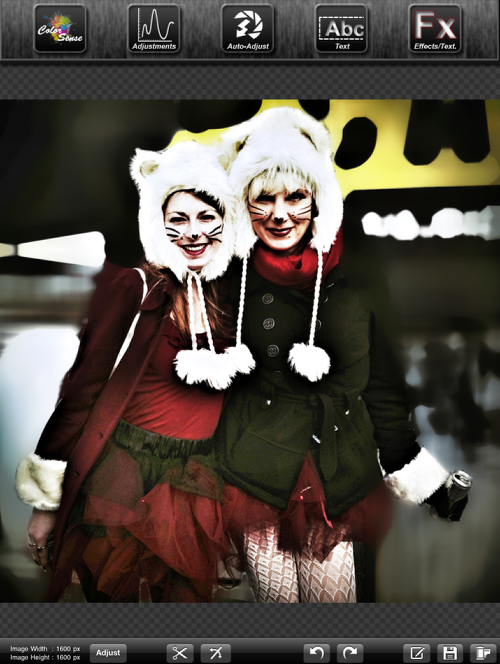
‘I was very lucky to go into London last weekend for the Iconic London Exhibition near Brick Lane and came across hundreds of Santas of all shapes and sizes and costumes. Spotted these two pussycats and asked if I could take their photo! Tutorial made with my iPad.
Final Image
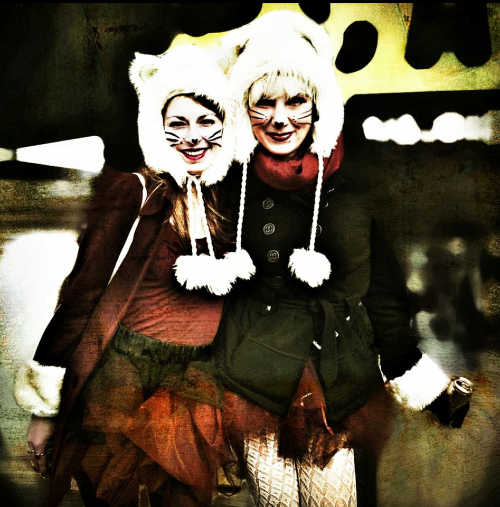
This is the final image, the one that I will show you how to create.
Step 2
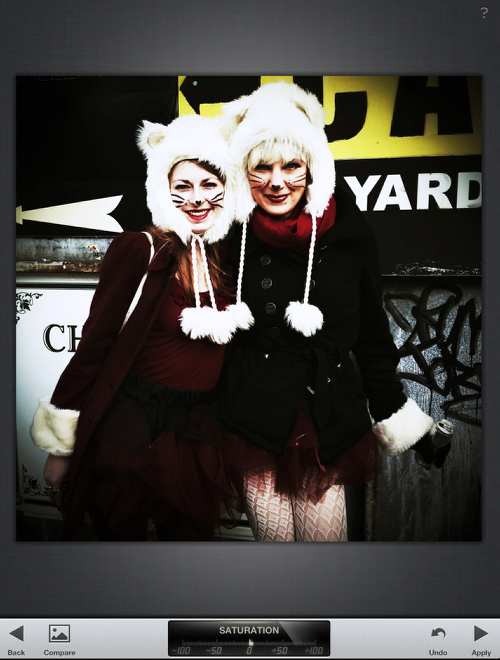
Snapseed – Tune Image – I didn’t do too much editing in Snapseed as I knew I wanted a grunged image. I clicked on Tune Image filter and I slightly increased Brightness, Ambiance, Contrast and Saturation.
Step 3
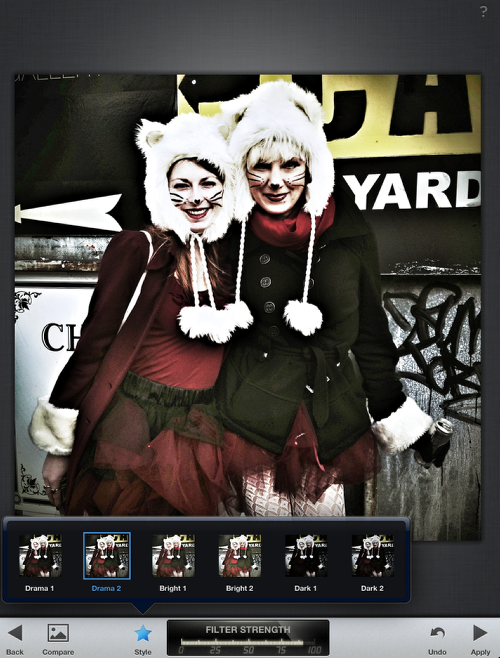
Snapseed Drama Filter – I chose Drama 2 and slightly reduced the Filter Strength and slightly increased the Saturation. I then saved the image.
Step 4
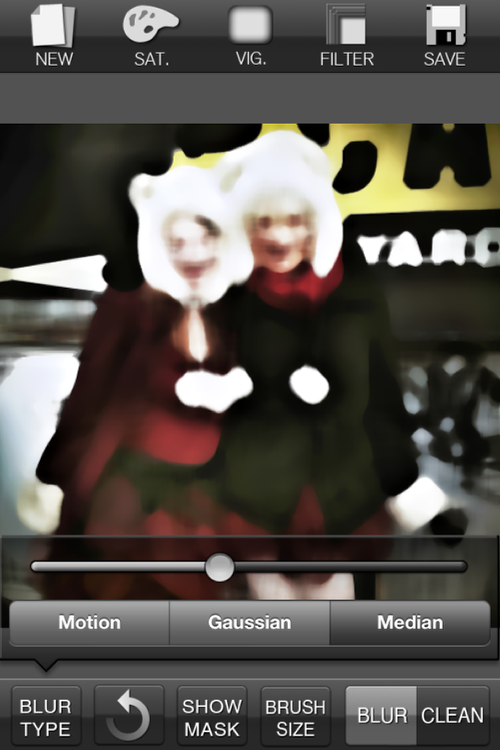
Step 5
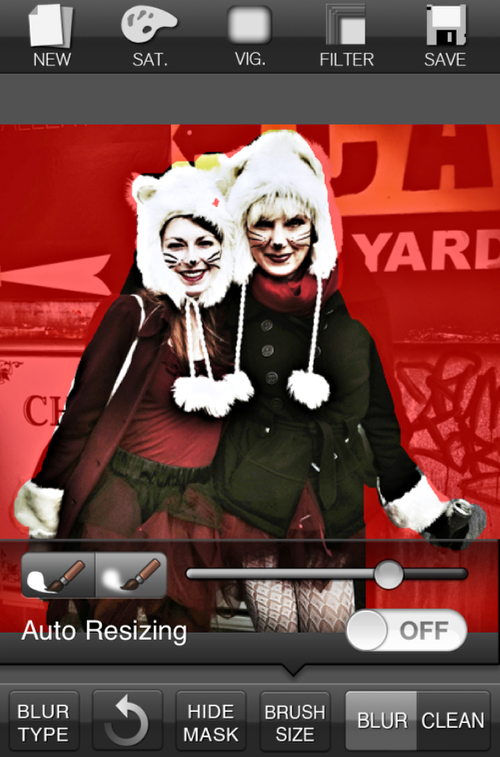
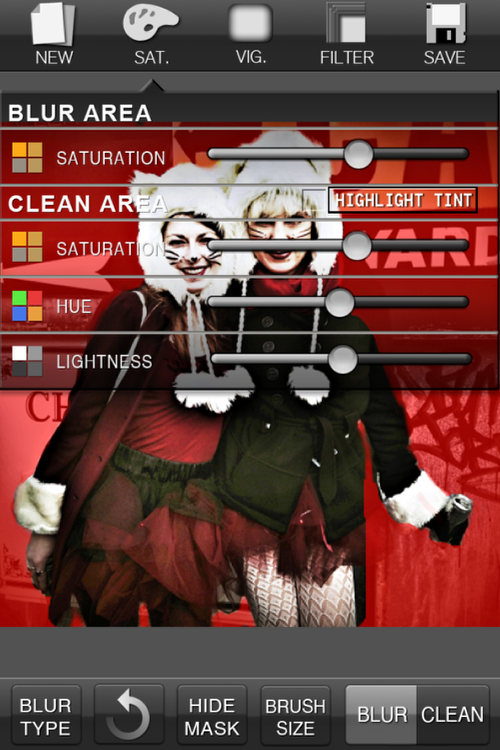
BlurFX – Clean area – I clicked on Show Mask, then chose the hard brush to quickly clean the blur from the 2 girls, not paying much attention to the edges
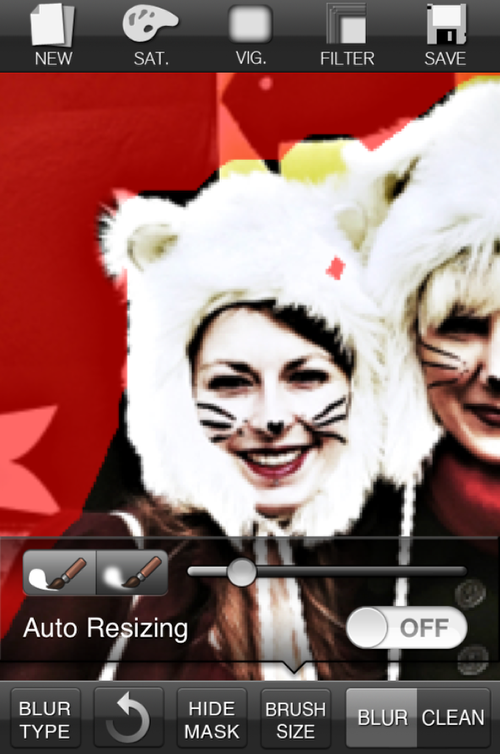
Step 6
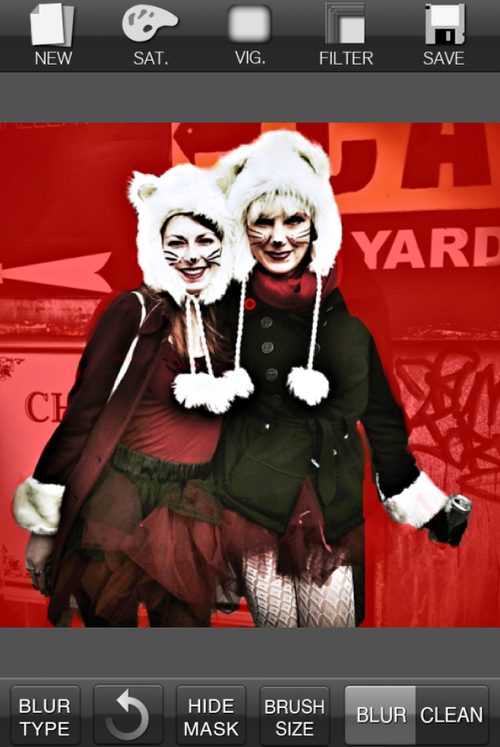
BlurFX Blur and Clean Areas I clicked on Blur and carefully went round the areas that needed to be re-blurred. Use two fingers to pan-zoom into the image. Alternate with cleaning and blurring.
Step 8
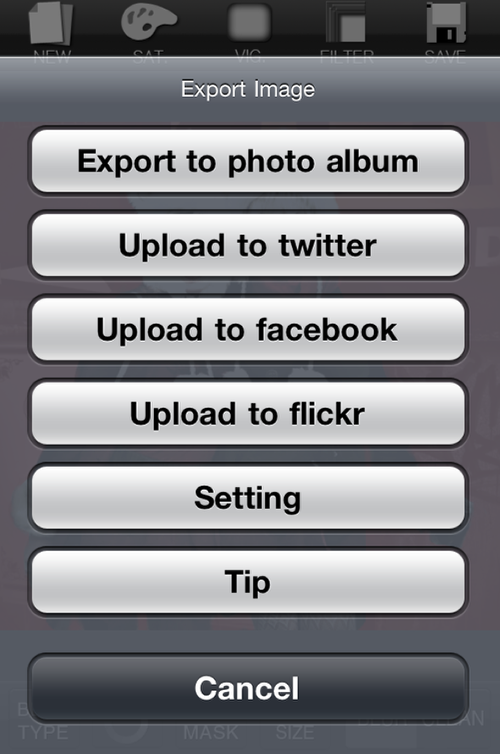
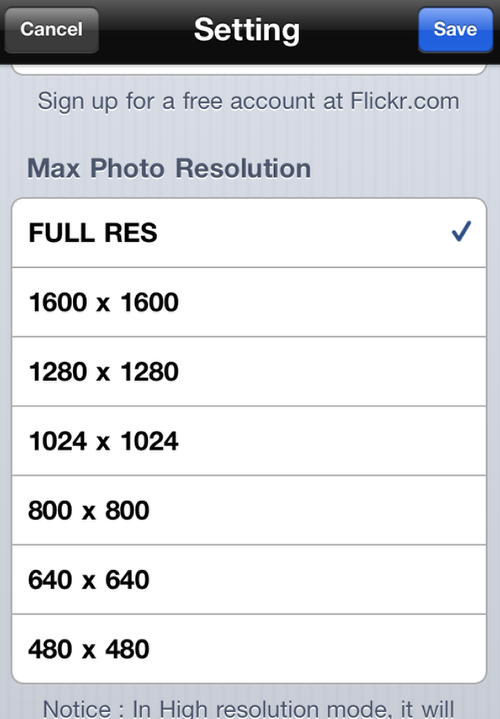
Save your image. Click on the Save icon and I suggest first clicking on Setting and selecting Full Res, then click Save and Export to Photo Album.
Step 9
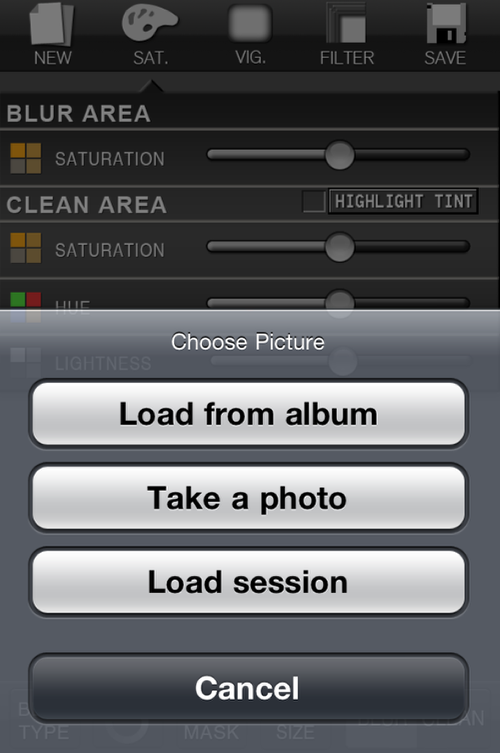
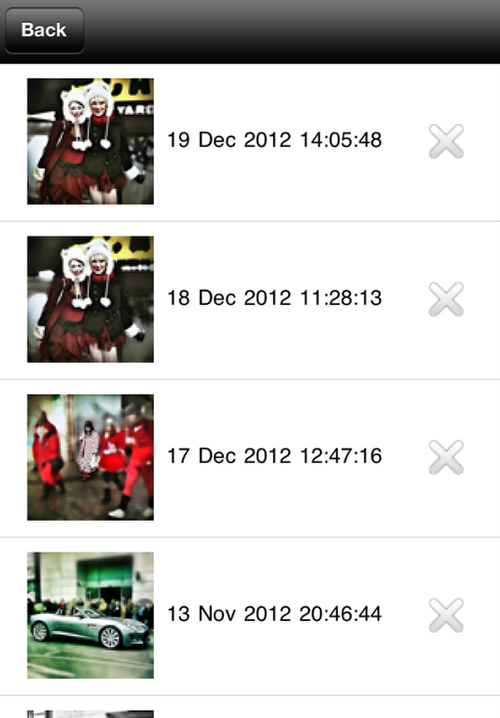
I wanted to modify my saved image even more, so I opened up BlurFX, chose Load Session and selected the last saved image.
Step 10
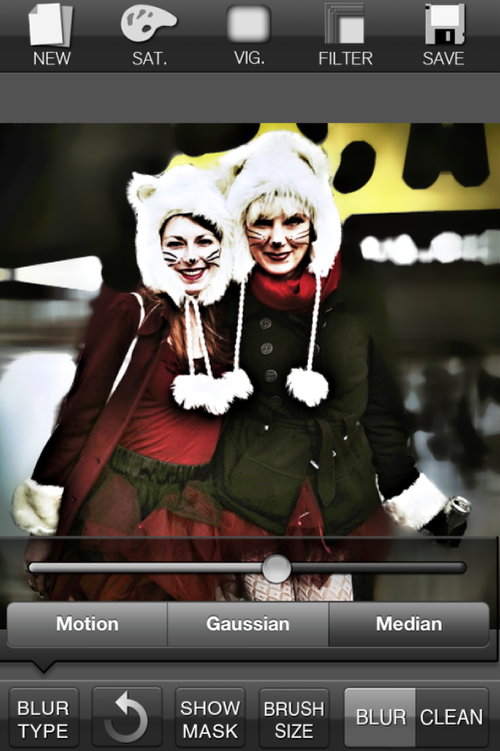
BlurFX increase Blur I just wanted to increase the blur area so I just moved the slider a bit more, then saved this modified version.
Step 12
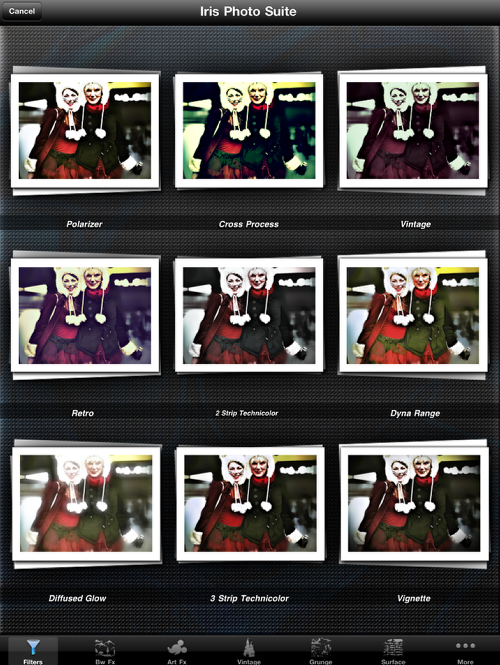
With Iris Photo Suite I selected, Polarizer Filter and I clicked on FX (from previous screen shot), selected the Polarizer Filter, left the strength at 100 and clicked on Apply with Mask
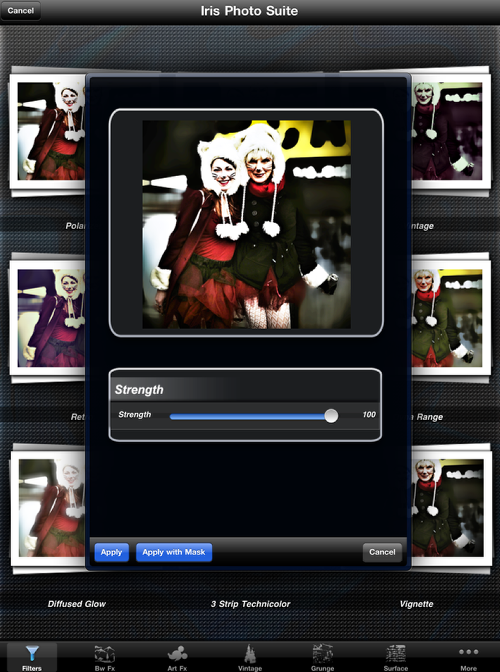
Step 13
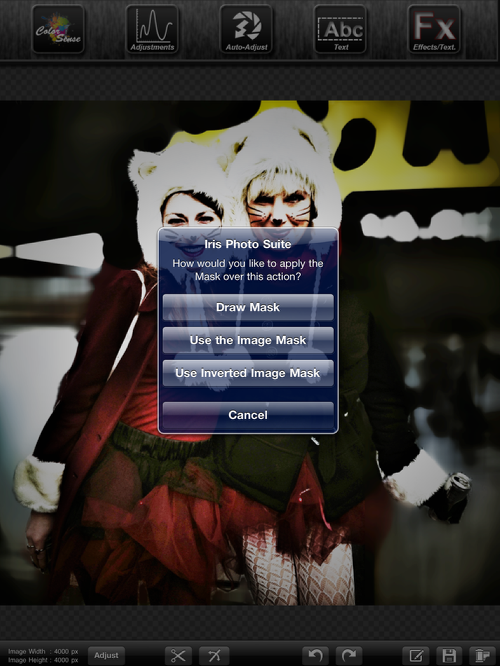
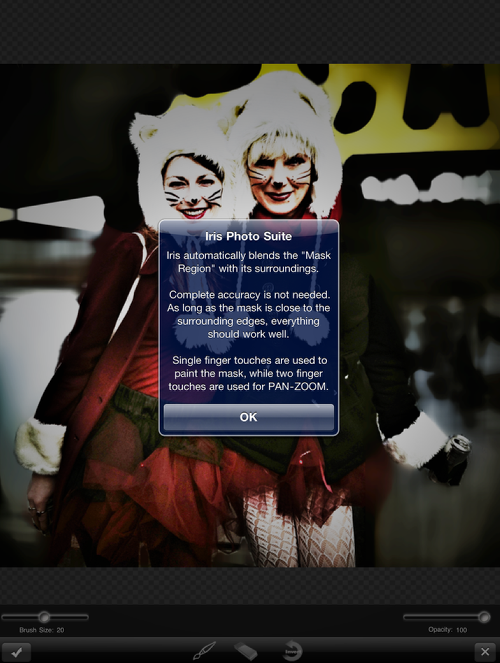
Draw Mask – When the message appears click on Draw Mask and OK on next screen making note of the instructions.
Step 14
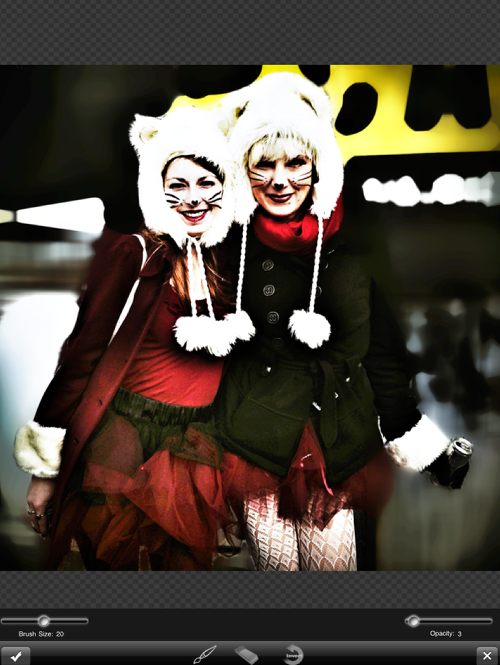
I like the strong filter but not on the girl’s faces so I reduced the brush opacity, clicked on the brush and brushed over their faces to remove some of the filter. Then I clicked on the check mark to accept the changes.
Step 15
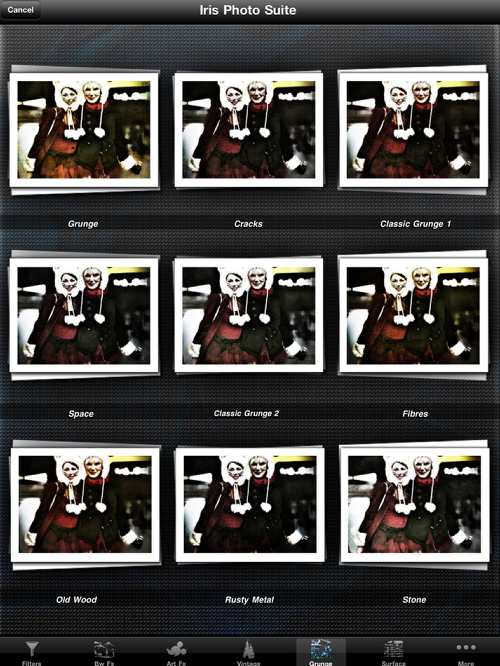
I clicked on FX and then the Grunge category and selected the first Grunge Filter. I left the strength at 100 and clicked on Apply with Mask
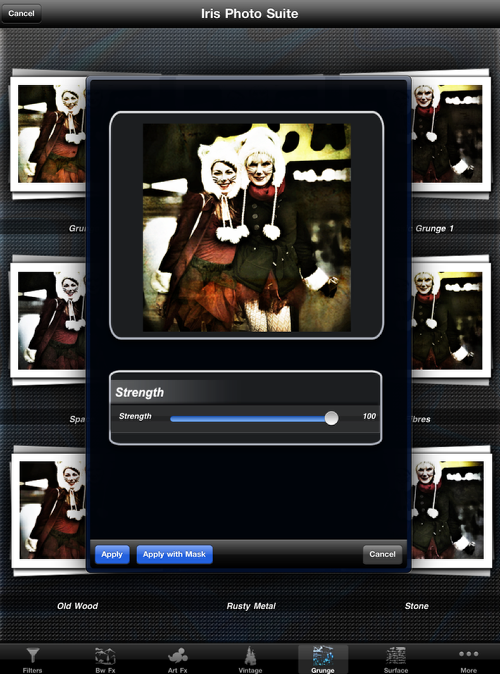
Step 16
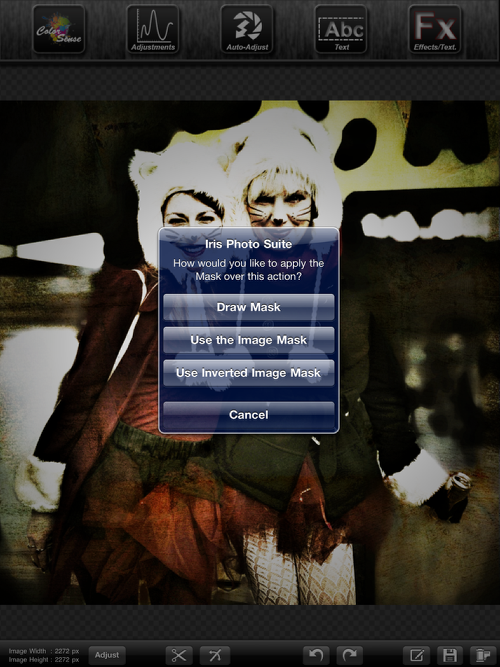
Draw Mask – As before I selected Draw Mask. I like the grunge all over the image but again not on the girl’s faces so I used the brush to brush off the filter from their faces. Use the brush and eraser as needed to either mask off or mask on the filter. Then click on the check mark to accept the changes and save.
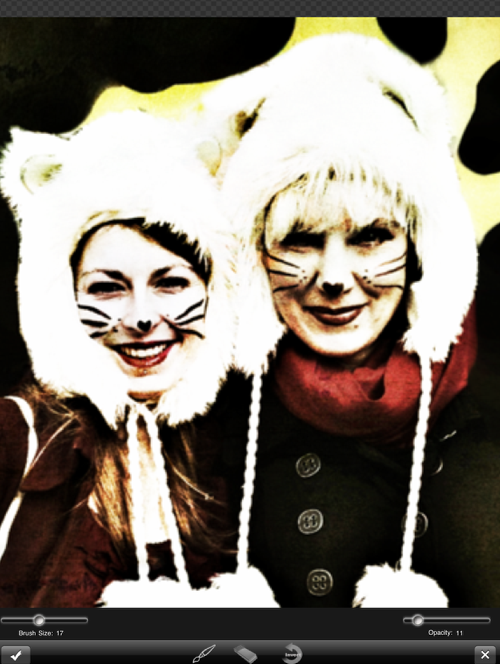
Final Image
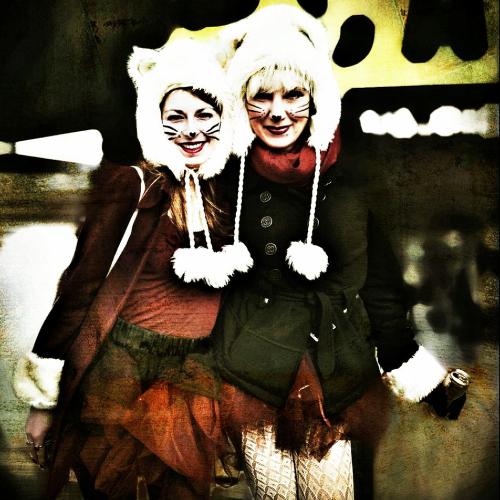
And here is that awesome final image again. I hope you found this tutorial useful. We’d love to read your comments below…

10 Comments
Robert Lancaster
Fantastic tutorial Veevs! Thanks so much for sharing your workflow with us.
Veevs
You are so very welcome Robert, thank you 🙂
Delta
Very cool Veeves ! I always learn something new from your masking technique !
Veevs
Aww Delta thank you, glad you found it useful 🙂
JQ Gaines
Great tutorial, Vivi!!! Not only is your image lovely… but your documented your process beautifully.. thank you!! 🙂
Veevs
Thank you so much JQ, you are so sweet! 🙂
Irene Oleksiuk
You did a great job with this tutorial.
Veevs
Thank you Irene 🙂
Tracy Mitchell Griggs
Thanks for great tips
Veevs
You’re welcome Tracy and thank you 🙂