iPhone Photography Effect Workflow – Freelensing – By Paul Brown
We’re delighted to republish this fabulous iPhone photography freelensing workflow by Paul Brown. We’ve also just published a Day In The Life Interview with him and he is commonly featured within our weekly Flickr Group Showcase which represents outstanding mobile photography from around the world, weekly. He’s a wonderful mobile photographer and one that loves to share the craft that we all so love. You’ll really love this – many thanks to Paul and over to you (foreword by Joanne Carter).
‘In addition to iPhoneography I occasionally take out my digital Fujifilm or my analog Olympus OM10. Using traditional cameras with detachable prime lenses I came across a technique known as freelensing. I haven’t as yet tried it with my digital camera but instead loaded a roll of film in my analog and had a play.
A change is as a good as a rest and as much as I enjoy iPhoneography, having a couple of other camera choices gives me the chance to play and experiment and sometimes the results get me thinking…
How could I achieve that with an iPhone?
I used the following 2 analog freelensing images captured on black and white ISO400 film as my reference images and set about trying to replicate the look using pure iPhoneography.
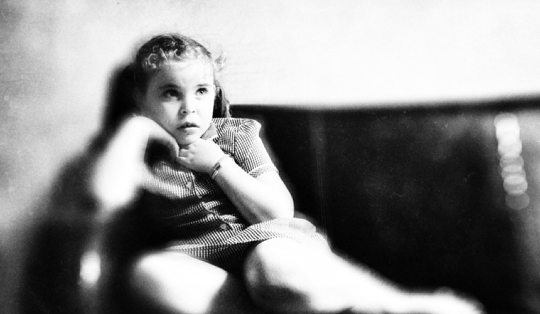
©Paul Brown
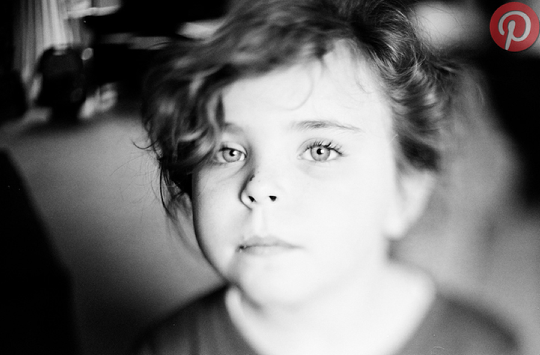
{ analog freelensing – example 1 } ©Paul Brown
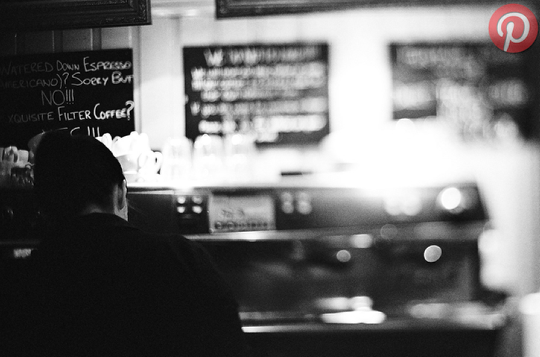
{ analog freelensing – example 2 } ©Paul Brown
Freelensing traditional process and key points
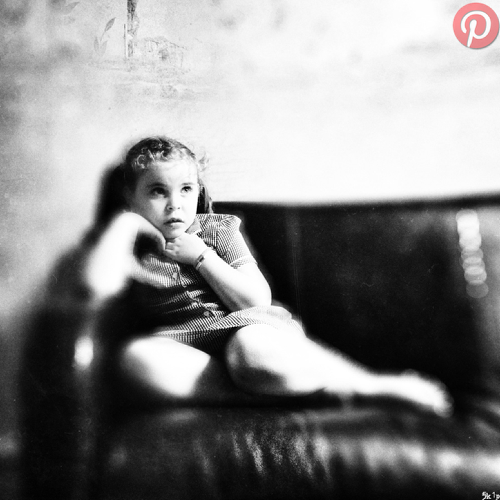
{ freelensing } ©Paul Brown
Freelensing is shooting a photograph with the lens detached from the camera body. You focus by setting the lens to infinity and tilting and moving the lens in one hand whilst controlling the camera and pressing the shutter in the other. The effect of this is to change the flat focal plane to a tilted one. As a result areas that would traditionally be in focus move out of focus and generate some interesting effects. It is I guess a free version of tilt-shift or lensbaby photography but with less control.
I did come across adapters to actually attach SLR lenses to an iPhone. I guess therefore it is theoretically possible to do this with an iPhone and some lenses. The adapters though cost hundreds of dollars / pounds and that really isn’t a viable option for me. Therefore, with no option to detach the iPhone lens, I was left with post processing options. Initially I thought about simple tilt-shift apps / processing but these tend to result in blur rather than a reasonably convincing out of focus ‘bokeh’. The following is how I went about trying to copy the effect of my reference images.
Links To Key iPhone photography apps / processes: AfterFocus • analog • Filterstorm • focal plane • freelensing • Hipstamatic • Mextures • Photo FX • Snapseed • Superimpose • tilt
Process and apps used
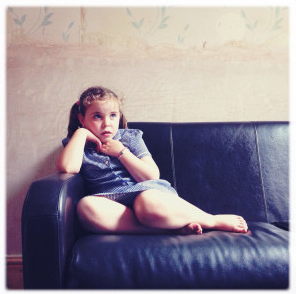
©Paul Brown
Hipstamatic ~ initial capture. Normally where I anticipate significant processing I start with a pure image out of ProCamera. However, this Hipstamtic image struck me as suitable for the experiment so I went with it.
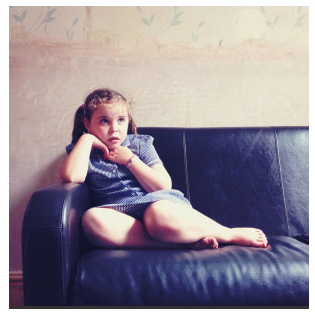
©Paul Brown
Filterstorm ~ as always crop and resize at the earliest opportunity. This crop is just to lose the border and resize to 2,000px x 2,000px to give a good resolution size for printing.
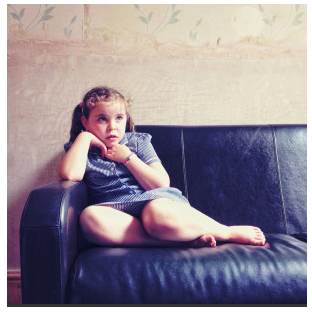
©Paul Brown
Snapseed ~ ‘Structure’ and ‘Sharpen’ both boosted by around 25pct.
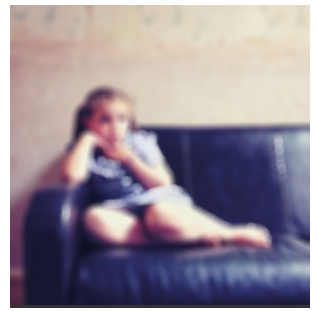
©Paul Brown
AfterFocus ~ with no masking of focus areas, the entire image is moved out of focus by the maximum possible blur amount, with a round aperture and bokeh selected. The bokeh option gives the traditional dramatic out of focus highlights (circles in this case) for light specs and is why I chose AfterFocus rather than a traditional tilt-shift app / function to help create the effect.
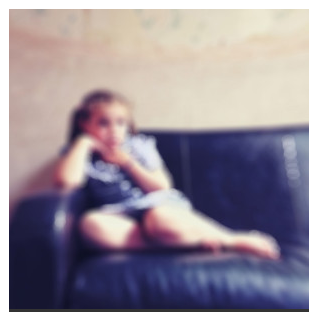
©Paul Brown
Photo FX ~ ‘Wide angle lens’ selected and strength adjusted to suit the image. This action pulls the edges of the image outwards and therefore creates the distorted bokeh circles I was looking to replicate from my reference images.
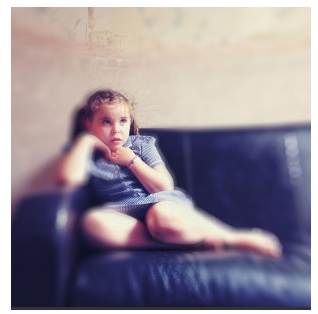
©Paul Brown
Superimpose ~ Image one imported as background and image two imported as foreground. A Bi-Linear Gradient mask is applied centered over the subject’s right eye (as we view). The gradient mask is extended to blend out left and right gradually hiding the out of focus foreground image and introducing the focused background layer. Additionally, the gradient is set to be slightly off vertical, angled marginally from top left to bottom right. The images are blended under normal with maximum opacity.
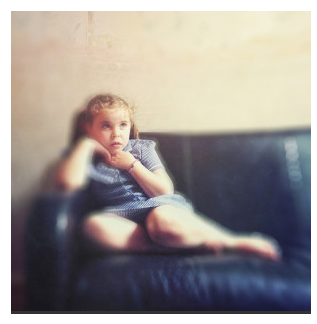
©Paul Brown
At this point I have what I regard as my base image and can now proceed to process it as I see fit. The processes above have replicated the freelens effect quite well I think and now it’s time to have fun.
Mextures ~ I really enjoy creating my own Mextures formulas. However, for the purposes of this image the standard ‘Rothko’ formula is added. There is a subtle hint of light leak and freelensing may introduce light leaks to a lesser or greater extent. There are also hairs and dirt effects and whilst you would normally try to avoid these issues freelensing increases the risk of introducing dirt onto the film / sensor.
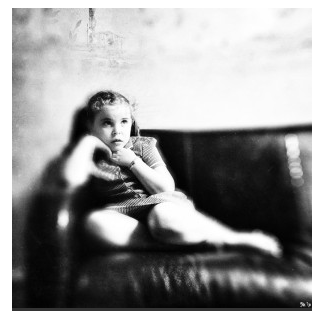
©Paul Brown
Snapseed ~ initially the standard ‘Drama’ filter is applied under standard settings. I then convert the image to black and white using the film pre-set but reduce grain levels to 25pct.

5 Comments
Skip
Thank you Joanne. Really pleased that you re-published this with my blessing. Delighted to contribute to The App Whisperer after all the inspiration you have given me.
Lawson
Excellent article! I love how you took an actual film shot and showed what it took to replicate it…iPhone pictures can be well done, but still with the amount of apps/filters/tricks it took – the original photo looks better and will contain far more information/data that can be printed larger and clearer.
Interesting article, well done mate.
More Photography Tips
Skip
Thank you Jared. Yes I mitigate quality issues by getting a good size at the start of the edit so that each process that is added is done at final resolution. I’ve had iPhone images of this resolution printed 16″x16″ (was beta for a start up) and they came out absolutely brilliantly although I’m not a pixel peeper so no clue what a professional would make of them. I’ve only just gone to iPhone5 and only now realising how much extra resolution I have to play with because photo-stream removes all the extra resolution when transferring to iPad and I had no idea! Need to find a better way to Sync.
Paul J Rose
Interesting and informative article, Paul. Thanks for posting.
Skip
Thank you Paul, really delighted you enjoy it and always my pleasure to share processes.