iPhone Photography Video Workflow By Paul Brown
We’re delighted to publish Paul Brown’s latest workflow tutorial – this time he has taken a different approach and used video to explain. It’s fascinating and excellently put together, we think you’ll enjoy this a lot. We have published several of Paul Brown’s workflows recently, if you’ve missed those, please go here. Over to you Paul (foreword by Joanne Carter)…
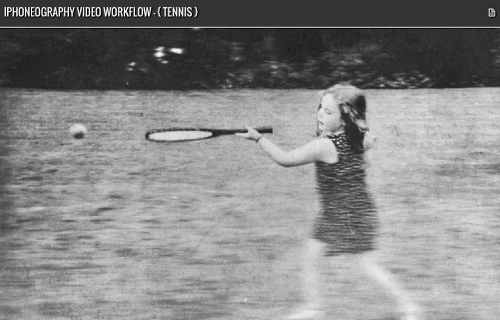
Originally a very static Hipstamatic capture, ‘tennis’ was processed to introduce movement and a vintage black and white iPhoneography look.
This tutorial includes a real-time narrated video workflow and slows the pace right down to look at just a small handful of iPhoneography apps that I use on a day to day basis to create some of the styles I generate. I frequently get told that my images are recognised as mine but I tend to process iPhoneography images in an individual way. The image tells me how it needs / wants to be processed and with the exception of my textured floral work, whilst the results may be recognised as mine, the processes are often very different.
Key iPhoneography apps / processes (with links): AfterFocus • Hipstamatic • Mextures • Snapseed
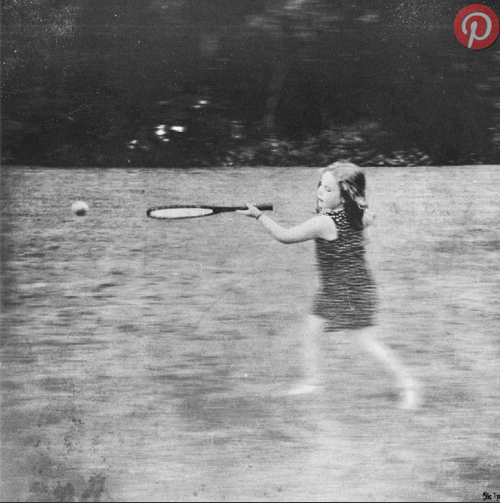
{ tennis }
Process and apps used
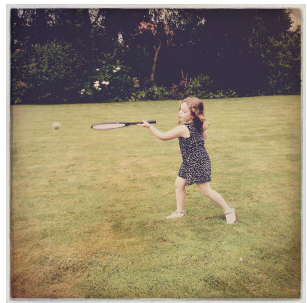
Hipstamatic ~ initial capture:
This combo is Madalena lens with Robusta film
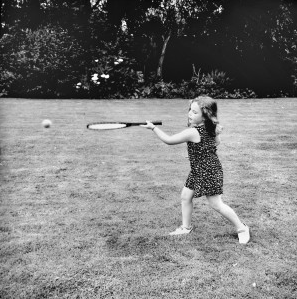
Snapseed ~ apply the following edits / processes
- Straighten – to level the horizon,
- Crop – with a 1:1 ratio selected to compose the image with the rule of thirds in mind,
- Drama – standard filter to pull out the detail,
- Black and White conversion – standard settings
Snapseed – view this process on Video:
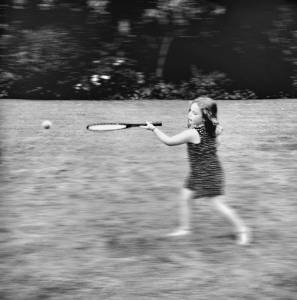
AfterFocus ~ the iPhoneography image is imported in to AfterFocus with no manual masking I proceed straight to the second screen where a motion blur at full strength is applied across the whole of the image. I then use the Fading background tool to automatically reintroduce detail in a gradual way.
AfterFocus – view this process on Video:
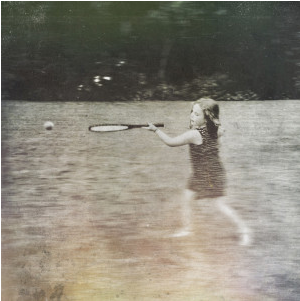
Mextures ~ Predefined ‘Teen Spirit’ combination of textures applied.
Mextures – view this process on Video:
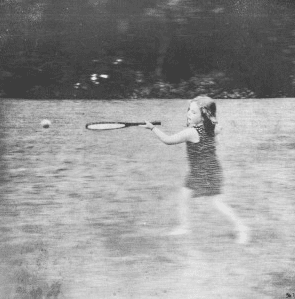
Snapseed ~ converted back to black and white with reduced brightness, boosted contrast and boosted grain. This is my watered down version of the predefined ‘film’ black and white conversion filter.
Snapseed – view this process on Video:
Narrated video tutorial – View the entire end to end process on video:
With many thanks to Paul for granting permission for this article to be republished here.

2 Comments
JQ Gaines
I love the video format, Paul… this is a wonderful tutorial
Paul Brown
Hi JQ, thank you 🙂