Technical Mobile Photography App Tutorial With Layover
We have just published our latest Technical Tutorial by our Head of Technical Tutorials David Hayes. This time David gets to grips with the iOS photography app Layover and explores some excellent features. Over to you David… (foreword by Joanne Carter).
Layover retails for $0.99/$0.69 and you can download it here.
“In past articles, I’ve covered the different aspects of how to use this great layering app. This time I thought I’d have some fun creating a bit of “surrealism” given Layover’s capability to work with up to five layers at once.
A bit of a disclaimer here at the beginning…all the elements that I will be using in this article I prepped outside Layover using other apps. I won’t be discussing how I did these layers but I’m sure you can create your own without my help!
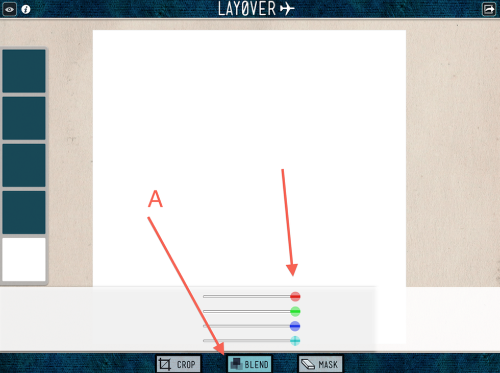
First thing I wanted to do is to make my base layer square, which I did in the crop function. I also wanted to make it white, which I did in Blend (A) by pushing the color selectors all the way to the right…giving me white!
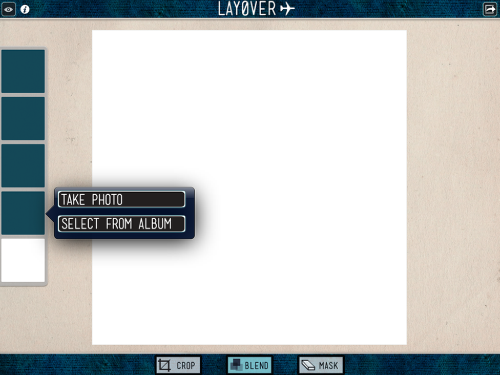
Let’s bring in the first layer. Click on the layer box bringing up my source menu. I went to my Albums, where my images are saved and ready for me to bring into my creation!
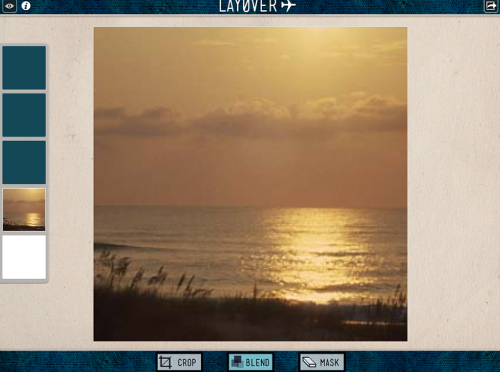
This is a snippet of beachscape I shot many, many years ago at the Outer Banks in North Caroline. And I will also confess that this is a scanned image from a Kodachrome color slide. (Remember those!!). Using the Crop function, I positioned the image in the work screen. Time for the next layer.
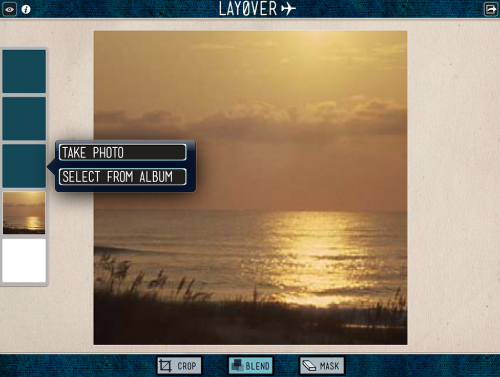
Again, I clicked on the Layer box and went to my Camera Roll…
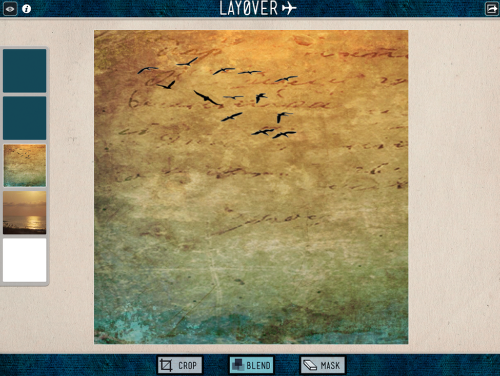
…bringing in this layer that I had created earlier. (I think I used 4 different apps to create this one…but who’s counting!)
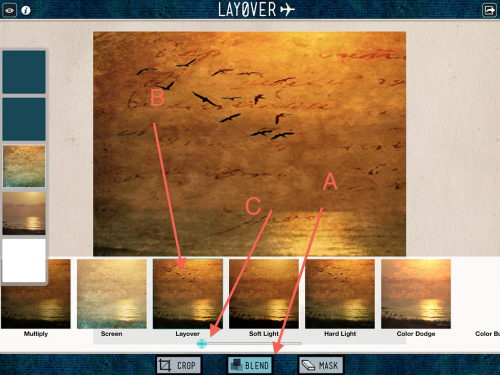
Now…for a little Layover magic! Clicking on Blend (A), I selected the Layover mode and after a bit of playing about, I decided to leave its level at full (C). This allowed the beach scene to come through the top layer yet keeping the writing and the birds.
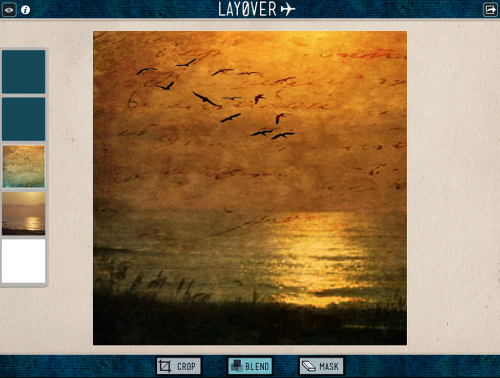
This is what I have so far. Pretty cool if I say so myself. I did take a moment to save this layer to my Camera Roll for future projects. (Layover allows you do to that without having to start all over. I’ll show you how this works in a bit.)
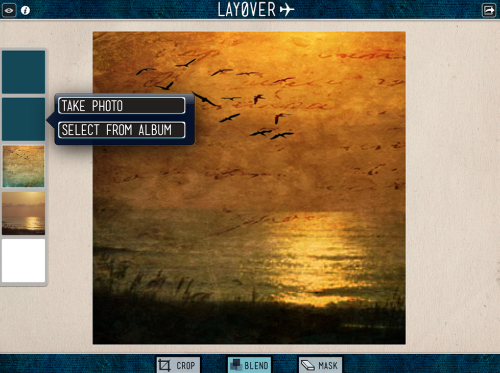
Same sequence to bring in the next layer, click the layer box, select from my Camera Roll…
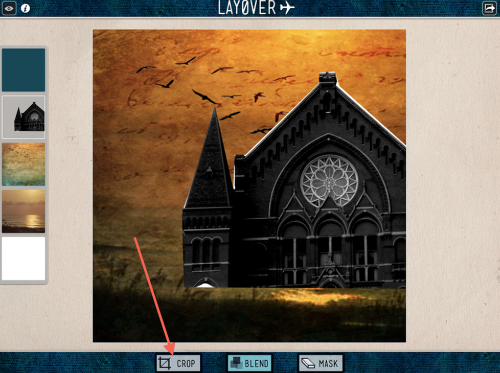
This time…a portion of Cincinnati’s Music Hall shot in black and white….extracted from the rest of the building for this project. I clicked on the Crop to activate this mode so I could place the image. (While you don’t have to necessarily have to do this, I have found it makes life easier to move and resize if I do!)
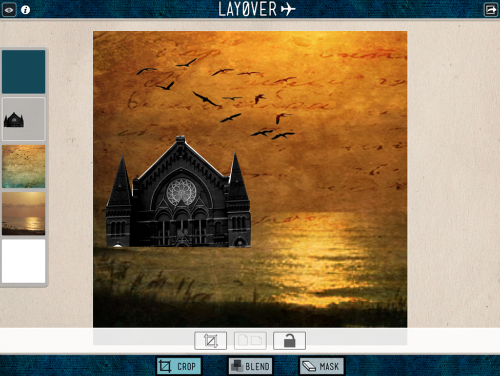
I reduced the size of the building and placed it on the left. This won’t be its final size or position but this gives me a good idea for when I place my last layer. I know I can reactivate this layer box anytime I need to make changes without disturbing the other layers. One of Layover’s many plusses!!
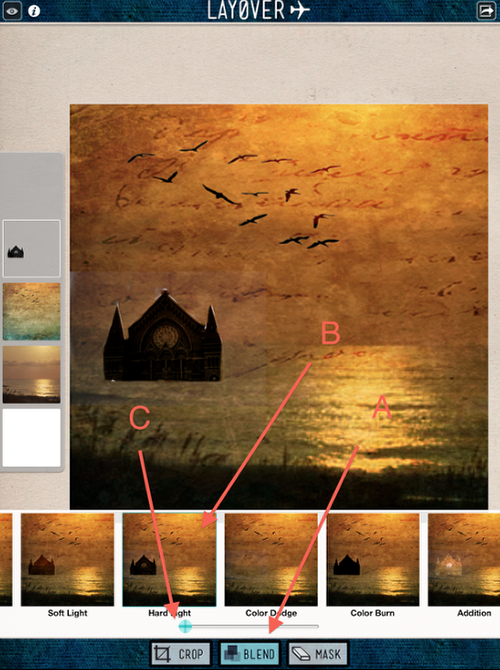
I went ahead to work with the Blending mode of this layer…click Blend (A), I chose Hardlight (B), and pushed it to full (C) giving the building a nice silhouette appearance.
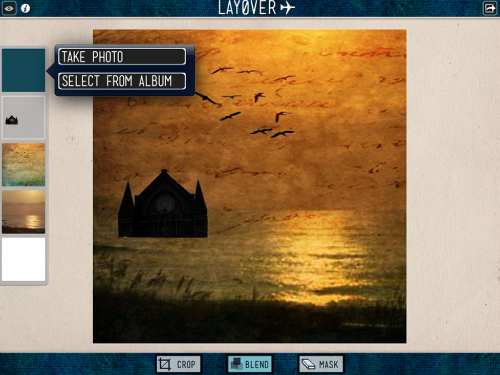
And…don’t get bored with me…the same sequence to bring in my final layer!
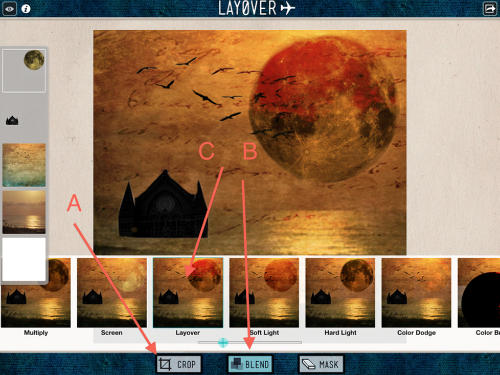
This isn’t my image of a full moon…came from a stock file…but I did extract it from its background! As with Music Hall, I first activated Crop (A) to place/size the moon and then went to Blend (B) and used Layover. I adjusted this level to allow the background to come through the moon…I didn’t want to lose my birds!!
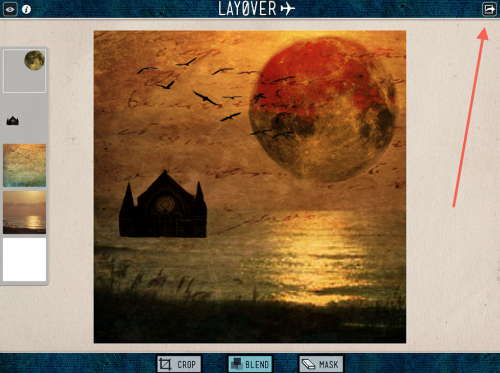
What I’m not showing you is my going back to each of the layers and tweaking them ever so slightly. As I mentioned a couple of steps earlier, all you have to do is to click on that Layer’s box and you can make any changes you wish!
This all done, I clicked on the Share icon at the top right to save my image!
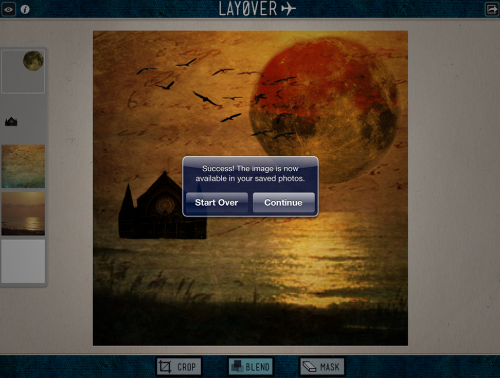
When Layover is finished saving your work, this menu will open giving you the opportunity to Continue your work as it stands or Start Over. Clicking this will clear everything you’ve done…so don’t click it unless you mean it!!
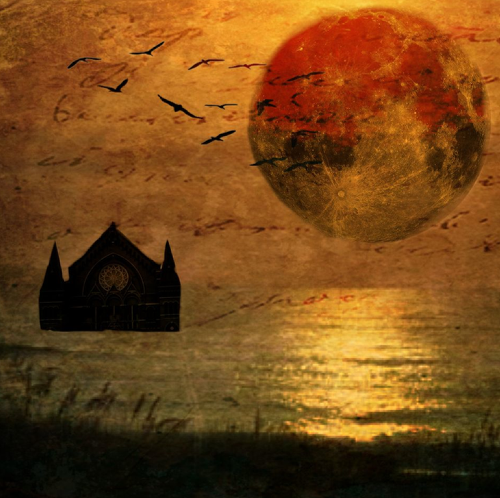
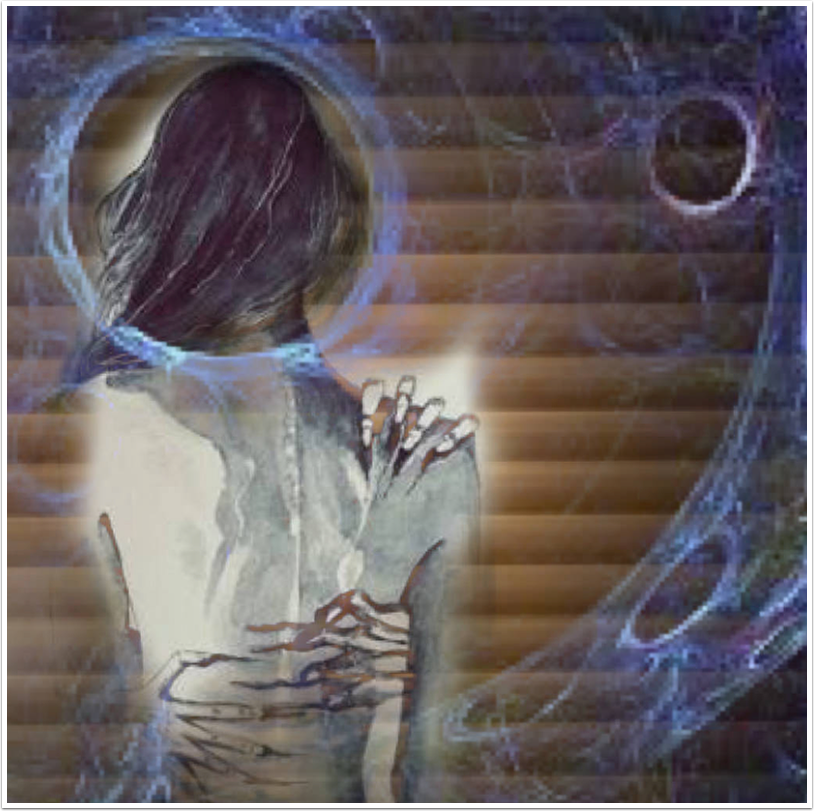
The final image!! Not too bad…although looking at it now, I see some things I’d like to change but that would mean having to starting all over. Yep…I clicked Start Over!

6 Comments
Janine Graf
Great tutorial . . . although I was a bit bored there for a bit (I tease). Seriously, it was wonderful and has me thinking I really need to give this a go. Your previous tutorial had me excited to purchase the app, but I haven’t even tried it out yet . . . either because of my self-diagnosed ADD, or the fact that I’m lazy, or the fact that my brain is only good for knowledge of five apps . . . probably a combination of all of the above. 😉
David
Janine – bored!??? I know…there was no bacon or boobs used in this tutorial…but I do want you to know I did consider it. In the long run I think I’m better off that I did extract b….. and use that as a layer in my image…
Robert Lancaster
Great tutorial again David … thank you muchly!
For your next tutorial maybe you could cover how you extracted the church used in this tutorial. 🙂
David
Robert – just saw your comment…sorry about the delay! I used PhotoStation to extract the church…check out the tutes I’ve done using this app to see how it’s done!
Tracy Mitchell Griggs
Thanks for sharing your expertise 🙂
David
Thanks Tracy! And thank you for leaving a comment…I do appreciate when folks do this for me!