‘Impossible’ Tutorial – Double Exposures With The Instant Lab
We’re delighted to be working closer with The Impossible Project team as we continue to branch out and expand our reach with all things related to mobile photography. Analog post-processing of mobile images is becoming more and more popular and we’re going to make sure our readers are fully briefed on this very exciting development.
The Impossible Project is in many ways leading the way, but there is also a growing community of mobile artists and photographers experimenting with other analog post processing techniques in an attempt to make their mobile images stand out even more, in galleries, magazines and the like and we have viewed some outstanding images and techniques.
A good deal of my formal photographic training (many years ago) was spent in a huge college darkroom and it is an area that I’ve always enjoyed, I think you will too. I also had a very close working relationship with Polaroid built up through my years as Technical Editor for various UK photography print magazines/titles.
Today we are publishing a wonderfully creative tutuorial demonstrating how to create double exposures using your Instant Lab Camera and Impossible film. It’s quick to learn and this super cool effect can be reproduced across a myriad of different combinations.
What you will need:
1 Instant Lab Camera
1 Impossible B&W or Color Film for Instant Lab Camera
Method:
Step 1: Take your Instant Lab camera and a pack of Impossible B&W or Color Film for Instant Lab and load the film into the camera.
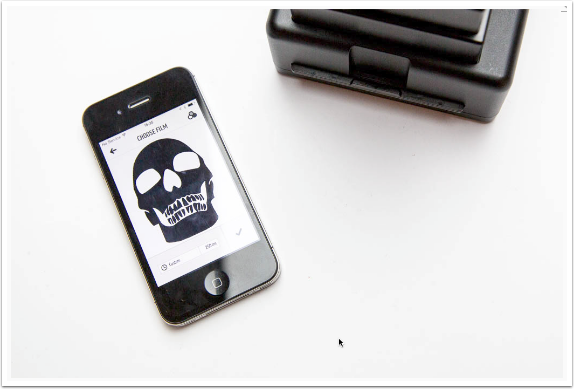
Step 2: Using your iPhone, choose the two images you would like to double expose and make sure they are saved to your camera roll.
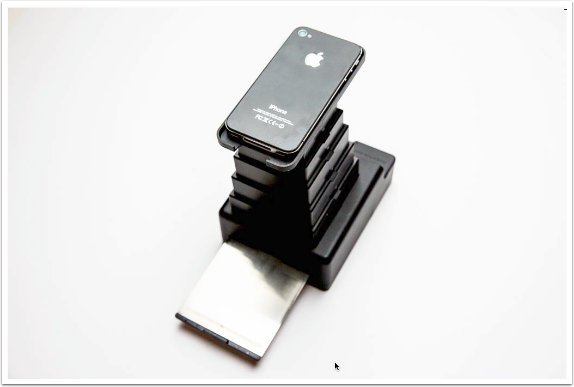
‘Pull the shutter slide out – do NOT press eject!’
Step 3: Launch the Impossible Project App on your iPhone, and open the ‘Instant Lab’ section from the menu, then follow the instructions on the screen to choose and edit your image.
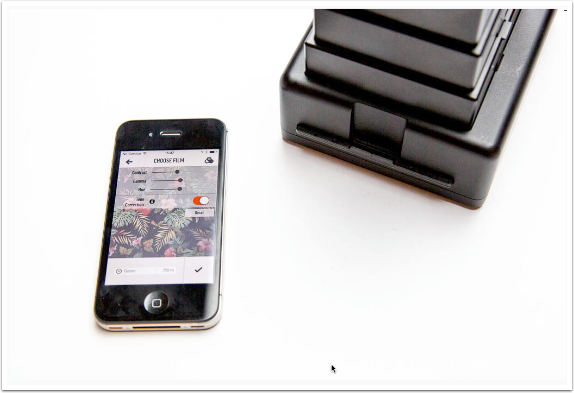
‘Adjust settings as required’
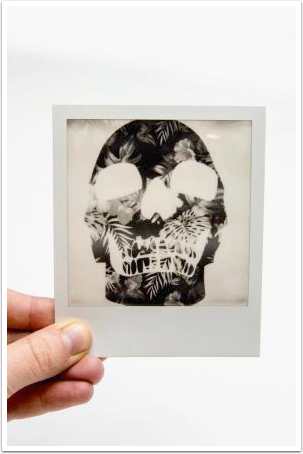
Step 4: Choose the first image to be exposed from your albums, this should be the image with the most black tones [for example, our skull silhouette as shown], crop the image as necessary then select your film type and exposure time from the pop-up list. We recommend you set the “Contrast, Gamma & Hue” to the highest possible settings and the exposure time to 250, but that’s just us!
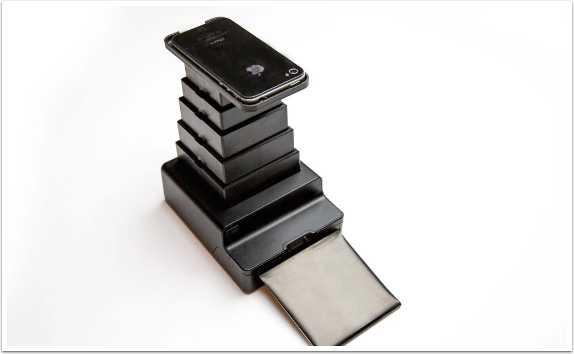
‘Repeat the process but this time – press eject!’
Step 5: If you’re new to the Instant Lab, watch the tutorial video on your iPhone screen and then place the device on the cradle screen facing down. Once in the cradle, the device’s flash will turn on. Within 3 seconds, pull the shutter slide all the way out, but remember do NOT push the eject button!
Step 6: Choose ‘New Image’ to expose another image, we have used a floral print in our example. Adjust the settings as required (we like to reduce the contrast just a touch) and then repeat Step 5.
Step 7: This time you can press the eject button. Let your image develop and enjoy your double exposure!
Please help us…
TheAppWhisperer has always had a dual mission: to promote the most talented mobile artists of the day and to support ambitious, inquisitive viewers the world over. As the years passTheAppWhisperer has gained readers and viewers and found new venues for that exchange. All this work thrives with the support of our community.
Please consider making a donation to TheAppWhisperer as this New Year commences because your support helps protect our independence and it means we can keep delivering the promotion of mobile artists that’s open for everyone around the world. Every contribution, however big or small, is so valuable for our future.

One Comment
Carlos
Glad to have you back Joanne. Sorry you were off-line for a few days. But your back again. Hallelujah!