Mobile Photography/Art Tutorial – Pixelmator for iPhone – TheAppWhisperer
We are delighted to publish Jerry Jobe’s latest mobile photography/art tutorial for our pleasure. This week Jobe takes a look Pixelmator, now a universal app. Read his thoughts as he puts this new iPhone version through it’s paces (foreword by Joanne Carter).
Pixelmator retails for $4.99/£3.99 and you can download it here.
“Last November I started a five-part series on an app new to mobile devices (see here), Pixelmator. It’s a very powerful program, but that power was limited to iPad users. That is, up until last week, when Pixelmator for iPhone was released. It makes Pixelmator a universal app, and therefore does not incur any addition cost for those who have used it on the iPad.
I’ve attempted to put it through its paces, even though I am one of those who find the smaller screen of an iPhone challenging. I have not yet found anything that can’t be done on the iPhone that could on the iPad. There are still limits on the number of levels that can be used, but it doesn’t seem to be any lower on the iPhone.
For more in-depth coverage of Pixelmator, refer to my five-part series. This article will just show how the app looks on the smaller screen of the iPhone”.
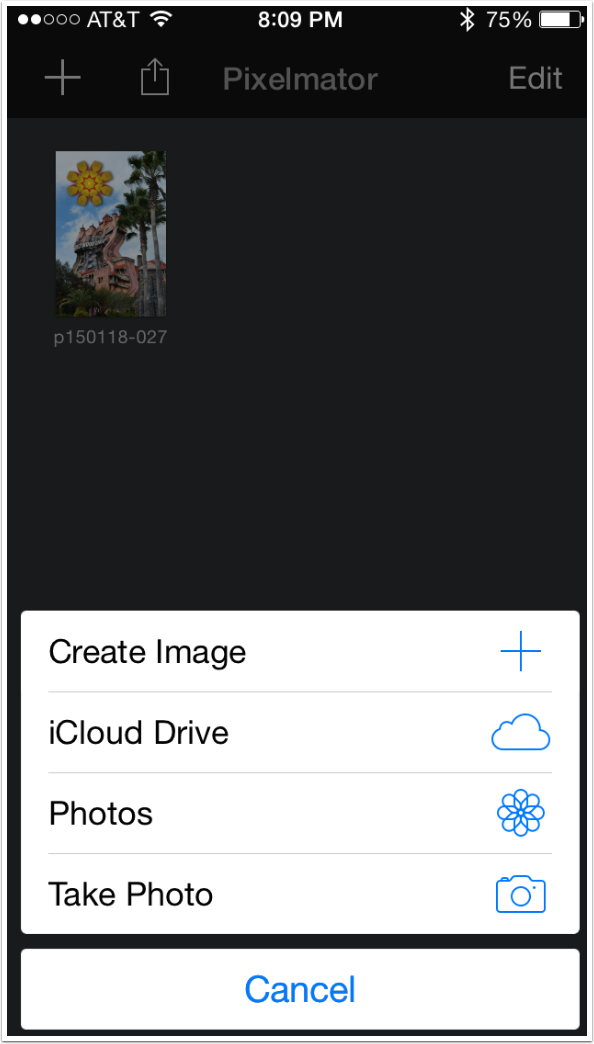
Pixelmator, as a layering app, requires a gallery internal to the app. Layered images can’t be saved directly to the Camera Roll, so they must be saved to the gallery. That requires some extra steps to get an image ready for editing, but it really can’t be helped. This also means that the app itself will take up a lot of space if the gallery is full, so make sure you keep the number of editable layered images to a minimum.
Below you’ll see the options for importing images into the gallery, including Create Image, which is used for painting on a blank canvas. For the purposes of this article, I will not be examining the painting options; just be aware that they are as robust as the iPad version.
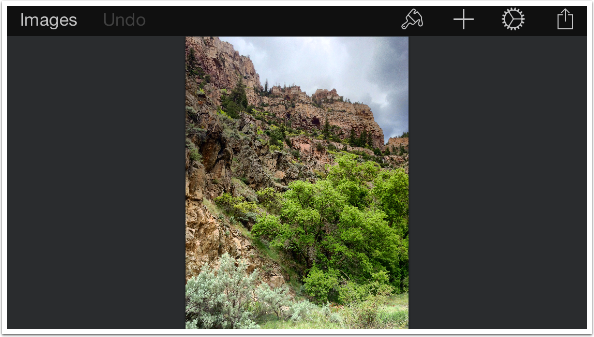
Pixelmator is one of the only apps that I’m comfortable working with in landscape mode. Below you’ll see that I’ve turned my iPhone so that the screen is wider than it is tall. This helps when the layer menu is swiped in from the left side. At the upper right are four buttons: Tools (Brush) to adjust the current layer, Add Layer, Settings and Save.
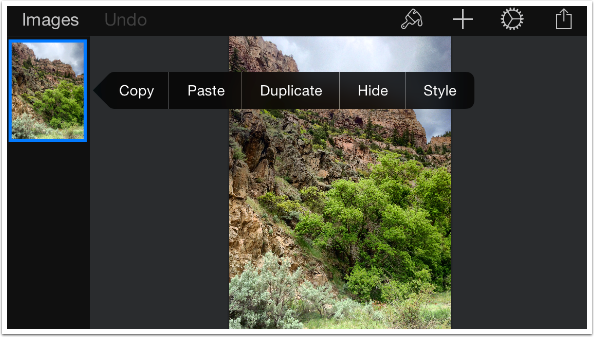
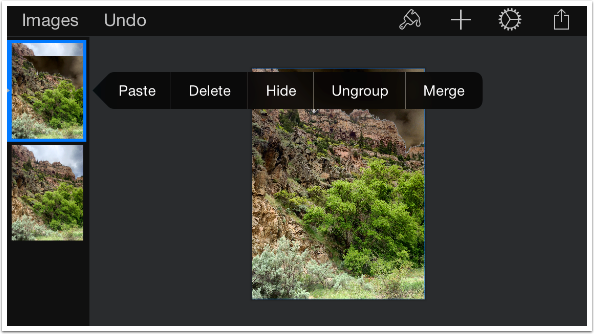
Swiping in from the left shows the layers. Tapping a layer brings up a flyout menu, which allows you to copy, duplicate, delete or style a layer. I duplicate the layer.
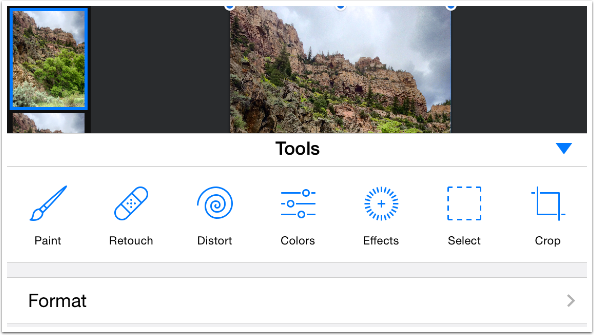
Tapping the Brush button brings up the tools, which allow you to adjust the current layer (in my case, the duplicate). You can see that all the same options are available as the iPad version.
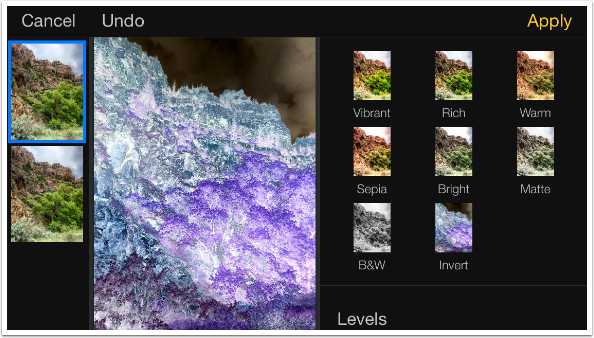
I chose the Colors tool. I selected the preset Invert. I could also scroll down to access Levels and Curves controls. If you look at the actual image you’ll see that I used the two-fingered pinch to zoom in on the image to get a clearer idea of what the preset would do. When it’s acceptable, I tap Apply in the upper right. If I’m not happy, I tap Cancel at the upper left.
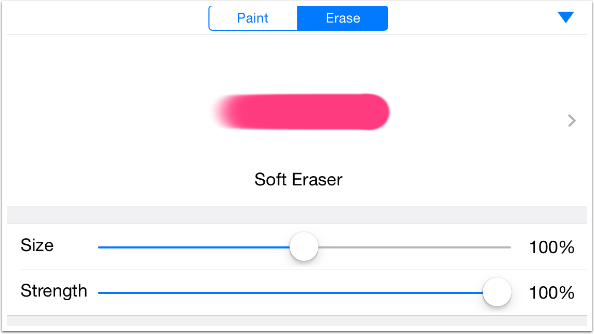
I really only want the Invert to change the color of the sky. Pixelmator does not have standard masking tools; instead, you erase the changes from the layer using a brush. I chose the Paint tool and tapped the button at the top to change from Paint to Erase. Then I can modify the characteristics of the Eraser.
By zooming in and out, I erased the Inverted layer until only the sky was left. This is not the most accurate masking technique. Notice the edge where trees meet the sky, and notice the lone tree I was unable to mask about a third of the way in from the left.
If you look at the Layers palette, you will see that the top layer shows a lot of the grid, which indicates the transparent areas of the layer.
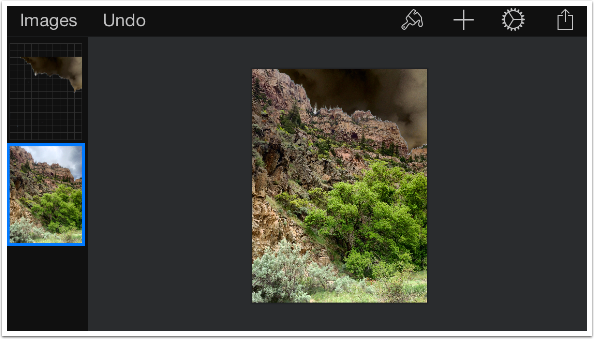
I wanted any following changes to apply to both layers, so I had to merge them. Tapping the bottom layer, I duplicated it. (This way I can save the original in it’s own layer.) Then I tapped the upper layer and selected Merge, which flattened it onto the duplicate. An interesting bug appears; the representation of the layer in the Layers palette has the sky offset, even though the actual image shows that the sky is in the correct place.
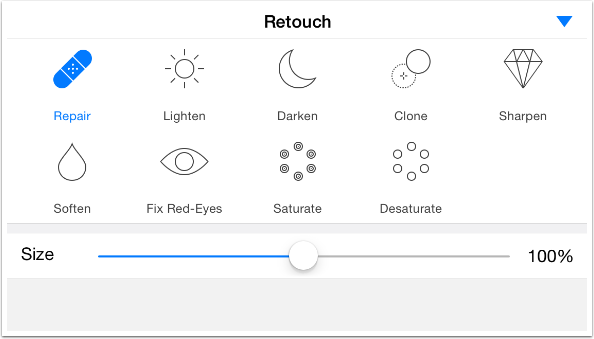
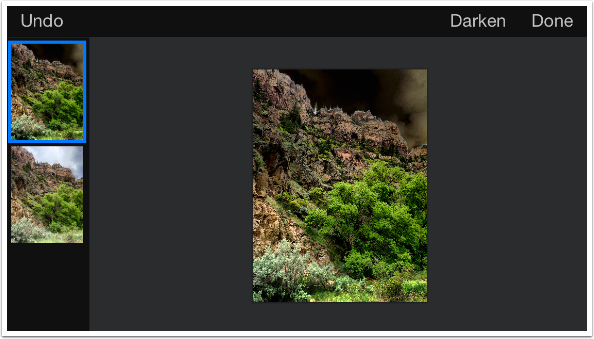
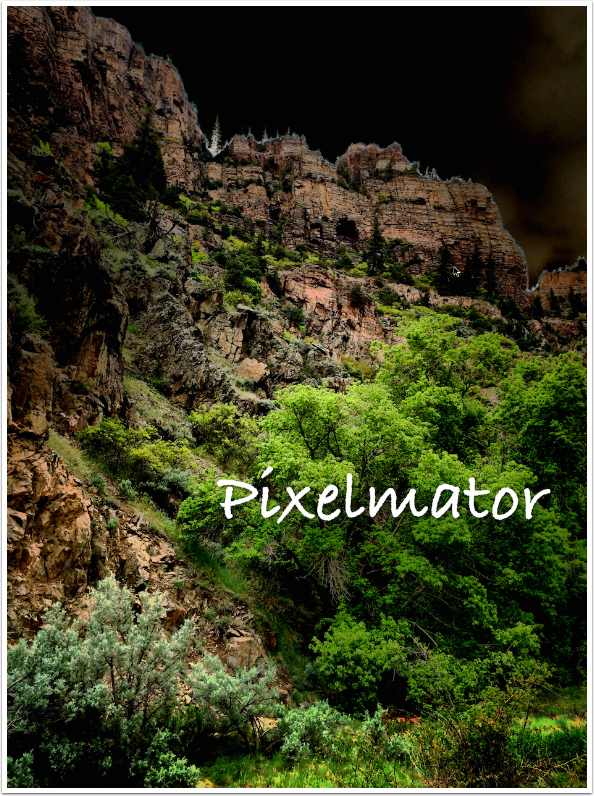
I find that the grass at the bottom of my image is too light, given my dark sky, So I decide to use the Darken brush in the Retouch tools.
A couple of swipes along the bottom and I have a much more dramatic image.
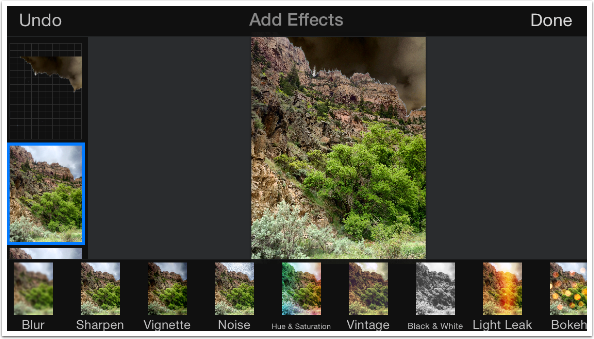
There are many different options in the Effects category; fourteen to be exact. I want to add a Vignette.
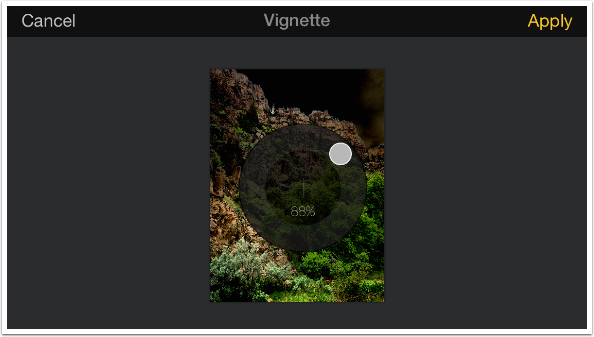
I place the Vignette in the center and adjust it down slightly from the default value of 100%, and tap Apply.
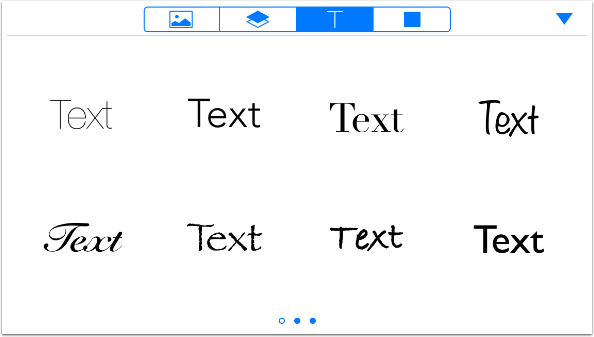
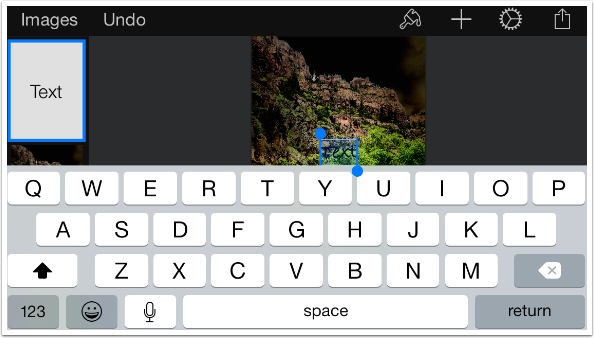
The Add Layer option allows you to add another image, a blank or colored layer, text, or shapes. I’m going to add Text, and choose a font (third in the bottom row).
Tapping on the text box allows me to modify the text.
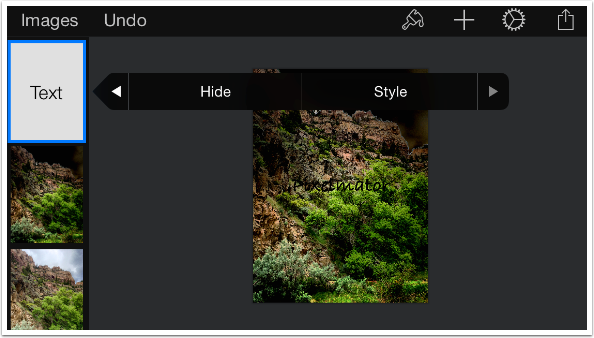
Tapping on the Text layer thumbnail brings up the flyout menu that allows me to change the Style of the text.
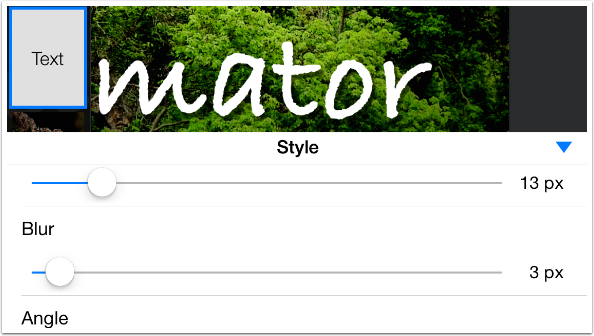
I zoom in and change the color of the text to white and add a shadow as well.
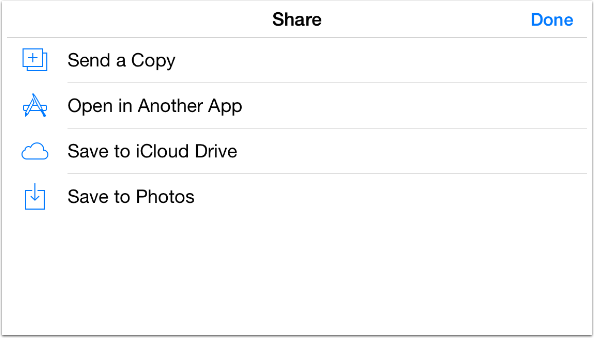
The Save options are shown below.
And here’s my final image.
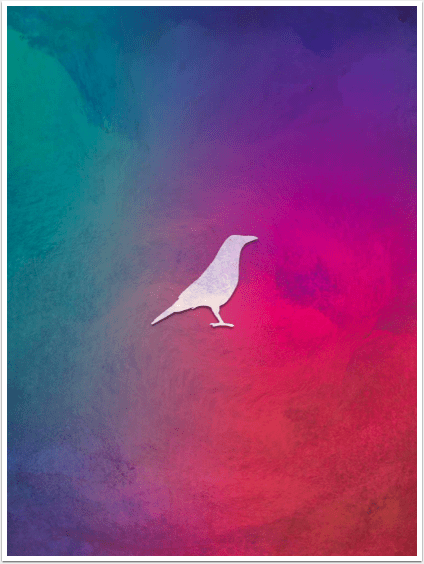
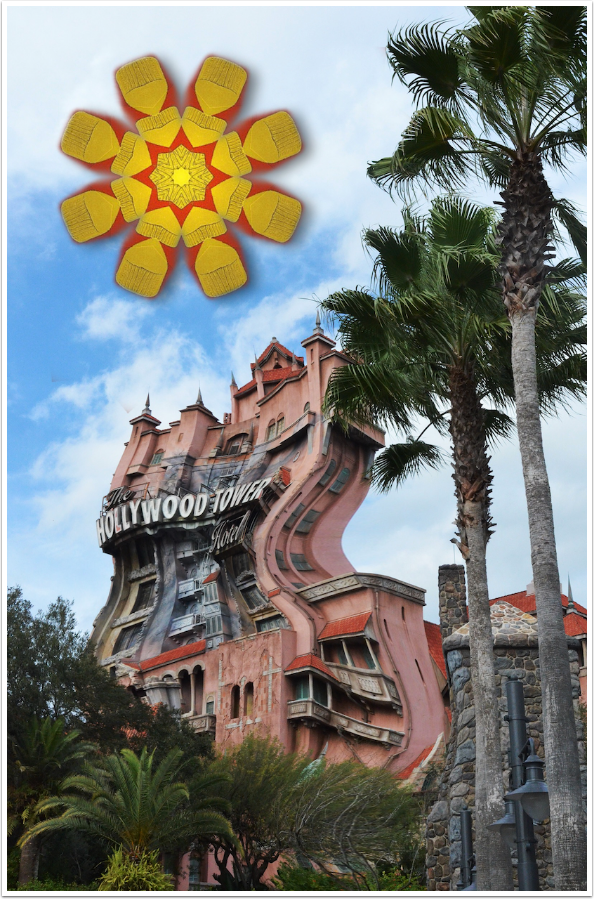
Pixelmator also added a very fast distortion tool as it added the iPhone version. In the image below, I used Distortion on the building, and then used Kaleidoscope (under Effects), followed by a Drop Shadow Style, for the orange and yellow figure.
Bottom line: with the recent loss of Photoshop Touch, there is a need for powerful layering “do-it-all” apps that are universal. Both Pixelmator and Enlight have promised to be that app, but Pixelmator was only available on the iPad and Enlight is still only available on the iPhone. Pixelmator has made the first step to be the Photoshop replacement, and there is a lot to recommend it. Only time will tell if one or the other wins out.
Jerry Jobe
Never content with just scratching the surface of what an app can do, Jerry Jobe decided to pass on what he learned about imaging apps to others. He’s constantly trying to figure out just what tools other artists have used, and trying to incorporate them into his own work, in an attempt to find his style. He’s written tutorials on over 145 apps so far, which you can find (along with his Song of the Day entries) at http://enthusiasmnoted.wordpress.com/ He lives near Atlanta, Georgia, where he also finds a creative outlet in acting and directing in community theater.