
Mobile Art App Tutorial – APPart – ‘Glitché’ by Bobbi McMurry
Last week Bobbi (our editor for this APPart column) published a brief overview of Glitché app, if you missed that please go here. She also promised a more in-depth tutorial and today has delivered. Please enjoy this (foreword by Joanne Carter).
“If you’ve ever looked at my artwork, you know that I create with extensive layering. While I’m not a fan of “push-button” art, i.e.: apply an effect and your done, I do like “specialty apps” to create images that can be layered into my work. For me, Glitché is just that kind of app. Glitché caught my eye because of it’s ability to create a sort of wireframe overlay of any given image and export the result as a high resolution image. The basic app is reasonably priced at $.99/£0.79, although to get the high-res option, you are required to make an in-app purchase of $2.99/£1.99.
Glitché has 26 presets, each with similar variations that can be applied. I could find no built-in instructions or tutorials, but its interface is pretty intuitive. Unfortunately, there is no “undo” in this app, which makes for laborious and cumbersome experimentation”.
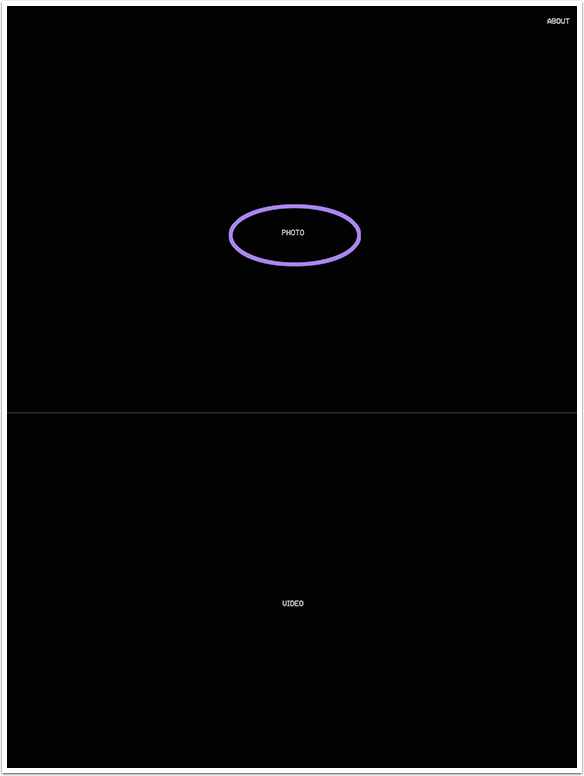
When you open Glitché, this is what you’ll see. You have a choice of opening a still photo or a video. For our purposes, we’ll select “photo”.
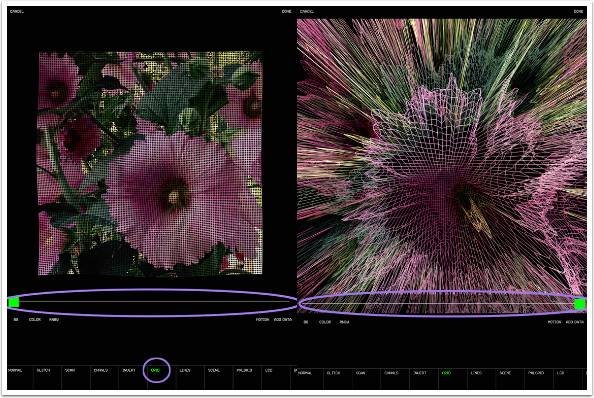
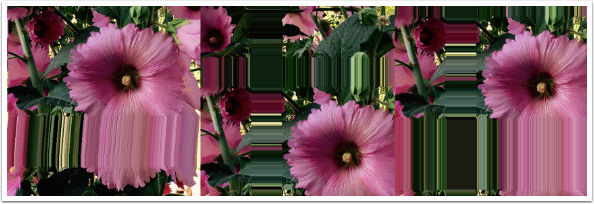
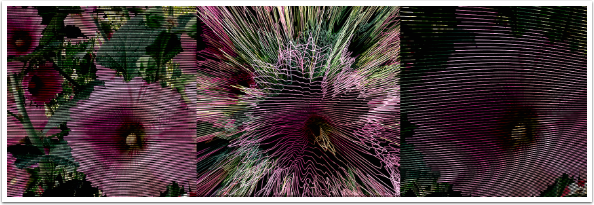
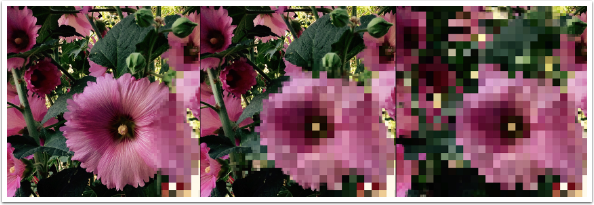
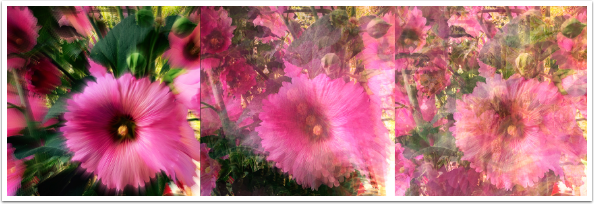
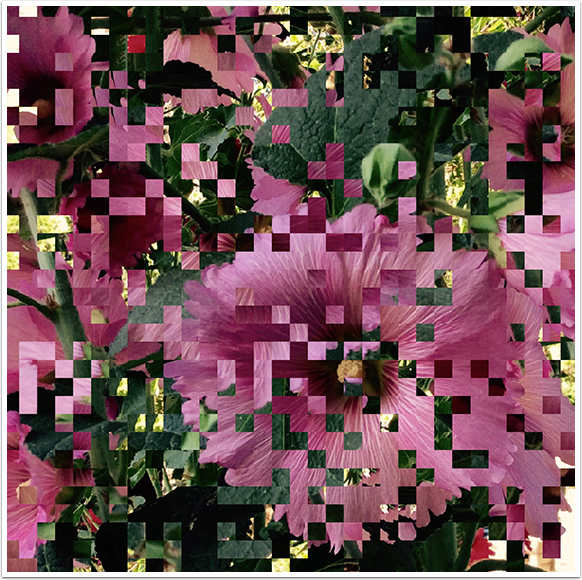
I’ve uploaded a simple shot of a hollyhock, and just below the image you’ll see a row of presets. Note, this image is a square, but if you have an image that is rectangular, just “pinch” your image and you can apply effects to the entire image.

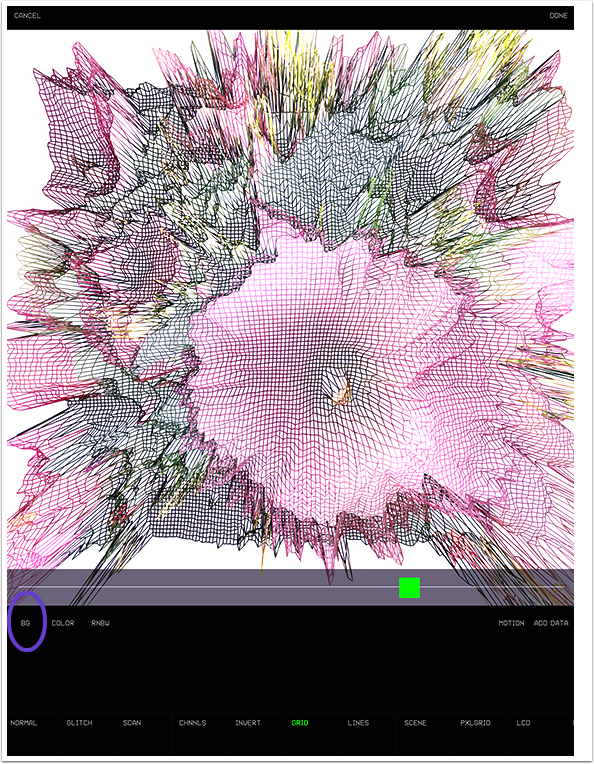
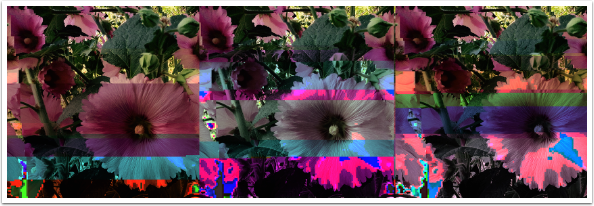
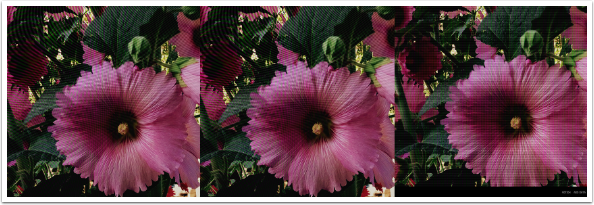
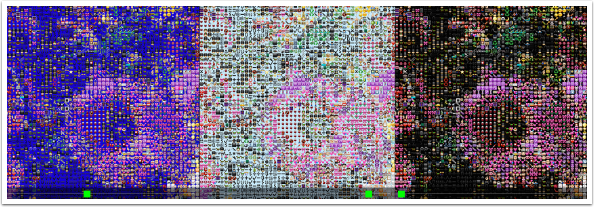
Press the “Grid” preset and this is what you’ll see.
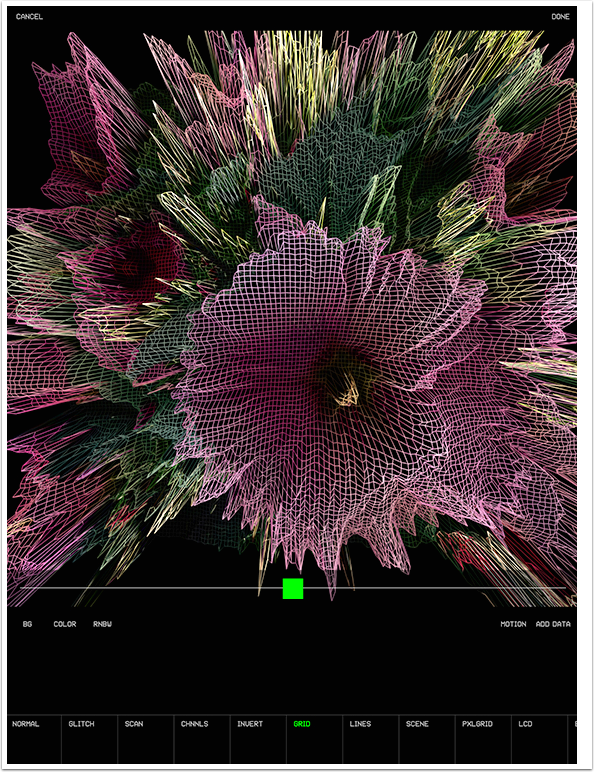
There is a slider bar just below the image that allows you to control the amount of the preset distortion applied. Here are the results showing both the low and high end of the “grid” preset.
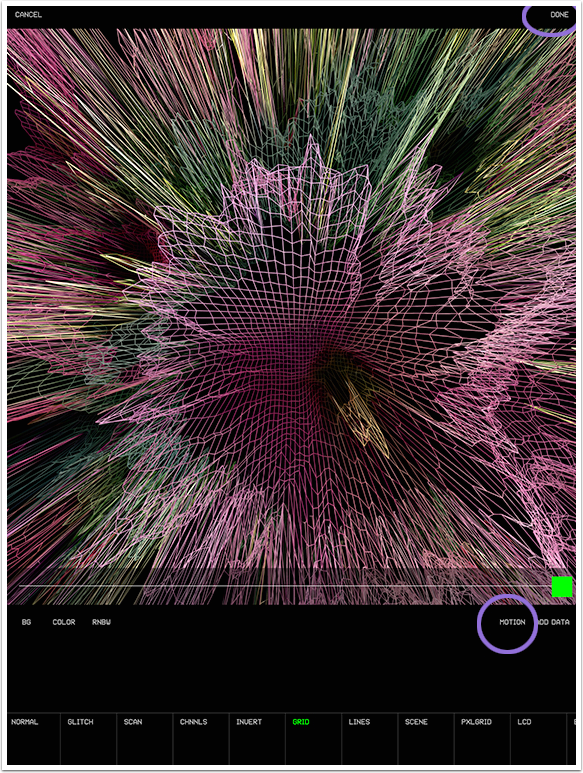
There is an interesting twist included. Once you apply one of the presets, you will see that the result is moving slightly. You can “freeze” the image’s distortion by pressing the word “Done” in the upper right hand corner.
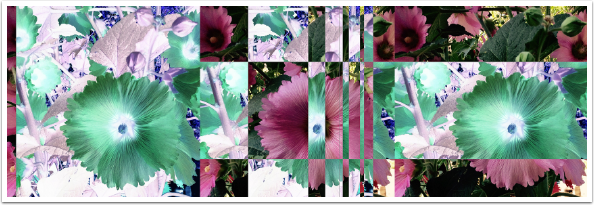
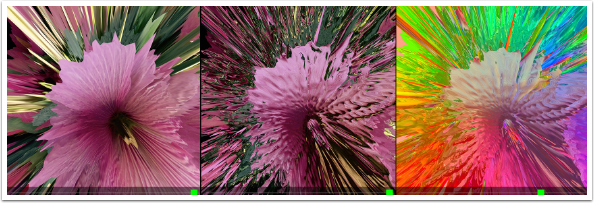
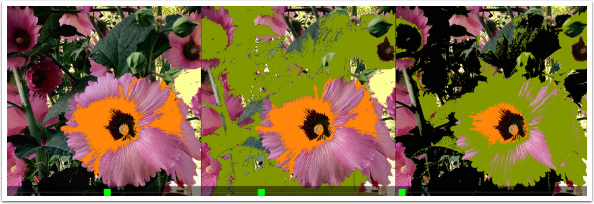
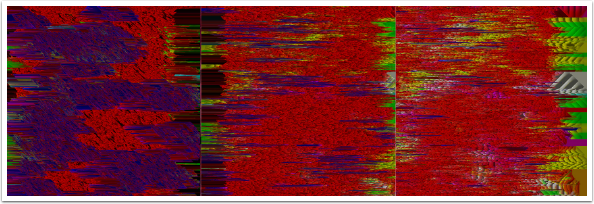
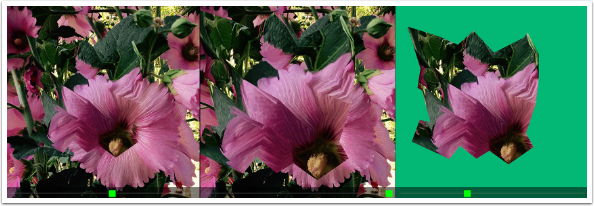
There are a couple of other variations to each preset found on the left, just below the image. This is the result of selecting “BG”, and you can see that the background has changed from black to white.
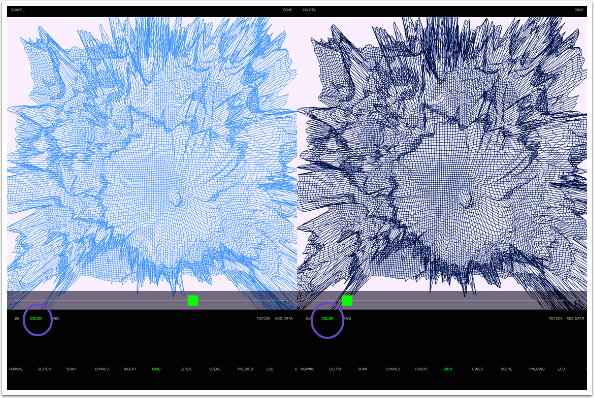
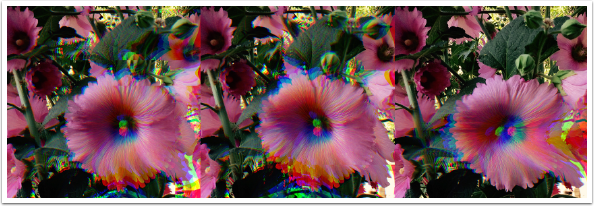
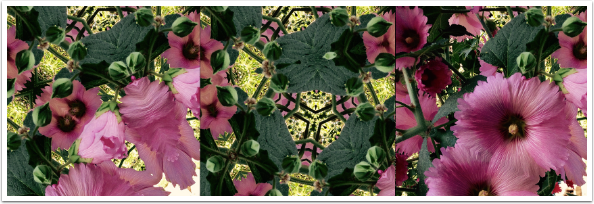
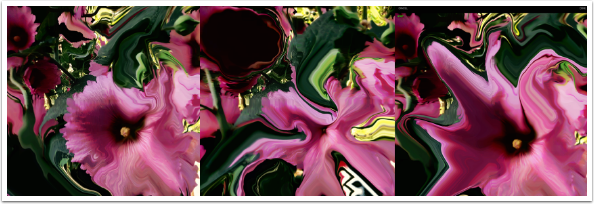
Select “Color” and the grid work changes colors, and moving the slider allows you to choose from other colors options.
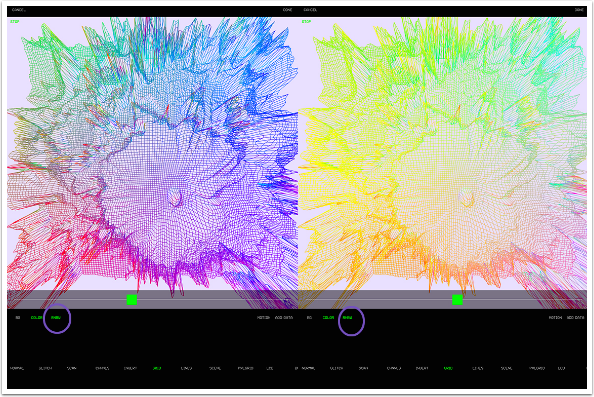
Select “RNBW” and you get a rainbow applied to the grid work. Again, the slider will give you further variations to the rainbow effect.
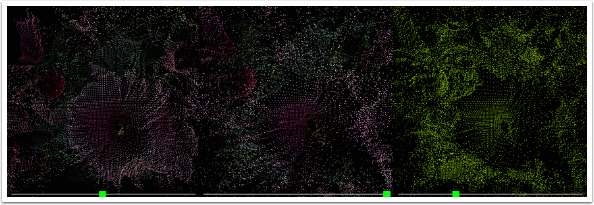
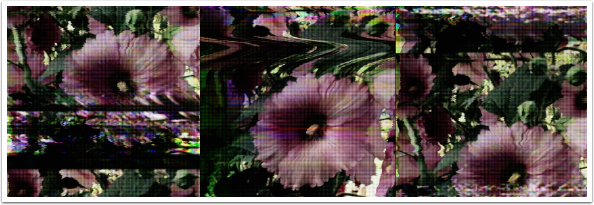
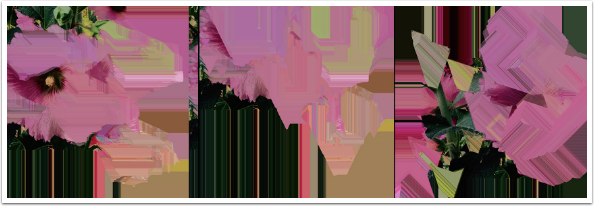
Moving your finger across the screen rotates the image in all directions. When you arrive at something you wish to save, simply press “done” in the upper right hand corner.
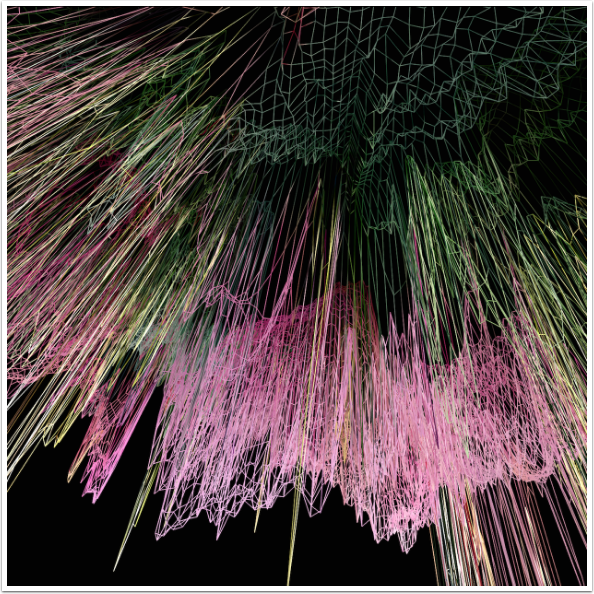
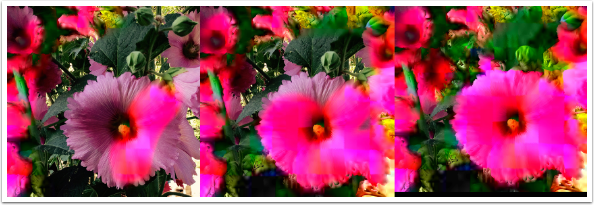
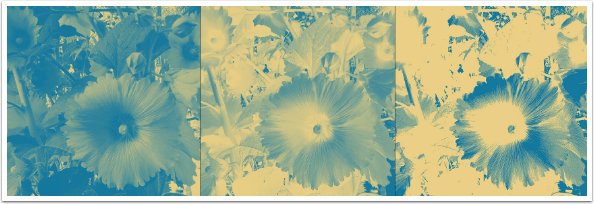
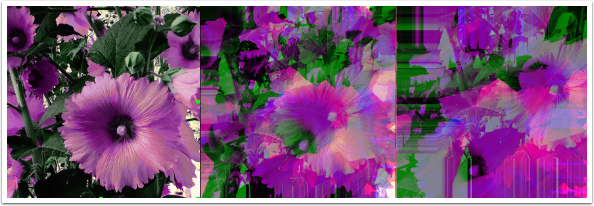
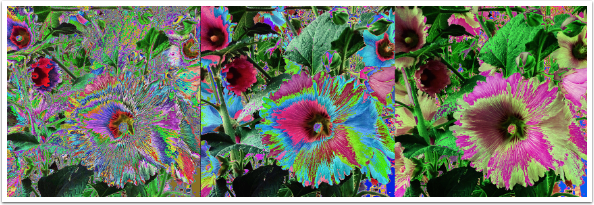
All the presets work in much the same fashion and with minimal playing around, you will quickly see how this application will suit your needs. To give you an idea of what you will achieve using the presets, here are examples of each.
Glitch
Scan
Channels
Invert
Lines
Scene
Pxlgrid
LCD

Burn
PIXLT
Fill
VHS
Gradient
Blur
Datamosh
Databend
Purple
Color
Polygon
Mirror
Moire
Liquify
Edges

Emoji
Blocks (I wasn’t able to get a discernable variation within this preset.)
Bobbi McMurry
Bobbi McMurry received her BFA from Arizona State University where she focused on painting, drawing, and printmaking. After graduating, she spent many years as an Art Director for custom and newsstand magazines. She has recently rekindled her passion for creating personal images and has gravitated to the world of mobile art.Her work has been accepted into numerous juried exhibitions, and has been recognized in mobile art competitions including The Third Wave and the Mobile Photo Awards. Additionaly, her work is part of the current iPhonic Art Exhibit at Markham Vinyards in California. She has been featured on mobile photography blogs, and recently became a columnist for The App Whisperer. Bobbi lives and works in Phoenix, Arizona.

2 Comments
Jack
The video editor will not unlock
Amir
How do you save images without just taking a screenshot? Also how do you save videos? I have Glitché pro but I can’t work it out