Mobile Photography / Art Tutorial – Photo FX Ultra Part 2: More Filtering
We are delighted to publish Jerry Jobe’s latest mobile photography/art tutorial for our viewing pleasure. This time Jobe takes a deeper look at the app Photo FX Ultra (Part 2 – with Part 3 to follow next week). Take it away Jerry…(foreword by Joanne Carter).
Photo fx Ultra retails for $2.29/£1.49 and you can download it here
“When I started working my way through the filtering app Photo FX Ultra in the last article, I thought two articles would be sufficient to cover the entire app. I was wrong. So I will have to extend it to three articles, covering Lens, Photographic and Special Effects groups this week and finishing with Crop, Straighten and Light in the finale.
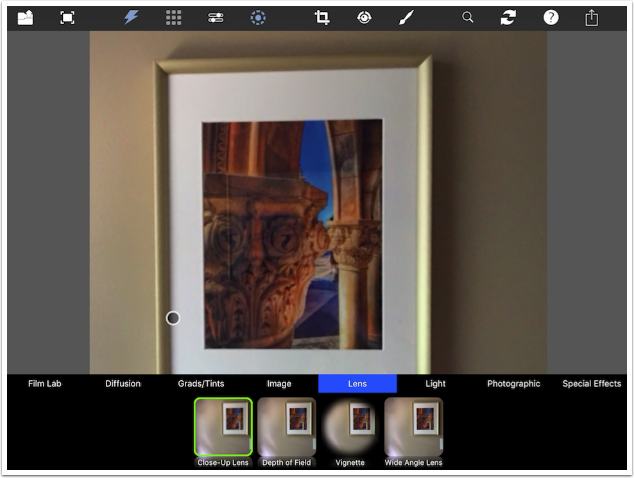
I will be using a simple image of a wall with some light falling across it, a light switch and a framed image. I hope that this makes the changes from the various filters easy to see”.

There are four filters within the Lens group. Some have presets, but most do not. The Close-Up Lens filter has a single slider, which allows you to zoom in on the image.

By default, the Close-Up Lens zooms into the center of the image. However, if you look at the toolbar at the top you will notice that one icon which has been greyed out on all the filters up to now is white (on) for the Close-Up Lens: the dot with a dashed circle around it. This gives you control over the placement of the filter.
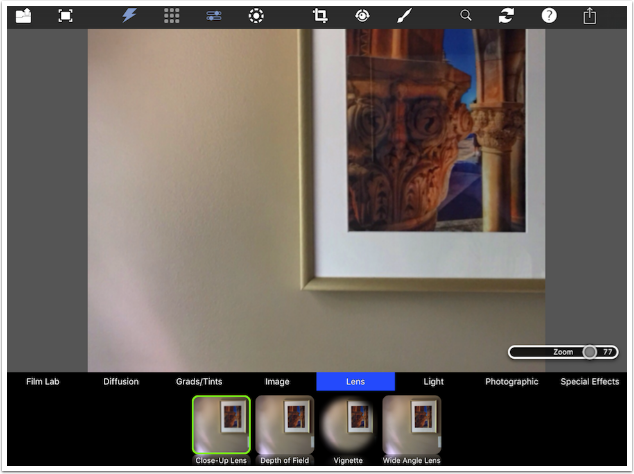
When I tap the dot/dashed-circle icon (On-Screen Controls) a dot appears on the image which I can drag to access other parts of the image.
The Close-Up Lens filter does not do any “magical” processing to make the image look better as it is zoomed, so I recommend that you use it infrequently if at all.
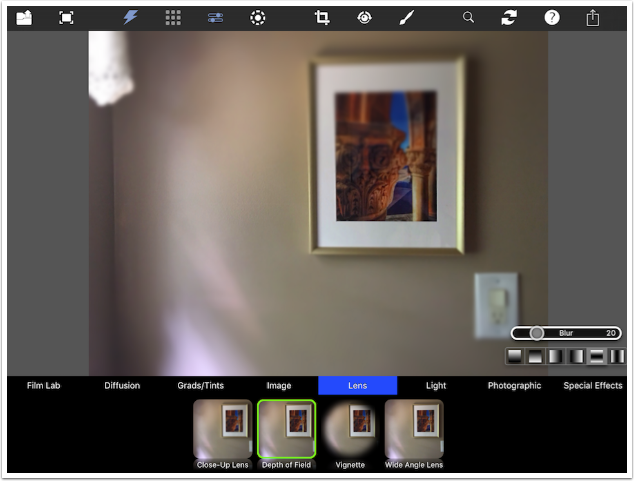
Next is Depth of Field, which includes added blur done with linear masks, like a Tilt-Shift effect. In the image below, the second mask is chosen. The black at the top of the mask means no blur is applied, and the white at the bottom is full blur application.
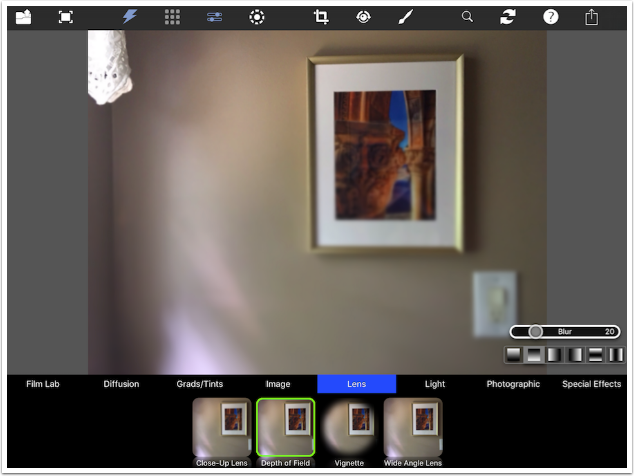
Choosing the fifth mask from the left, with the black in the middle, gives a more conventional tilt-shift effect. The amount of blur applied is determined by the slider.
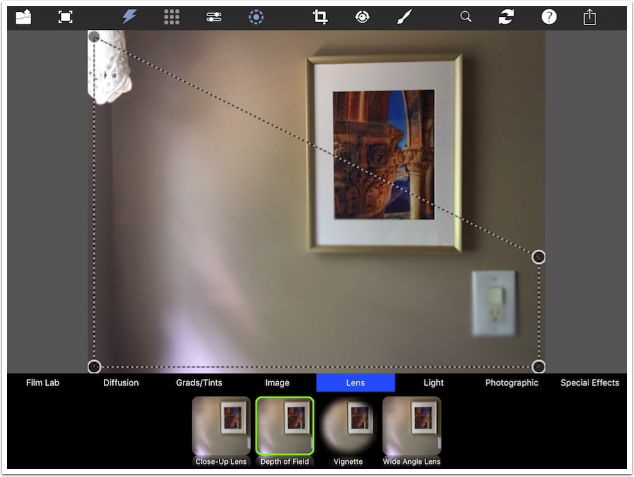
On-Screen Control of the Depth of Field filter involves moving the corners of the rectangular mask. Below I switched back to the second mask, which has no blur at the top and 100% blur at the bottom. By moving the top right of the rectangular mask downward, I make the blur transition smaller and more rapid on the right than on the left.
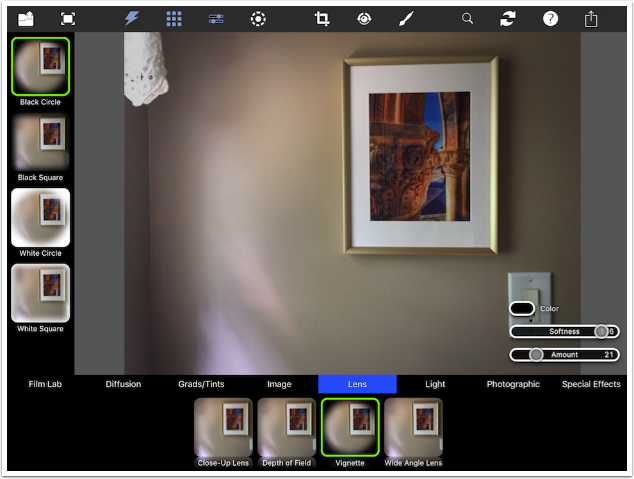
The Vignette filter has four presets: Round and Square Black and Round and Square White. Although the preset says Circle, the round vignette follows the dimensions of the image, so a rectangular image produces an oval vignette.
The On-Screen controls allow you to change the size, rotation and placement of the vignette, but not the shape. You can change the size of the oval, but you can’t change the oval to a circle.
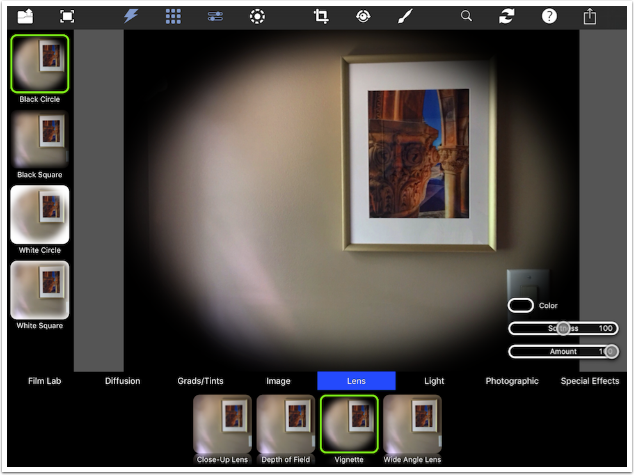
The sliders allow you to change the Softness and Amount of the vignette.

Increased Softness and decreased Amount can result in a subtle effect.
The Wide Angle Lens attempts to distort the image as a lens of that type would. Even a slight change in Distortion pulls the corners of the image out.
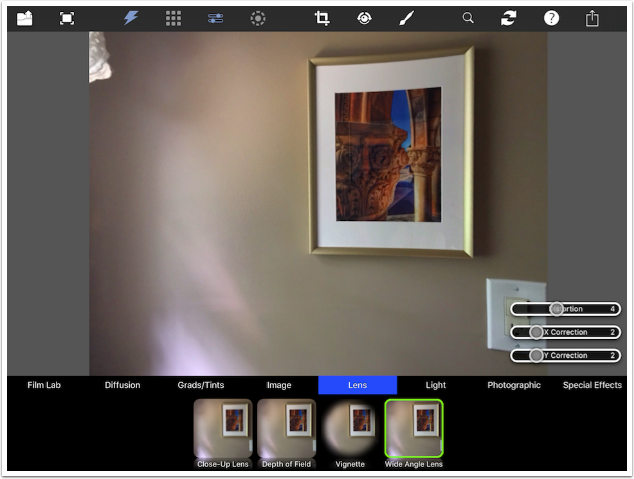
There are also X and Y correction sliders that affect the look of the image. The changes made to the sliders may result in the edges being pulled in far enough to make the black beyond visible.
Like the Close-Up Lens, the Wide Angle Lens should be used judiciously, if at all.

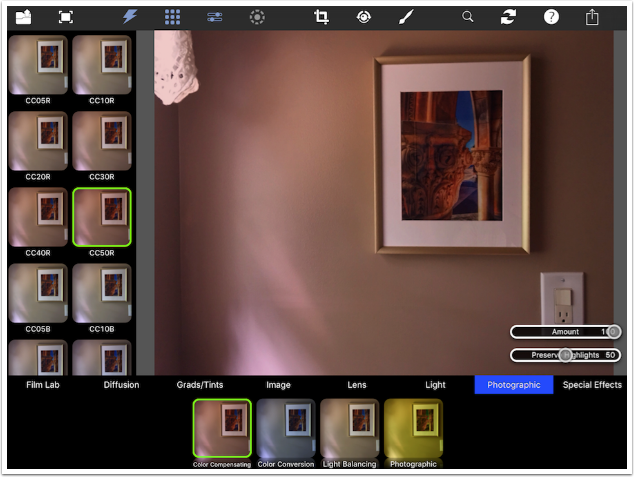
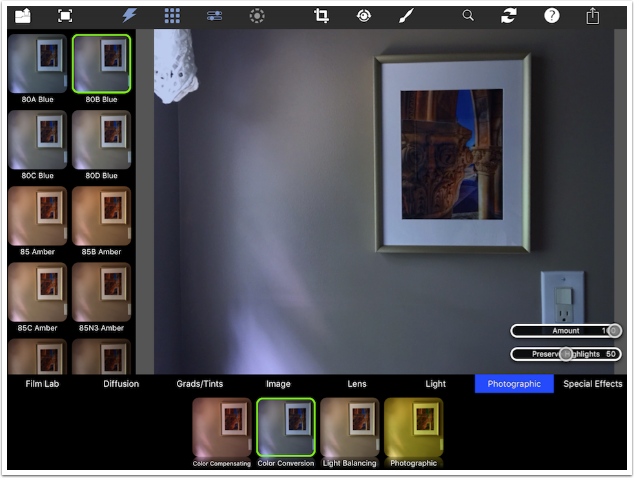
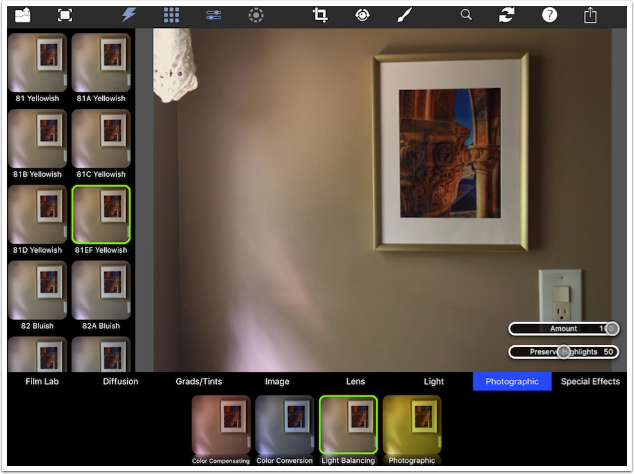
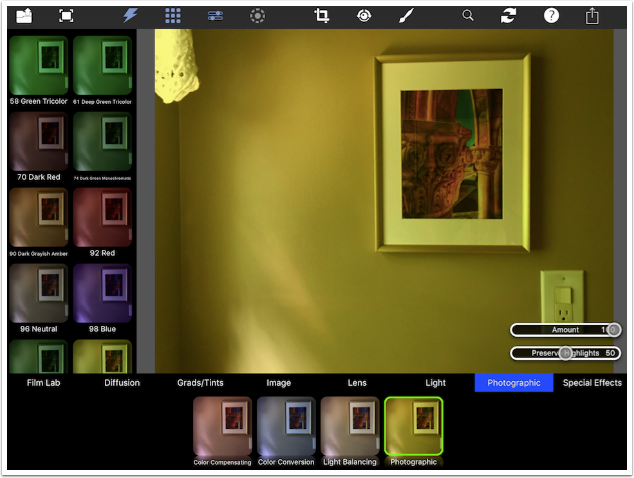
The next group, Photographic, contains four filters: Color Compensating, Color Conversion, Light Balancing, and Photographic.
The Color Compensating filter has several presets. The last letter of the preset denotes the color that is added using that filter. Below, the CC50R preset adds Red to the image. There are also Blue, Green, Yellow, Cyan and Magenta presets.
Color Conversion presets work like warming and cooling glass filters. The two types of Color Conversion filter presets are Blue and Amber.
Light Enhancing presets are more subtle warming and cooling filters, with Yellowish and Bluish tints.
Photographic presets are flat color filters. There are 39 different presets in this filter group, from Neutral to Dark Green Tricolor.
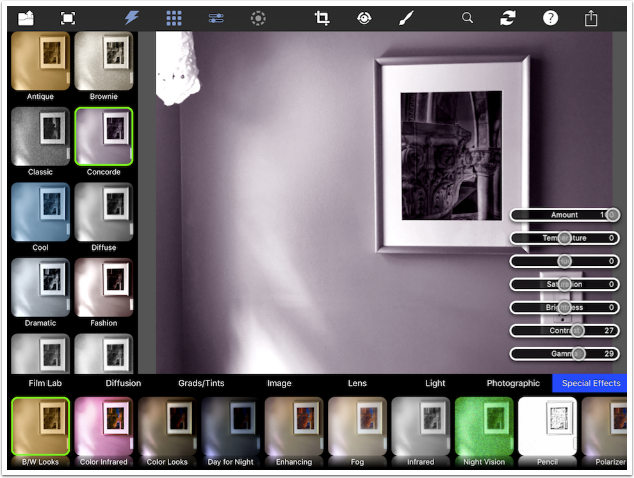
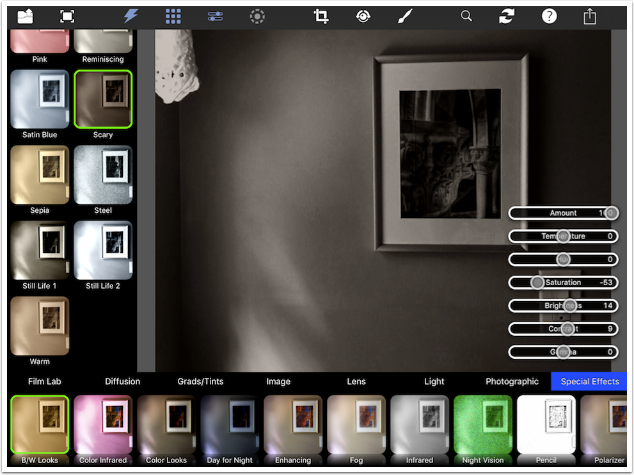
Next, we move on to the Special Effects filters. The first filter in this group is B/W Looks, with 39 different presets. These monochrome looks are adjustable with the seven sliders seen, but the amount of Grain is static for each preset and cannot be adjusted. I prefer the low-grain Looks such as Concorde, below.
The looks are monochromatic, so the Saturation slider controls the saturation of the tint added with the Hue slider, not the saturation of the original image.
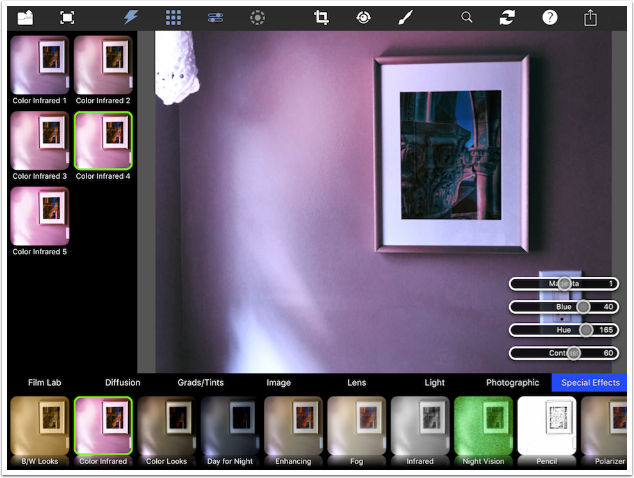
Color Infrared can give you some interesting looks, with combinations of magenta and blue.
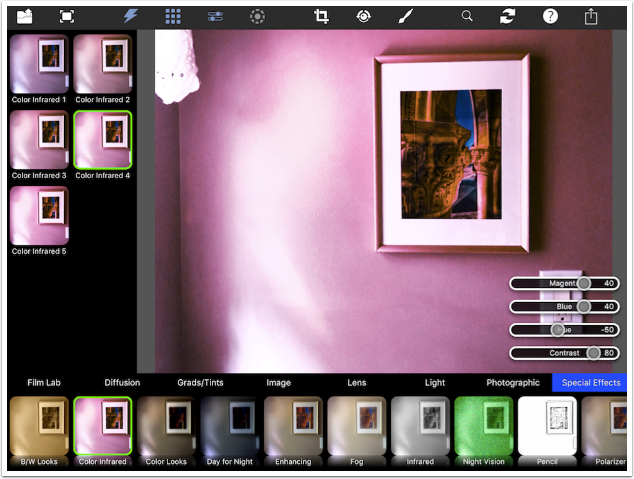
It is rather hard to predict what the Color Infrared presets and sliders will produce.
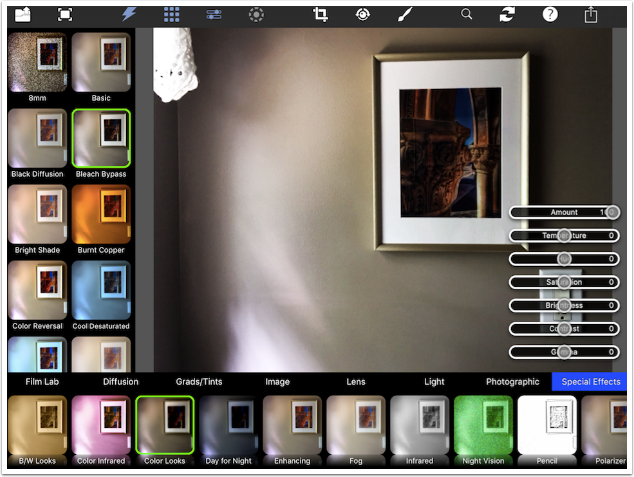
There are 26 different Color Looks presets. Like the B/W Looks, each preset has an assigned amount of Grain that is not adjustable.
The Day for Night filters (not shown) cool and darken the image, plus adds an amount of “glow blur” like the Image>Haze filter.
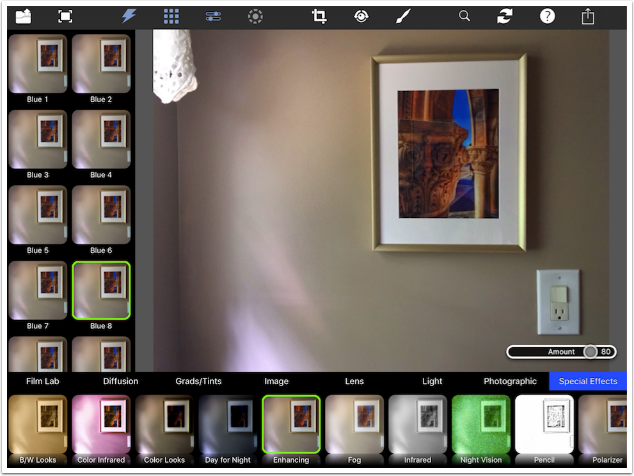
Enhancing filters intensify the color named in the preset. There are Red, Green and Blue Enhancing presets. In the image below, the Blue in the hanging photo is enhanced by the Blue 8 preset.
Fog presets (not shown) give a white haze to the image.
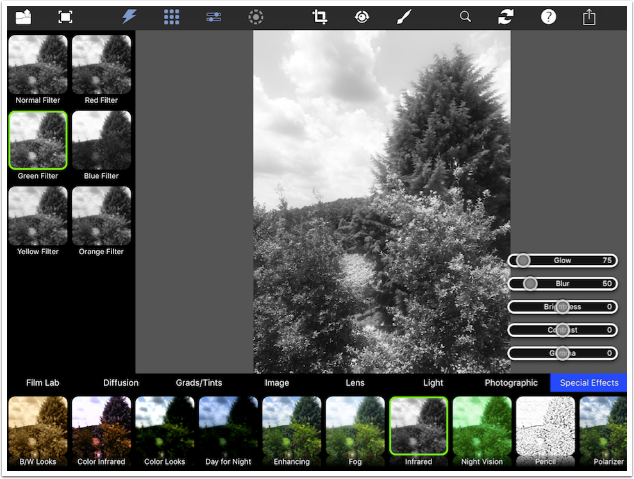
The Infrared filter, while being monochrome, is not truly an infrared effect. I changed the image used to show how it’s not. A blue sky should become almost black, while bright green foliage should become white. That does not happen with these filter presets.
Night Vision presets give a bright blue or green monochrome look to the image. Meh.
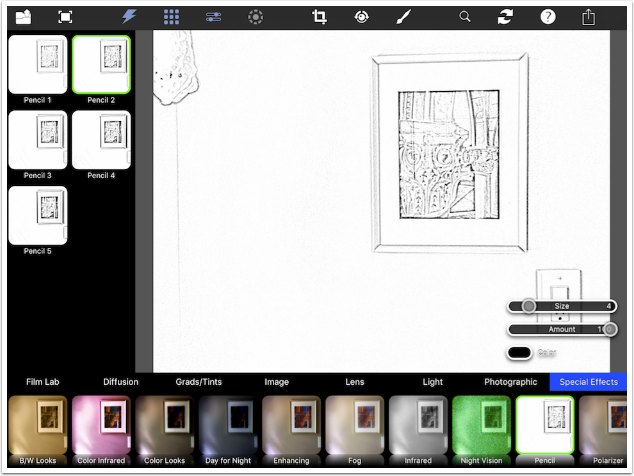
The Pencil effect can be seen below. Pencil lines are created where edges exist in the image.
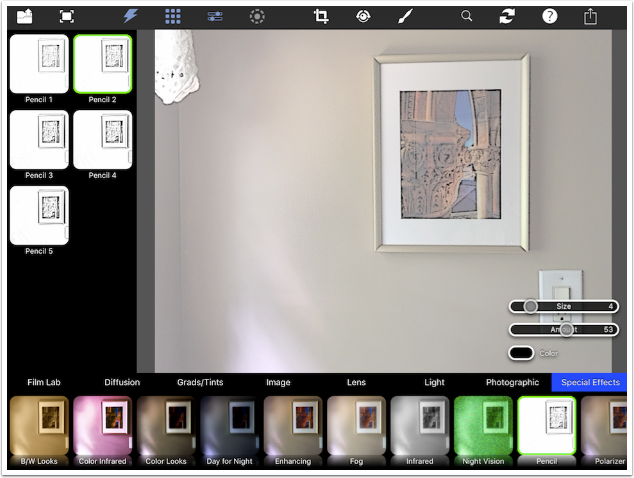
Dialling back the amount will bring back some of the color of the original image.
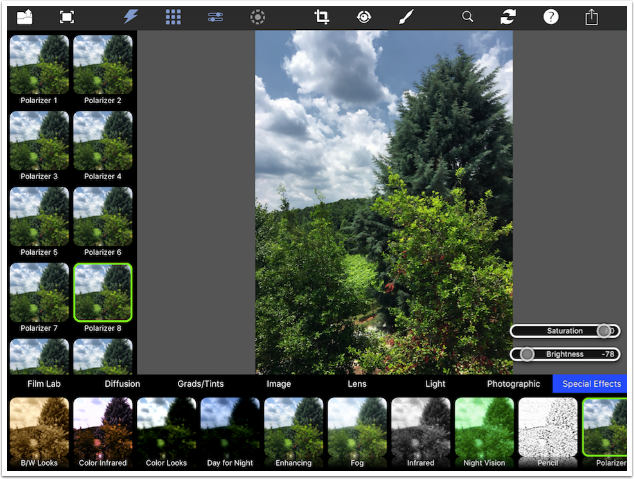
A polarising filter on a camera helps darken the sky and get rid of glare. I switched back to the outdoor scene so you can get a clearer idea of how it will work on an already-captured image.
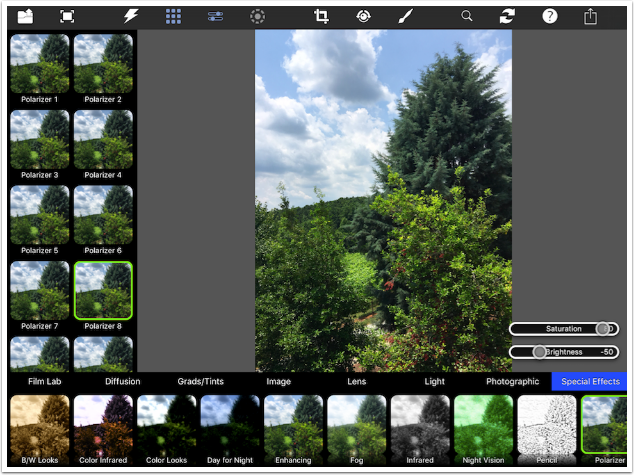
Below I decreased the Brightness to intensify the sky even more and make sure it’s not washed out.
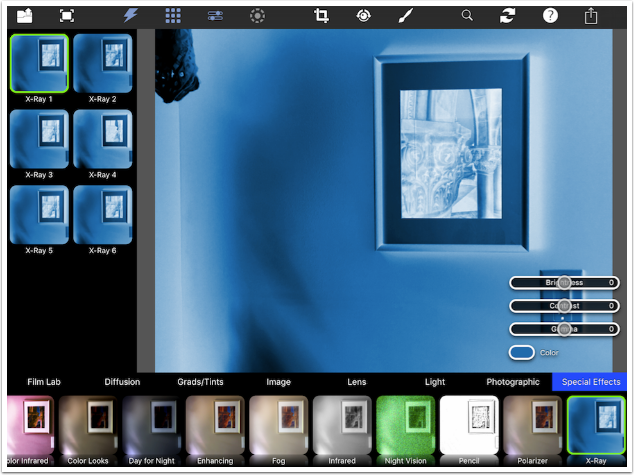
The last Special Effect filter is X-ray, which produces a coloured negative. Not a color negative, but a tinted monochrome negative.
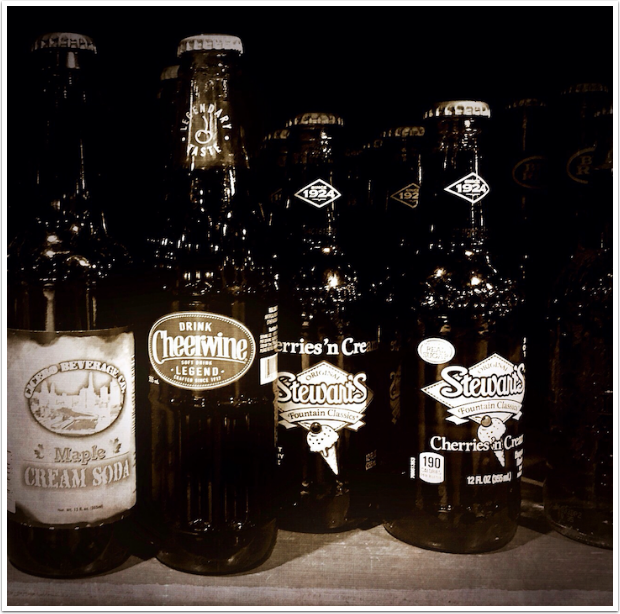
A lot can be accomplished using just the Lens, Photographic and Special Effects filters in Photo FX Ultra. Here’s an example of some bottles using B/W Looks and Vignette (with a touch of grunge from Stackables at the end).
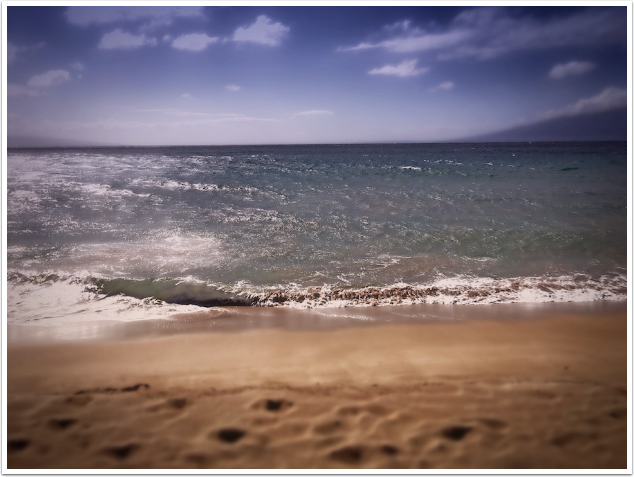
This beach scene used Depth of Field. Color Looks, and Vignette.
In case you’re wondering what the “specialty” of Photo FX Ultra is – what it has that you won’t get in other filtering apps or editors – that will be revealed when I cover the Light filters in part 3. Until next time, enjoy!
TheAppWhisperer has always had a dual mission: to promote the most talented mobile artists of the day and to support ambitious, inquisitive viewers the world over. As the years passTheAppWhisperer has gained readers and viewers and found new venues for that exchange.
All this work thrives with the support of our community.
Please consider making a donation to TheAppWhisperer as this New Year commences because your support helps protect our independence and it means we can keep delivering the promotion of mobile artists that’s open for everyone around the world. Every contribution, however big or small, is so valuable for our future.
Jerry Jobe
Never content with just scratching the surface of what an app can do, Jerry Jobe decided to pass on what he learned about imaging apps to others. He’s constantly trying to figure out just what tools other artists have used, and trying to incorporate them into his own work, in an attempt to find his style. He’s written tutorials on over 145 apps so far, which you can find (along with his Song of the Day entries) at http://enthusiasmnoted.wordpress.com/ He lives near Atlanta, Georgia, where he also finds a creative outlet in acting and directing in community theater.