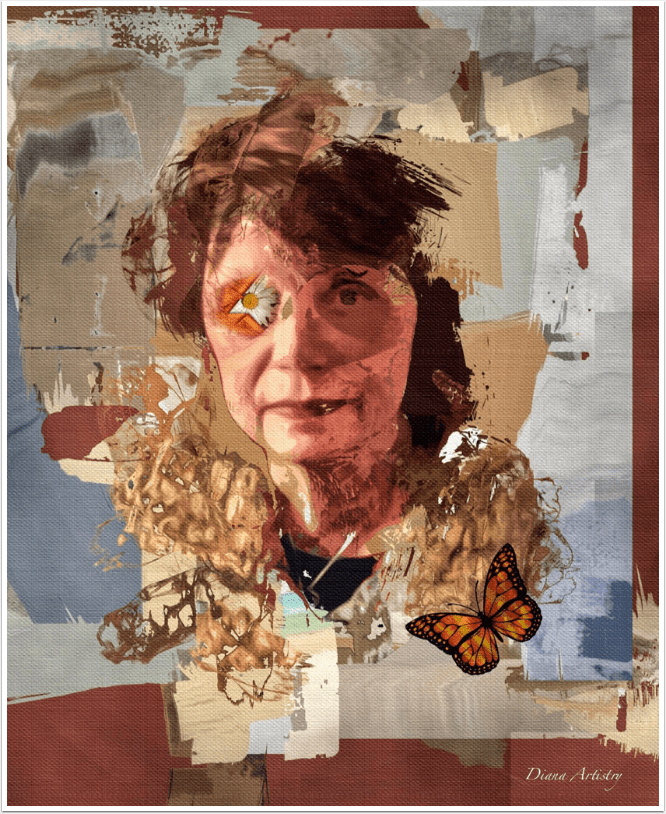
The Recipe I Can’t Live Without with Diane Neubauer from the United States
We have a new section at TheAppWhisperer.com and it’s called ‘The Recipe I Can’t Live Without’, within that we are asking highly successful mobile artists to give us their one recipe (tutorial) they can’t live without in relation to editing their images. Kicking us off today, is Diane Neubauer from the United States. She has created an brilliant portraiture family recipe . To read the others in this new series, please go here. (foreword by Joanne Carter)
Ingredients
iPhone 8+
iPad Pro
Apple Pencil
Snapseed
Portrait Painter
iColorama
Description
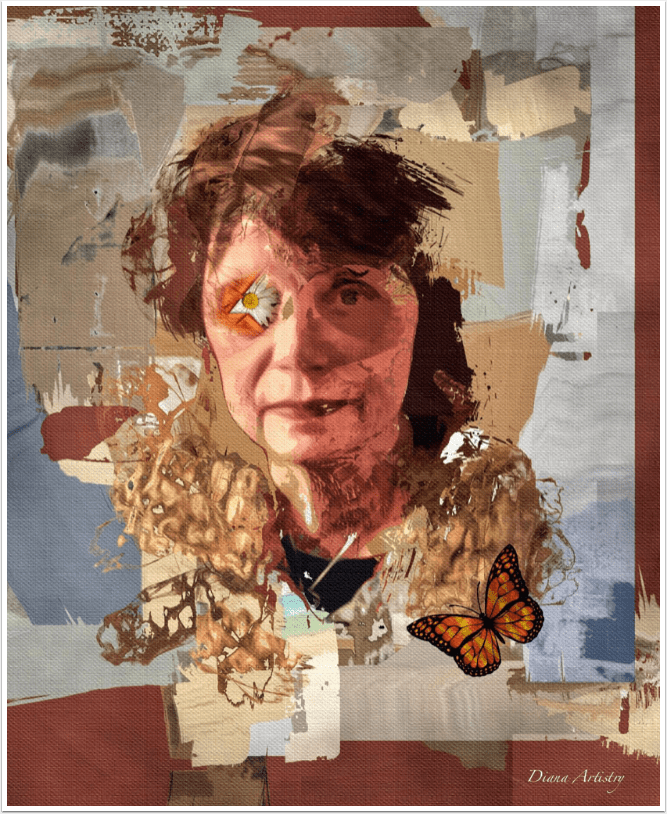
I like to do interesting and creative edits on “face” images using the iColorama Rebound Brushes. This is my iPhone original photo and following is my process.
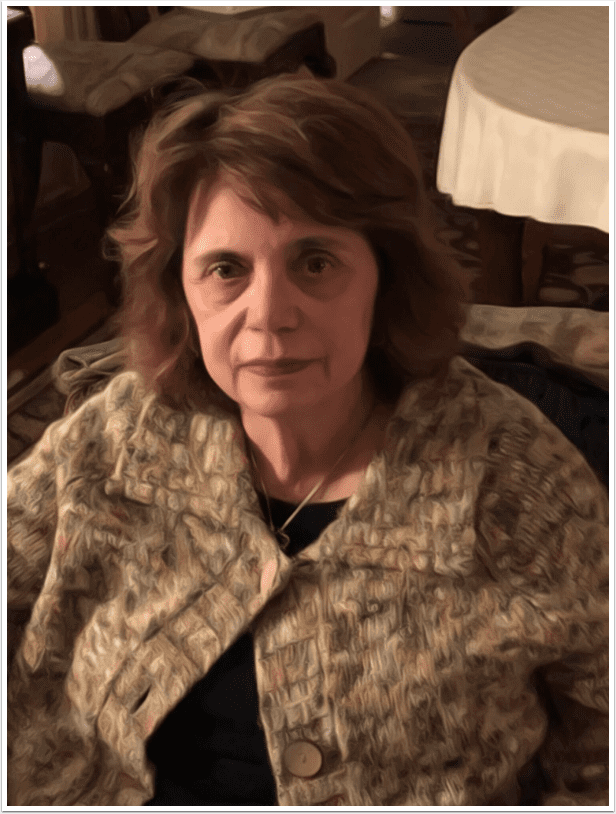
First I take original into Snapseed for a tuneup; contrast, highlights, depth of color. Next I use Portrait Painter to give depth and interest to the face. I use Portrait #4, on linen, and pull back most of the settings as per this screenshot.
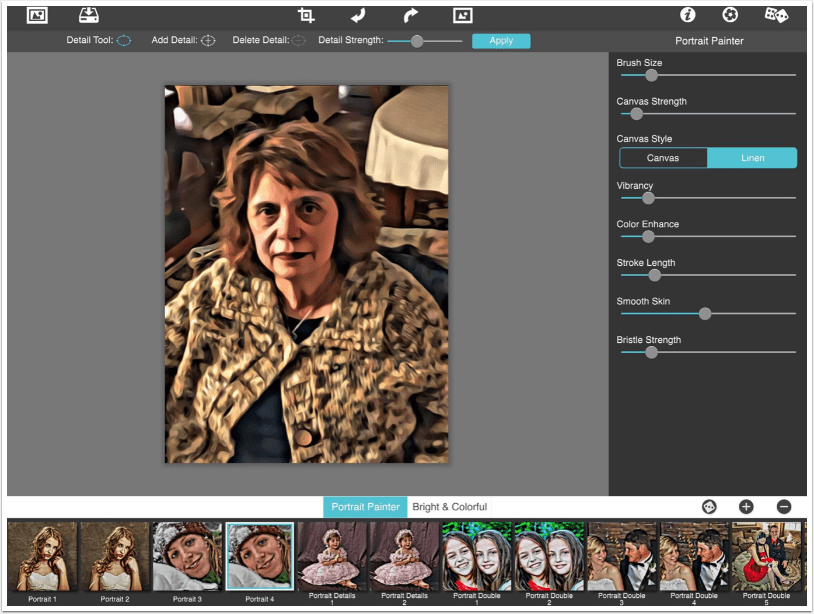
This saved image is then blended over the Snapseed edit in iColorama at about 30% opacity and saved.

In iColorama I place a gradient solid color over my entire image and then I use the masking brush, normally a grunga brush (#6 or #9), to gradually expose my face image and the parts I want to use. I often use the set preset on the masking bar and at adjust, I lower the opacity about 3/4. Below is the result.
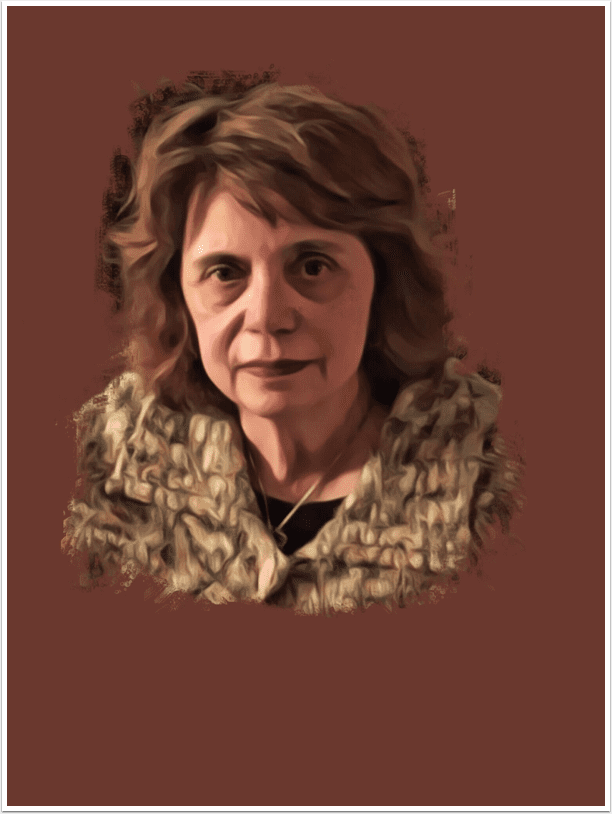
After applying and saving, I am ready for my brush painting (the real fun part).
Now it’s time to take my face image into Brush>Rebound
Set the original as the background. Choose Bound Brush. But I do mix in some Loss Brush when I think that will work. It is really is experimenting. I use various brushes, but mainly DryTwo 1 and 9, Grunga 6 and 9.
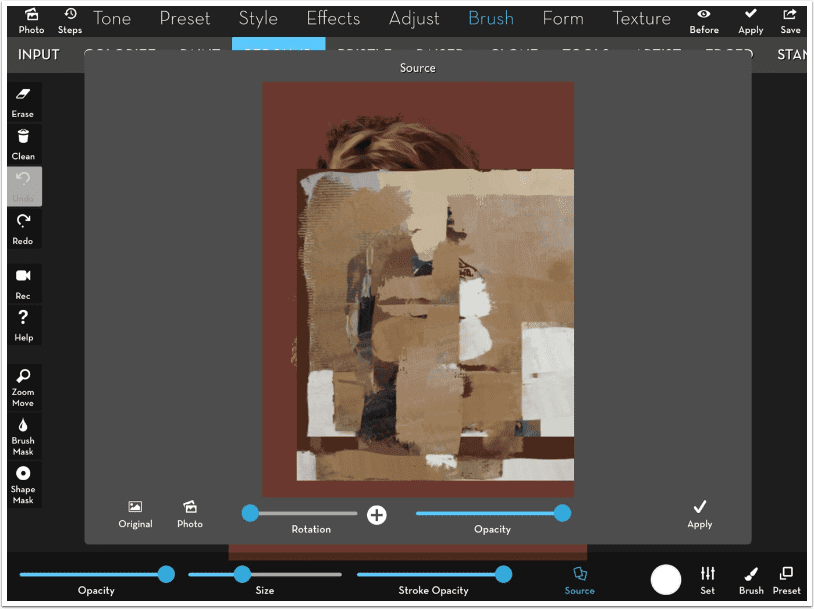
Next I pull up my sources. I have a file of textures that I created or gathered and keep for mostly painting purposes as well as blending. I size and rotate each image depending on where I want the color and texture. See the screenshot for the first source image.
After painting on various texture, my image looks like this:
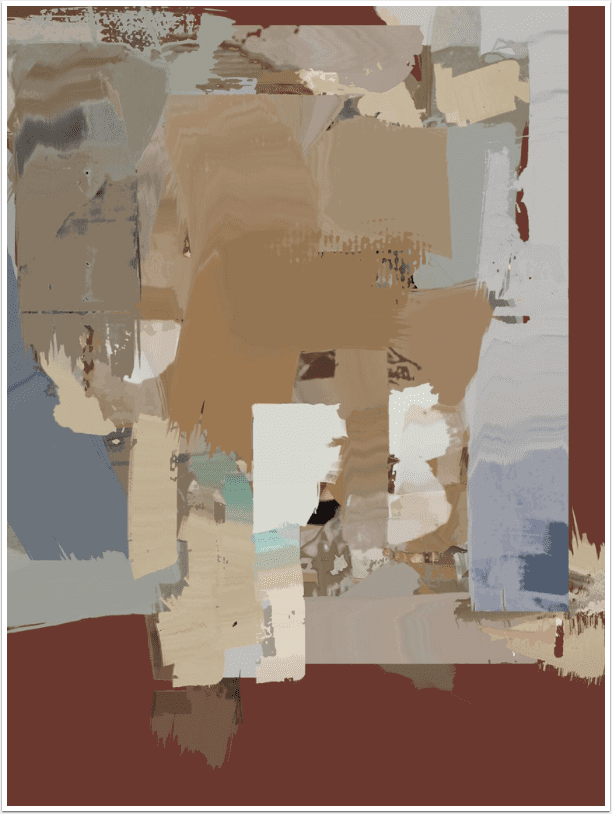
When satisfied with brushing, I then make my source image the original image.
Using alternate brushes and going to the preset Rebound, and sometimes Plane, I begin to expose my face image as below.
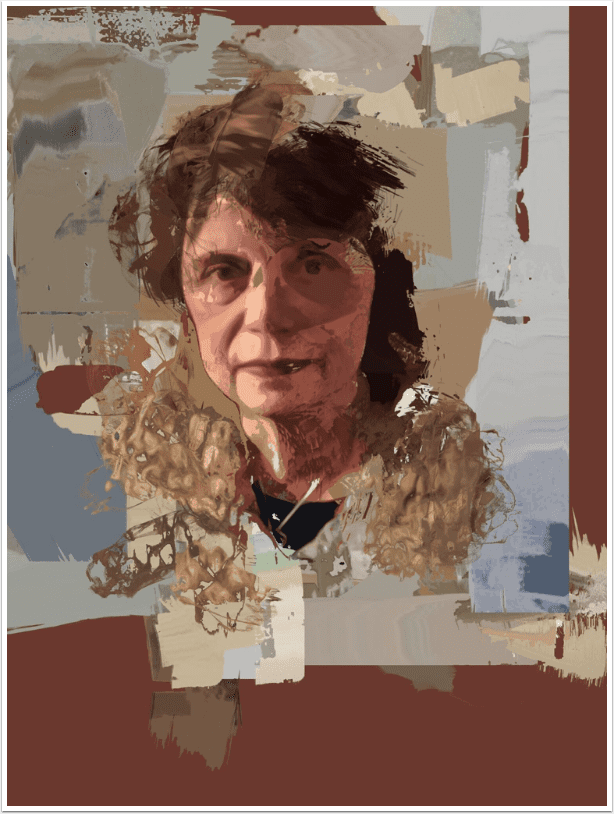
Once exposed, I apply and save. In addition to blending a couple of copyright free elements (flower on eye, butterfly) for interest, I bring the image back to Snapseed to the POP preset, and blend that onto the original at 75%. After that, I used levels, noise preset on multiply on edges (number 25, at 40% opacity). Then a texture, Paper2, #10, low size and intensity. That’s it! Finished Image Below!

Hello again…please donate
TheAppWhisperer has always had a dual mission: to promote the most talented mobile artists of the day and to support ambitious, inquisitive viewers the world over. As the years passTheAppWhisperer has gained readers and viewers and found new venues for that exchange.
All this work thrives with the support of our community.
Please consider making a donation to TheAppWhisperer as this New Year commences because your support helps protect our independence and it means we can keep delivering the promotion of mobile artists that’s open for everyone around the world. Every contribution, however big or small, is so valuable for our future.

One Comment
Carol Wiebe
Diane Neubauer has left a recipe here to help someone try to cook up an image as delicious as hers. But Diane has many recipes. We have exchanged ideas, compared images and left comments for each other for a number of years, and Diane has never stopped experimenting with digital techniques. She is a fascinating person to watch for that reason, plus she is generous and encouraging to other artists. That philosophy is stated specifically in a group she leads on Facebook called iPad Artists—All Included, of which I am a happy member.