iOS Photography App Tutorial – Union – Part 2 – by Jerry Jobe
A wonderfully comprehensive second part to this new series of tutorials on the app Union by Jerry Jobe. If you missed Part 1, please go here. Over to you Jerry (forward by Joanne Carter)
Union retails for $1.99/£1.49 and you can download it here
As I worked through all I wanted to show you in the second part of this tutorial on Union, the blending app from Pixite, I found the screenshots piling up. Normally I like to keep the number to 20-30, but I’ve got close to fifty this time. Let’s get started!
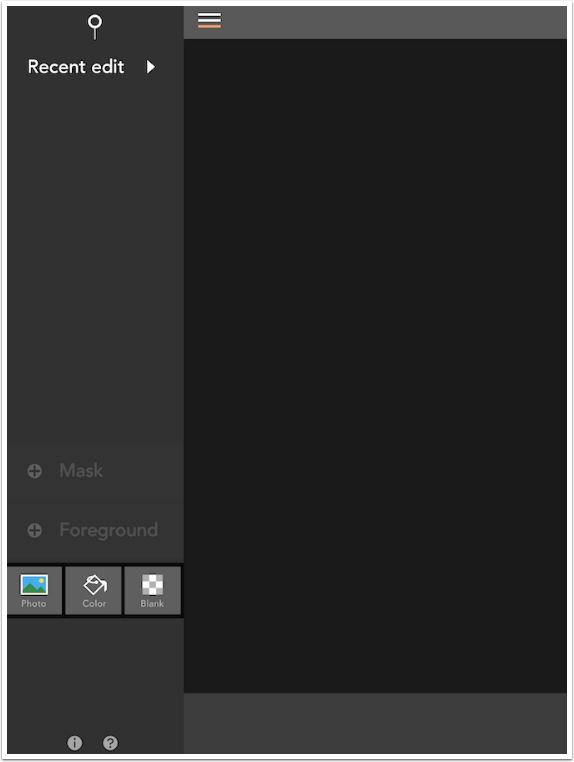
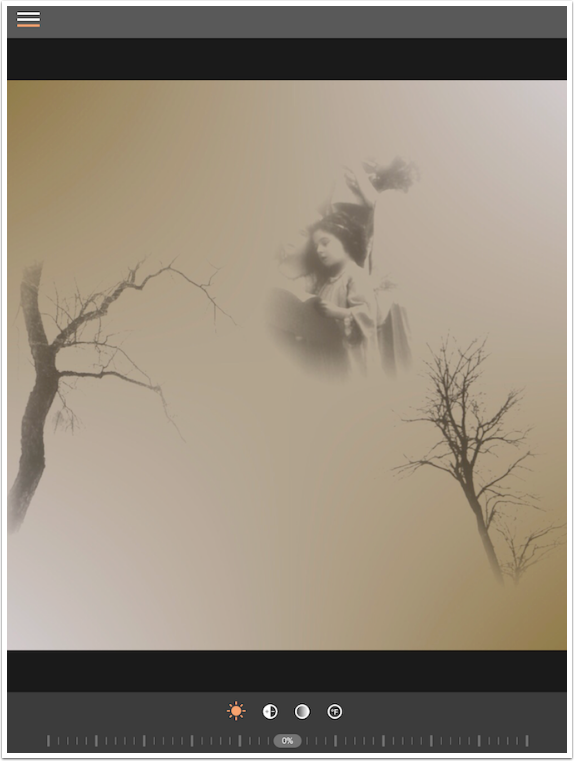
Last time I showed you examples where a photo was the background of the image. But you can also assign a color or a gradient as the background. In addition, you can have a blank, or transparent background. Why would you want to have a blank background? Union saves images in .PNG format, which retains the transparency. So if you cut an object out, that object can be brought back into Union or any other blending program without the need to rebuild the mask. Let me show you what I mean.
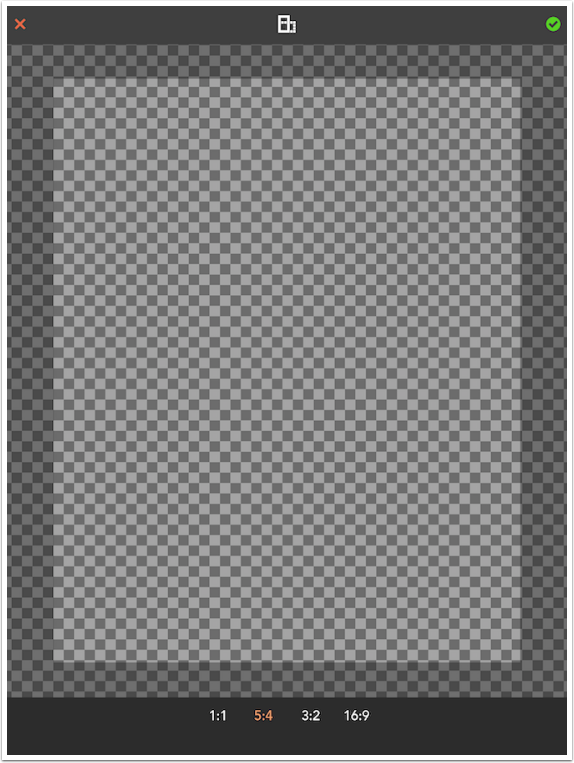
I selected a blank background, then chose 5:4 as my crop ratio – cropping the transparency. Then, since I knew my foreground was in portrait mode, I tapped the double rectangle at the top center to change it from landscape (5:4) to portrait (4:5).
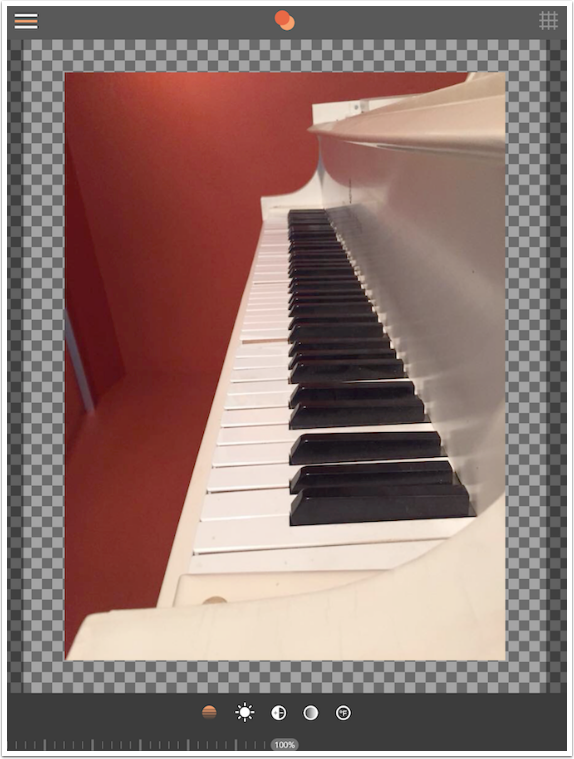
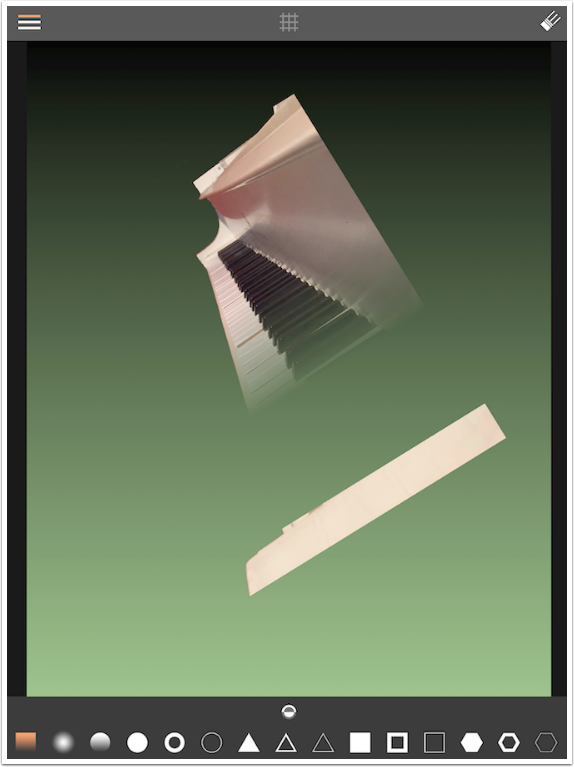
I next loaded my foreground, a shot of a piano (courtesy Jo Sullivan). Remember, you can identify whether you are working on the Mask, Foreground or Background by looking at which of the three lines in the upper left is orange: top is Mask, middle is Foreground, bottom is Background.
Notice that the Foreground does not fill the background. This is always the case. It is always necessary to reposition the Foreground in Union, using a two-fingered pinch.
I make the piano image fill the area and position it at the right edge of the area.

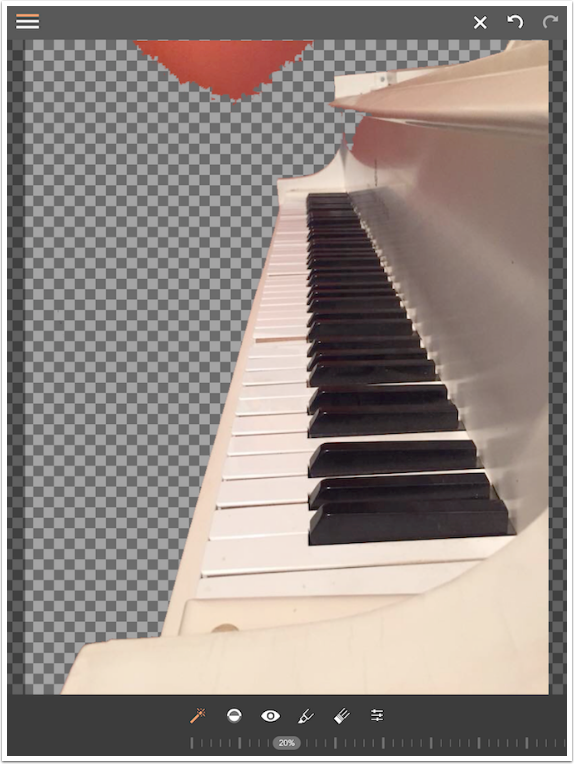
Next I go into Erase mode on the Mask. I want the piano alone, and the quickest way to get rid of the red background is through the use of the Magic Wand, leftmost icon at the bottom.

I tapped once with the Magic Wand in the red.
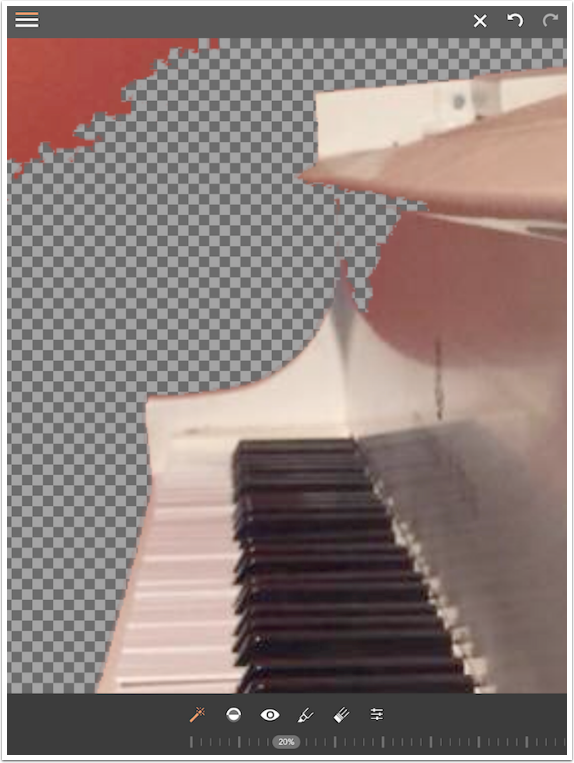
When I zoom in, I notice part of the piano, which had red reflected in it, is masked out as well.
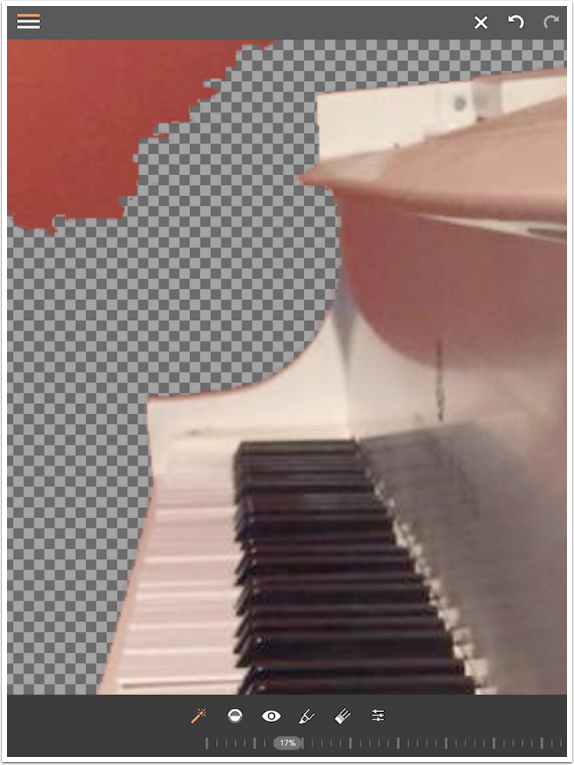
By moving the threshold slider from 20% to 17%, it brings back the piano (as well as some of the red blotch at the top).
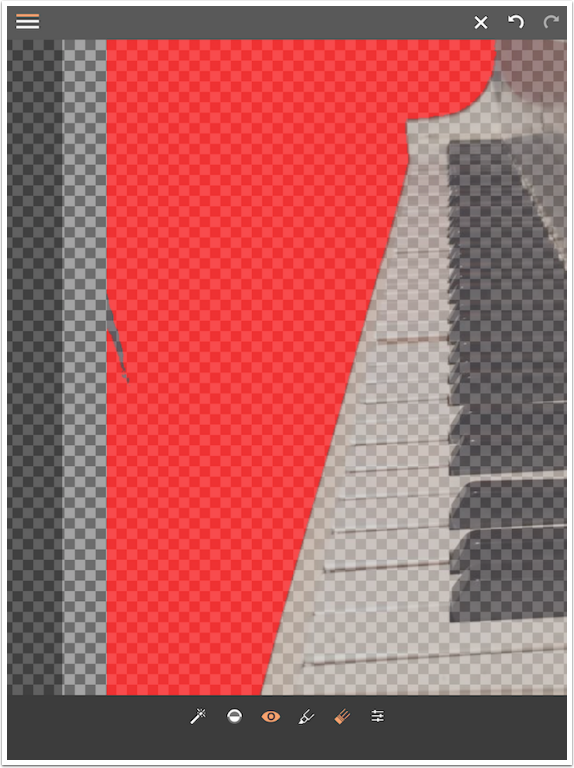
I take out the red blotch at the top with the Erase brush. I tap the Eye icon to show the mask as a bright red overlay. This will help me make sure I have masked out all the stray pixels that were missed by the Magic Wand and Erase Brush. There is still a wedge-shaped area on the left side that I must remove with the Erase brush.
Now I’m ready to save my masked piano. The regular Export function will save the image with the transparent background with no intervention required on the part of the user.
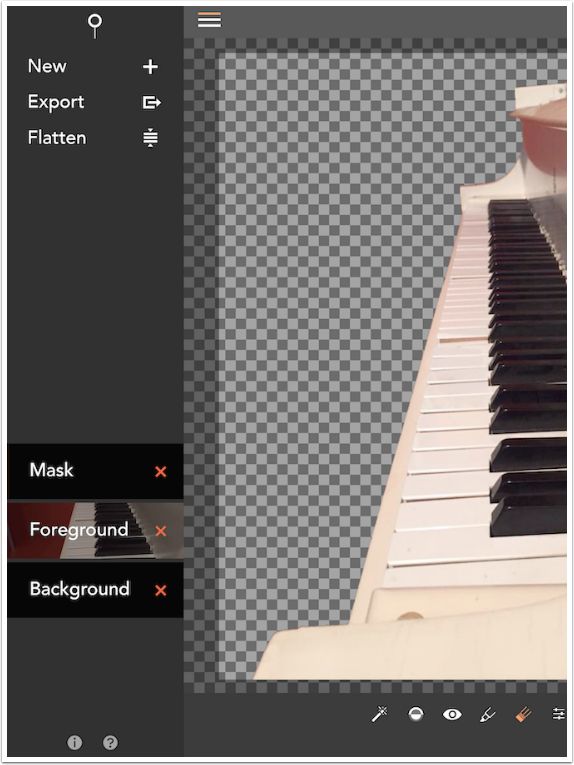
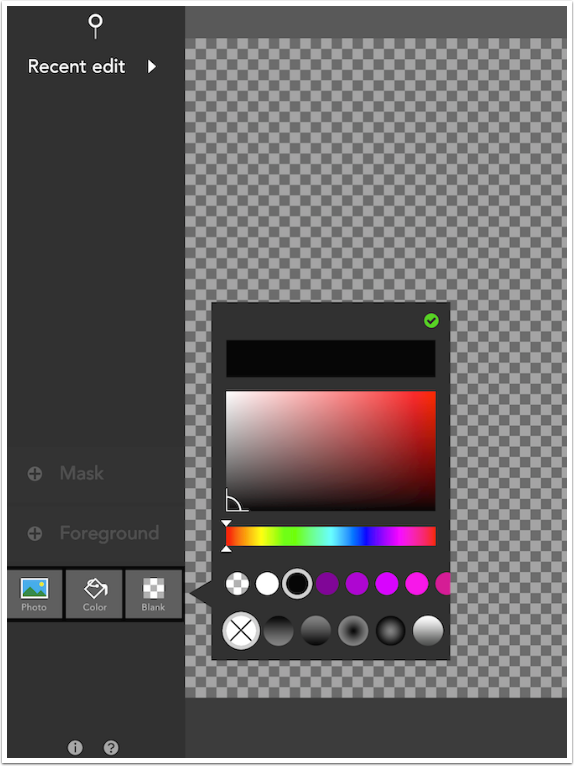
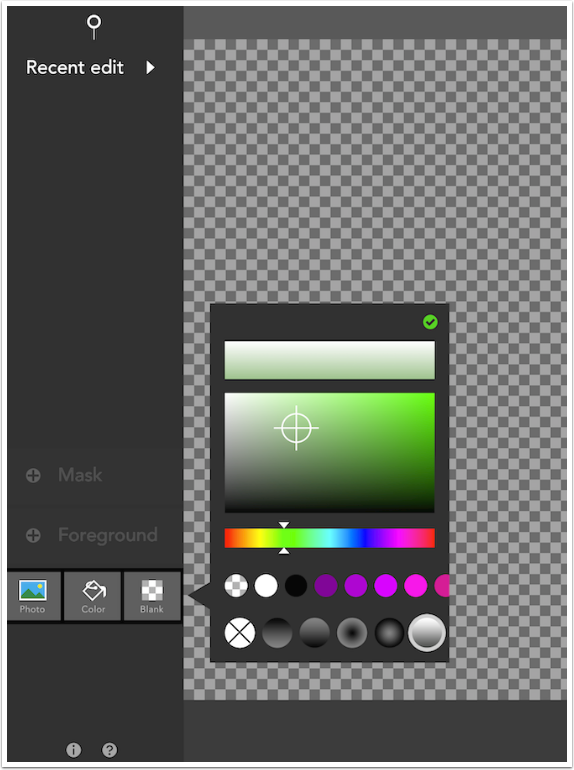
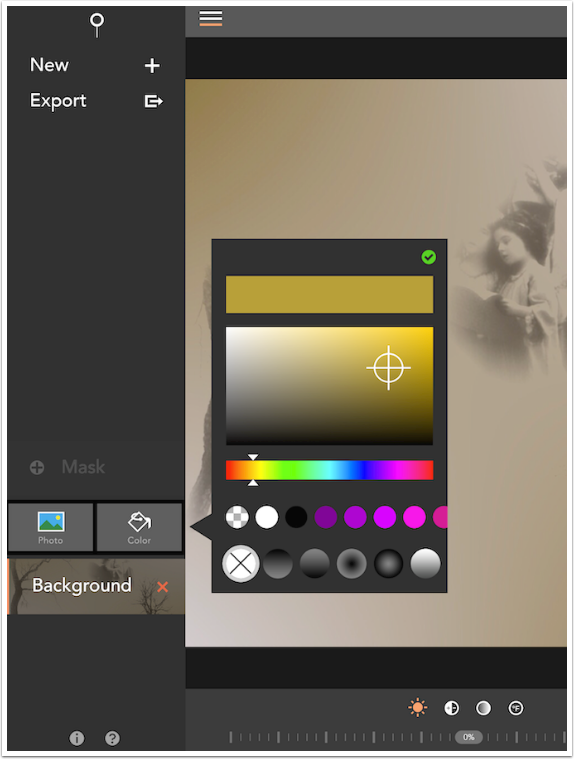
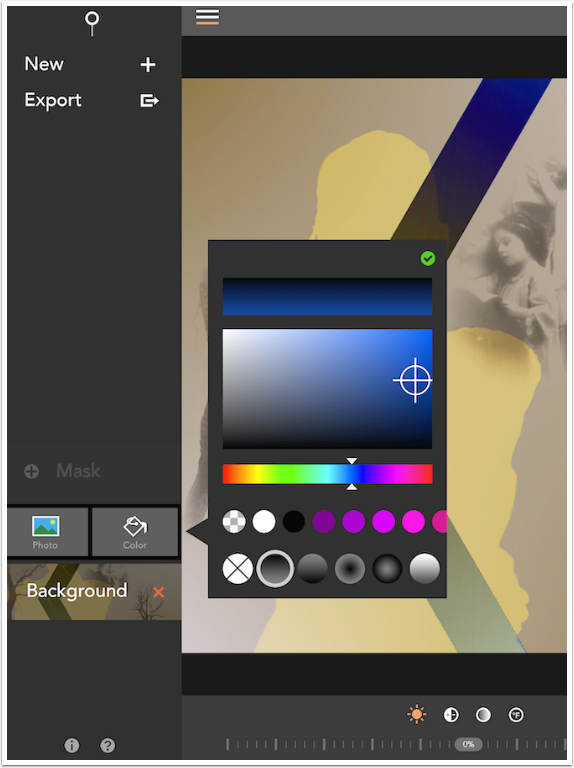
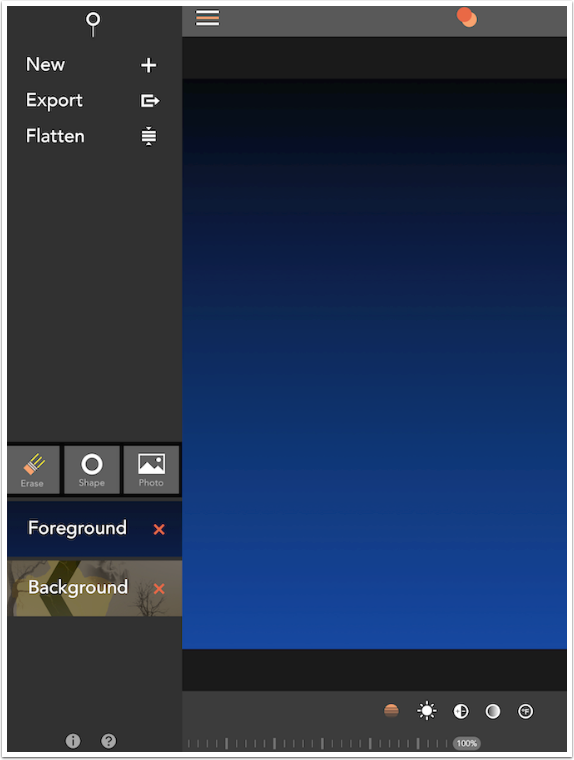
Now let’s bring that piano into another project. The whole point of saving the masked piano is to be able to use it in multiple projects. We’ll start by creating a color background. Union allows for solid colors, or gradients from a designated color to either black or white. The color picker is simple enough – there’s a bar at the top that shows a representation of the choice; the color picker itself, a scrollable palette for specific colors; and, at the bottom, a gradient picker. The circle with the X through it means no gradient, just a solid color.
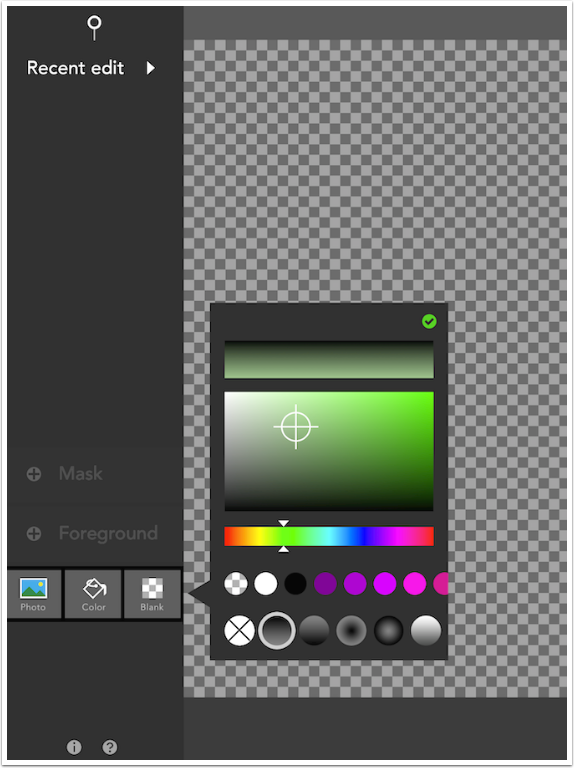
Next in the gradient picker are those gradients that fade from the chosen color to black. The first two are linear gradients: black at top and black at bottom. The other two are circular gradients: black in the middle and black at the edge. Following that are the same gradients, except using white. Notice how the bar at the top now reflects the choice of a linear gradient with black at the top and green at the bottom.
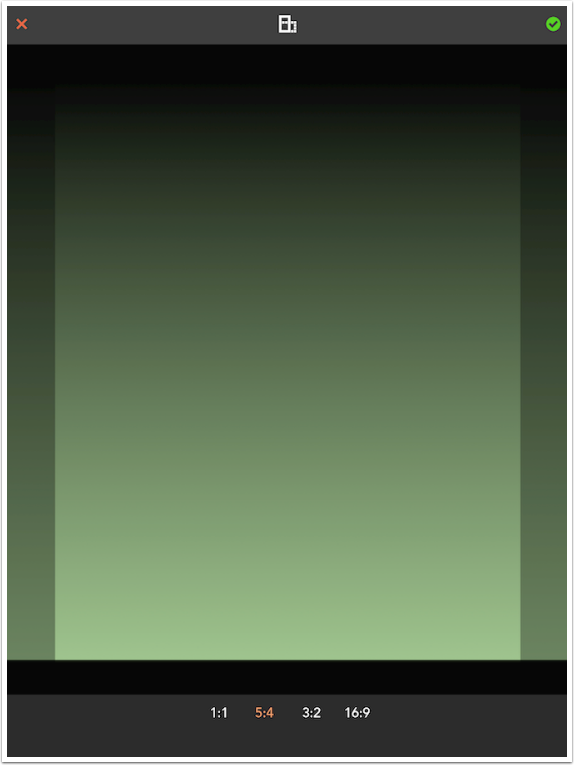
Below you will see the same gradient with white.
As with the transparent background, you must determine the ratio and orientation of the color background. Once again I choose 5:4, portrait orientation.
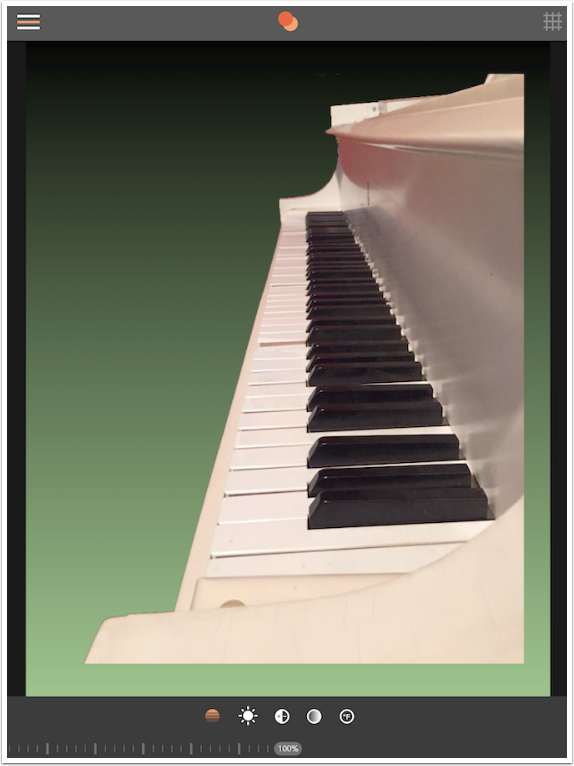
Below you will see that I’ve loaded the masked piano as my foreground. There is no red wall to be masked out.
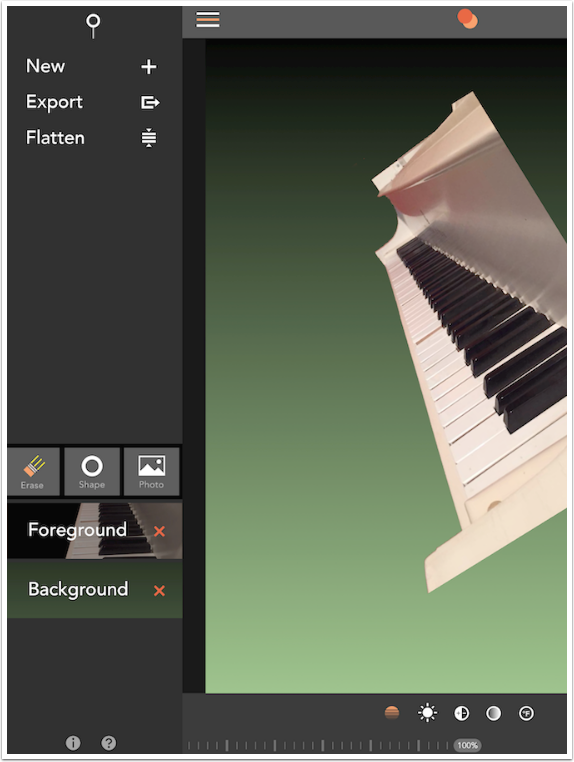
One advantage of using objects that are on a transparent background is that you can mask them further with any of the tools available, including Shapes. I want to mask the piano further using a Shape, so I choose Shape for the Mask source.
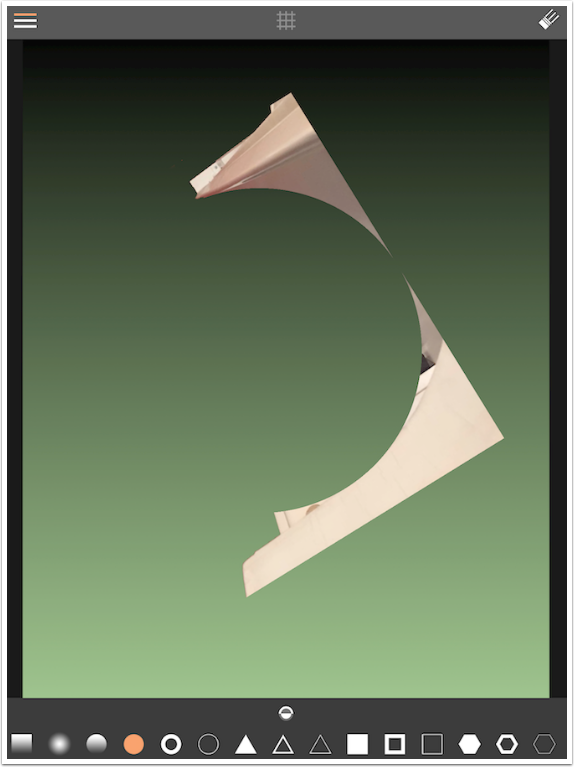
The default shape is a square gradient. The image below shows, in a graphic way, how the mask is tied to the foreground. The gradient goes from showing the top of the foreground to masking the bottom. However, since the foreground was rotated, the mask is as well.
I change to the filled circle. It masks out a circle, but I want the area outside the circle to be masked.
I tap the Invert button at the center bottom to switch from masking the inside to the outside of the circle.
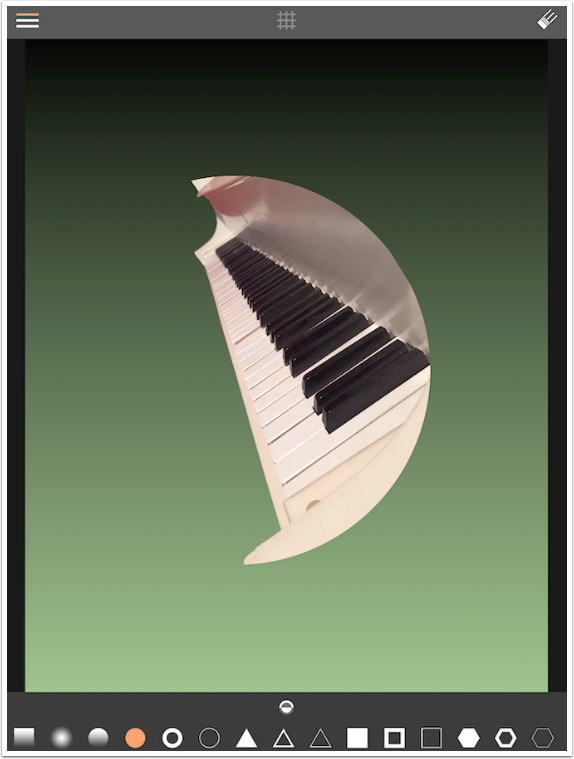
Now, when I move out of Mask mode and back to Foreground mode, I can adjust the size and orientation of the piano and the mask changes along with it.

I can also change the blend mode of the Foreground for some interesting effects. Below the piano is in Difference mode.
For the remainder of this article, I’ll be working with the image seen below. It is an image I created in iColorama with a gradient and a couple of brush strokes. Let’s see how “layering”, with objects added and flattened into the background on multiple passes, can achieve some very creative results.
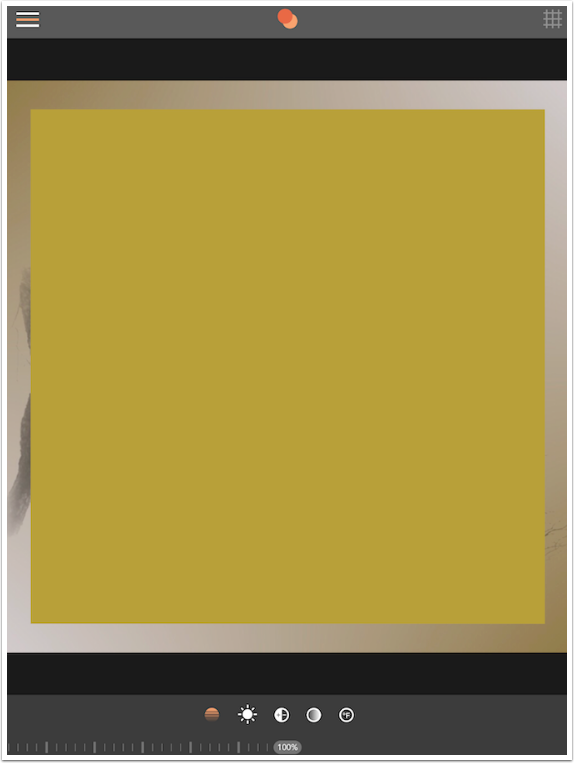
First I want to create a color foreground that I will mask with a Shape. I choose a gold, no gradient.
The color doesn’t fill the foreground.
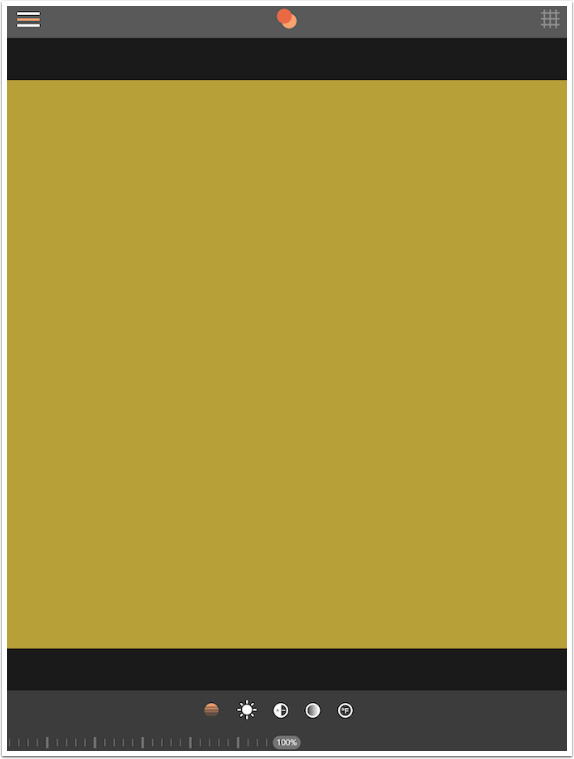
I use a two-fingered pinch to fill the area.
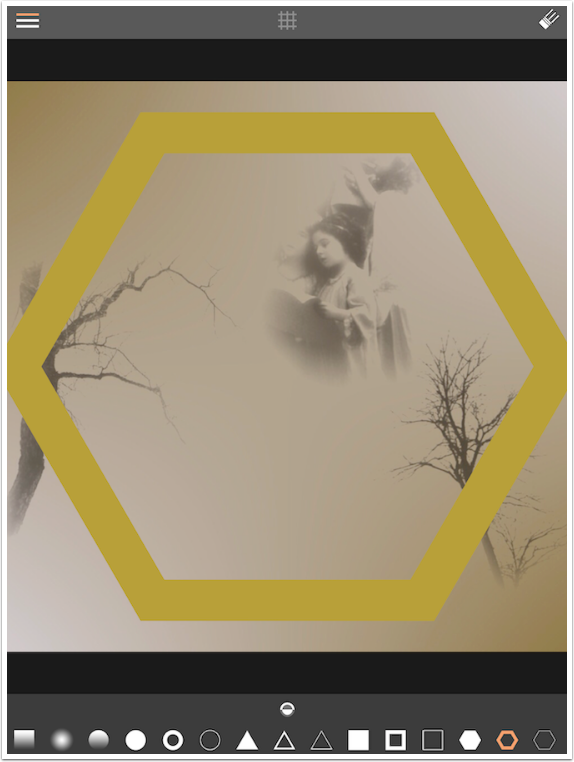
Next I choose a Shape mask – a hexagon with a thick border.
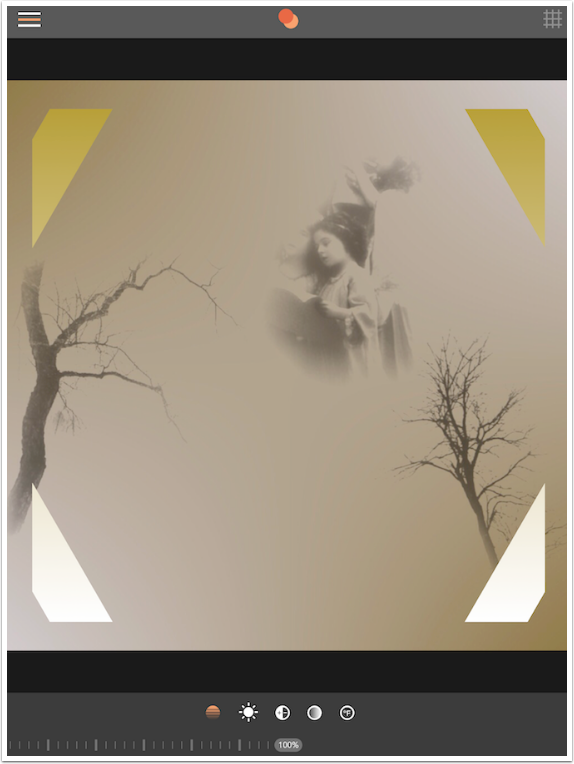
At this point I change my mind, and decide to use a gradient to white instead of the solid gold. What happened here? Well, the foreground gradient does not fill the area, but the mask does. Always be aware that when you switch foregrounds, the mask may obscure part or all of your object.
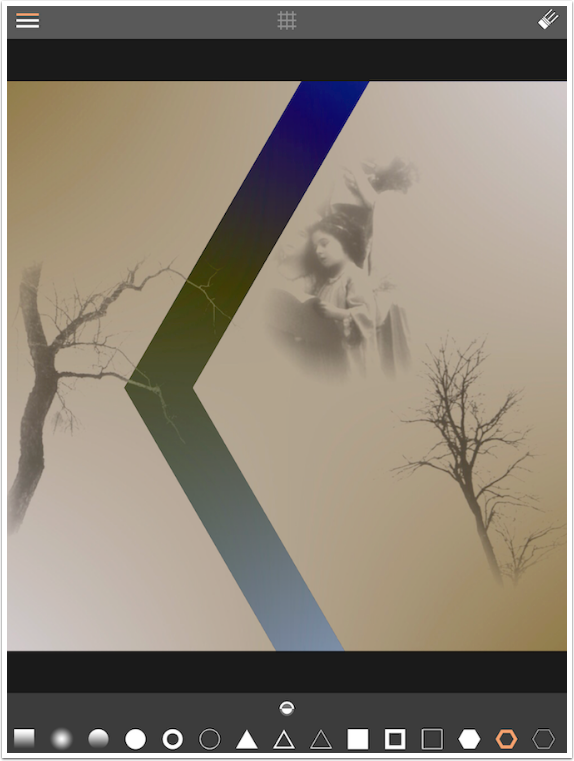
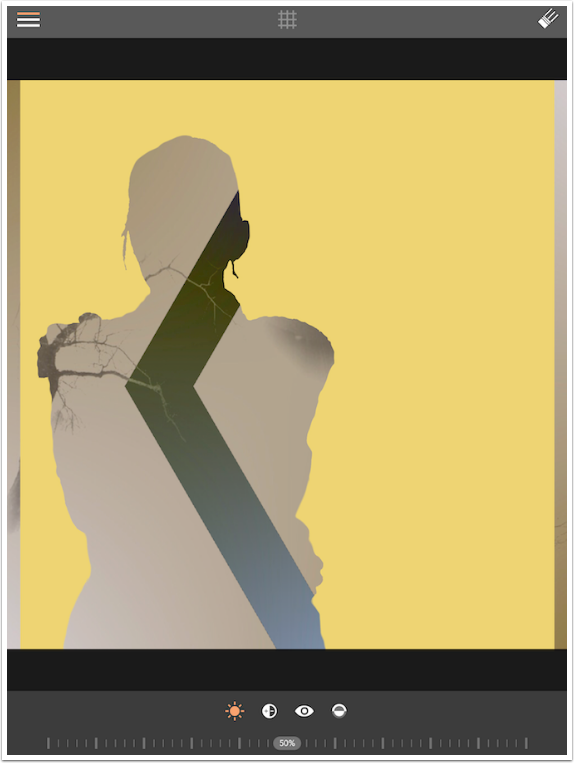
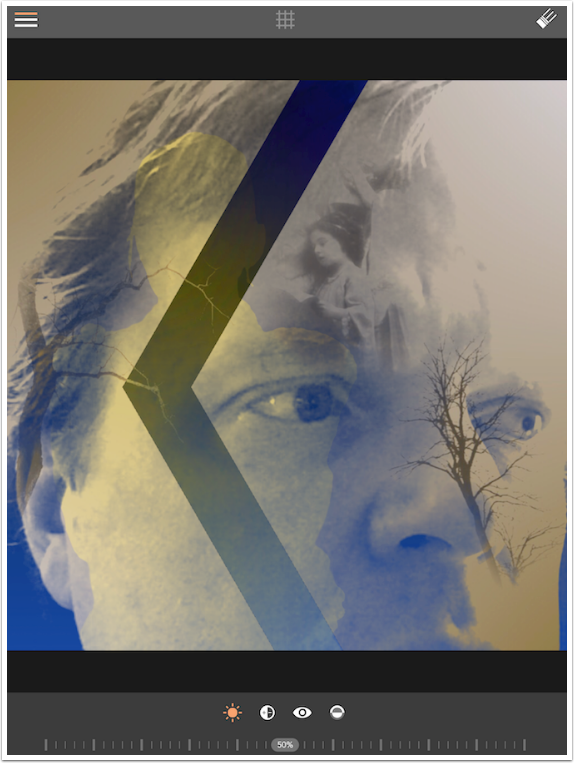
So I resized the gold-to-white gradient to make it fill the entire area, then adjusted the mask so that all we see is the left side of the hexagon, forming a chevron. I also changed the blend mode to Difference, which gave it a much different color scheme than gold and white.
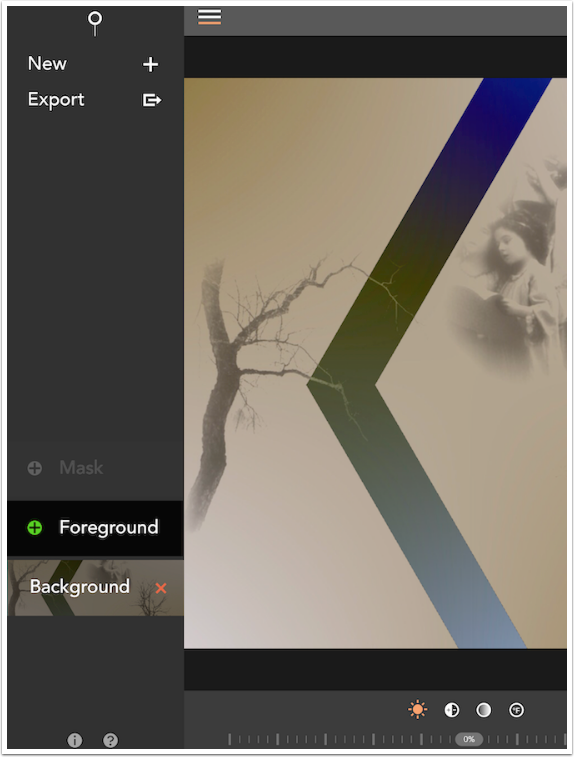
I want to add more objects, and am happy with what I’ve got so far. So I return to the main menu and tap Flatten. This flattens the mask and foreground into the background, and the foreground and mask are now empty.
I add a foreground gold color again, and I move on to the mask. We’ve seen an Erase mask and a Shape mask; let’s look at photo masks.
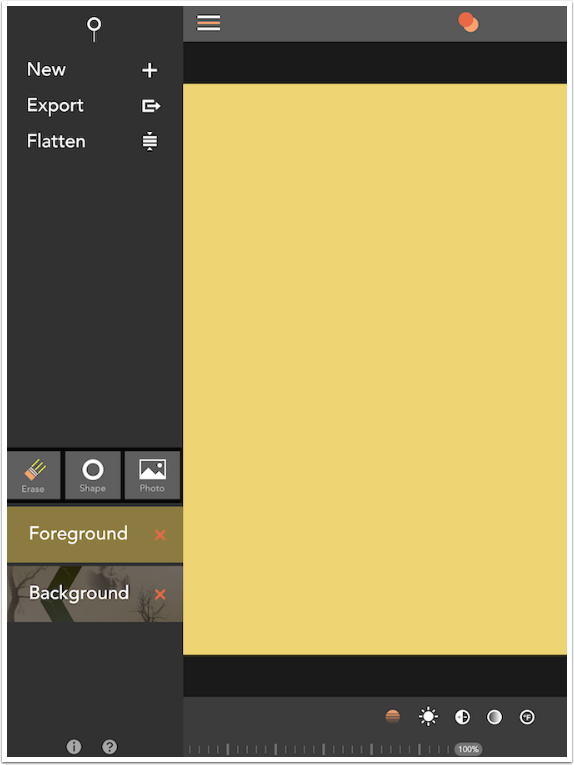
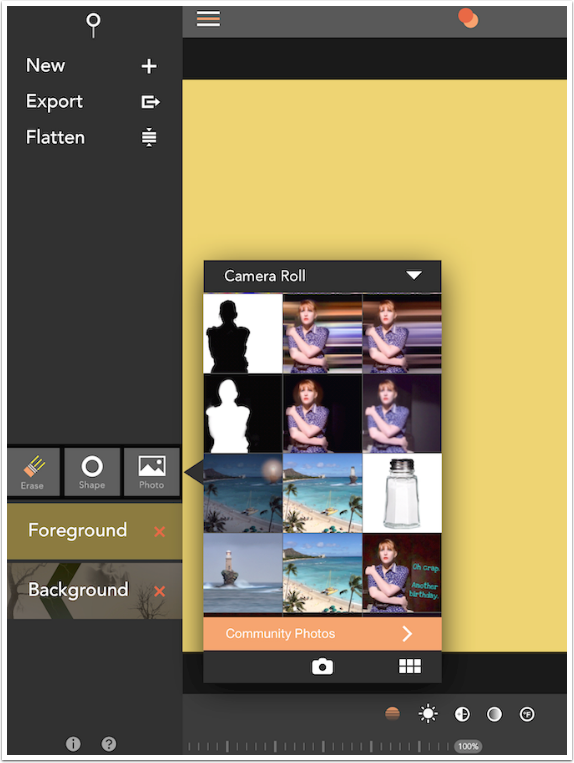
Photo masks use the tonality of the chosen photo to determine whether the foreground is masked or not. If a pixel in the mask is dark, it will mask out the foreground. If it is light, you will see the foreground. I am going to choose the silhouette in the upper left, with the black figure on the white background.
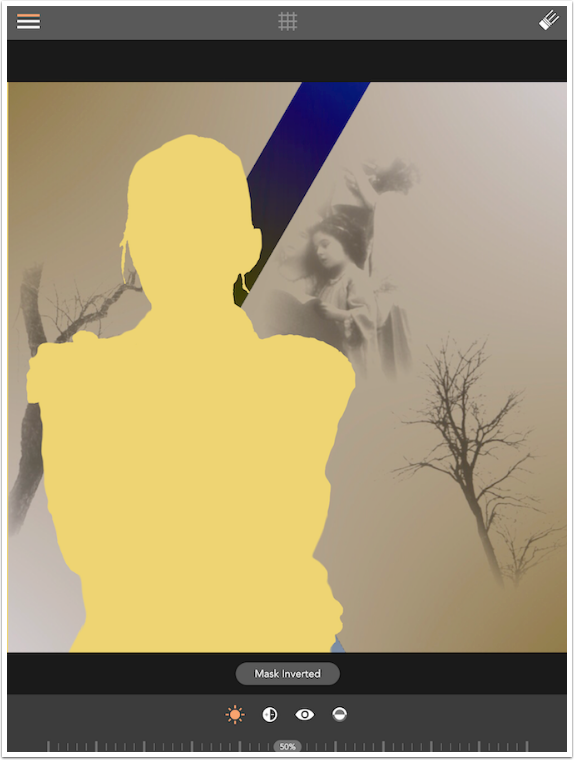
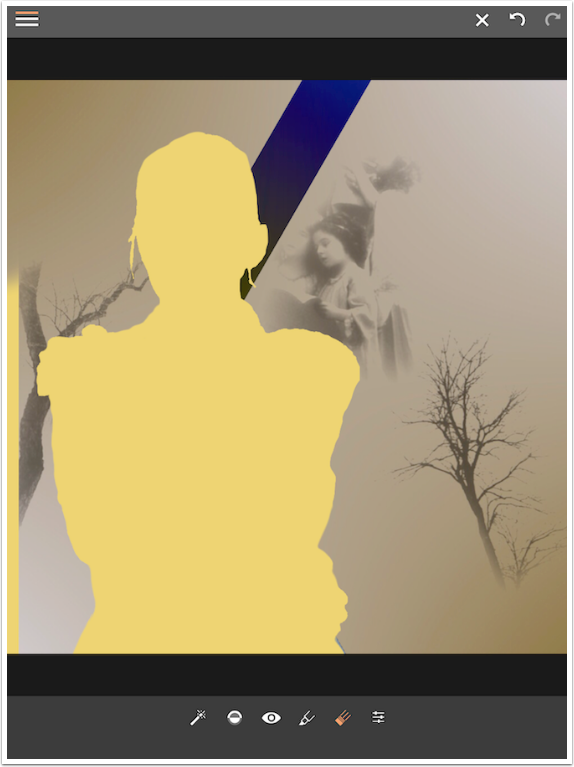
As you see below, the black of the figure masked out the gold foreground. But what are the bars on the side? They are the areas outside the photo, and are always considered black.
I invert the mask (notice the message in the image below) and reposition it, but now there is a gold bar at the side I don’t want. Photo masks can be modified using Erase mode, so I can erase that bar on the left side by tapping the eraser at the top right corner.
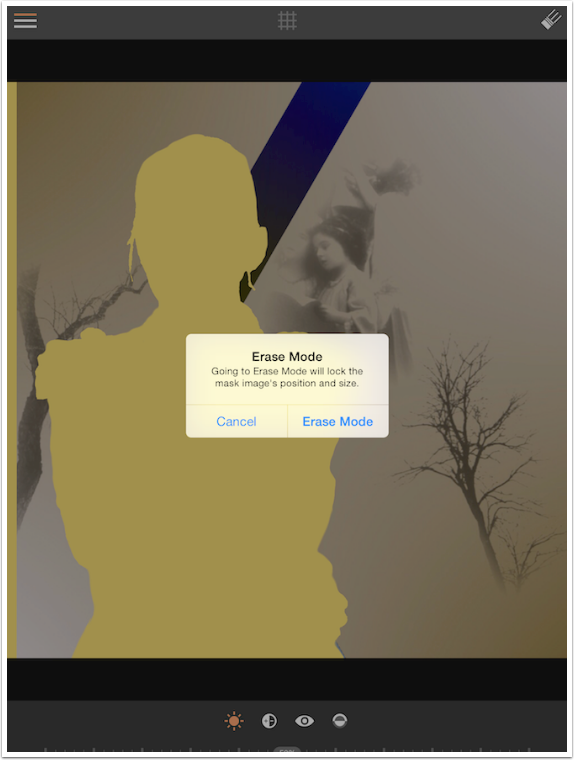
A dialog box appears to warn you that entering Erase mode locks the mask down where it is. I continue into Erase mode.
I select the eraser at the bottom of the screen and start to erase the gold bar. I took the screenshot when halfway through.
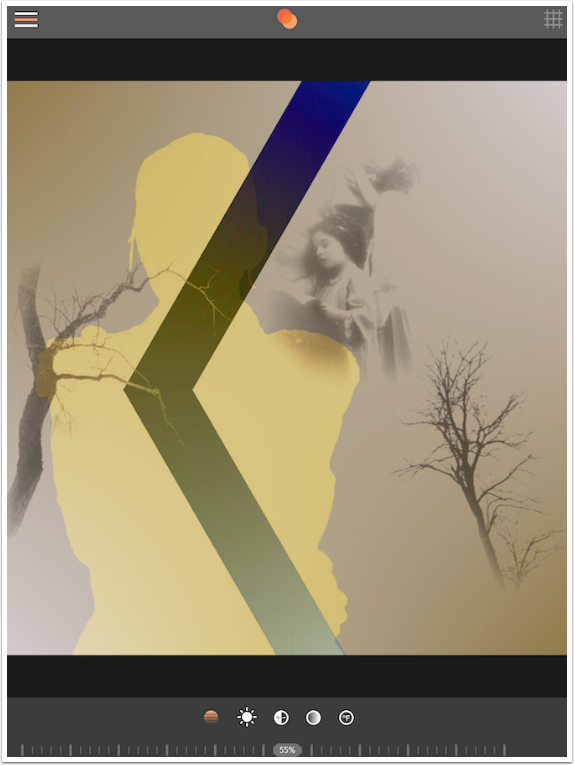
Once again, I did not want a solid color. So I changed the blend mode to Overlay and the opacity to 55%.
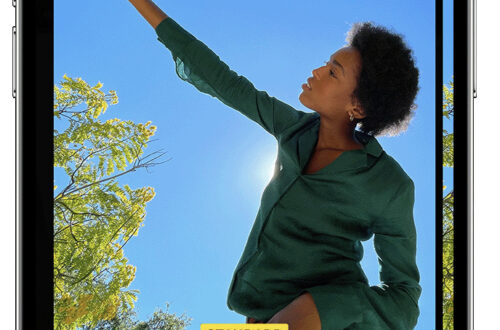
A silhouette is easy to work with. How about an actual photo? How might you use that as a mask? Let’s find out by flattening the image and adding a foreground of a black-to-blue gradient.
I resize the foreground and go to Mask mode and choose a photo.
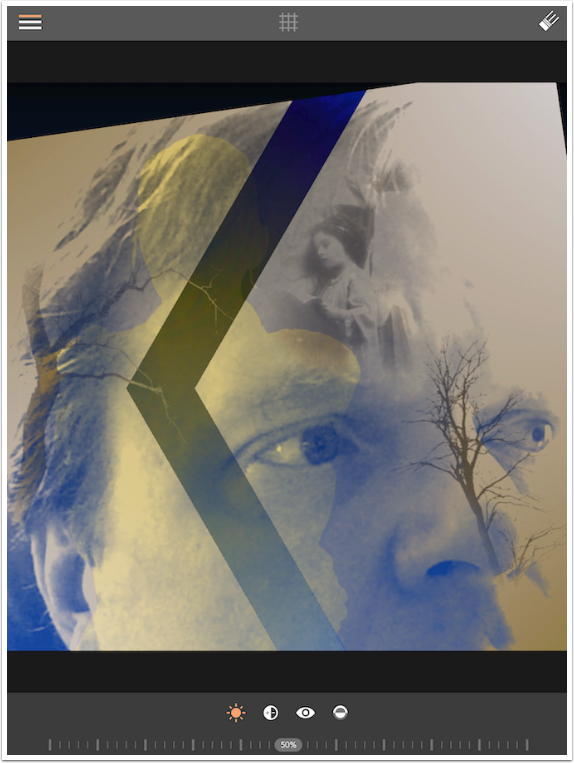
Below is the result, AFTER inverting the mask. Remember, black hides the foreground. I have a dark foreground, so I want the black in the photo to show the foreground rather than hiding it. So I inverted the mask.
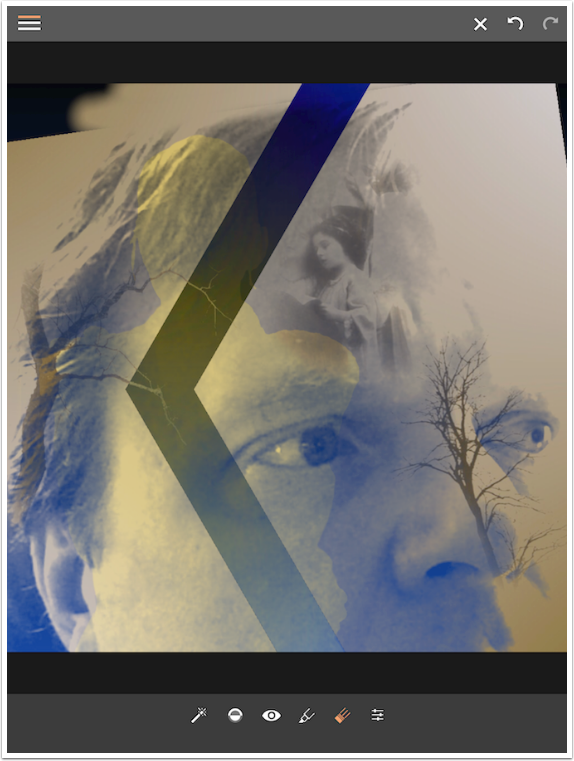
I want to move the mask. Unfortunately, one thing I might have wanted to do is flip the photo so that the eyes are looking to the left rather than the right, and Union does not offer a flip control. All I can do is rotate and resize.
Rotating exposed the area outside the photo, and I got s0me dark wedges. I go into Erase mode to clean up the areas outside the photo mask.
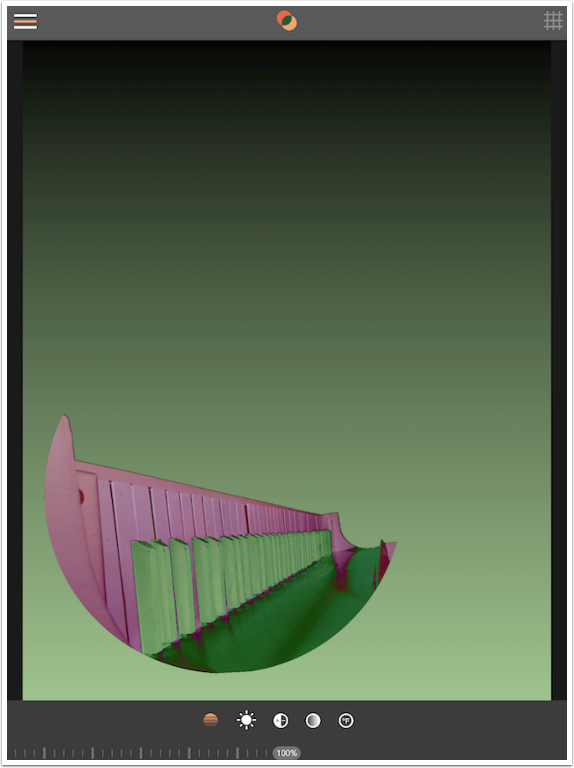
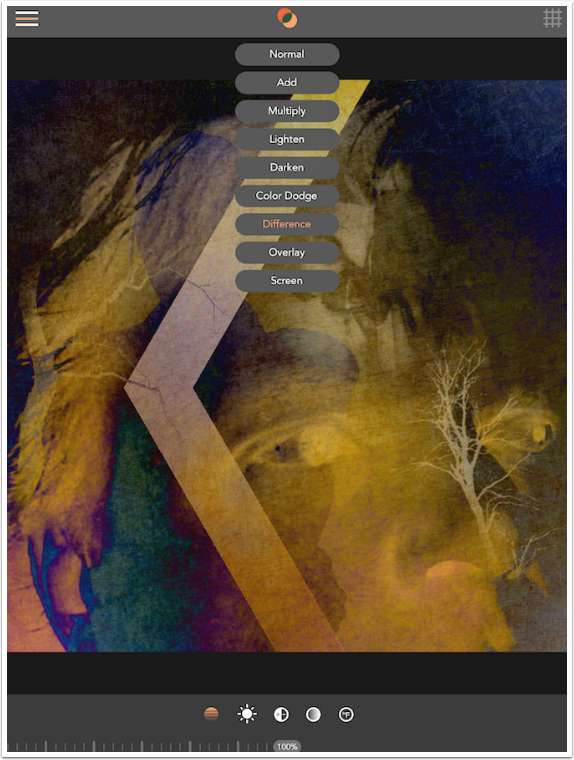
I’m getting near the end of my project, and I change the blend mode to Difference just to experiment. Interesting.
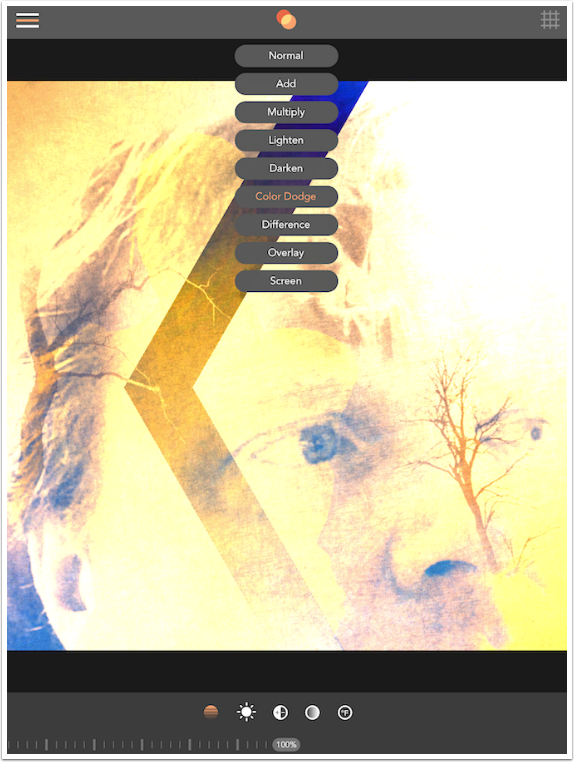
Color Dodge is not bad either.
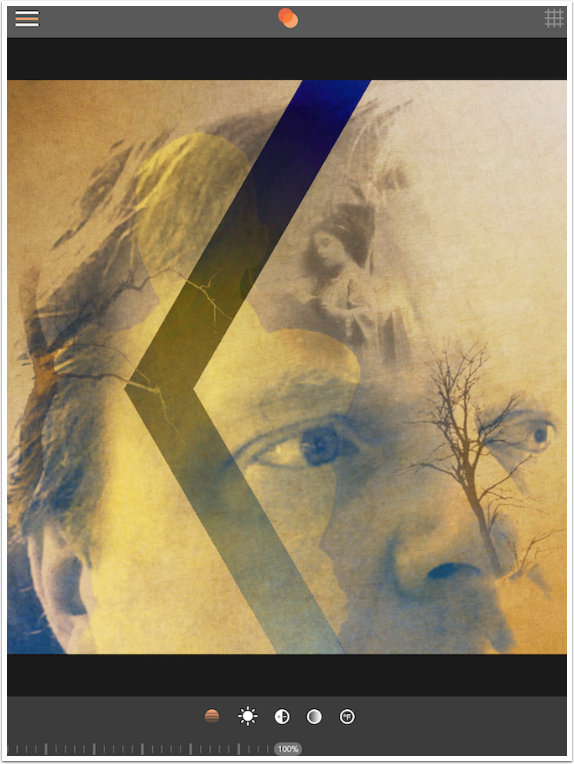
But I finally decide on Multiply mode.
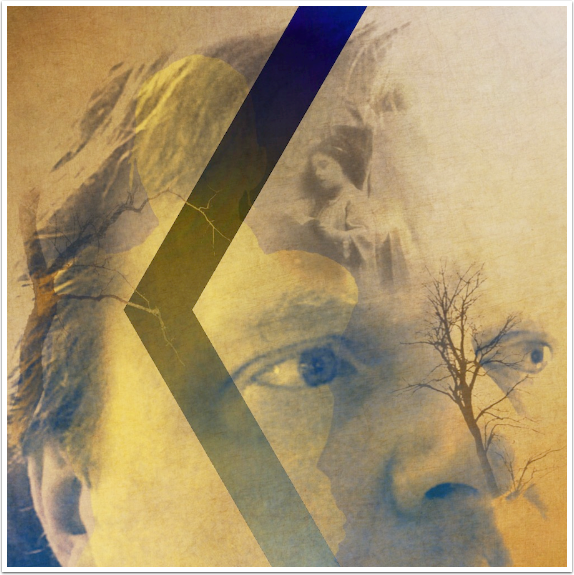
And here’s the result. I use that term “result” loosely, because I haven’t decided whether I’m really finished with this image yet. But it’s available should I decide to blend in more objects or textures using Union.
Union is a fine app, if not as flashy as Pixite’s other apps like Matter, Fragment or Tangent. It would be improved with a few more shapes and the ability to flip the photo mask. But all in all, it’s a worthy addition to your arsenal. Enjoy!
Please support us
TheAppWhisperer has always had a dual mission: to promote the most talented mobile artists of the day and to support ambitious, inquisitive viewers the world over. As the years passTheAppWhisperer has gained readers and viewers and found new venues for that exchange.
All this work thrives with the support of our community.
Please consider making a donation to TheAppWhisperer as this New Year commences because your support helps protect our independence and it means we can keep delivering the promotion of mobile artists thats open for everyone around the world. Every contribution, however big or small, is so valuable for our future.
Jerry Jobe
Never content with just scratching the surface of what an app can do, Jerry Jobe decided to pass on what he learned about imaging apps to others. He’s constantly trying to figure out just what tools other artists have used, and trying to incorporate them into his own work, in an attempt to find his style. He’s written tutorials on over 145 apps so far, which you can find (along with his Song of the Day entries) at http://enthusiasmnoted.wordpress.com/ He lives near Atlanta, Georgia, where he also finds a creative outlet in acting and directing in community theater.

One Comment
Lurline Slater
Inspirational