
Procreate App Tutorial by Award Winning Mobile Artist Catherine Caddigan
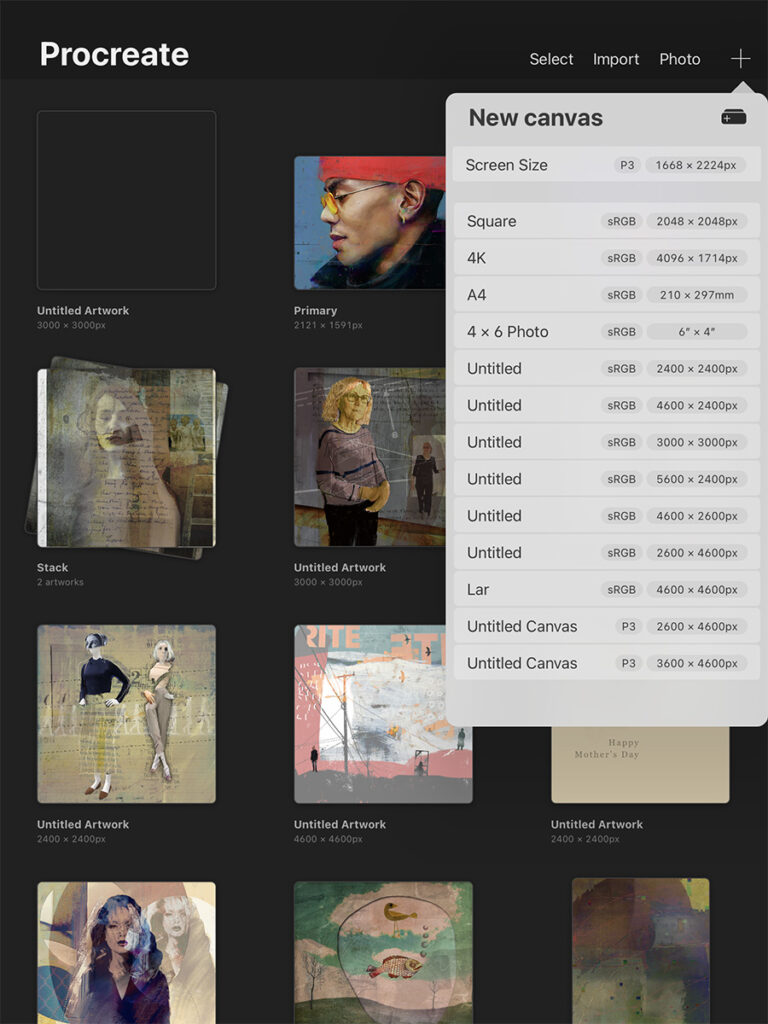
In the app Procreate use the + in the upper right to create a document, choose the size you want or greater a custom size. I will choose 3000px x 3000 pixels for high resolution.
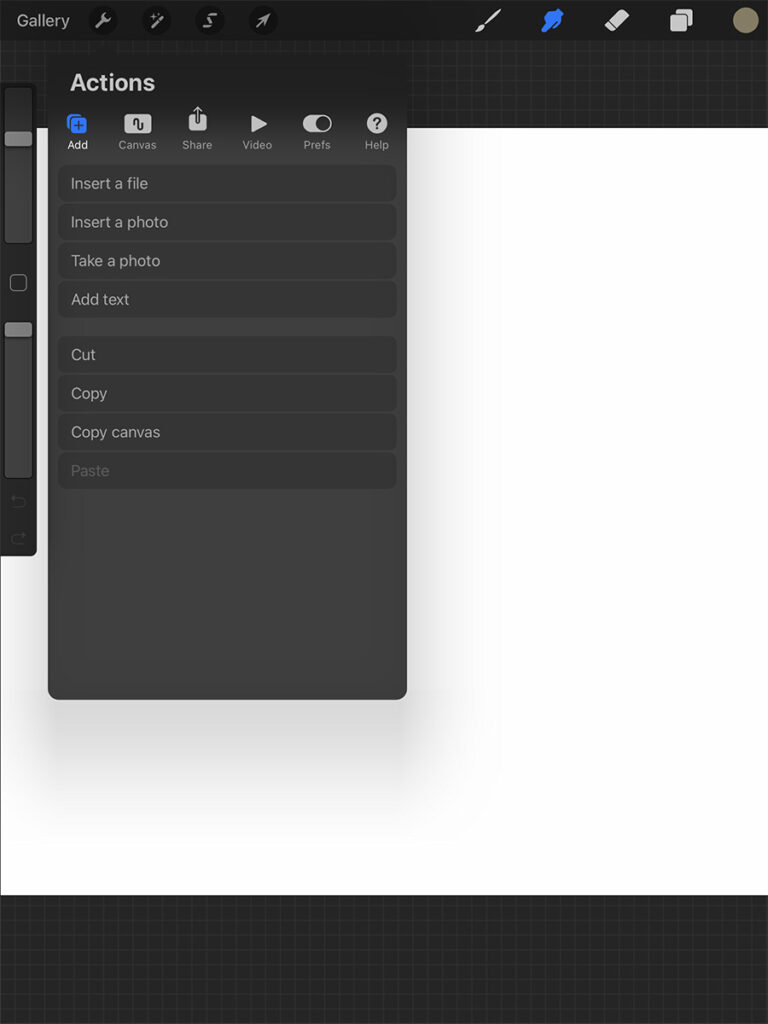
In the upper left under the wrench, use the + to “insert” a photo.(dropdown menu)
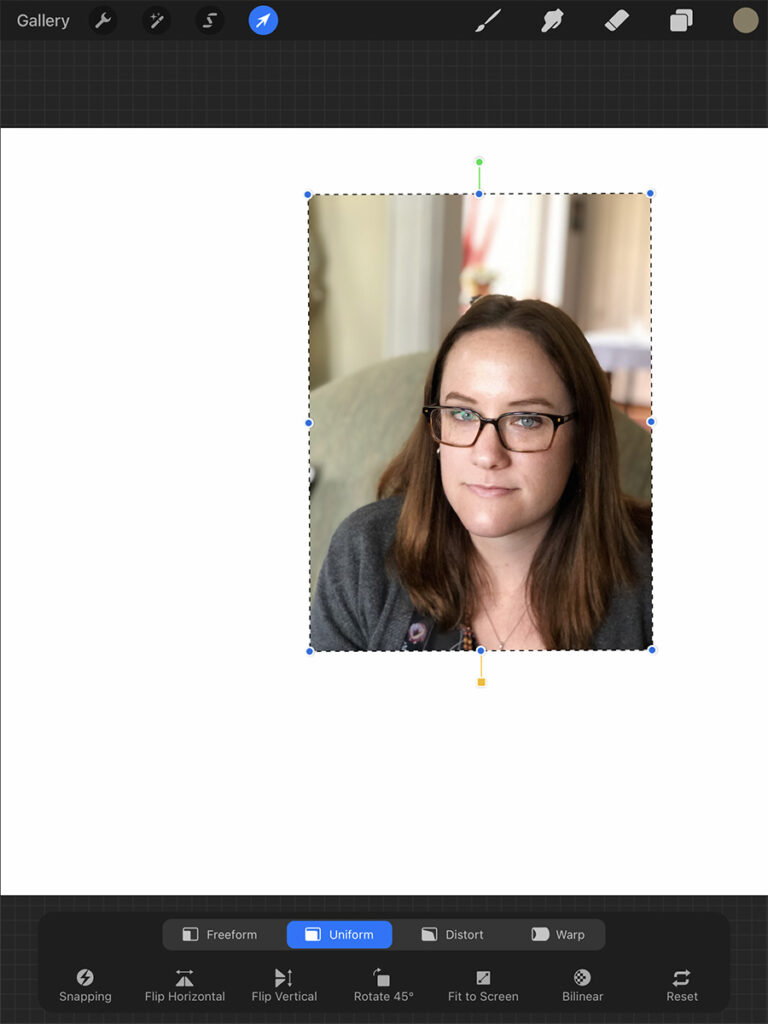
Scale and place the new image with your thumb and pointer finger. The arrow or “selection tool” his highlighted above.
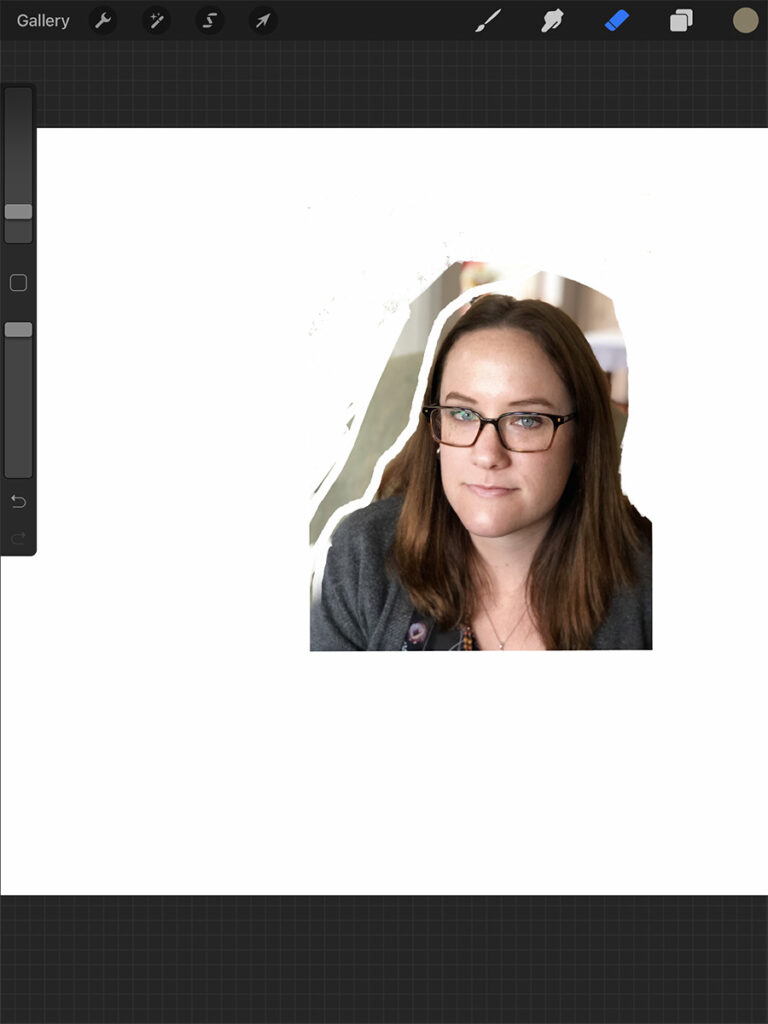
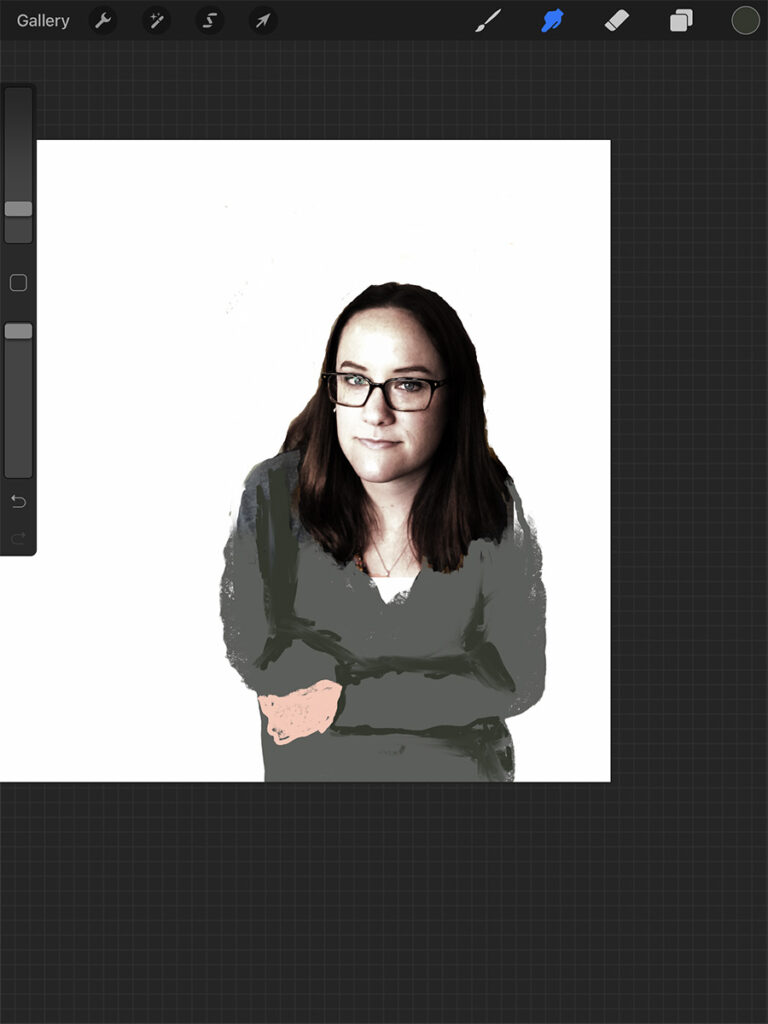
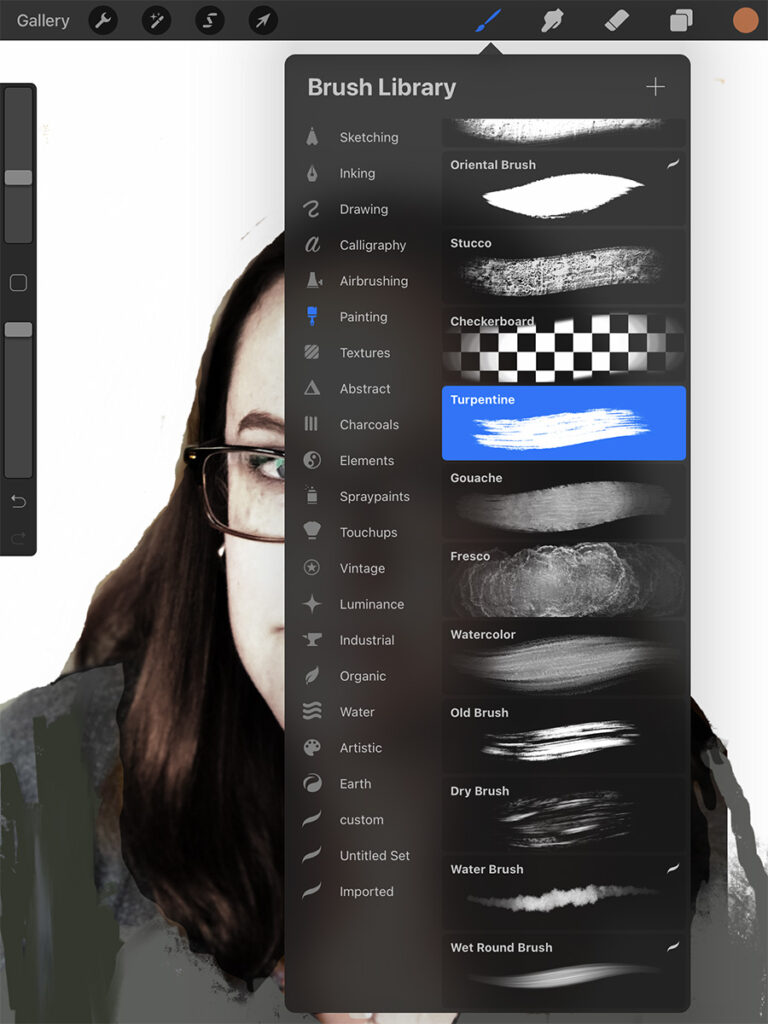
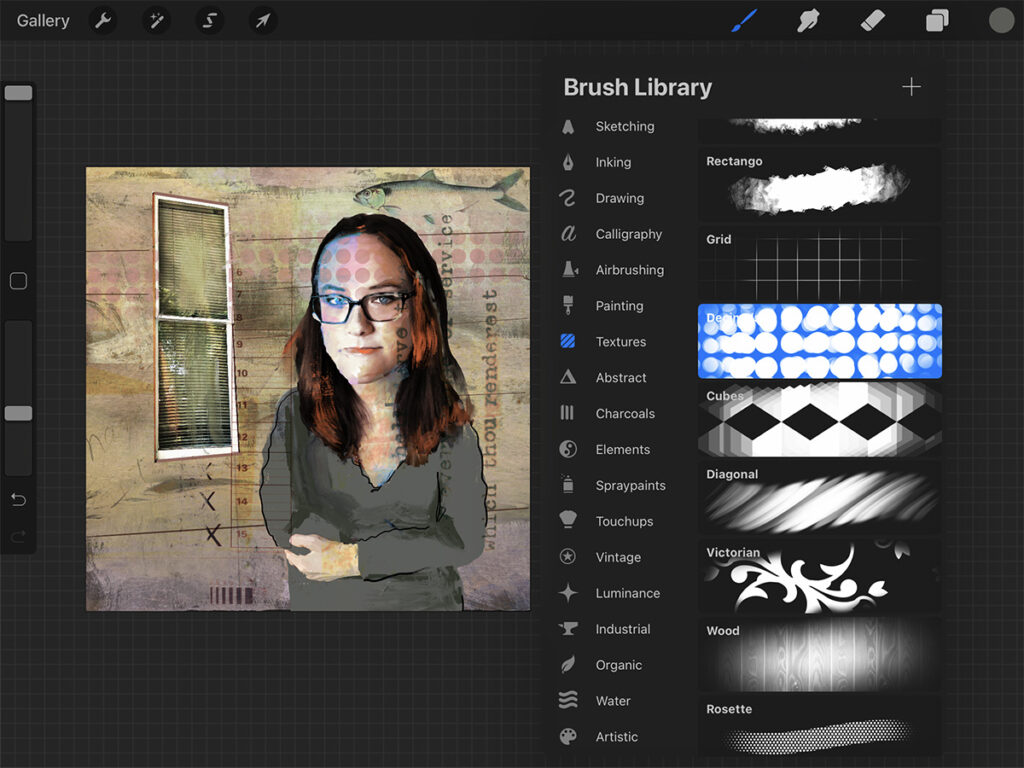
Using the eraser, silhouette the parts of the image you want to work with. Tap the tool twice to see a selection of “brushes” for each tool (upper right menu).
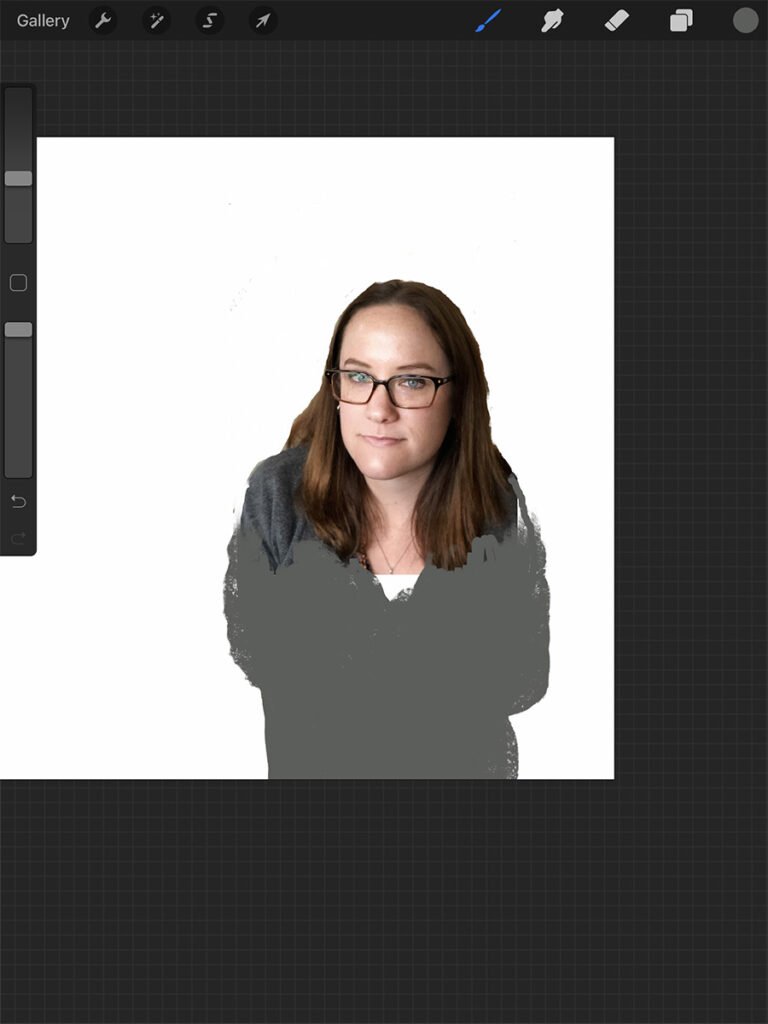
Use a brush and a matching color to paint in what’s missing. You can select a color from the color menus, tap the upper right circle, or press and hold your finger to get a match from within the image.
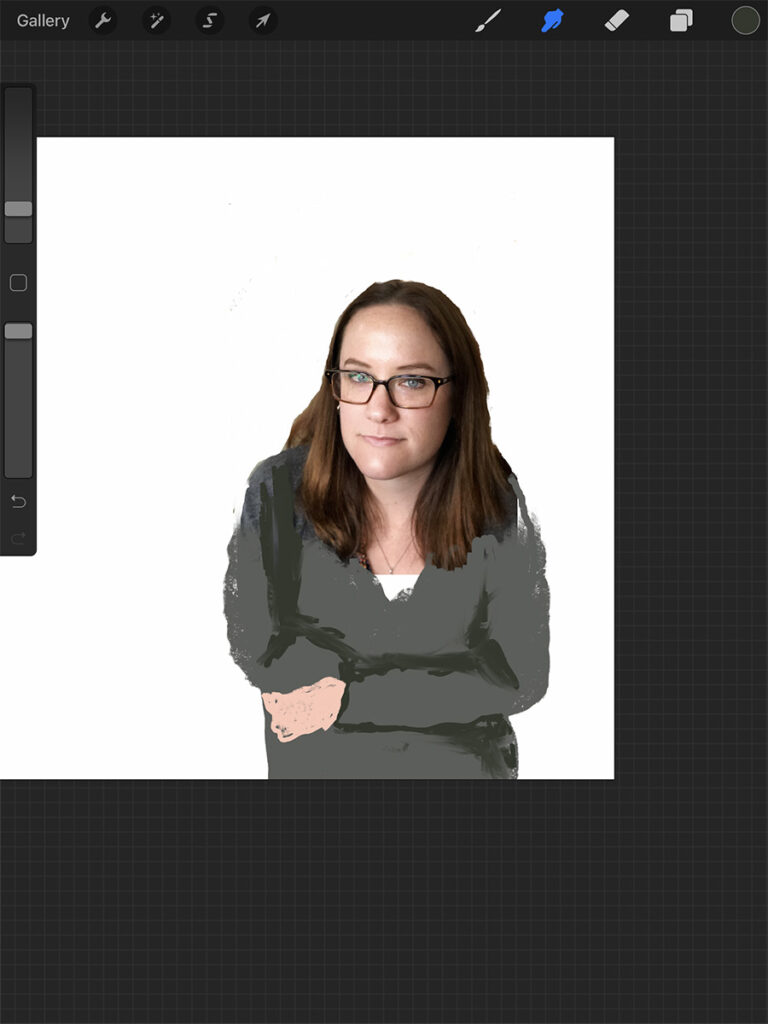
Add highlights and shadows, details. At this point I work quickly, loosely.
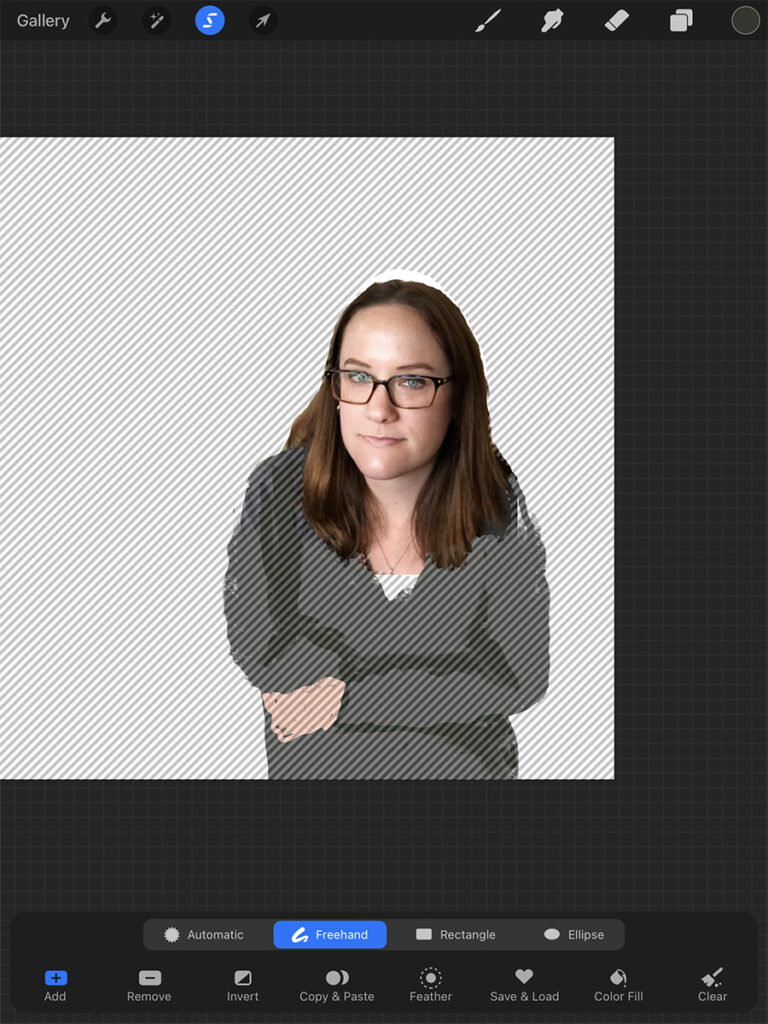
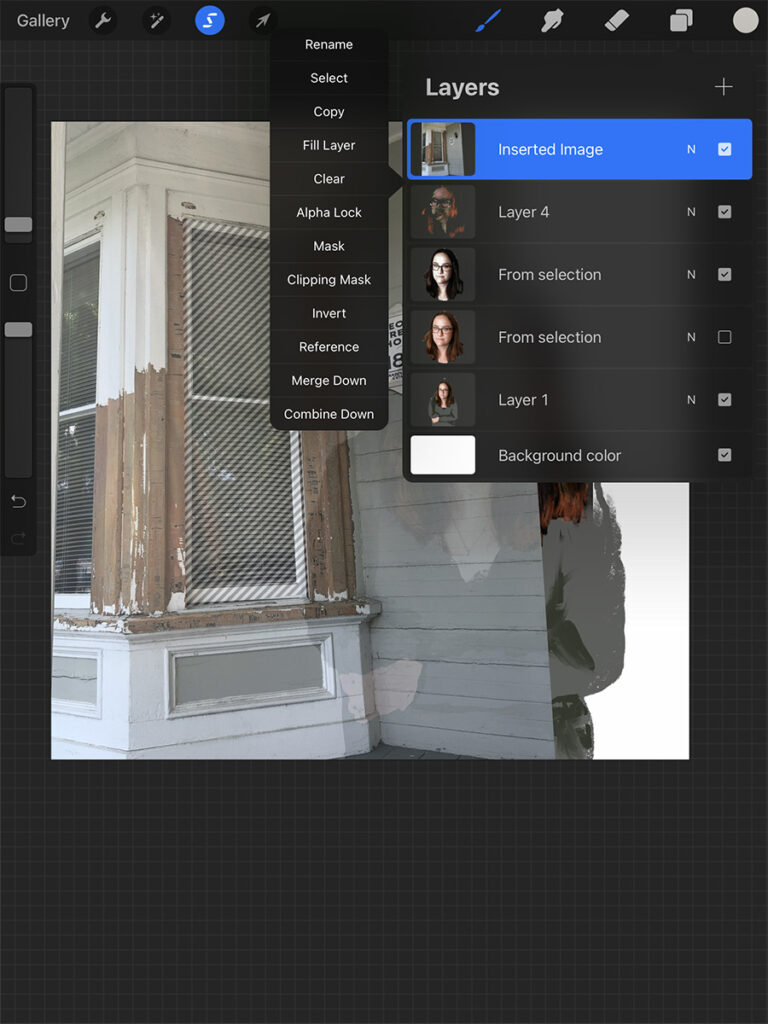
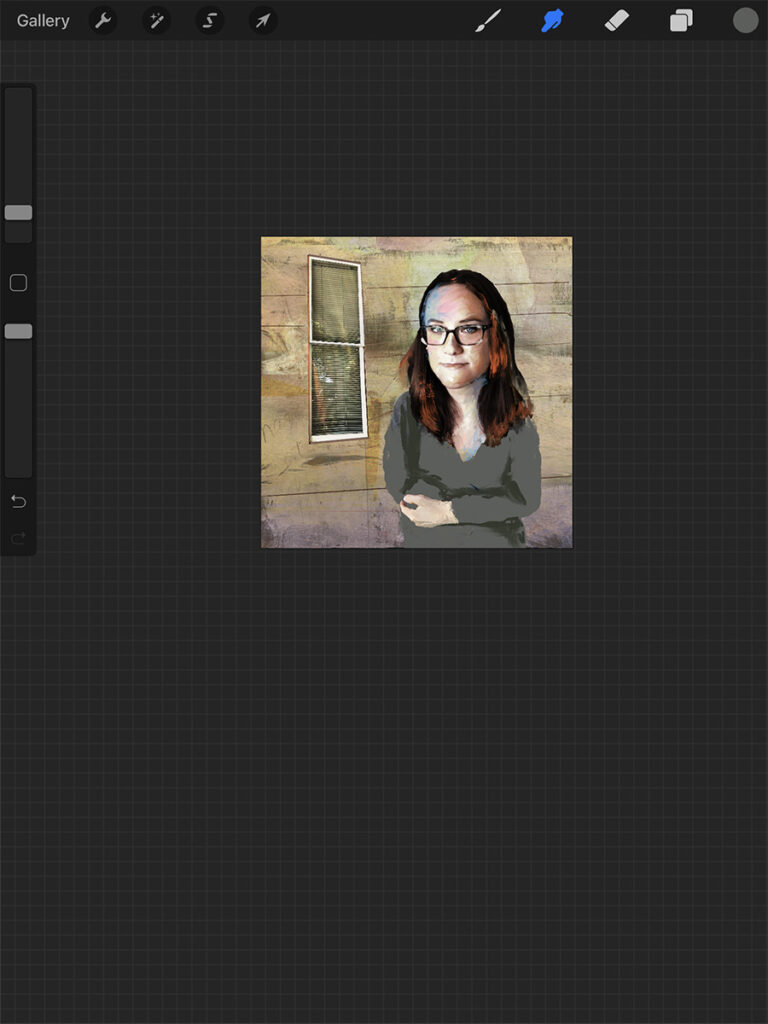
For this piece I select the face and hair for some special treatment. Use the freehand selection and “‘copy and paste” at the bottom to put this on its own layer.
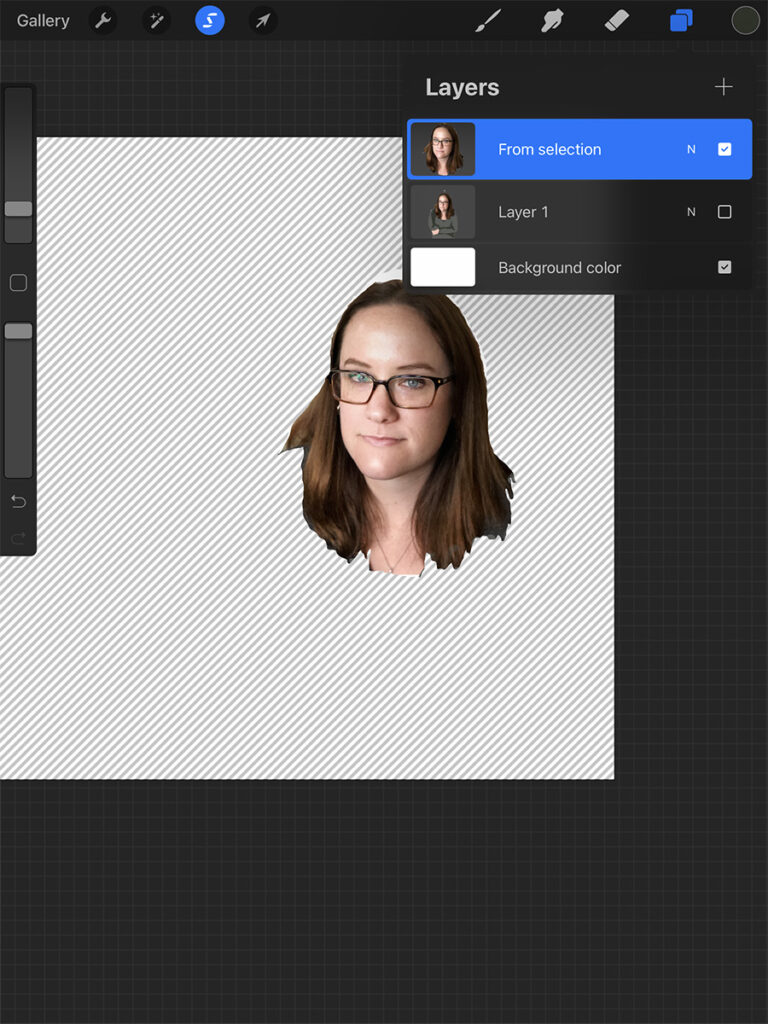
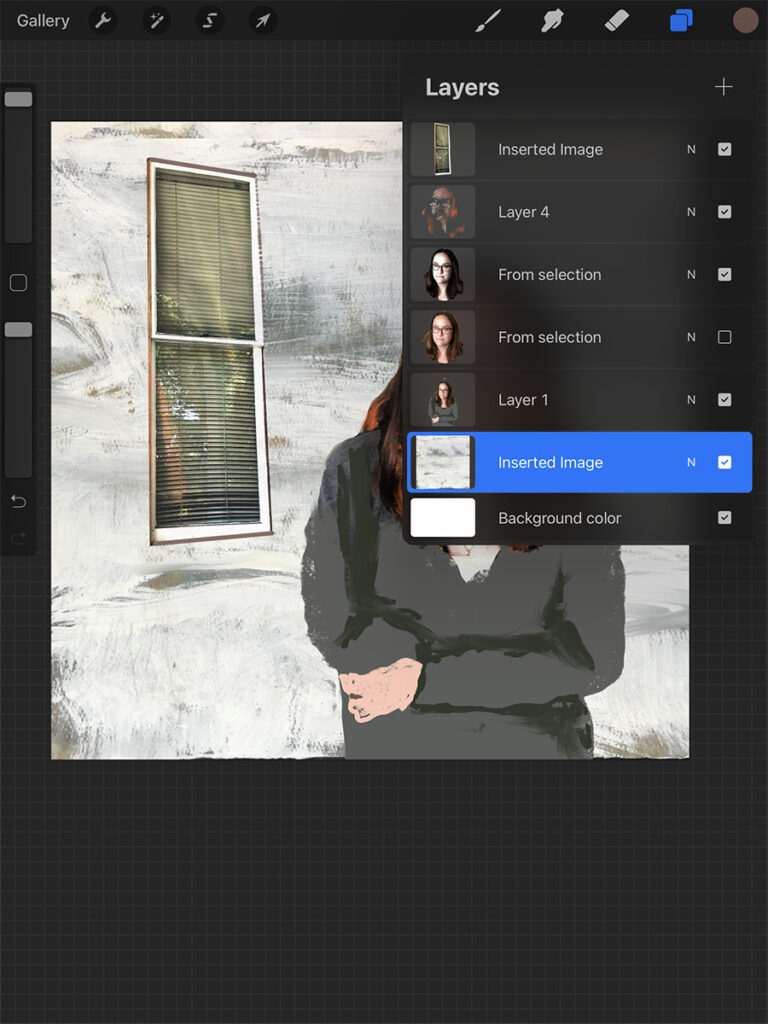
The head and hair are isolated on their own layer.
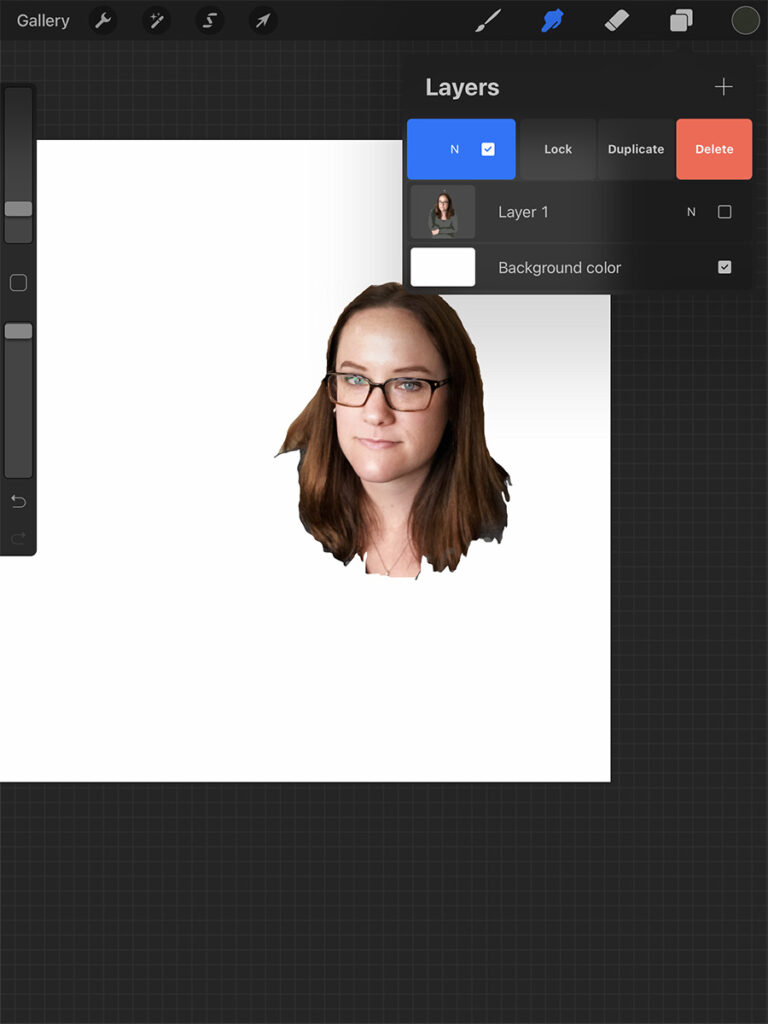
I duplicate this layer to preserve the original. In the layer menu, slide the layer to the right.
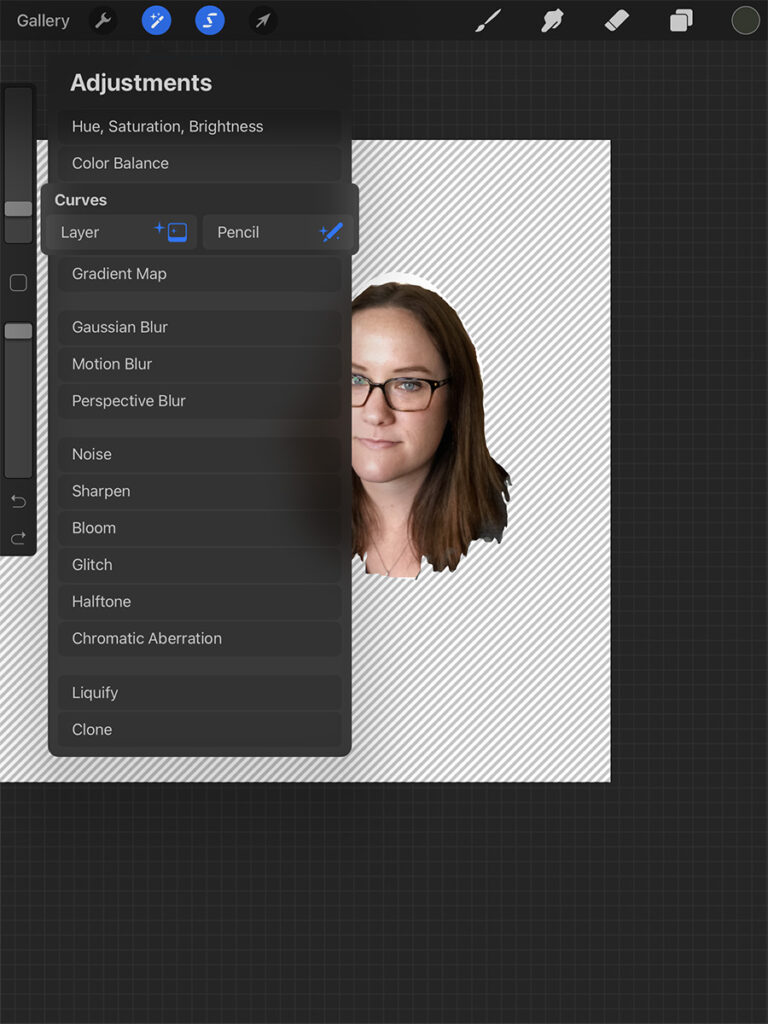
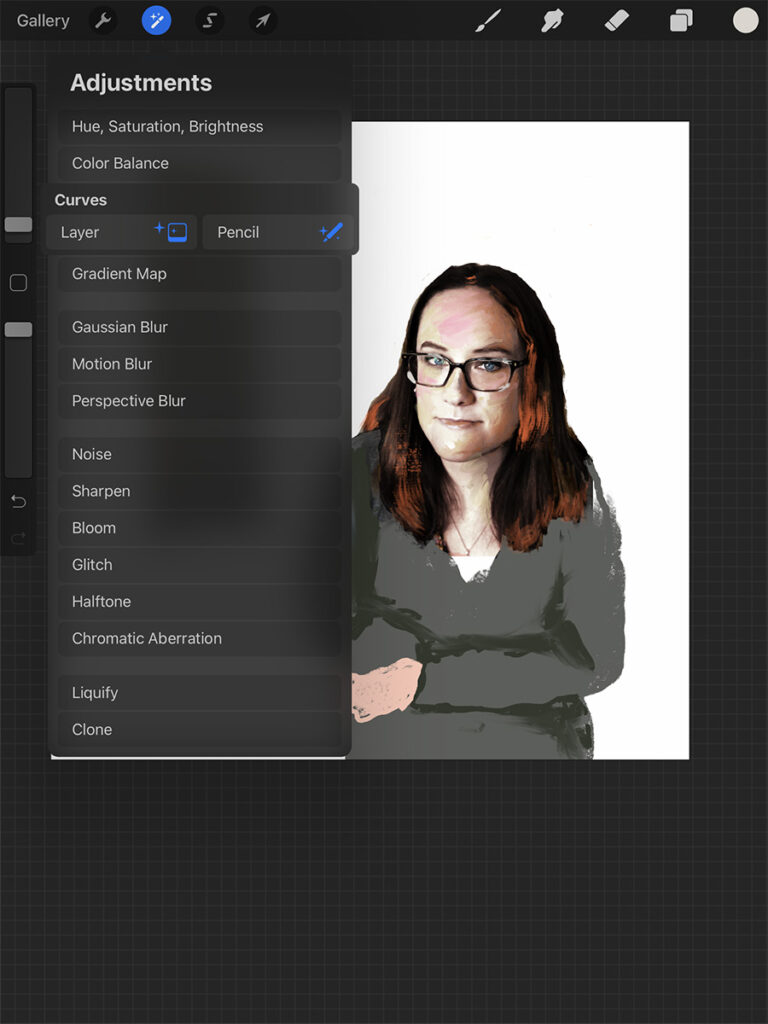
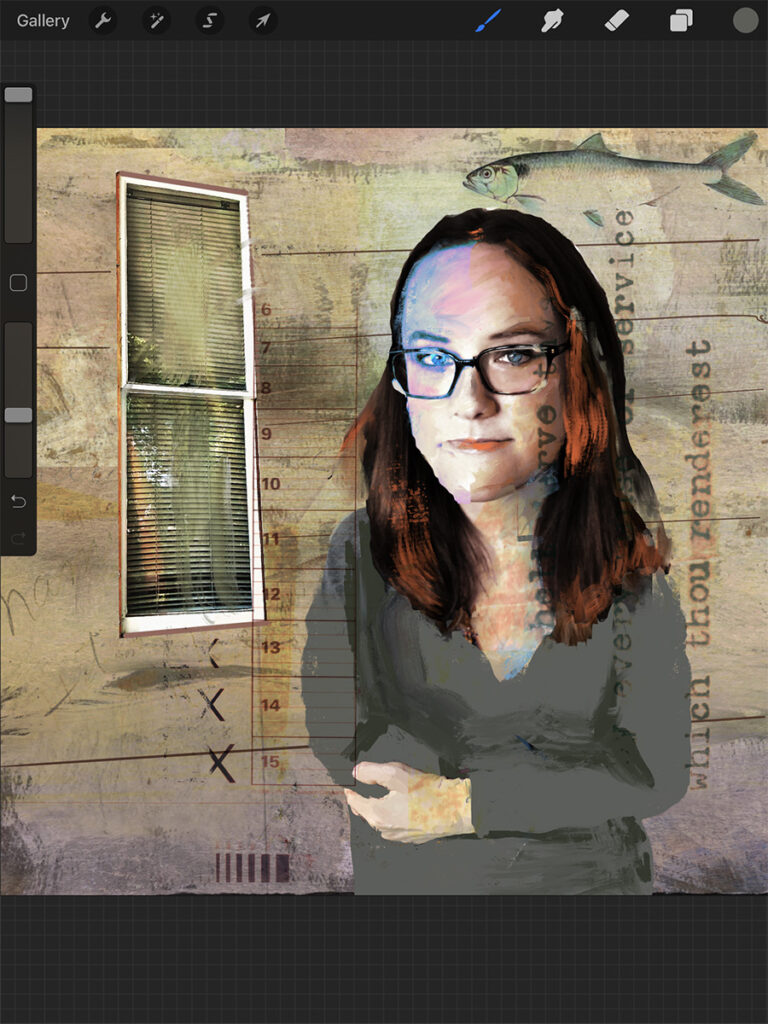
Using the adjustment tool, I use curves to increase contrast. Play with curves for some interesting effects including posterisation.
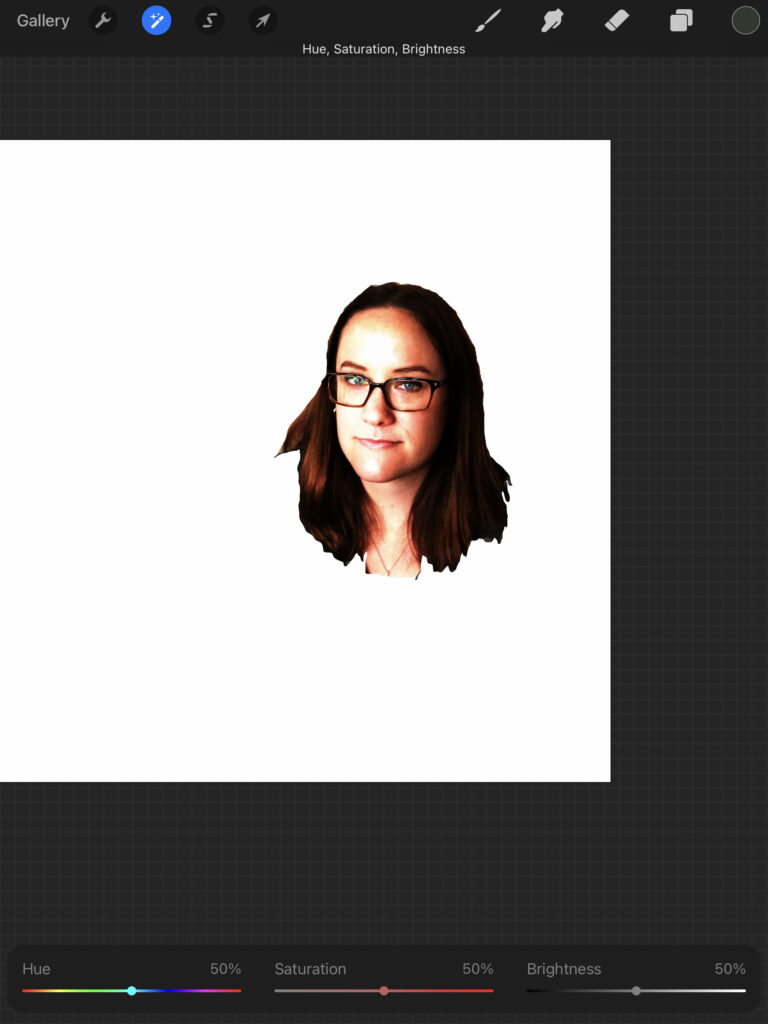
Using the adjustment tool, I choose Hue Saturation and Brightness, I decrease the saturation, you will see this in the next image.
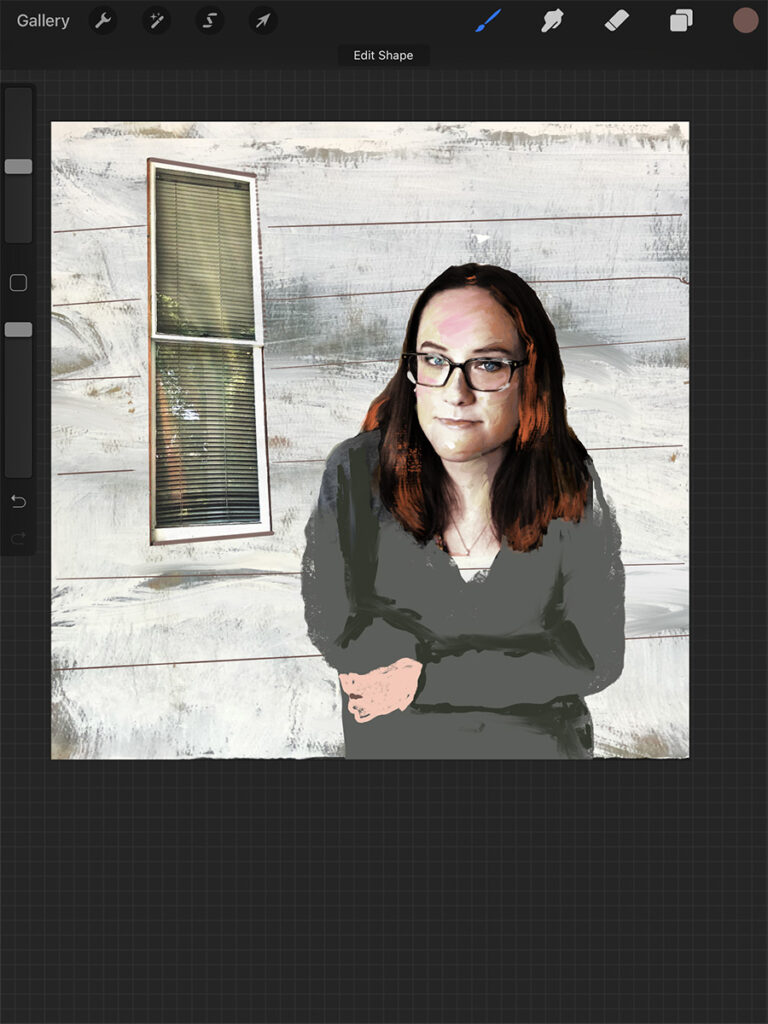
I now reveal the figure beneath, notices the changes to the face.

Use brushes and colors to “paint the face” for a look you like. You can add an empty layer by selecting the + and work on an empty layer if you prefer.
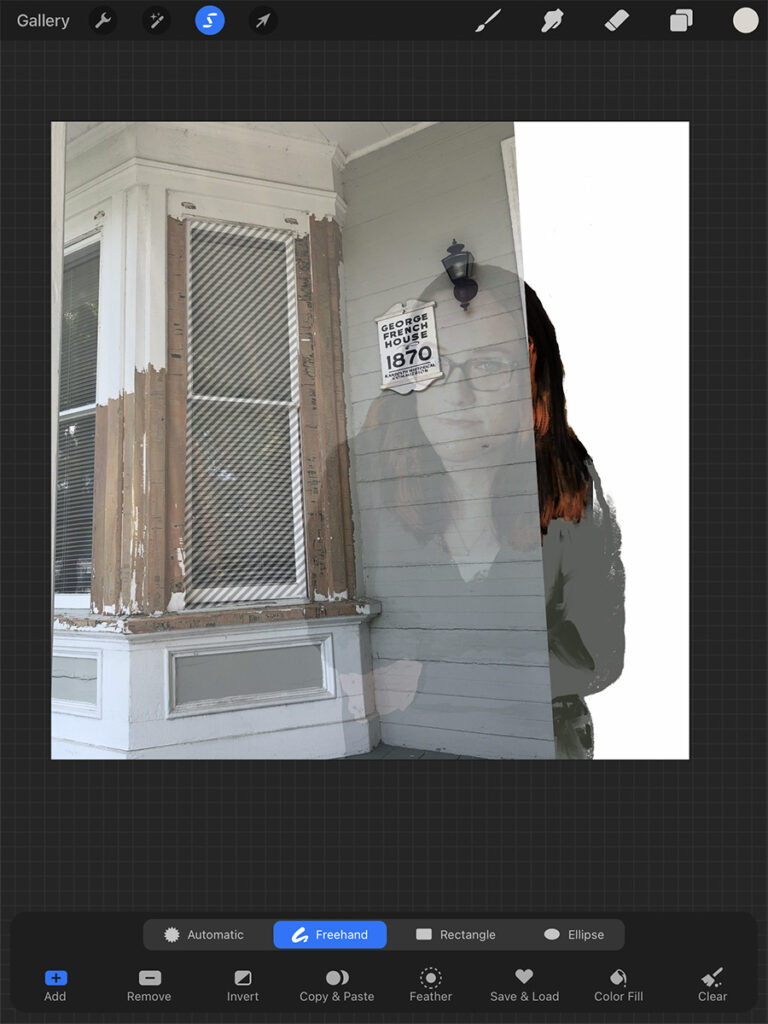
At this point I import a second image and place it.
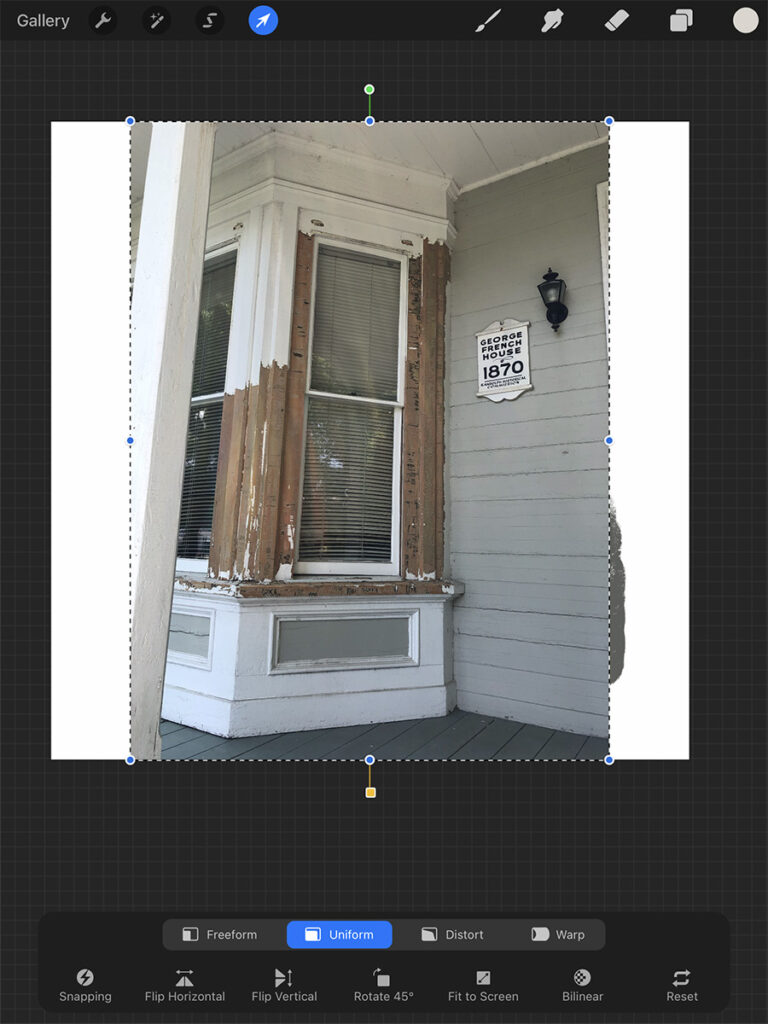
Lower the opacity under the layer menu to see though the new image. This helps you to arrange them in relation to each other.
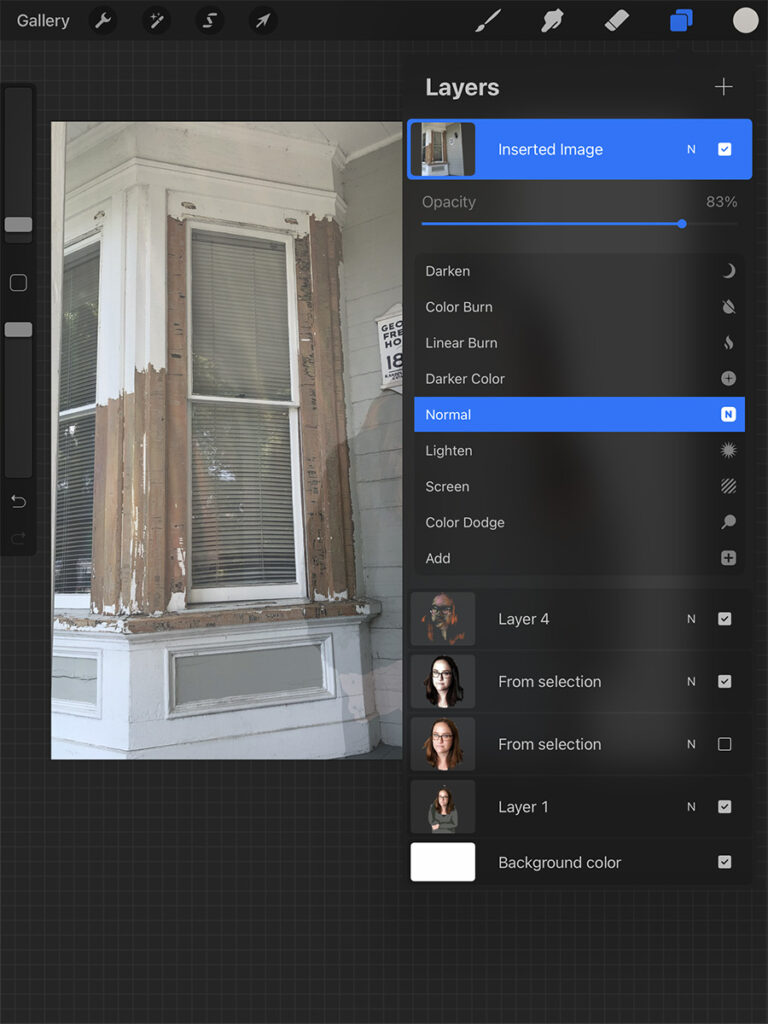
Select the window, with the selection tool, and choose invert in the bottom menu. You will be deleting what you don’t want. The area that does not have gray lines is the “active” part of the image.
Under the layer menu, I tap on the layer and select clear in the side menu.
On the window layer I use the curve feature (under adjustments, or the wand tool) to increase contrast.
I fill in some of the missing lines. (Tap and hold the brush to draw a straight line.)
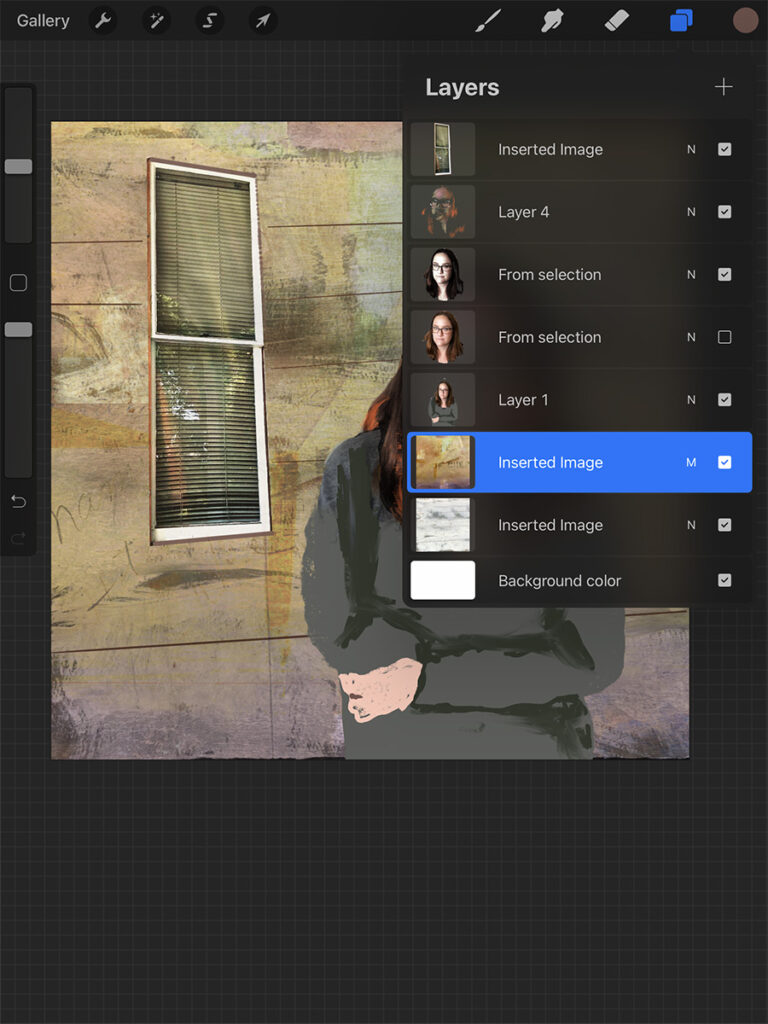
Import a new image as before, (this time a texture) Use the selection tool to size it to full screen. (This is also available in the bottom menu.) I use a texture from my texture folder. This is one I created, by painting it. I play with opacity and blend options in the layer menu. You reach the blend options by touching the N on the layer you have selected.
Next I drew lines on the texture, depending on the image you can get very creative here. Use the layer with the image or create a blank layer (under the layer menu use the +) to work on.
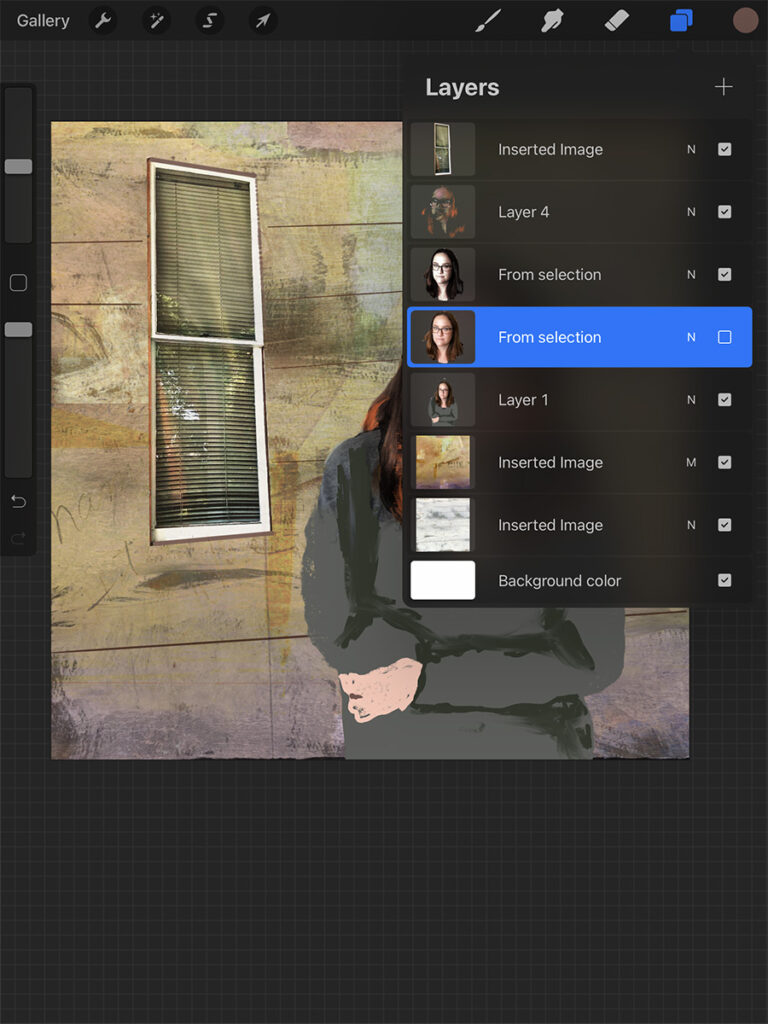
I import a second texture that I created. You can use anything for a texture and there are web sites to acquire some. These layers are below my previous images but they can be moved to above by pressing and holding the layer. Certain layer effects will render the image in different ways. Play with this option.
To make the image more dynamic and create tension I have scaled the head to a little larger than the torso.

I have decided I didn’t like the hand I drew so I photographed my own hand and imported it. I silhouetted it as before with an eraser and under selection I scaled it and flipped to to appear more natural.

I have imported images that I have saved on my camera roll, I have photographed these images, but there are sites for copyright free images which you can collect. I play with the blending mode until they appear the way I like them. (Often multiply or darken). This step is also a place to get very creative, depending on what you import on top or below.
I have used textured brushes to add some interest, I play with blending modes again here.
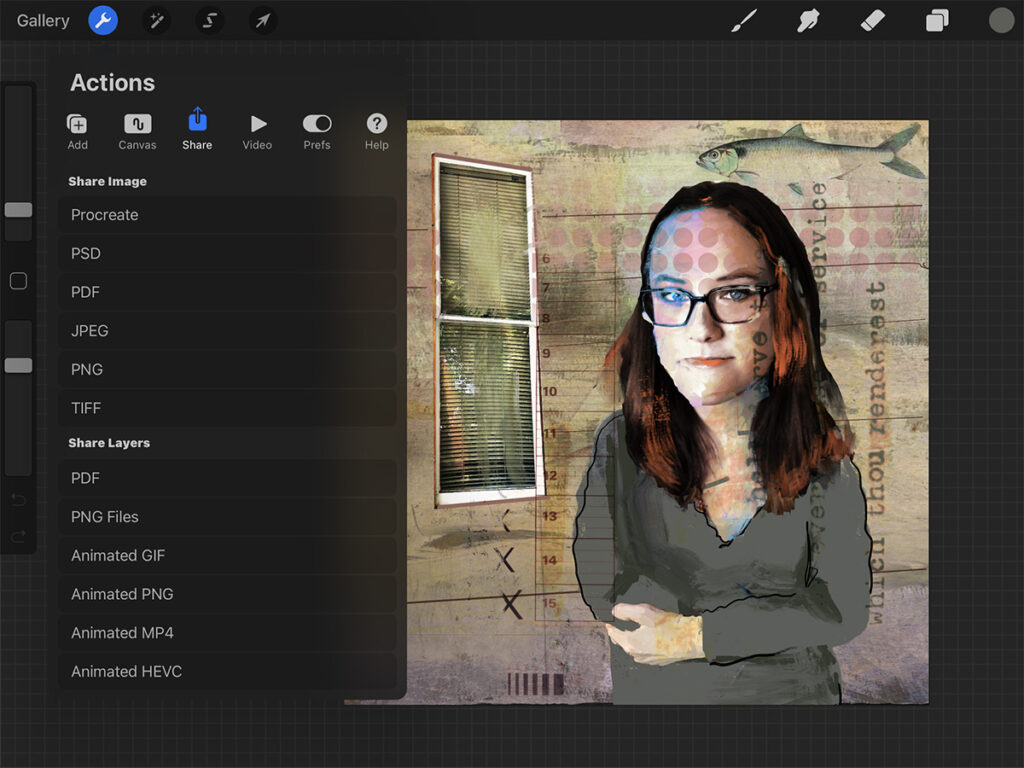
To save your image use the wrench and choose share from the drop down menu. I always save as a png for a large file size in case I want to print it later. I continue and I save many versions so that I can compare them finished in my camera roll.
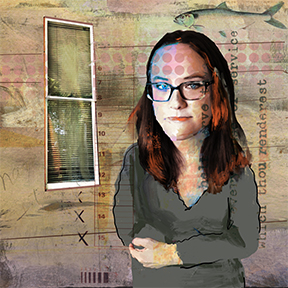
This is one of my final choices from my camera roll. But I will probably continue to work with it.
Please help…
TheAppWhisperer has always had a dual mission: to promote the most talented mobile artists of the day and to support ambitious, inquisitive viewers the world over. As the years pass TheAppWhisperer has gained readers and viewers and found new venues for that exchange. All this work thrives with the support of our community.
Please consider making a donation to TheAppWhisperer as this New Year commences because your support helps protect our independence and it means we can keep delivering the promotion of mobile artists that’s open for everyone around the world. Every contribution, however big or small, is so valuable for our future.
One Comment
Carol Wiebe
Great work, Catherine. And your tutorial is clear. ❤️