iPhone Photography Tutorial – How To Create Awesome Abstracts with Rollage
Our new mobile photography tutorial section is in full swing and we’ve received much acclaim from the mobile photography community, thanks to all. If you’ve missed our previous tutorials you can read them here.
Inner Glow by Mel Harrison
This morning a friend of mine, and fellow iphoneographer, Emanuel Faria sent me a message suggesting an app for me to try. I’m always very keen to play with new apps and as I am sick in bed with a cold I have lots of time to play around with it. The app is called Rollage. It is a free app and quite a handy little tool for an interesting effect.
I have called this image ‘Inner Glow’. It is a combination of two old images from my camera roll; the first is wormhole an image I created with Hipstamatic, Image Blender and Paint FX. The second was just a simple black and white image of my eye.
Final Image – Inner Glow
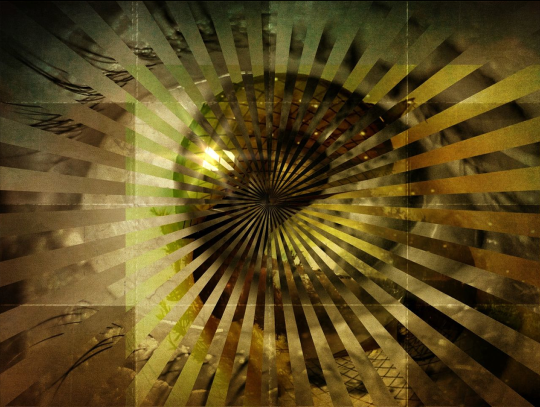
This is the final image, the one we are going to show you how to create.
Original Image 1
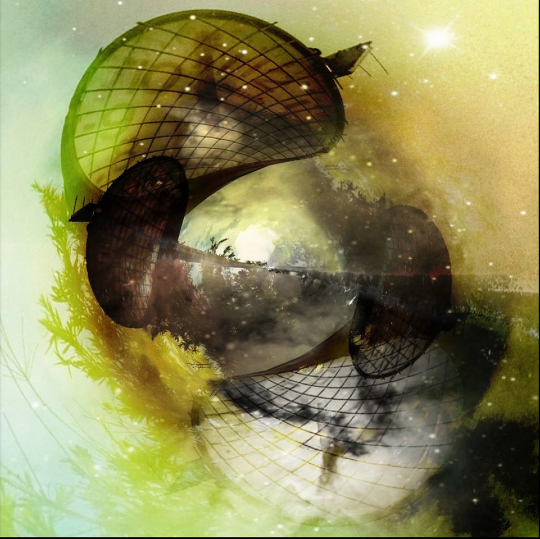
Original Image 2
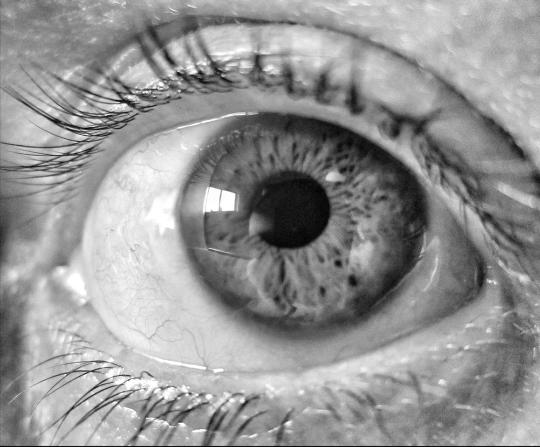
Step 1 Load Photos Into Rollage
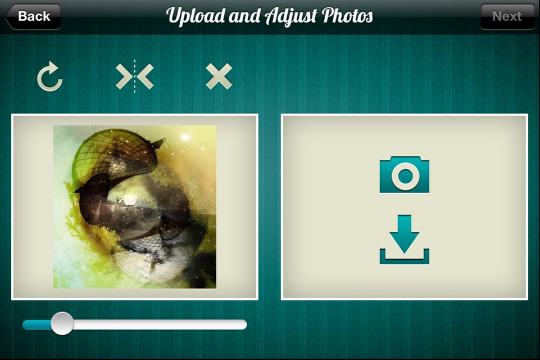
Step one was to load them both into Rollage and adjust them to fit the loading windows.
Step 2 Adjust
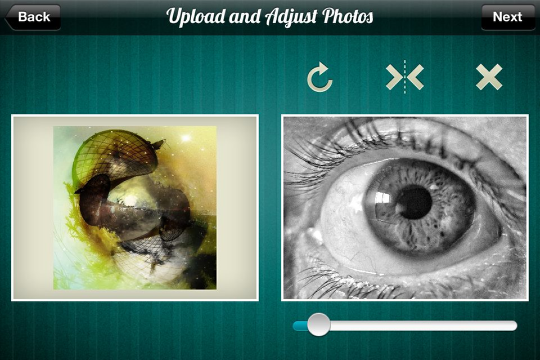
You can adjust size, rotate the image or flip the image if you desire. I deliberately made wormhole smaller and let the eye fill the window. When you are happy with the loaded photos, hit the next button.
Step 3 Add Blending Effect
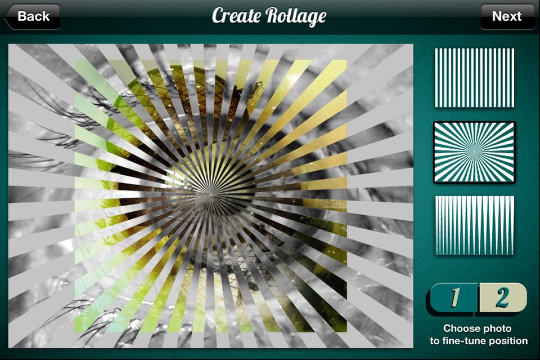
In this screen you need to choose between 3 blending options; stripes, starburst or sharp points. For this image I went with the starburst.
Step 4 Adjust Position
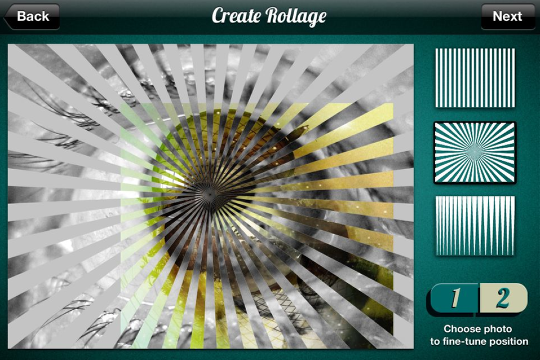
I then arranged the wormhole image down into the bottom right hand corner. You can arrange each image individually, adjusting size and direction by toggling between the 1 and 2 in the bottom right hand corner. When happy with the placement, hit the next button.
Step 5 Add Filter Effect
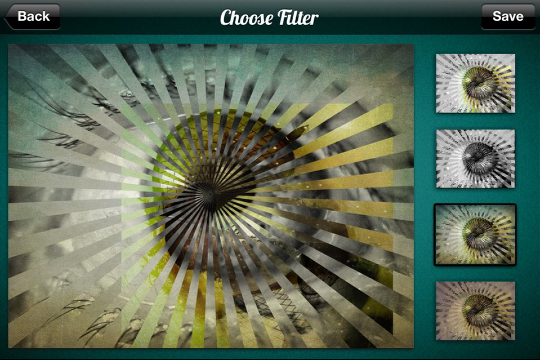
In this screen, there are 4 filters that you can add to your image. The first is “as loaded”, the second is black and white and the last two have a grungey overtone in blue and pink, respectively. For this image, I went with number 3; the blue toned filter.
Step 6 ScratchCam
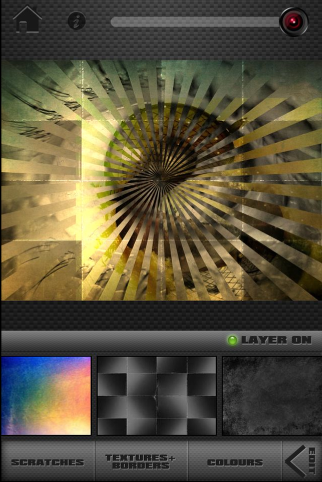
The next point of call was ScratchCam. I knew I wanted the multi-tiled overlay but colors were a bit hard to decide on. I ended up with two I was interested in but they were not quite right. This is a screenshot of one of the ScratchCam versions.
Step 7 Will it Blend?
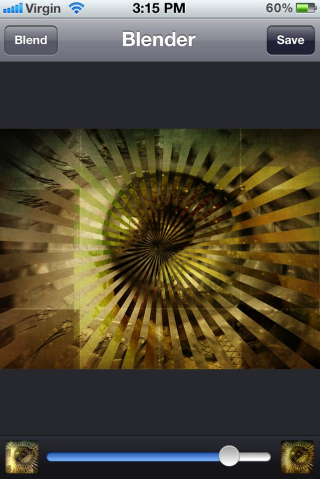
I loaded both the ScratchCam versions into Image Blender, and adjusted the slider on the ‘normal’ blending mode until I was happy with the color.
Step 8 Send to LensLight
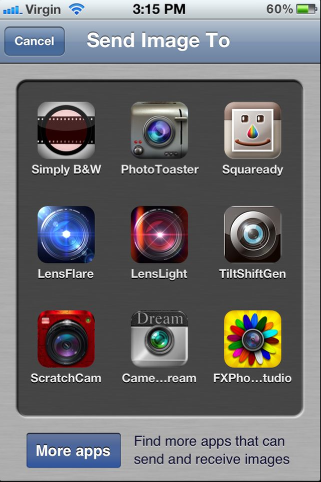
Using Image Blender’s ‘send to other apps’ function I then transferred the image to LensLight.
Step 9 Sunstar
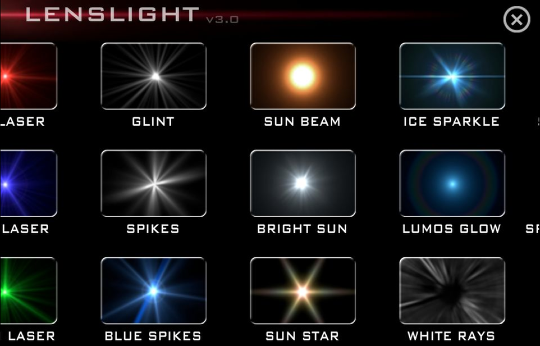
In Lenslight, I selected the ‘sunstar’ and arranged it onto the image.
Step 9a Adjust Brightness
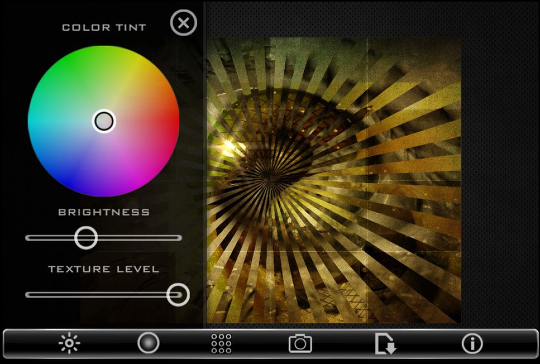
Staying with LensLight, I adjusted the brightness levels and saved the image to the iPhone’s Camera Roll, completing the editing process.
Step Final Image

This is the awesome final image again. I hope you enjoyed this tutorial, Rollage gets a little addictive, loading different photos in to see what effect it creates so have fun!!

5 Comments
David
Great tutorial! I’ve just pick up Rollage and have played around with it a little…this gives me some ideas to work with….thank you so much!
Carol
Really enjoyed this tutorial, the clean and simple step by step using a just a few apps that I have…gives me inspiration. Must say the original image creation in itself, was Excellent too!
Kate England
Thanks for this tutorial! I’m currently working on a series of abstract photos and definitely be giving Rollage a go.
Zaid
As always, amazing tutorial.
Thank you and get well soon.
melia
thanks for the great tutorial. love your image