Mobile Photography / Art Tutorial – Up Against the Wall: Graffiti Me and Fotoffiti
We are delighted to publish Jerry Jobe’s latest mobile photography/art tutorial for our viewing pleasure. This time Jobe takes a look two apps, Graffiti Me and Fotofiffi. Take it away Jerry…(foreword by Joanne Carter).
“There are thousands of photography/art apps on the App Store, and some of them are extreme specialised. That’s the case with the two apps I’ll be covering this time: Graffiti Me by Bluebear Technologies Ltd and Fotoffiti by amioli. Each take your image, run a Threshold filter on it, and apply it to a wall as if you’ve stenciled it there. Each allow you to add extra paint and text. Each also run on both the iPhone and the iPad, but limit the iPad version to portrait orientation. And each will cost you about a dollar, if you don’t get them free on their frequent promotions.
Let’s start with a look at Graffiti Me”.
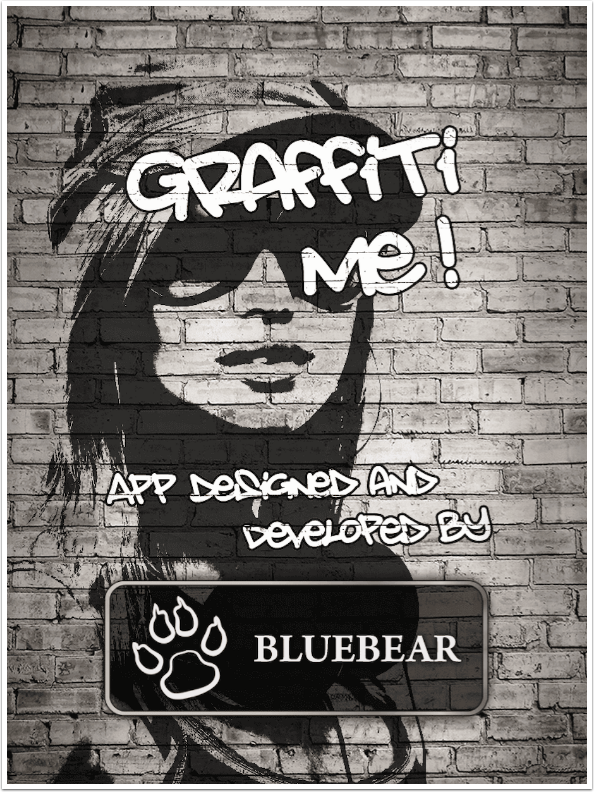
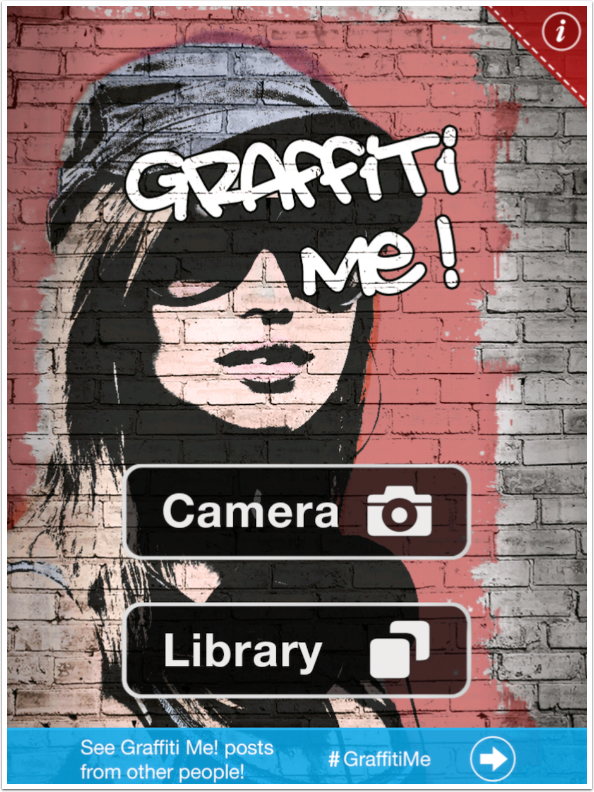
Graffiti Me allows you to use either the Camera or your Photo Library as the source for your image. The Info button at the top right contains no help, but allows for rating the app and emailing support. It also shows ads for other Bluebear apps. The bar at the bottom takes you to the Graffiti Me Twitter feed.
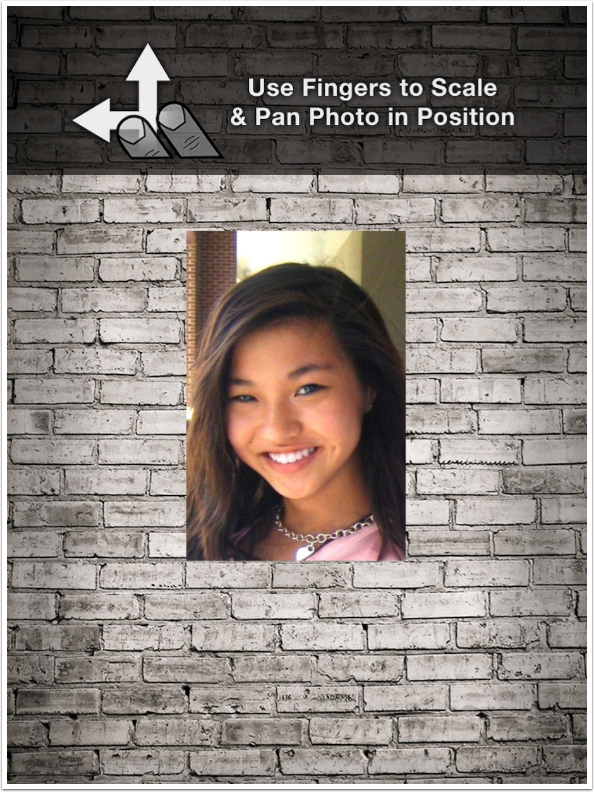
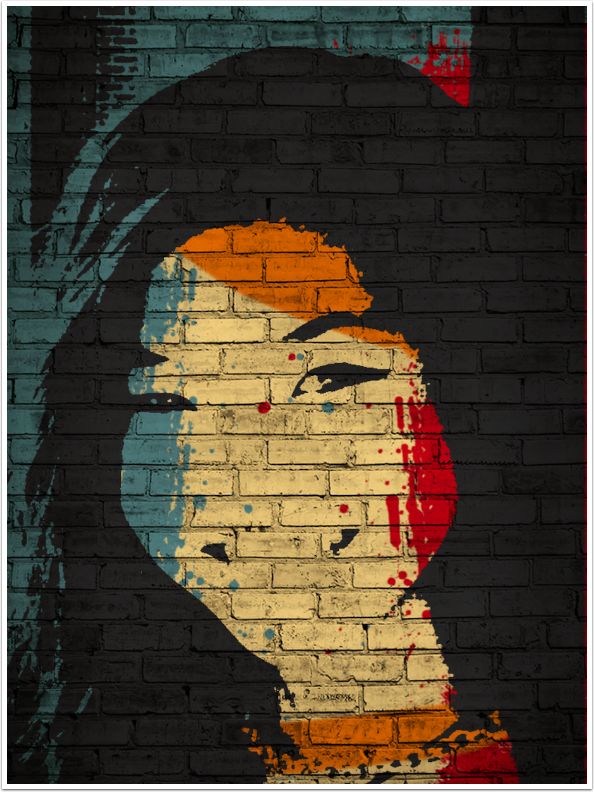
Whether you use the camera or load from your library, the image is placed, in color, on a brick wall. You can zoom and move the image with two fingers, but you cannot rotate it.
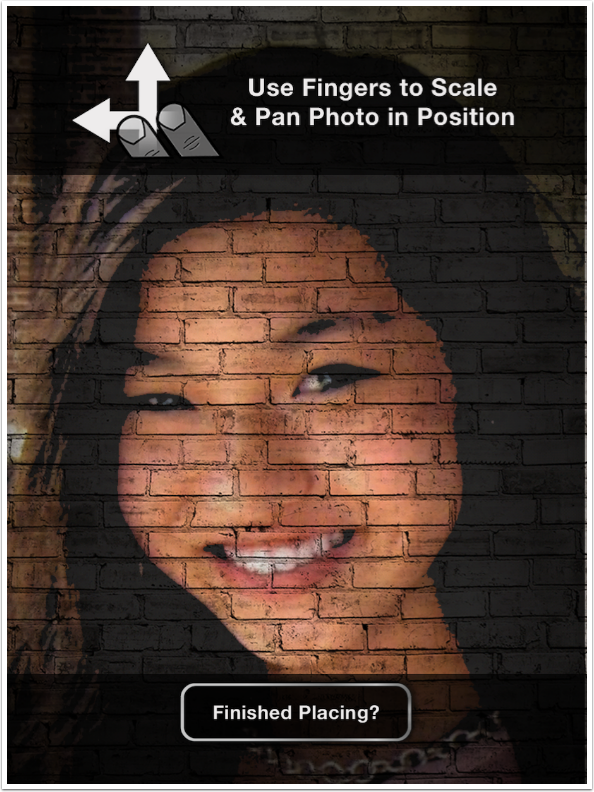
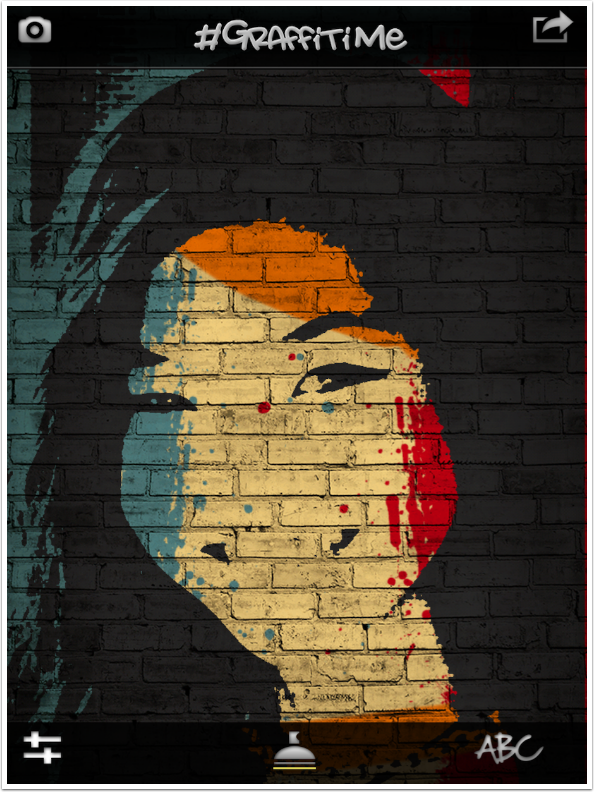
Once you have the image in place, you can tap the button at the bottom to commit the placement.
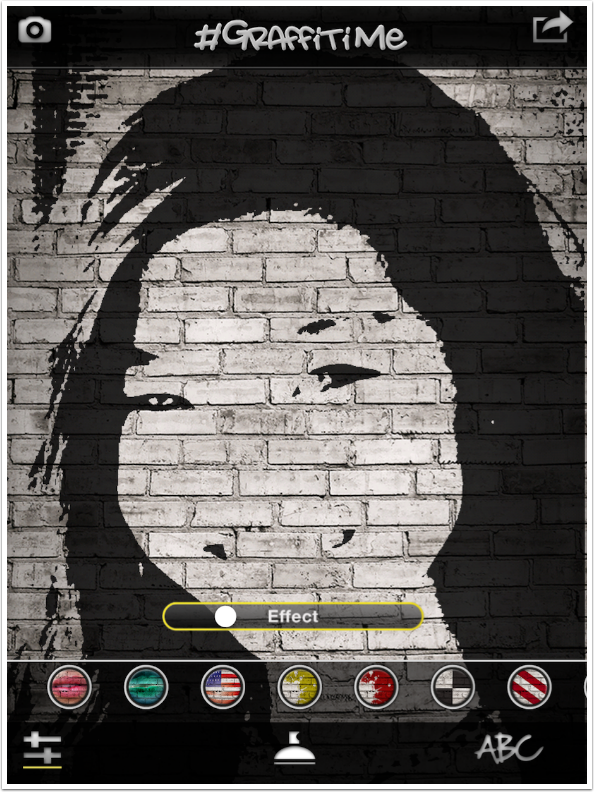
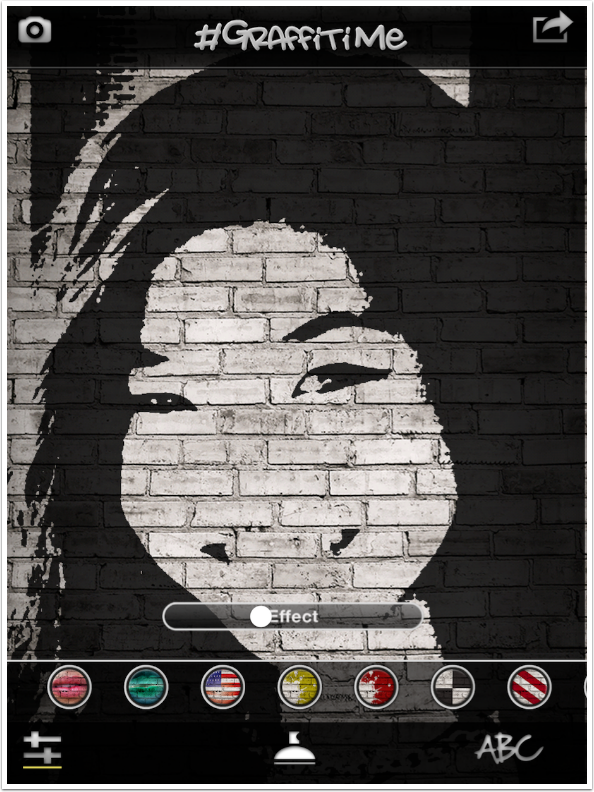
The default effect is the only one with a color posterised look, rather than the default B&W threshold look. All Effects use the same background brick wall. The different thumbnails are the available effects, and they are accessed with the slider buttons on the bottom left. The two other buttons at the bottom are for spray paint and text.

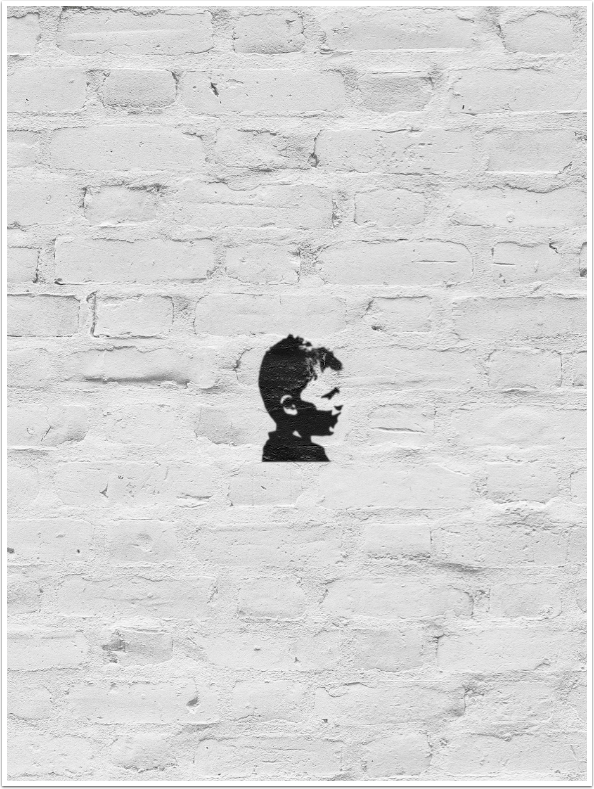
The second thumbnail offers a color negative look. The remaining effects are black threshold looks over a painted wall. The sixth thumbnail, shown below, has a plain white brick wall.
Moving the Effect slider to the right increases the amount of black in the threshold look.
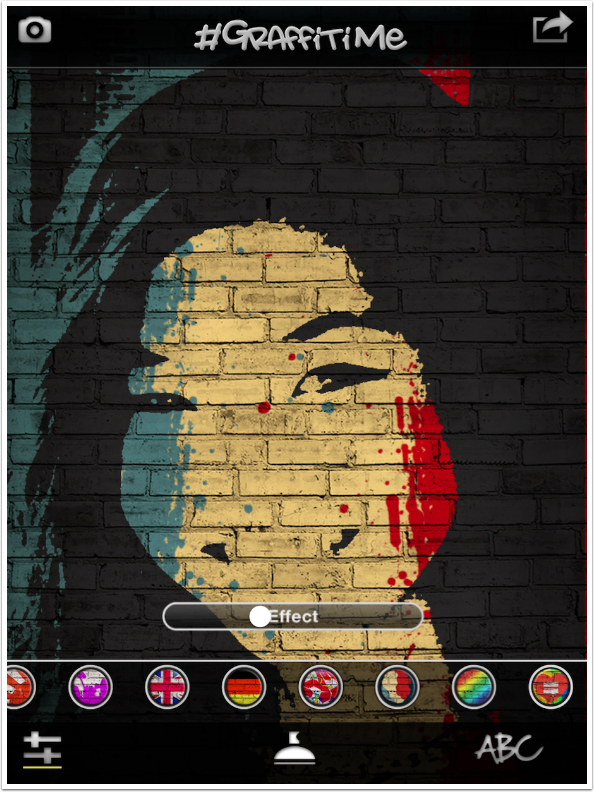
Selecting a thumbnail changes the paint pattern on the wall.
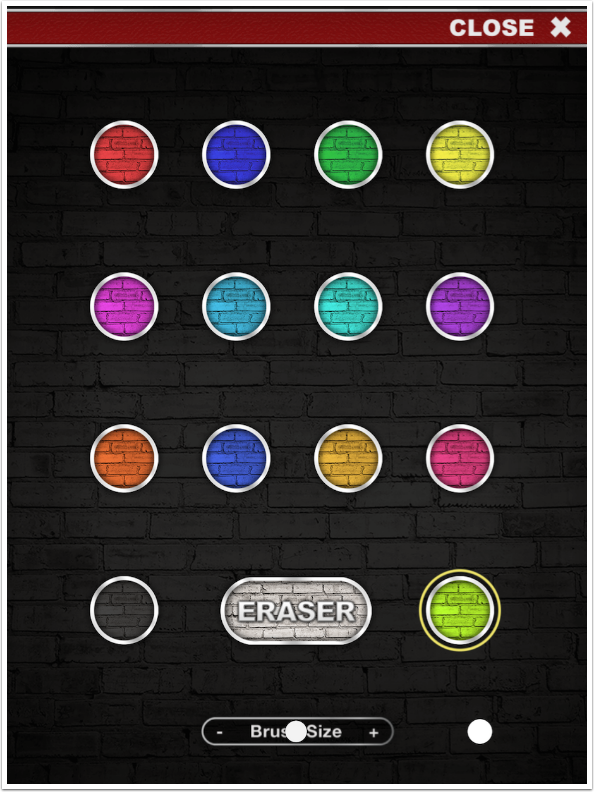
You can add additional “tags” by spray-painting them onto the wall yourself. Tapping the Spray Can icon brings up a selection of fourteen different colors and an eraser.
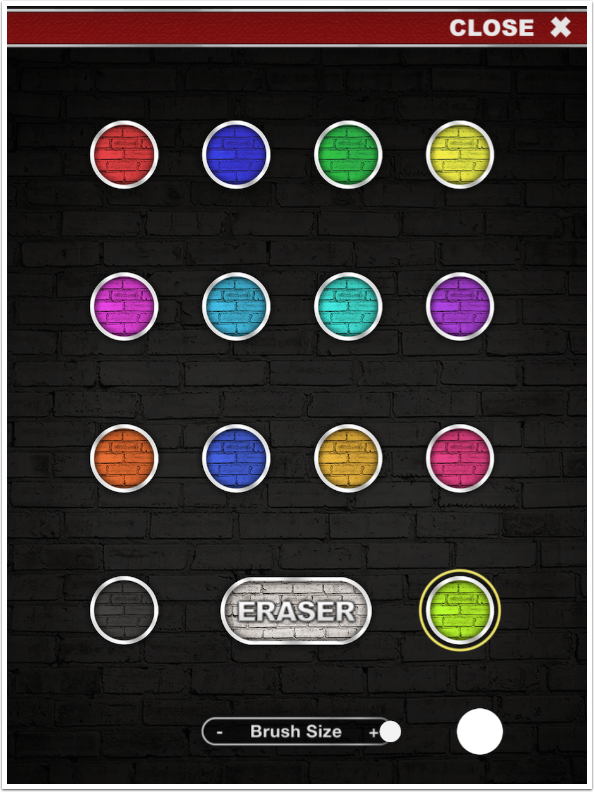
Even at its largest setting, the brush is not very large.
I painted some orange onto this image. The spray paint will not affect the black areas which come from your image. It’s as if they were painted on the wall before your image was stenciled on.
Painting on the image hides the menu bars at the top and bottom. Restoring them is a matter of a quick single tap on the screen, which should overlap an already-painted area. It can be extremely finicky, so have patience.
Text can be added in one of six colors. Multiple words can be added, but not multiple lines. Only one area of text can be added to an image.
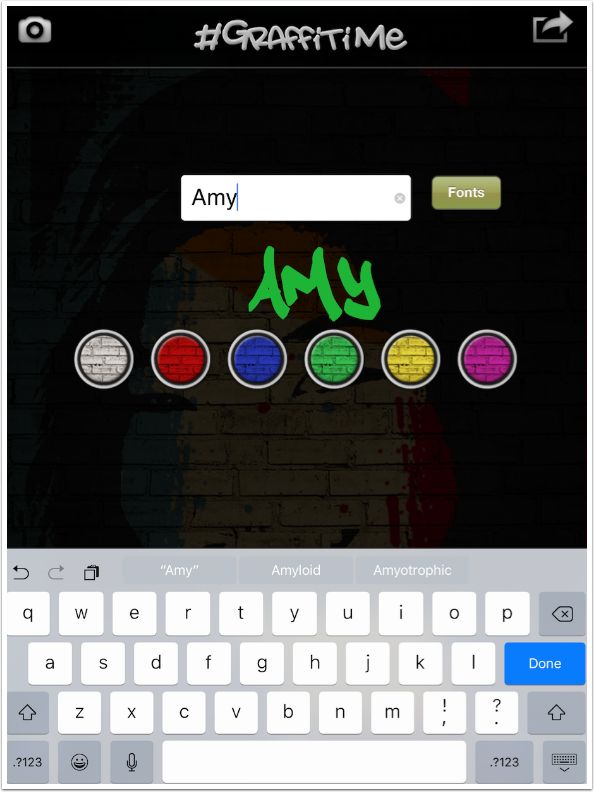
Tapping the Fonts button allows you to cycle through four different font choices.
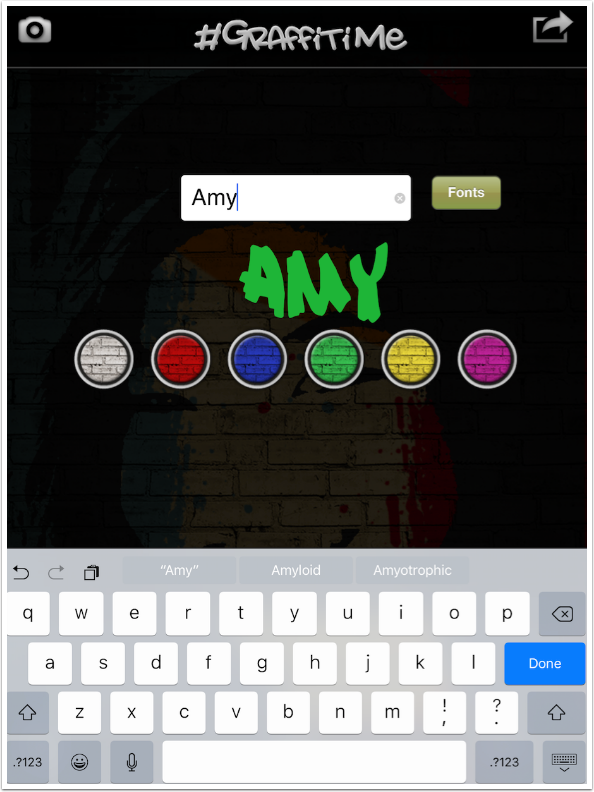
Once you tap Done, the text is placed on the screen.
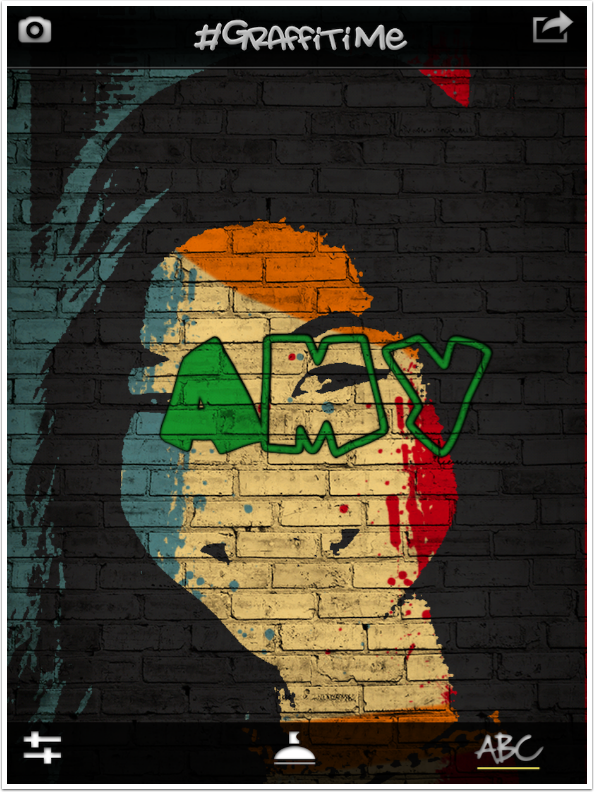
The text can be resized and rotated using a two-fingered pinch. Once again, you will have to do a single tap on the text to restore the top and bottom menus.

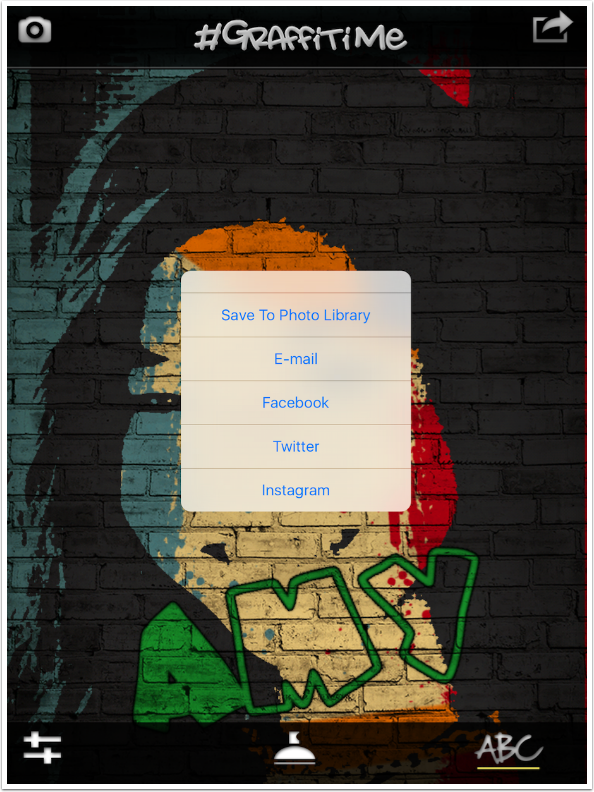
The Save button at the upper right allows you to save to your library, email the image, or post it on Facebook, Twitter or Instagram. Save sizes are 768×1024 on the iPad and 640×1136 on the iPhone. These sizes are not great, but could be worse. Since the results are not really meant for reproducible artwork, high resolution, while nice to have, is not a priority.
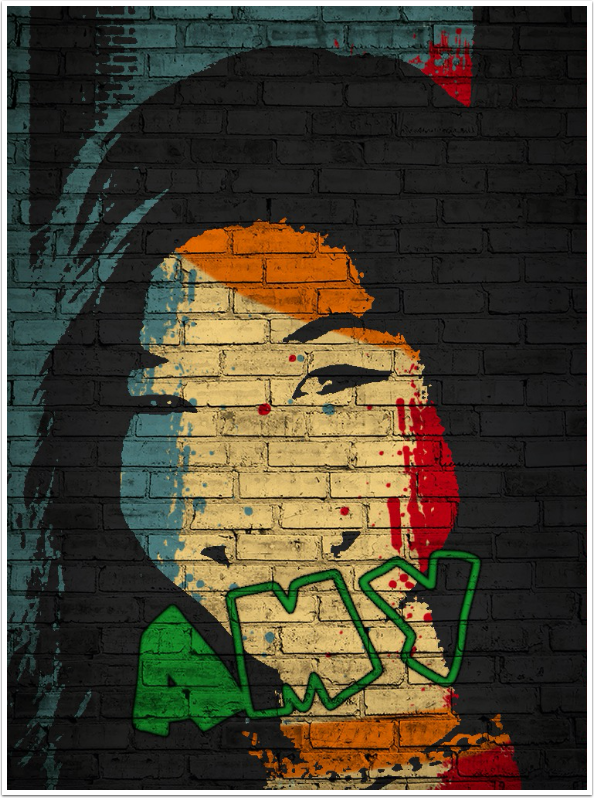
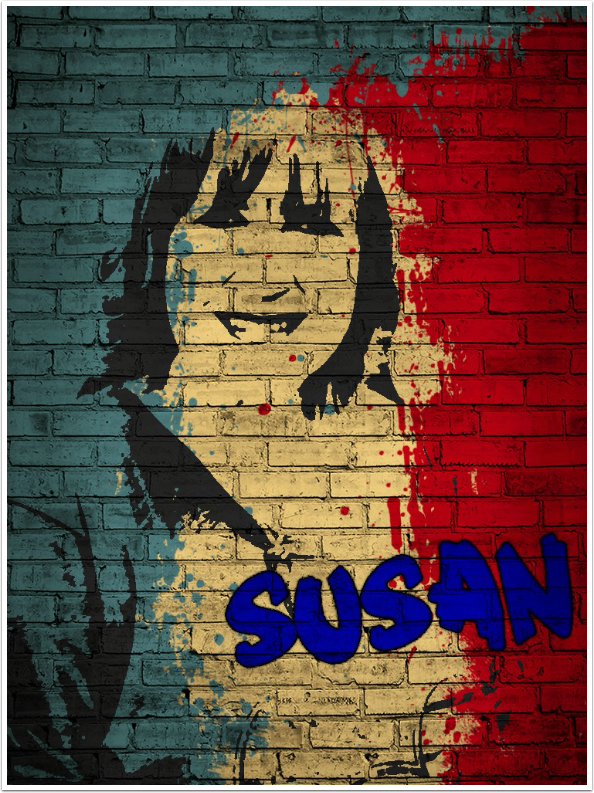
Here’s my finished image.
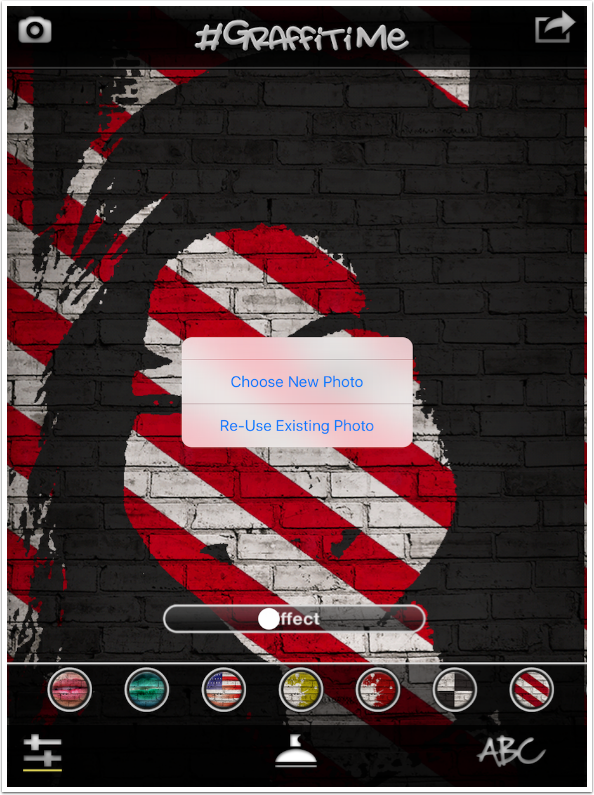
After saving, you can tap the Camera at the top left to Choose New Photo or restart with the same image.
I took a picture of a plastic skull and created this example.
My lovely wife.
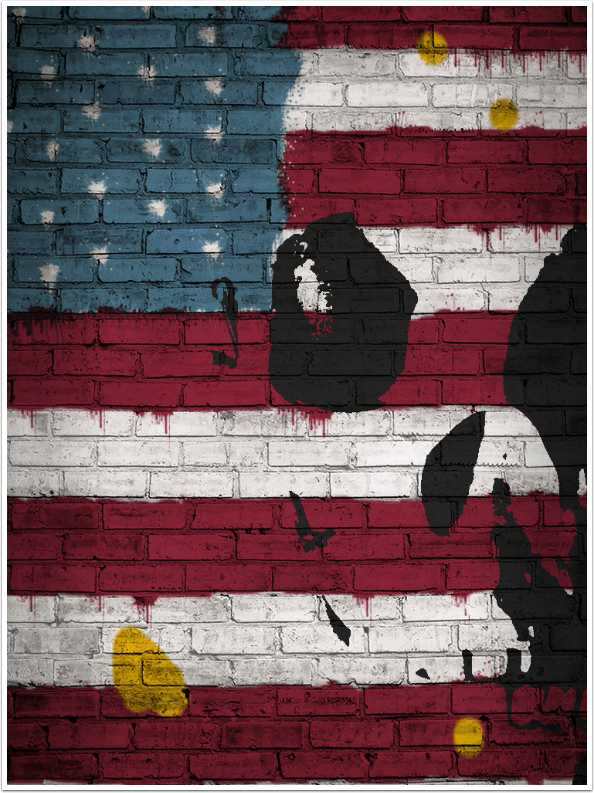
You don’t have to use portraits. I used an image taken at Epcot below. If I did it over, I would white out the dark water at the bottom before loading into Graffiti Me so I wouldn’t have such a strong edge.
Let’s move on to Fotoffiti. It’s the same type of app, but has much about it that’s different.
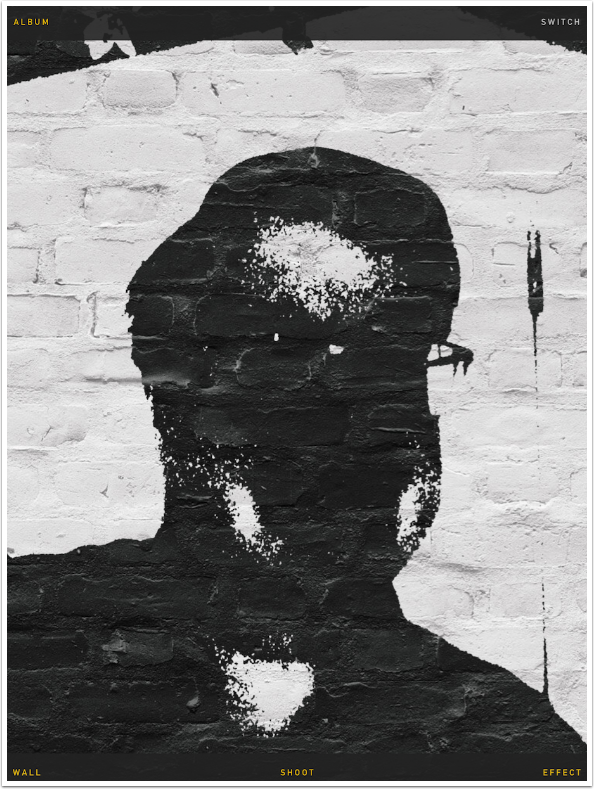
Fotoffiti defaults to using the “selfie”, front-facing camera. You can switch to using the back camera by tapping Switch at the upper right, or load an image from your library by tapping Album at the upper left. To capture the image, tap Shoot at the bottom center.
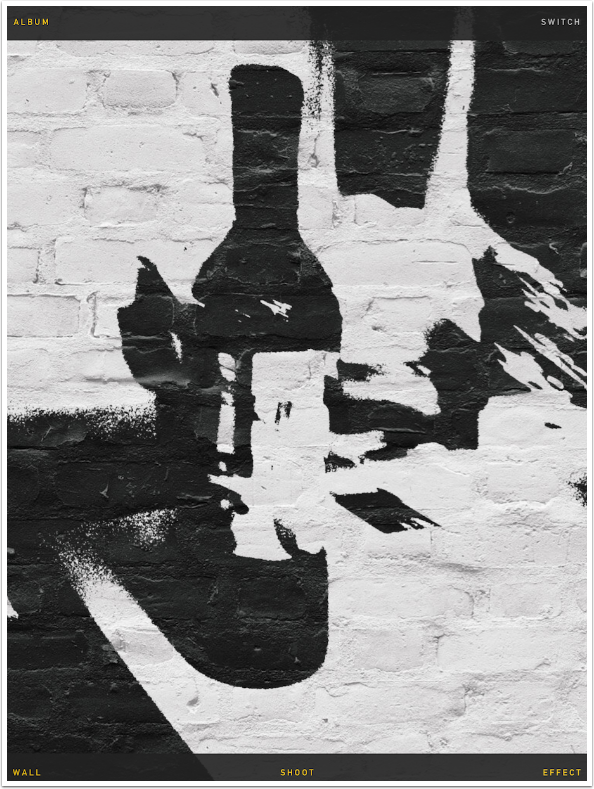
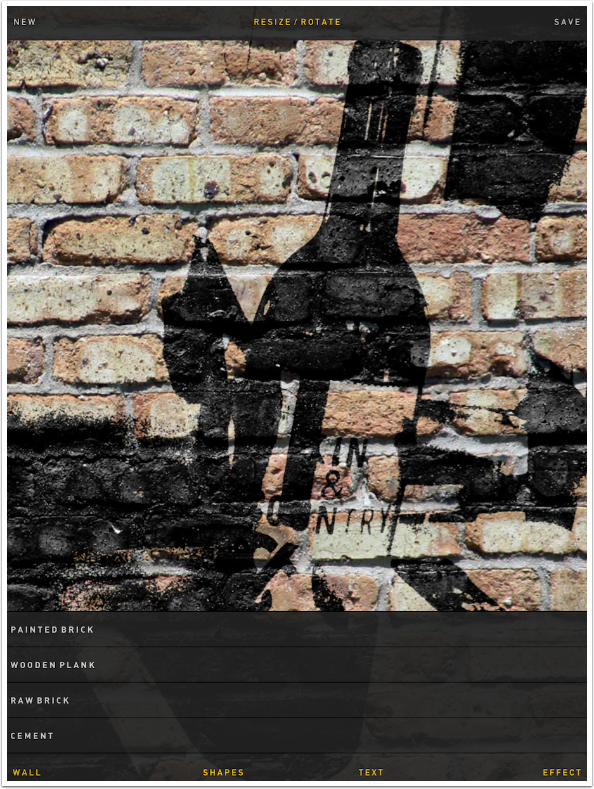
Below I changed to the back camera to get an image of a wine bottle.
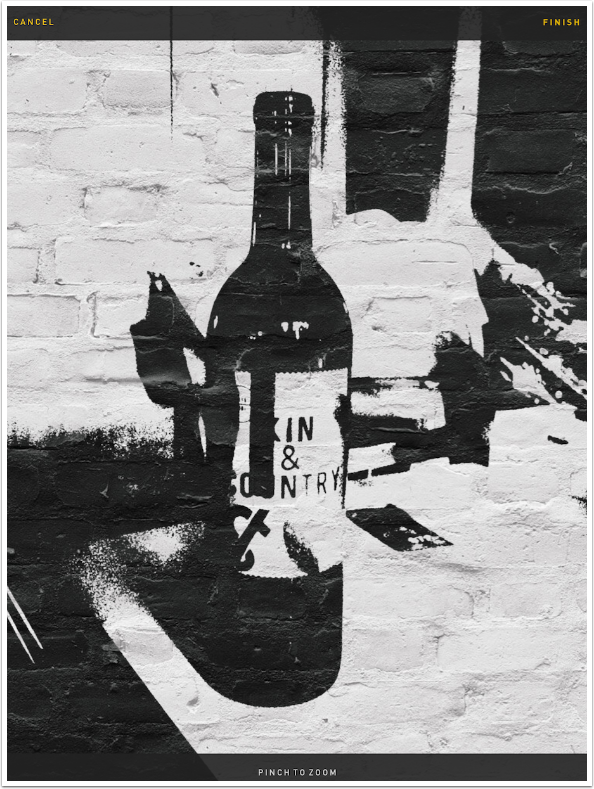
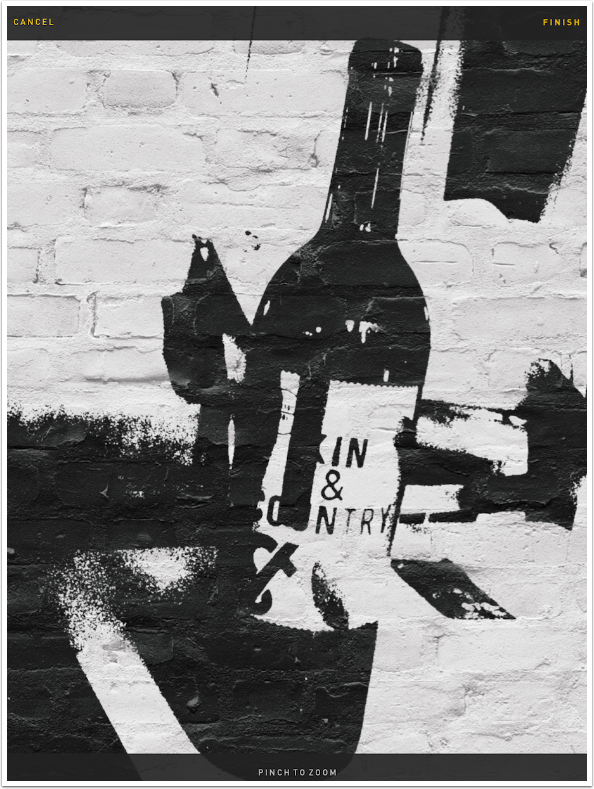
Once I tap Shoot, the image is captured, and the words Resize/Rotate appear at the upper center. Tapping that brings me to the screen below, which allows me to zoom in and rotate the image. Note that the image can be rotated in Fotoffiti, while it cannot in Graffiti Me.
When done resizing and rotating, tap Finish in the upper right.
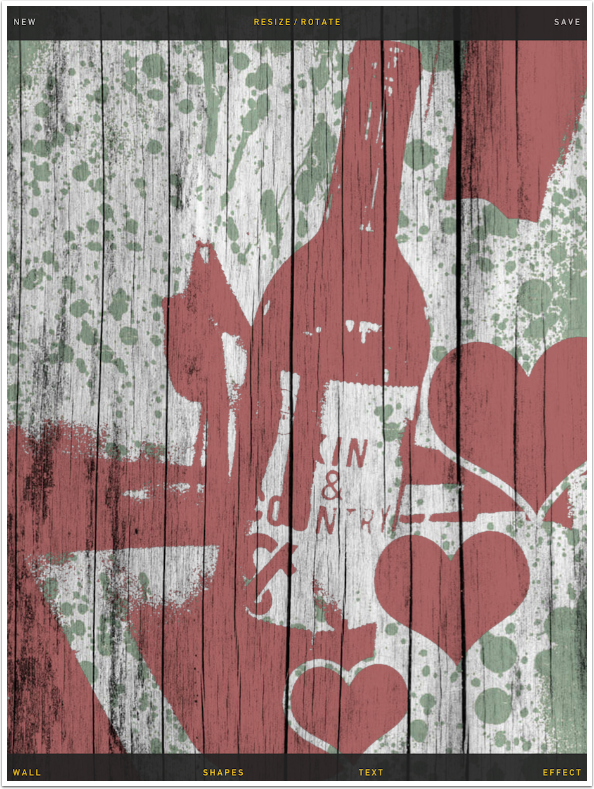
There are four menu selections at the bottom: Wall, Shapes, Text, and Effect. There are four different wall possibilities in Fotoffiti, compared to the single painted brick in Graffiti Me. Below I’ve switched from Painted Brick to Raw Brick.
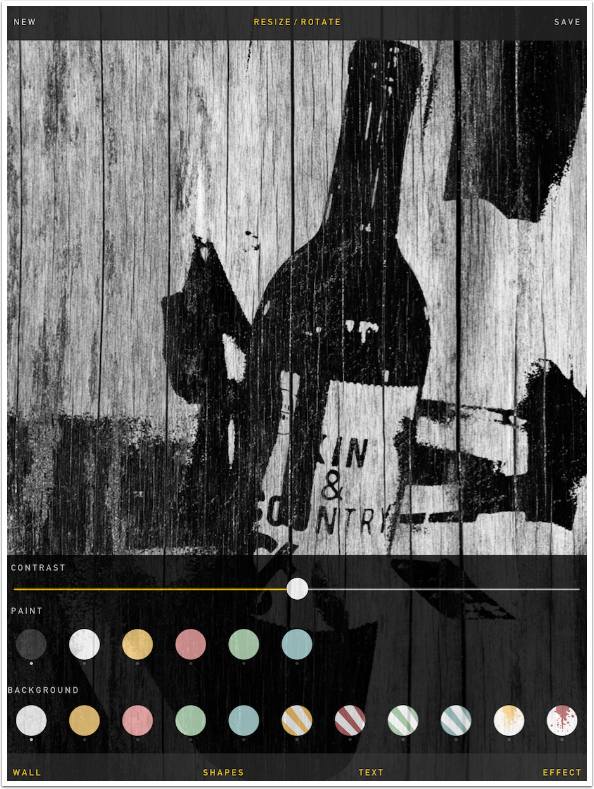
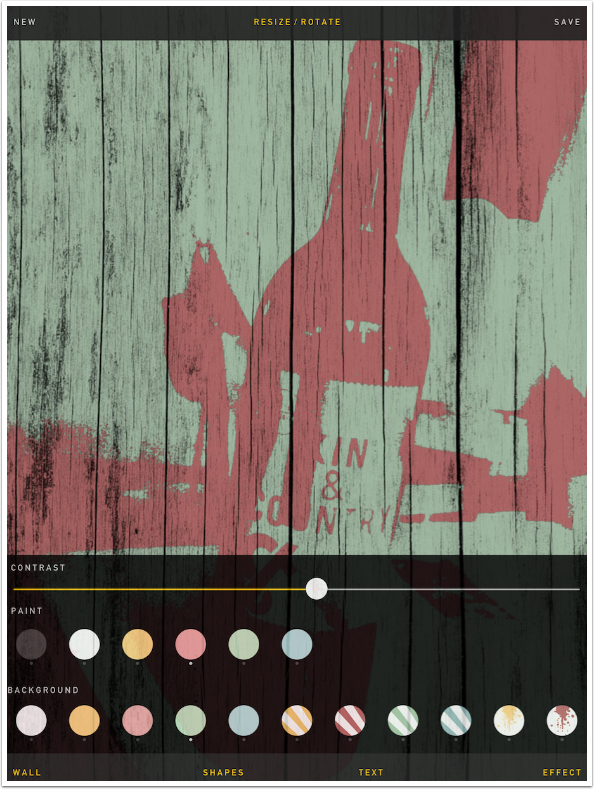
I decided I liked the Wooden Plank wall for this image, and switched to Effect. Here, once again, there is a Contrast slider that adjusts the amount of black from the captured image.
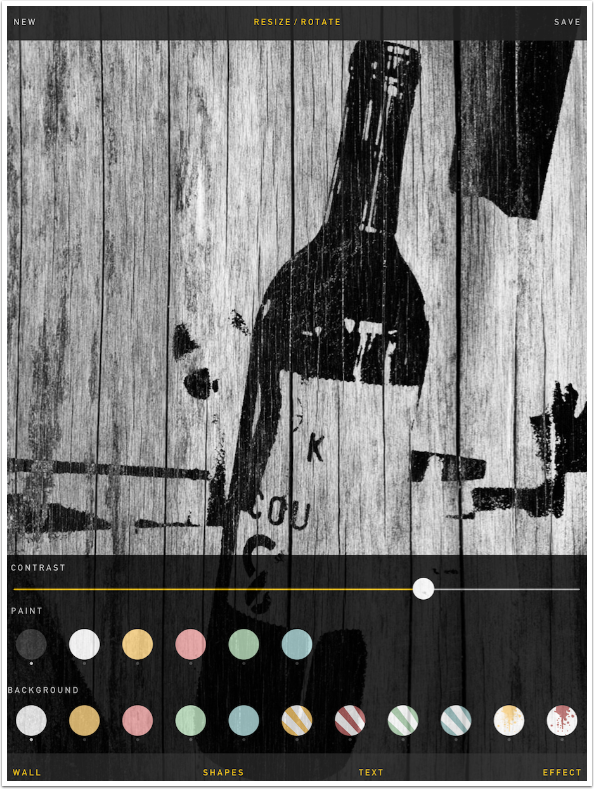
Moving the slider to the right reduces the amount of black.
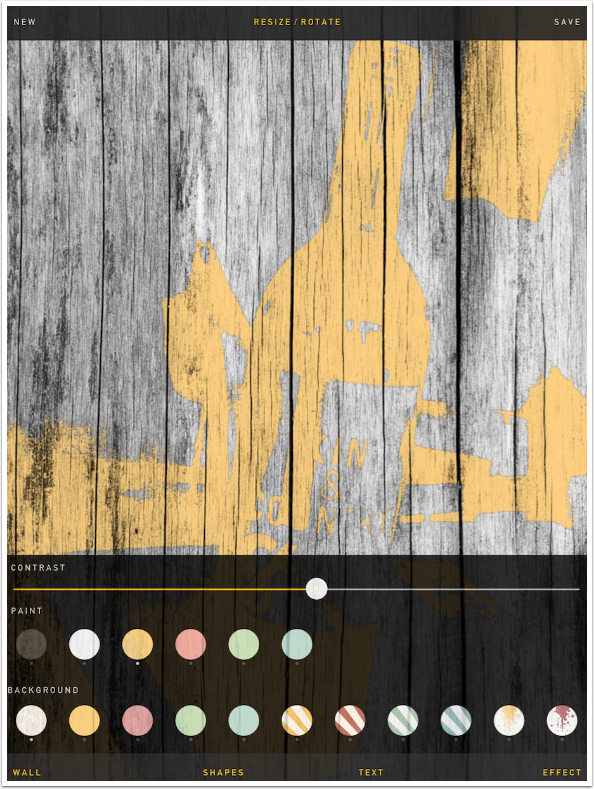
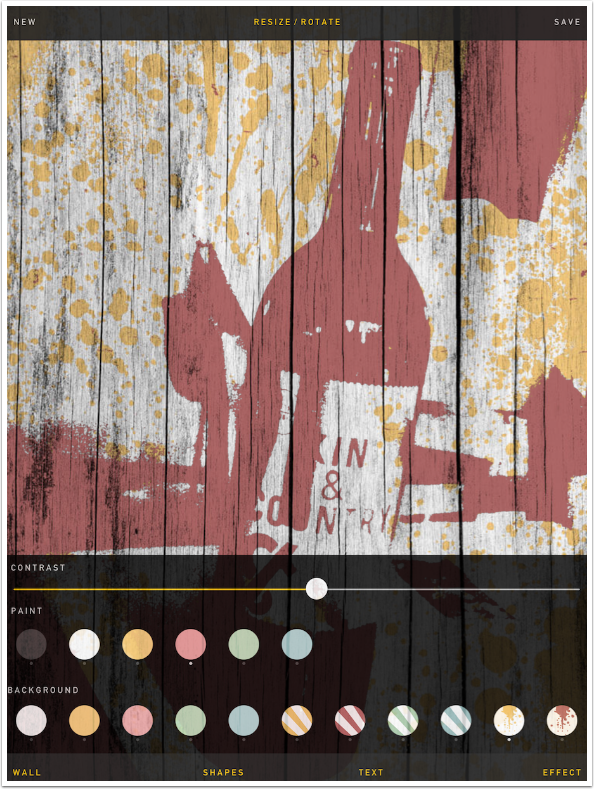
There are two Paint selections in Effects. One is for the image, the other for the background or wall. Below I changed the image from black to a light orange. The background paint colors are all light, so I find this orange too light to use.
Below I changed the Background to a green, and the Paint color to a brickish color.
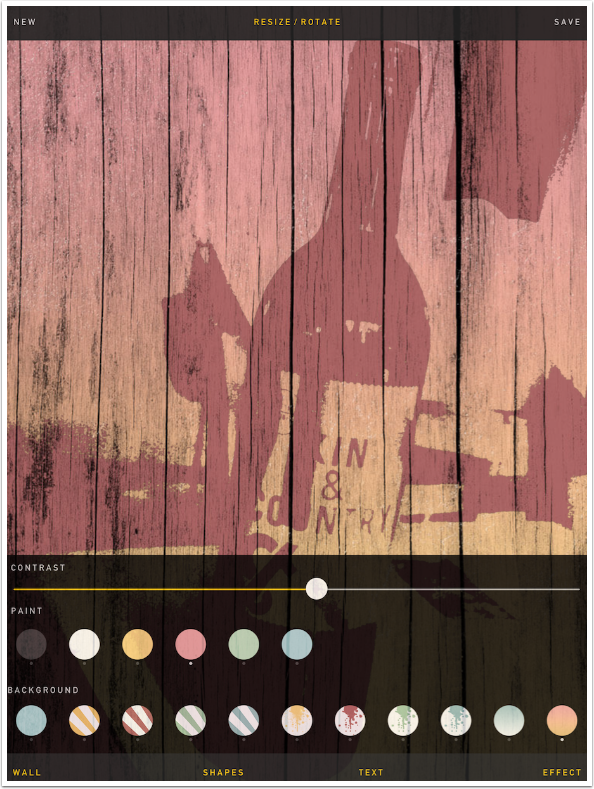
The backgrounds range from solid colors to rays to spattered.
There are even two gradients at the end. These backgrounds cannot be rotated or adjusted in any way.
The Shapes menu selection allows you to place various shapes within your image. They can be resized and rotated, and they are always the same color as the image. Below I’ve added a rabbit. Only one Shape can be added; selecting a second Shape just switches the one already placed.
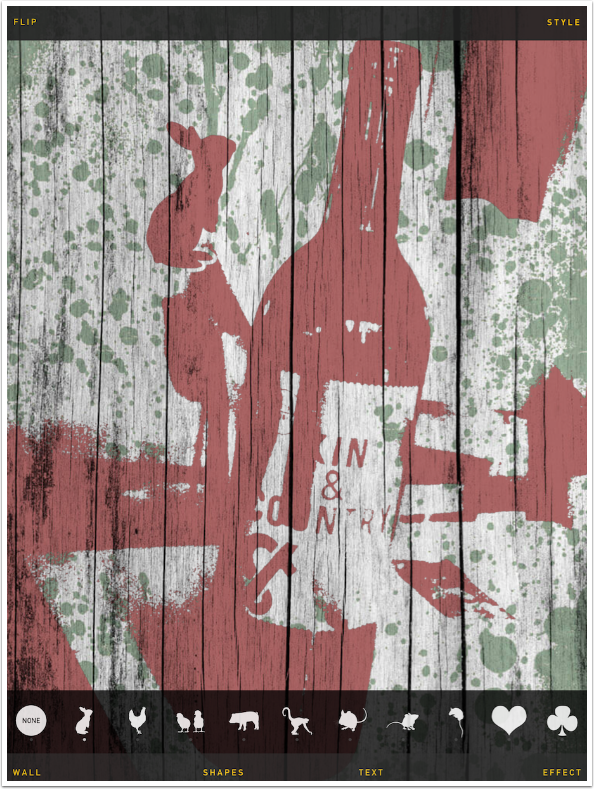
An outline is added to the Shape to make sure you can see the full shape.

Some of the shapes, like the Bird or the Heart, actually adds multiple shapes.
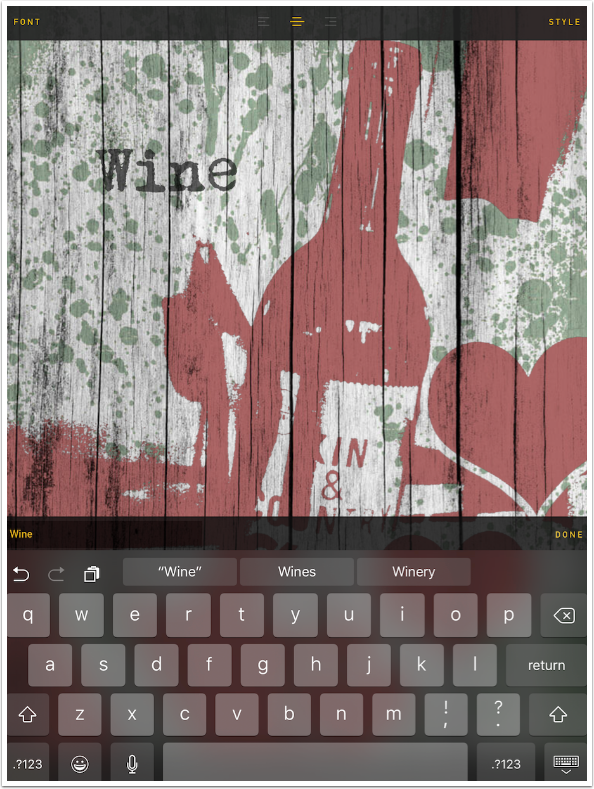
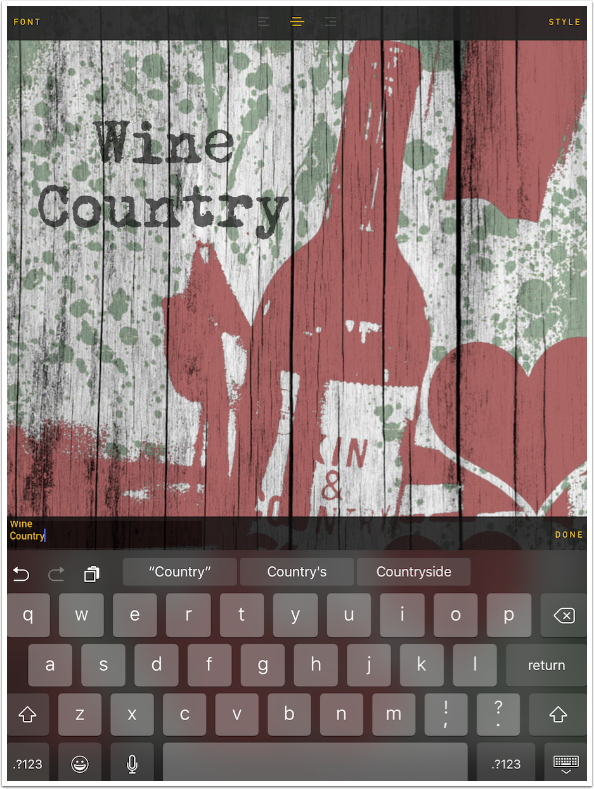
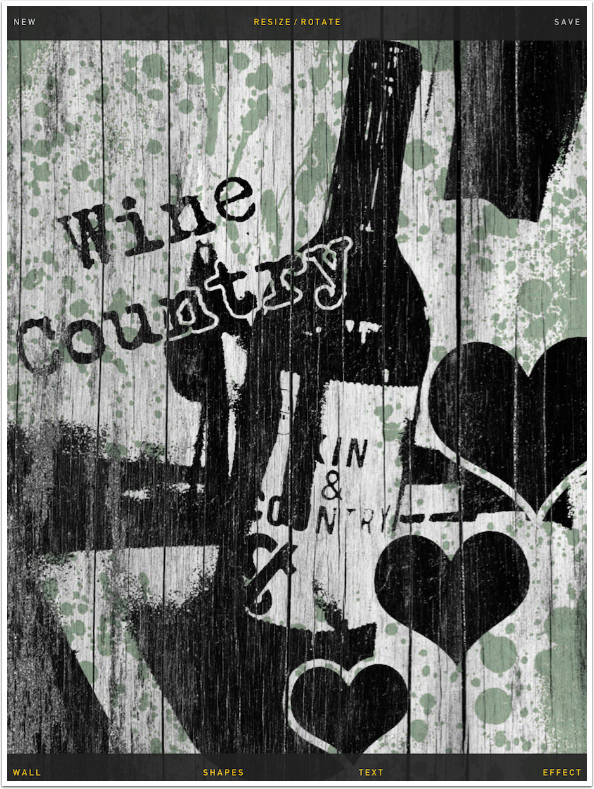
Text is also the same color as the image, and the only font available is a grungy typewriter font. However, you can add multiple lines, and the paragraph alignment can be changed at the top.
By tapping the Style button at the top right you can switch between four different styles: text with the paint color outlined with the background; text with the background color outlined with the paint color (seen below); text with the paint color and no outline; and text with the background color and no outline.

As you type in the text, it will be represented on the screen as grey. It will change colors when you tap Done at the top right of the keyboard.
Text can also be resized and rotated.
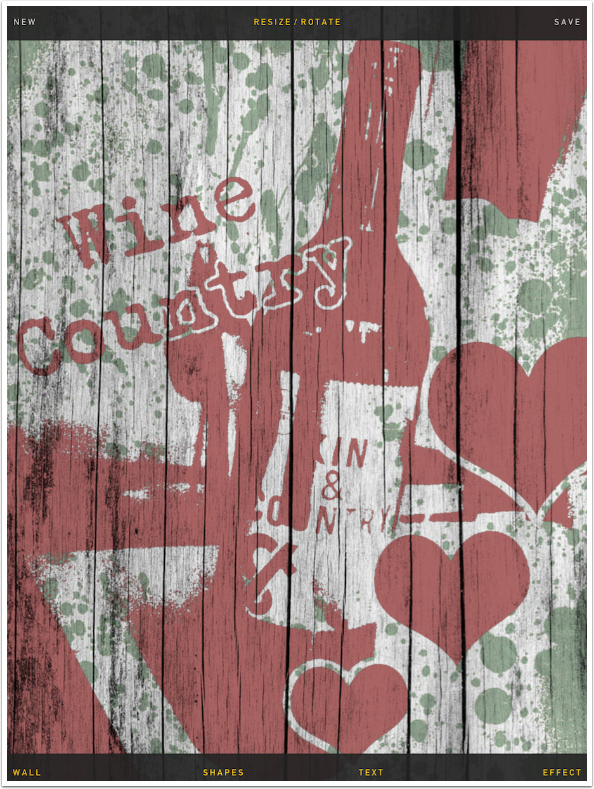
You can change colors after placing the image, shapes or text. Changing the Paint color back to gray below changed the image, heart shape and “Wine Country” text all at the same time.
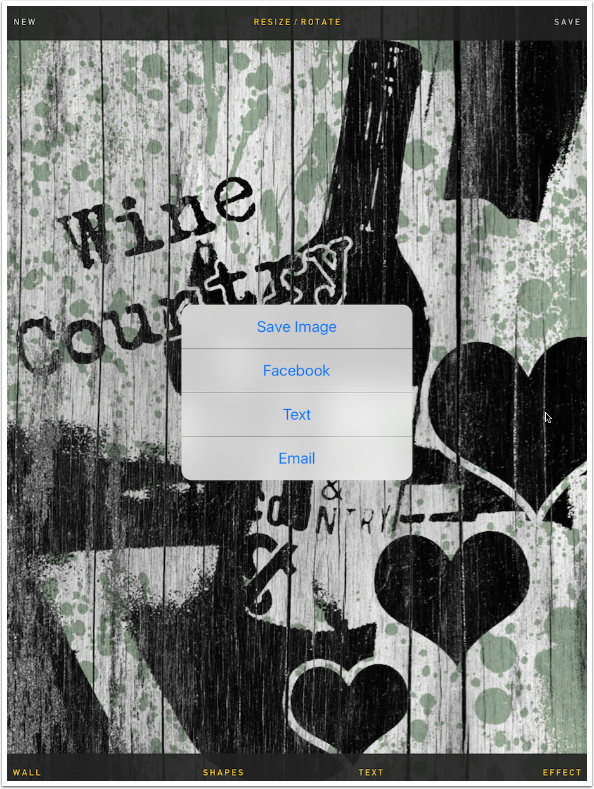
Save options are limited to Library, Email, Message and Facebook. Save sizes are larger for Fotoffiti: 1200×1700 for the iPhone and 1536×2048 for the iPad.
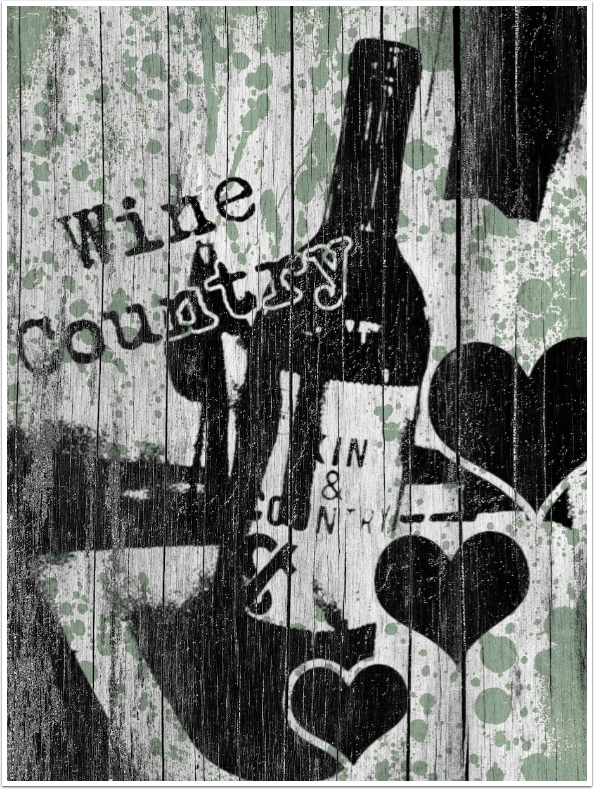
Here’s my Wine Country result.
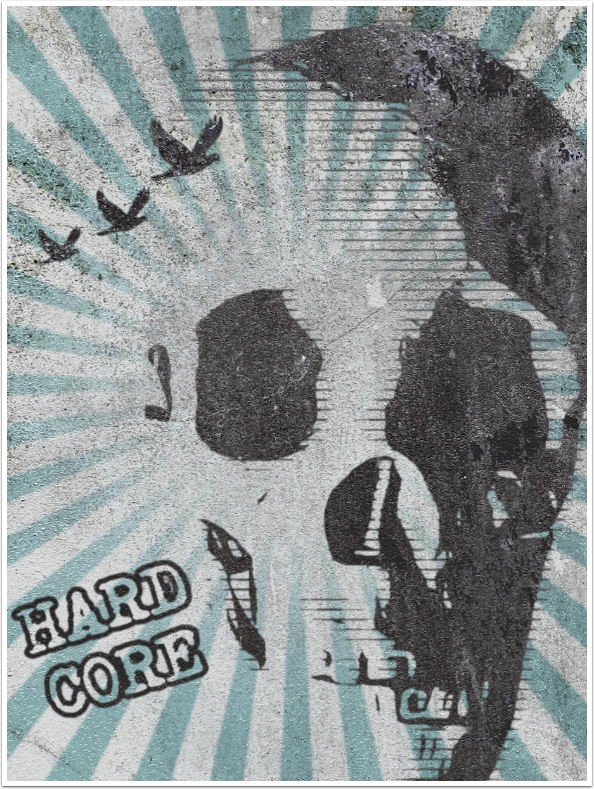
Here’s my skull image again, this time on a cement wall.
These last two examples were captured with the “selfie” camera. “Scary” is on Wooden Plank with a gradient background.

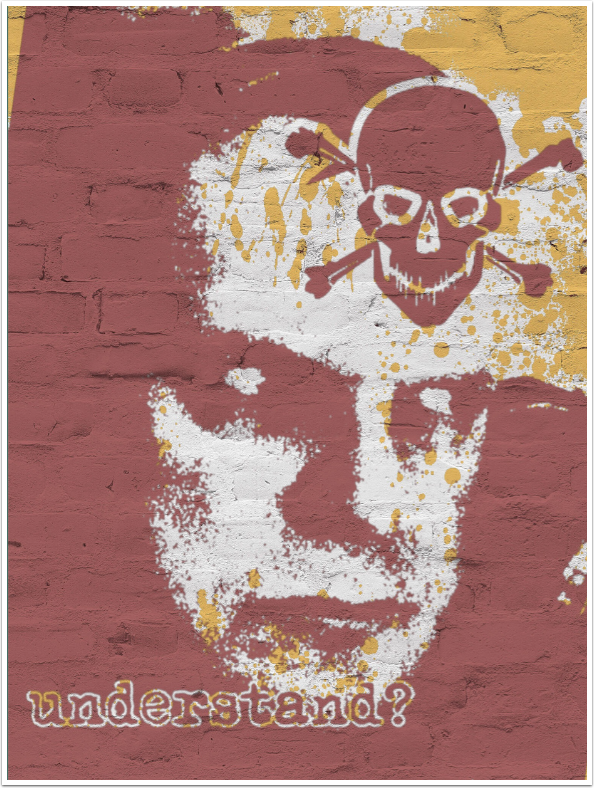
“understand?” is on a Painted Brick wall and a yellow splatter Background.
Both Graffiti Me and Fotoffiti are fun to fool around with. Both have their drawbacks: Graffiti Me has a clunky user interface that doesn’t allow for the rotation of images or multi-line text, while Fotoffiti’s results are just not as impactful due to the blah color choices. But if you’re ever feeling a little radical or countercultural, take a look at these graffiti apps. Until next time, enjoy!
Donating = Loving = TheAppWhisperer.com
Bringing you (ad-free) TheAppWhisperer.com takes hundreds of hours each month and hundreds of pounds to sustain. If you find any joy and stimulation here, please consider becoming a Supporting Member with a recurring monthly donation of your choosing, or possibly making a one-time donation. This is a not for profit website and one that can only grow with your support.
[seamless-donations]
Jerry Jobe
Never content with just scratching the surface of what an app can do, Jerry Jobe decided to pass on what he learned about imaging apps to others. He’s constantly trying to figure out just what tools other artists have used, and trying to incorporate them into his own work, in an attempt to find his style. He’s written tutorials on over 145 apps so far, which you can find (along with his Song of the Day entries) at http://enthusiasmnoted.wordpress.com/ He lives near Atlanta, Georgia, where he also finds a creative outlet in acting and directing in community theater.